DIY Mini Zipper Pouch
Create your very own miniature zipper pouch with this easy do-it-yourself project. This fun and practical craft is perfect for storing small items like coins, lip balm, or even earbuds. All you need is some fabric, a zipper, and basic sewing skills to bring this adorable accessory to life. Customize your pouch with different fabrics, colors, and embellishments to make it uniquely yours. Whether you're a beginner or an experienced crafter, this project is sure to bring a smile to your face and a handy pouch to your pocket. Follow the step-by-step instructions to cut the fabric, attach the zipper, and sew the pouch together. You can experiment with different sizes and shapes to create pouches for various purposes. These mini zipper pouches also make great gifts for friends and family. So gather your materials, unleash your creativity, and get ready to make your very own DIY mini zipper pouch today!
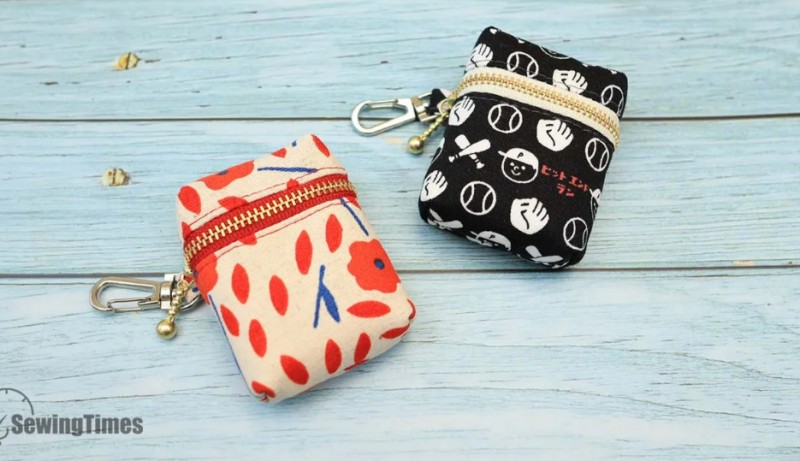
The finished measurements of this bag are approximately 2"(5cm) W ×
2¾"(7cm) H × 3/4"(2cm) D.
To make this you will need:
Outer layer (Quilting Cotton)
1 4¾" × 1¾" (12cm × 4.5cm)
1 4¾" × 3" (12cm × 7.5cm)
1 2⅜" × 4⅜" (6cm × 11cm)
1 1⅝" × 2"(4cm × 5cm)
Lining (Quilting Cotton)
1 4¾" × 1¾" (12cm × 4.5cm)
1 4¾" × 3" (12cm × 7.5cm)
1 2⅜" × 4⅜" (6cm × 11cm)
Zipper
1 4"(10cm)
Swivel Snap
Fusible fleece (It is similar to Pellon
987F ' or 'Vilene H630')
1 4" × 1" (10cm x 2.5cm)
1 4" × 2¼" (10cm × 5.5cm)
1 1⅝" × 3⅝" (4cm × 9cm)
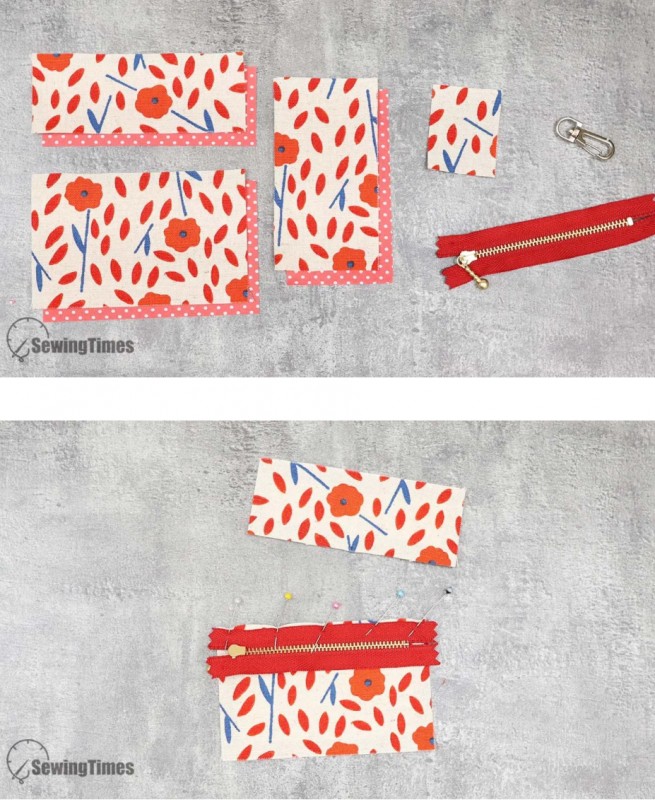
With assembled outer layer right side up, center zipper right side facing down along top edge. Pin in place. Using your zipper foot, sew along top edge using a 3/8" seam allowance.
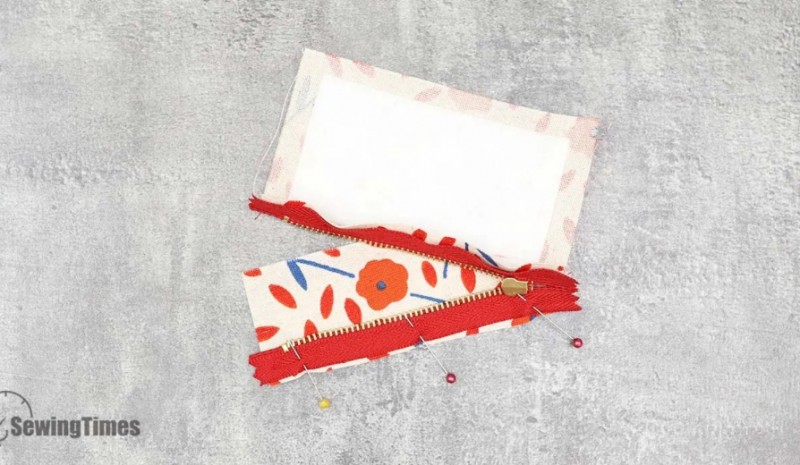
Open out, press pieces away from the zipper. Attach the outer and lining to the other side of the zip the same way.
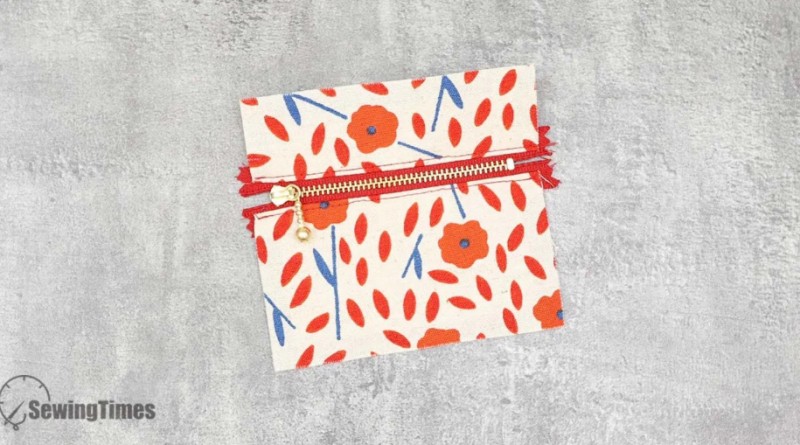
Open out, press pieces away from and top stitch on both 1/8" away
from the zipper.
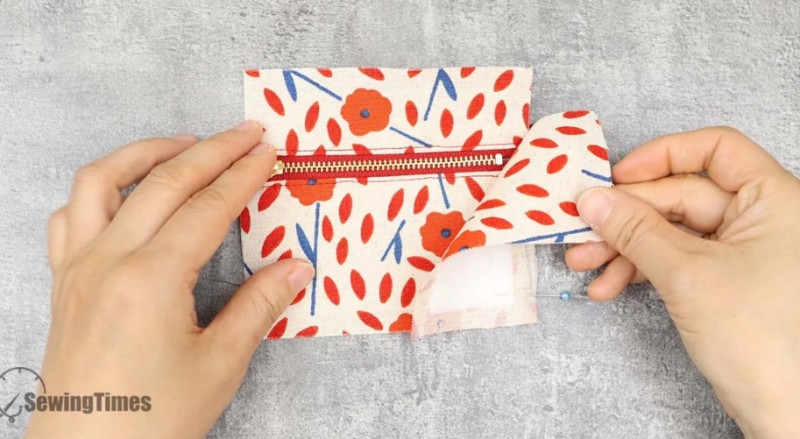
Place the back panel on the right side of the zipper panel and sew.
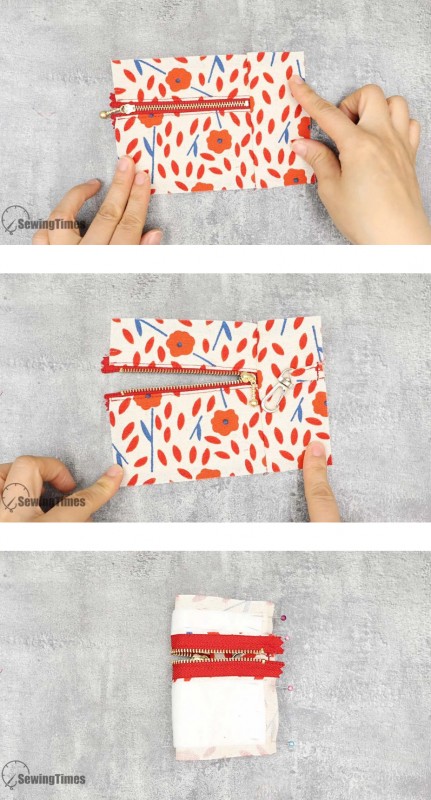
Attach the back panel to the other side of the zipper panel the same
way.

Place the centers of the zipper panel and back panel face to face.
Sew the top and bottom with an allowance of about 3/8".
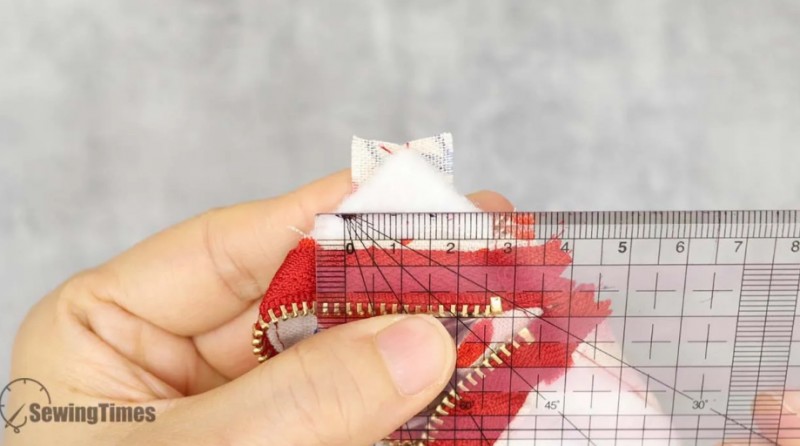
Combine the seams so that a flat
base is formed. Sew a length of 3/4".
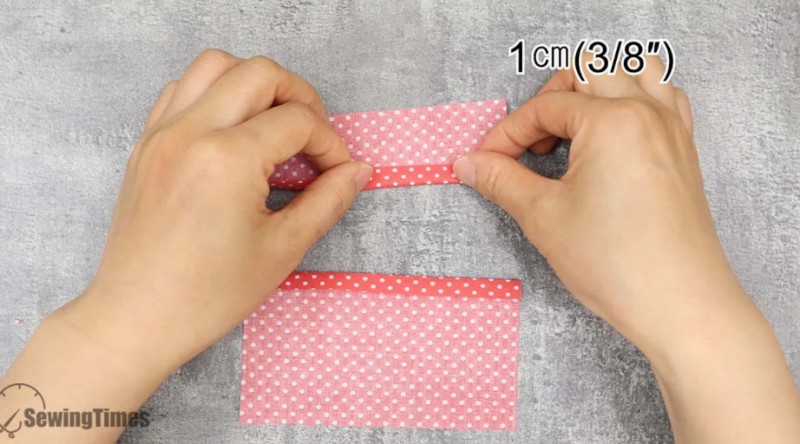
Fold the lining in 3/8 inch.
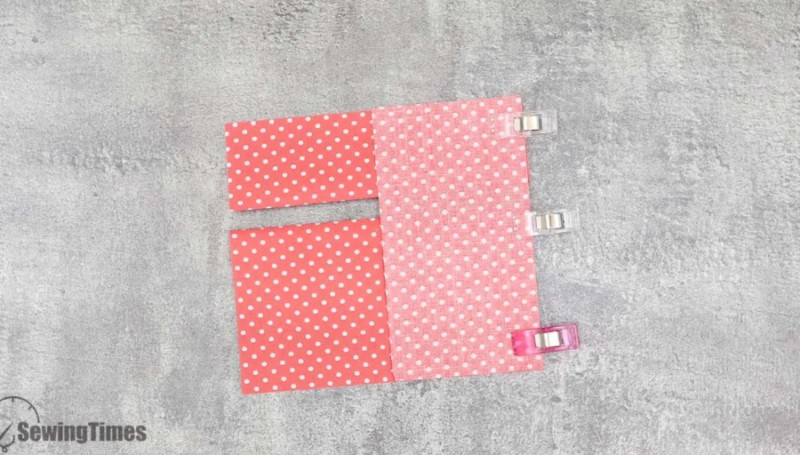
Place the back panel on the right side of them and sew. Use the same process to sew the lining.
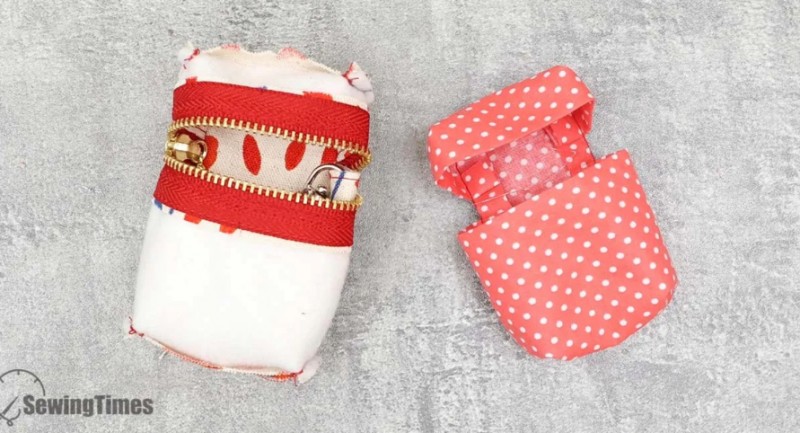
Turn the lining right side out. Place the outer layer inside the lining and align them.
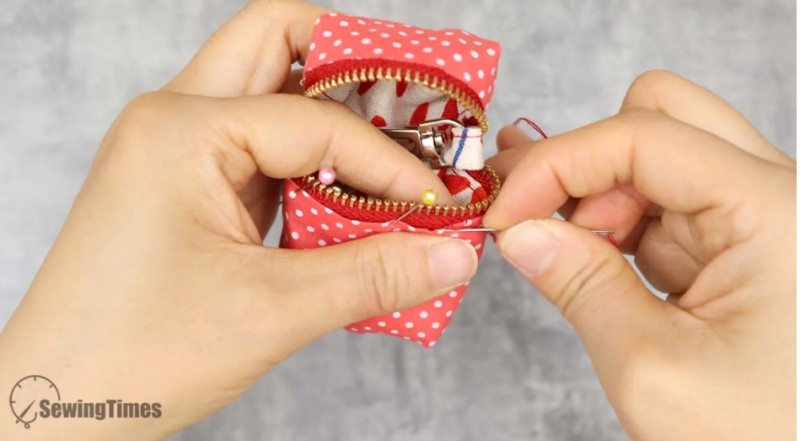
Blind stitch lining and zipper together. Then turn right side out.
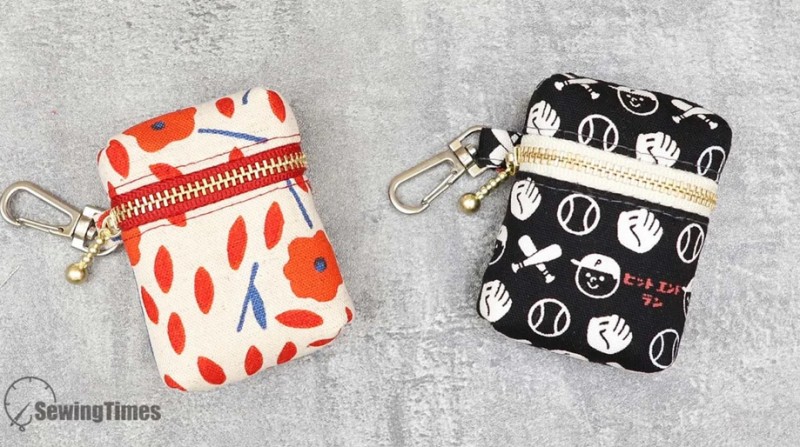
Finished