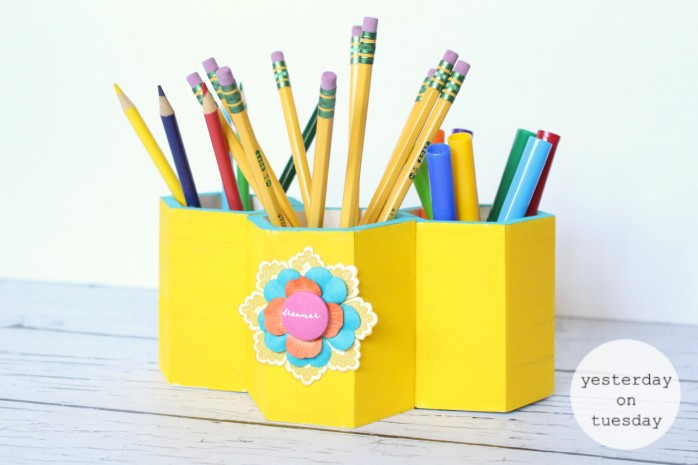
DIY Pen and Pencil Organizer
Creating your own DIY Pen and Pencil Organizer is not only a fun project but also a practical way to keep your workspace neat and stylish! You can use materials like small mason jars, colorful washi tape, or even repurpose old containers to make your organizer unique to your taste. Simply decorate the containers, arrange them in a creative way on your desk, and voilà, you have a personalized organizer that will brighten up your space and keep your writing tools within easy reach. Get creative, enjoy the process, and bring a touch of your personality into your workspace with this DIY project!

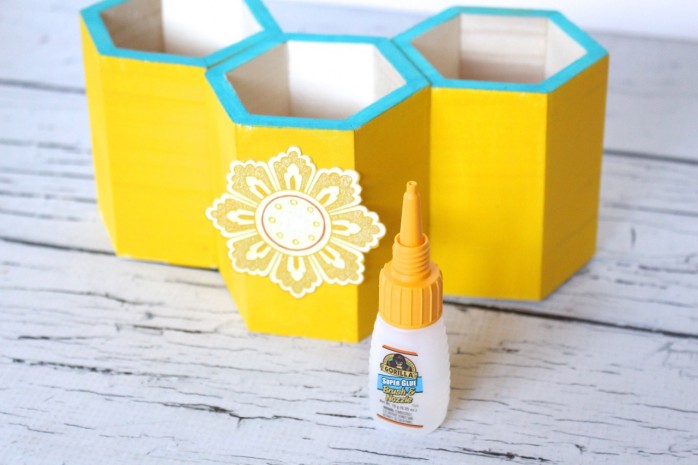
Supplies: For this Organizer project, you’ll need Gorilla Super Glue Brush and Nozzle– this product is so cool because there two ways to dispense both a fine bristle brush and precision tip nozzle. You don’t need to get two different products, this one can be used both ways. You’ll also want to grab three wooden pencil organizers, acrylic paint, and some fun embellishments.
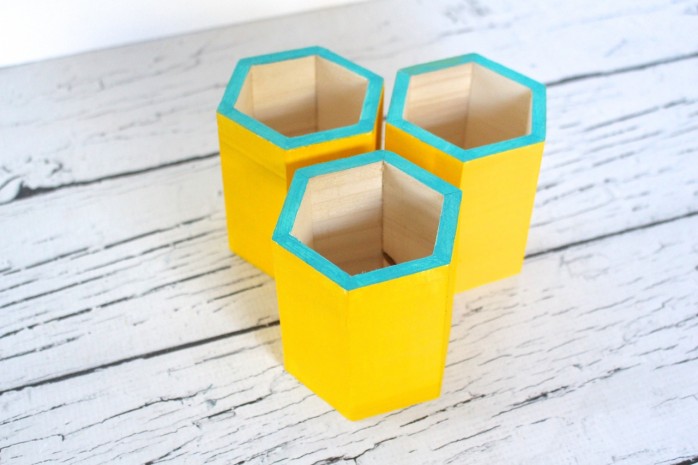
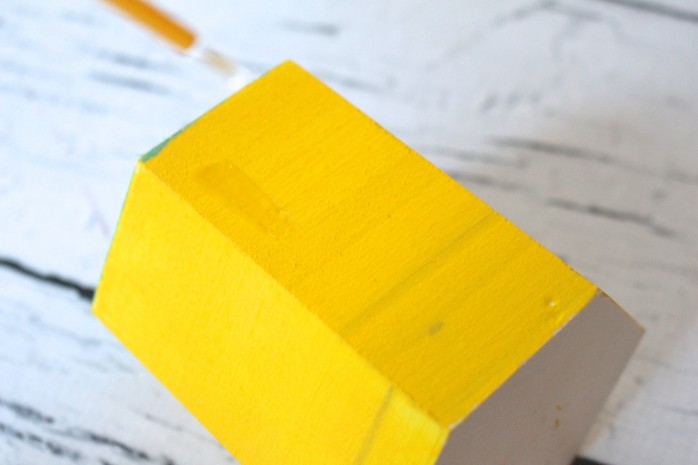
First, paint the wooden shapes. I like to use bright colors, but of course whatever works with the desk decor or your home decor works. I found it easiest to paint everything except the rims first. Then after that paint dried, I painted the top in a happy blue color.

Next, use the Gorilla Super Glue brush to glue the sides of the wood shapes together. I love this feature because the fine bristle brush gives you controlled coverage with less mess. I have had some bad experiences with glue before, but this product was an absolute breeze to use. Because it’s a thicker formula, it’s much easier to control how much glue you’re applying.
Just paint it on!
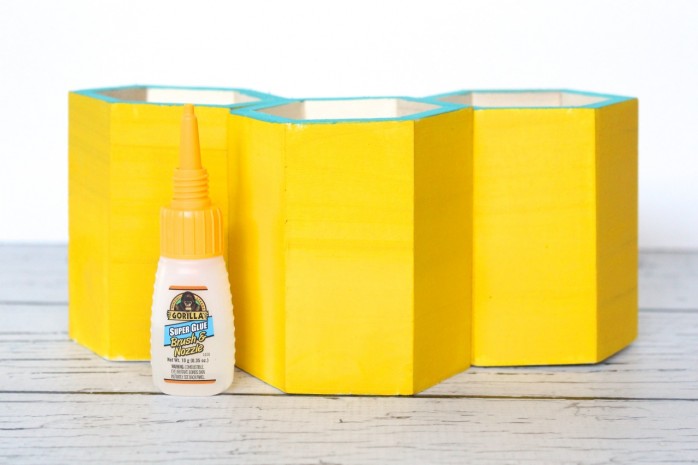
The Gorilla Super Glue Brush and Nozzle is actually reinforced with rubber to absorb bangs, drops and bumps. And you can use it on all kinds of surfaces– it bonds to plastic, wood, metal, ceramic, rubber, leather, paper and more. Plus it dries in seconds– no need for a clamp. Simply press the two surfaces together and then wait 10-45 seconds. In just 24 hours, it will be fully cured.
I glued two of the shapes together, waited and then glued the final one.
And then it’s time to use the nozzle, which is perfect for precise application.
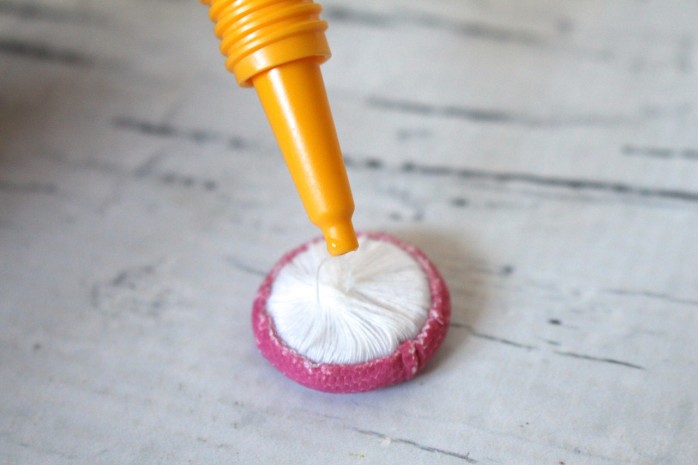
Glue the embellishments on the wood. The formula is easy to use. I did the paper layer first, then added two faux flowers and then a plastic button on top– and the Gorilla Super Glue Brush and Nozzle worked great on all the surfaces.
By the way, one potentially frustrating part of working with glue is when the nozzle gets plugged up with dried up glue. This product has an anti-clog cap that prevents the glue from drying up (yay)!