DIY Spring Garland Out Of Colourful Thrifted Shirts
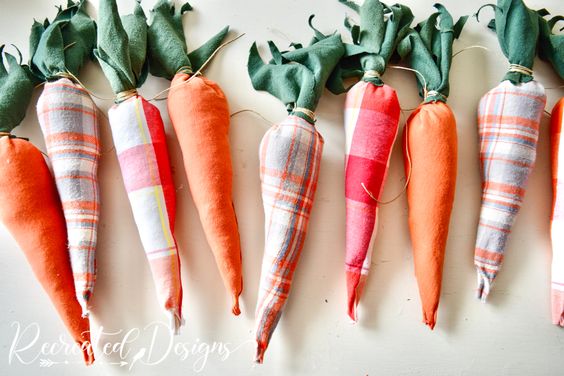
Creating a DIY Spring Garland out of colorful thrifted shirts is a fantastic way to add a vibrant touch to your space while recycling and being resourceful. Choosing bright and cheerful shirts will make your garland pop with personality, perfect for bringing the fresh and colorful spirit of spring indoors. This project allows you to get crafty while reducing waste and giving new life to pre-loved items. The process of cutting the shirts into strips and tying them onto a string or rope is not only simple but also quite therapeutic. Hang your beautiful garland above a doorway, along a mantelpiece, or anywhere that needs a little extra charm, and watch as it instantly brightens up the room with its unique and eco-friendly flair. Happy crafting!
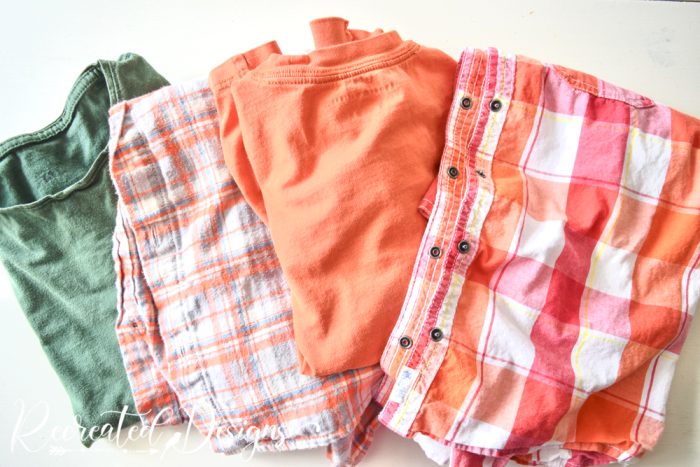
Cutting the Shirts
To get the shirts ready, I washed them all thoroughly and then cut a carrot pattern out of paper. The carrots didn’t need to be all exactly the same size but I wanted them all roughly the same.
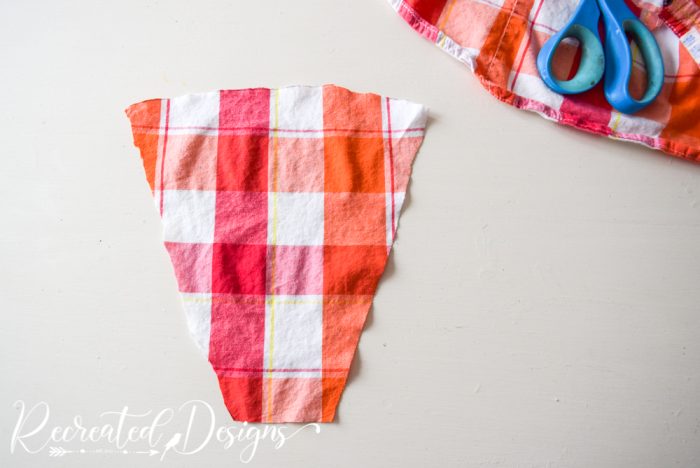
Having a pattern I could trace allowed me to cut the material quickly.
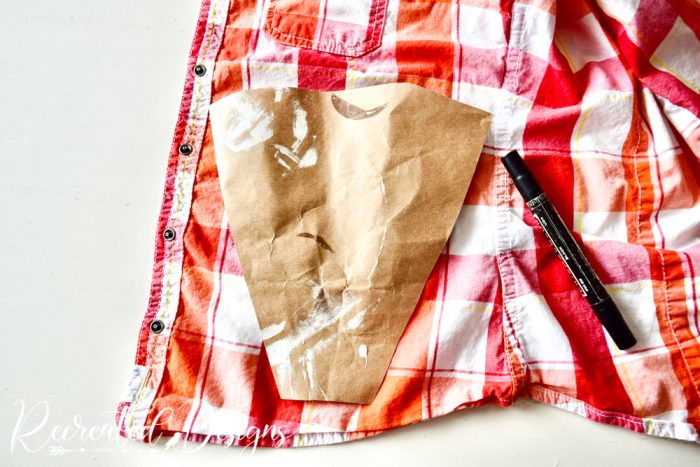
Nine pieces were cut in total. Three from each of the two plaid shirts, and three from the orange t-shirt.
Creating the Carrots
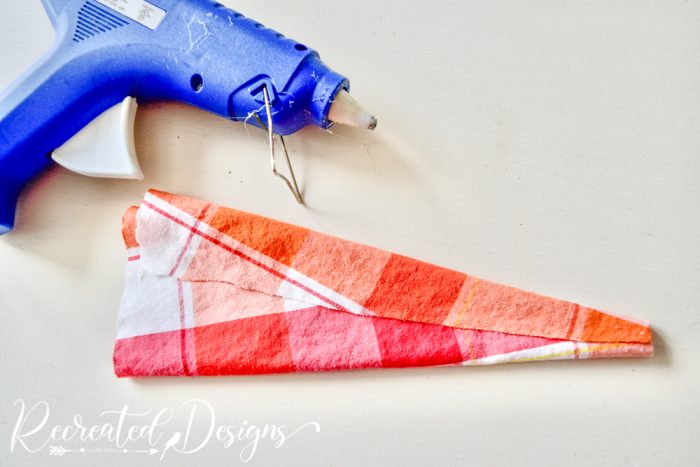
To make this project as quick and easy as possible, I folded the fabric pieces into a cone shape and then glued down the edge with hot glue. The tips were sealed by adding a dab of hot glue inside the end of the cone and scrunching up the fabric up until the glue dried. I loove it when you can create something fun out of fabric without getting the sewing machine out. Total win win!
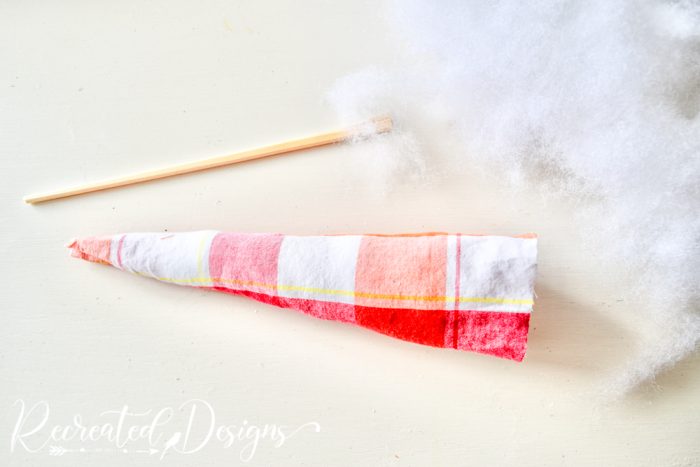
To make the carrots nice and puffy, a little stuffing pushed down into the cone did the trick. If you need to get it right down into the tip, a wooden stick easily does the trick.
Making the Carrot Tops
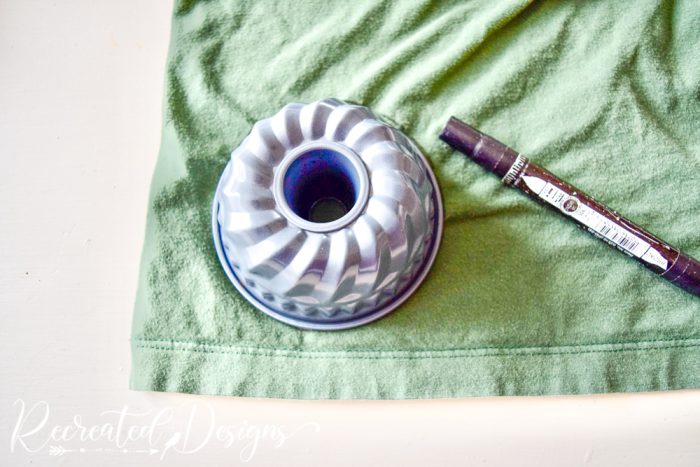
For the tops of the carrots, I started by grabbing the green t-shirt. I used a little bunt pan to trace some circles and then cut them out.
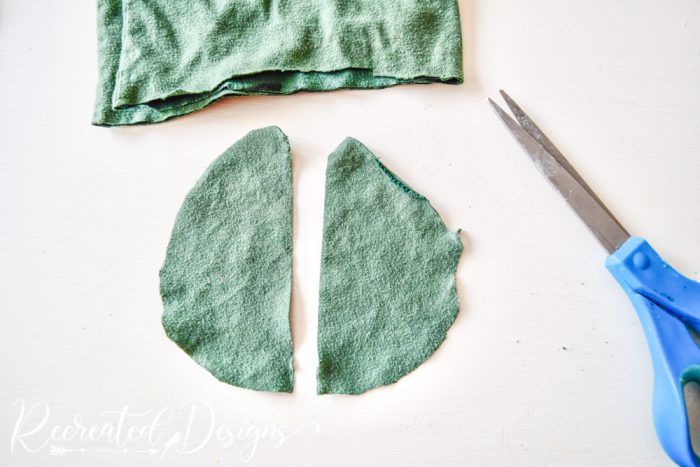
Next, the circles were cut in half.
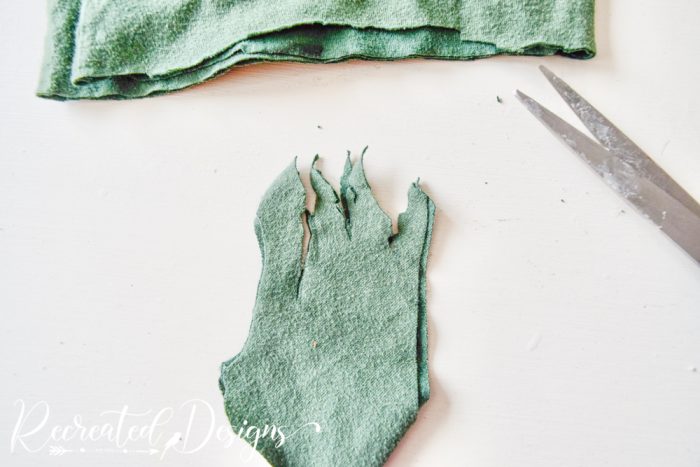
Then, the tops were cut into rough triangles. Cutting them uneven and choppy gave them the perfect look.
Putting the Carrots Together
With all of the parts ready, it was time to put the carrots together. To make this as easy as possible, I laid the green tops on the table and then laid the top of the carrot onto the leaves so that they overlapped.
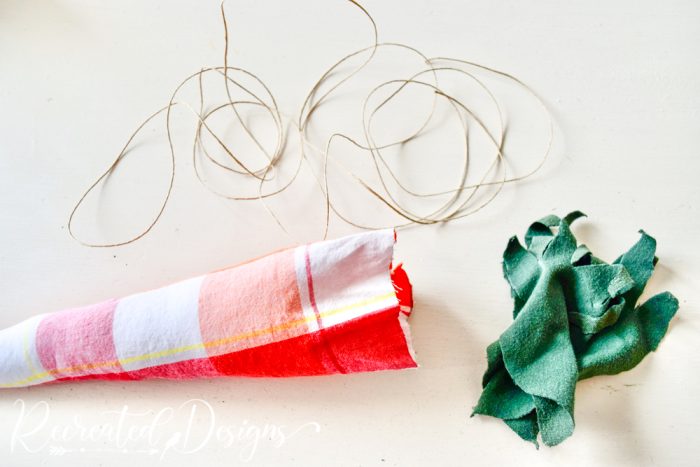
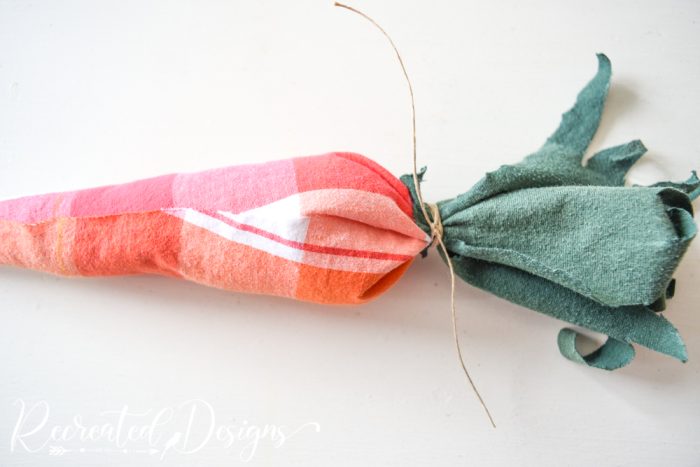
To hold them together, a little twine wrapped around all the fabric and tied tightly did the trick. I purposefully left the end of the twine long so that it could be used to tie them to the garland later.
Making the Garland
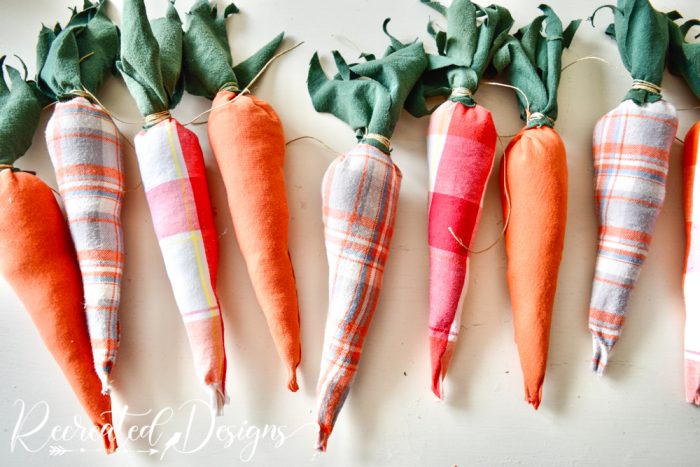
To finish off the spring garland, each carrot was tied to a larger, thicker piece of twine using the ends of the thin twine. You can space the carrots out at any distance but I put mine fairly close together because I wanted to hang the garland on my vintage buffet.