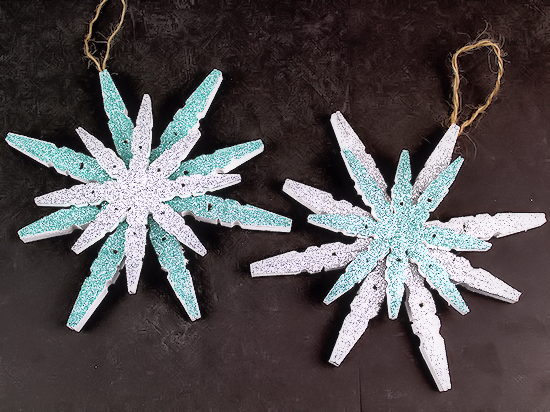
Gorgeous Clothespin Snowflake
Creating a clothespin snowflake is a fun and festive craft activity perfect for winter days. Hang it up by a window or on a wall to add a touch of winter charm to your home. This simple DIY project not only brings out your artistic side but also spreads joy and warmth during the colder months. So grab your supplies and get ready to craft your own clothespin snowflake masterpiece!
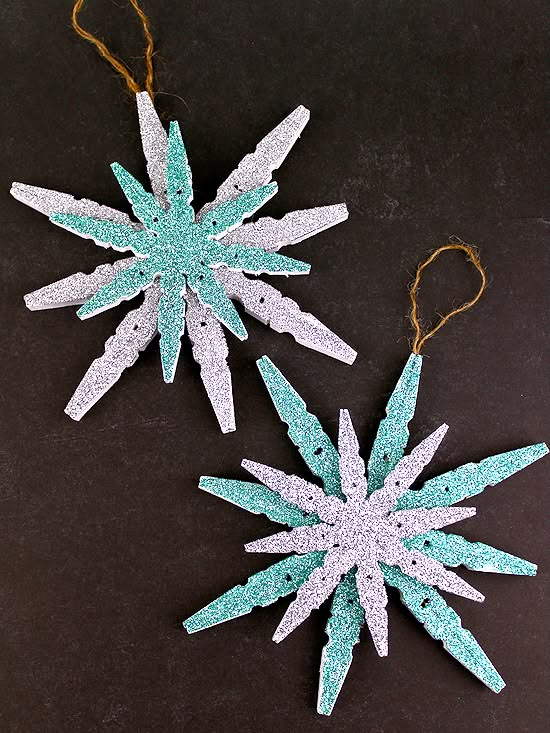
Supplies needed:
- Clothespins – regular and small
- White Paint
- Paintbrush
- Glitter – silver and teal
- Glue
- Scissors
- Twine or Ribbon
- Plastic Snowflakes (optional if you’d like to add them to the center of your snowflakes)
Begin by twisting the clothespins to remove the metal portion.
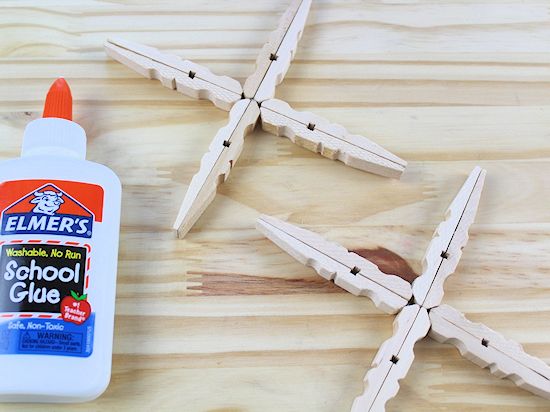
Glue two pieces of the clothespin together. Flat side to flat side. You need to do this eight times with the regular and small clothespins for each snowflake. Glue two of the clothespin pieces you just made in step 2 to each other, end to end.
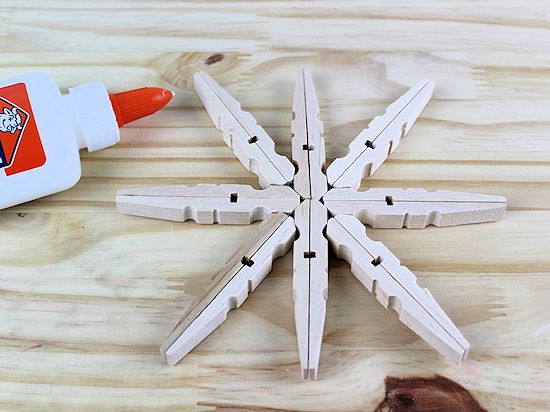
Glue two more clothespin pieces together on each side of the ones you glued together above. And finish the snowflake by gluing a clothespin piece in between each clothespin. Allow the glue to dry completely.
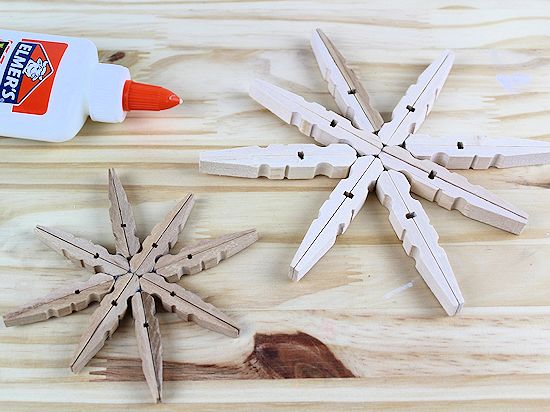
Repeat the steps above with the regular and small size clothespins.
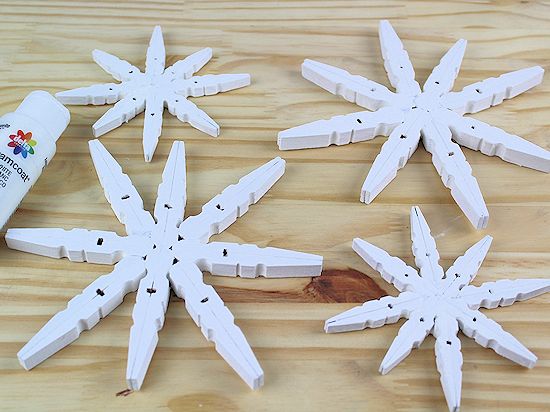
Paint the snowflakes white. Paint the front and the back. Allow paint to dry completely.
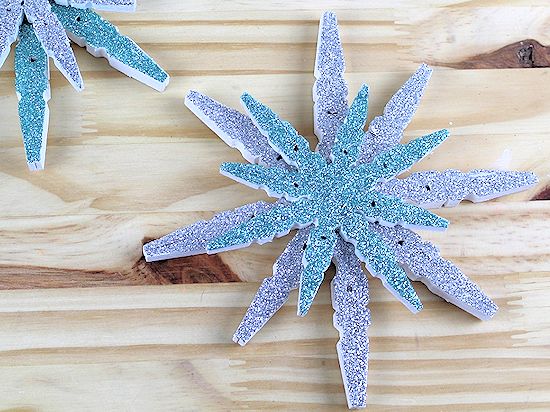
Coat the regular size snowflake clothespin with glue and then sprinkle silver or teal glitter on it. Shake off excess. Repeat glitter process with the small sized snowflake clothespin, but use the opposite color glitter. Allow the glue to dry completely.
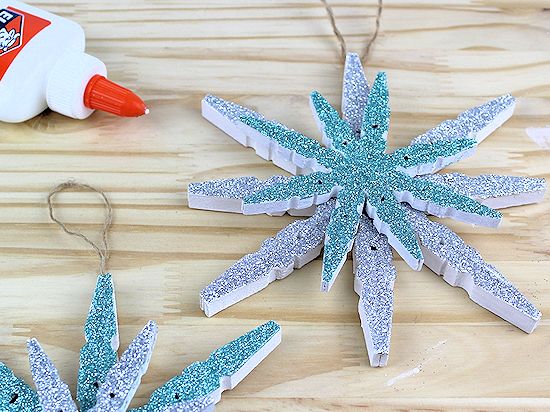
Glue the small snowflake clothespin on top of the regular size snowflake clothespin. Allow glue to dry completely.

Turn the ornament over and glue twine or ribbon onto the back for hanging. Your snowflake is ready to shine brightly on your Christmas tree!
