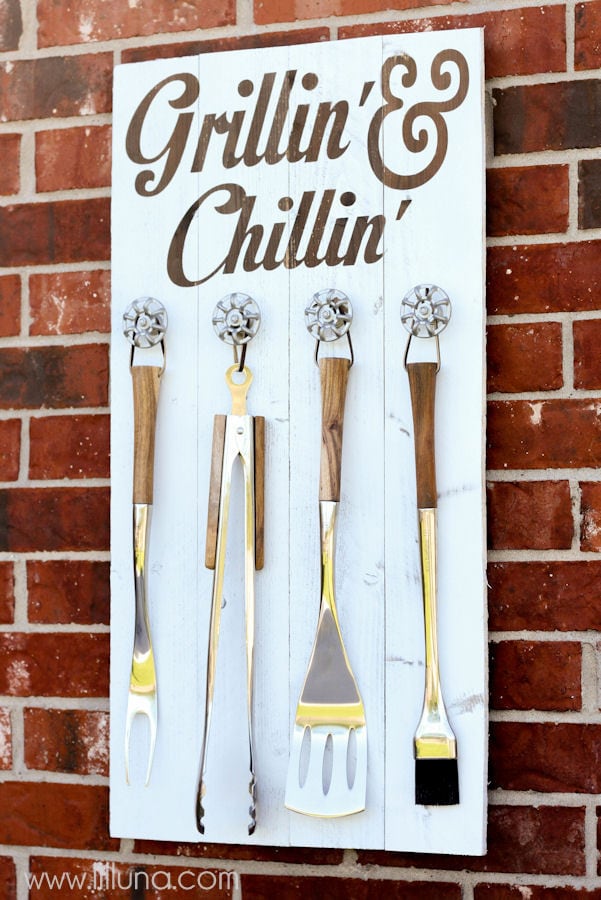
DIY Grill Set Holder
Creating a DIY Grill Set Holder is a fun and practical project that can help keep all your grilling essentials organized. To make one, you can repurpose an old wooden crate or build a simple wooden box. Add hooks or pegs inside to hang tools like tongs, spatula, and brush, ensuring everything is easily within reach for your next barbecue. Personalize it by painting or staining the holder to match your outdoor decor. This DIY project not only adds a touch of creativity to your grilling area but also helps you stay organized and efficient while enjoying your time outdoors. Give it a try, and happy grilling!
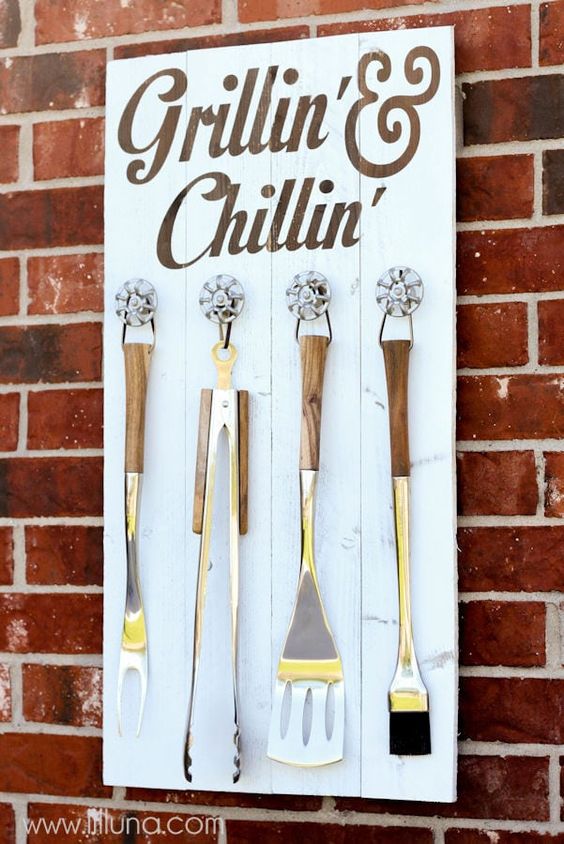
SUPPLIES:
– Wood (we used Redwood Fence Panels used at Lowe’s – it’s very light-weight and more weather resistant than other woods)
– Paint (Spray Paint)
– Aging Solution
– ¾″ Screws
– Knobs
– Vinyl
– Spray Polyurethane
– Grill Set
DIRECTIONS:
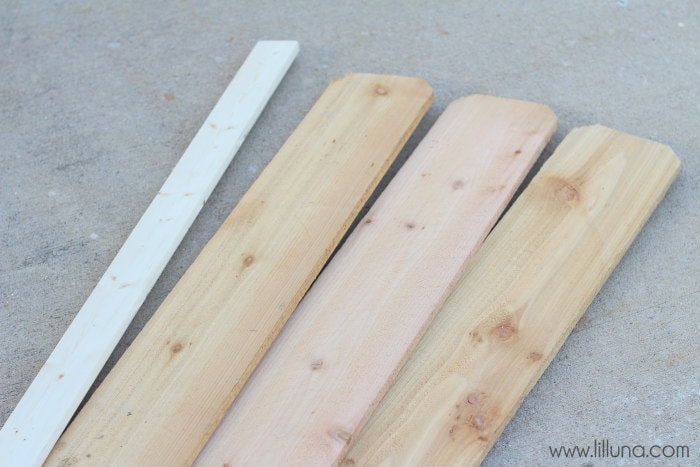
1. Cut the wood panels to 4 inches in width and 31.5″ inches in length. Do this for 4 boards. Also cut two pieces that are 2 inches x 15 inches. These will act as straps holding the 4 boards together on the back.
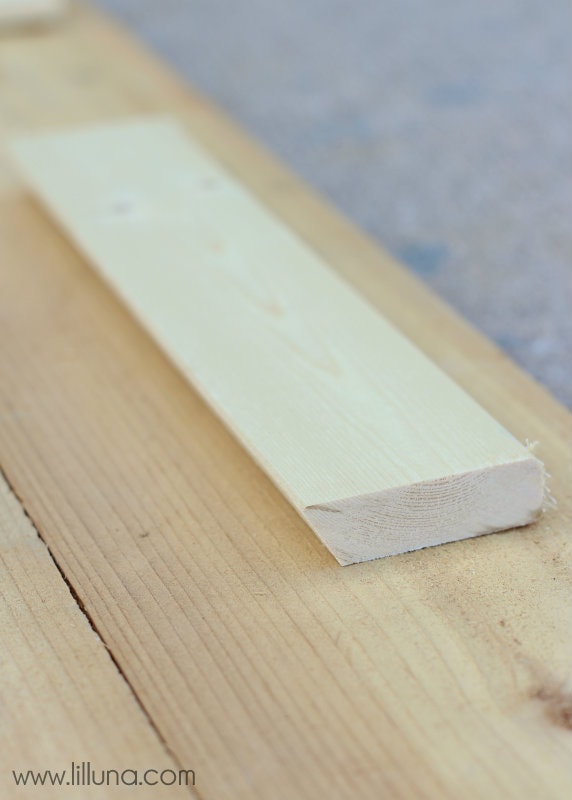
2. Cut one of the strapping pieces on the long edge at an angle (ours was about 30 degrees) to create an undercut. This will give you something to hang it by.
3. Making sure the boards are square to each other and lined up, place the strapping across all 4 boards near the top and the bottom of the back of the sign and drill at least 1 screw into each board. Two screws will make it more sturdy.
NOTE: Make sure undercut is face away on the top strap (SEE PICTURE ABOVE)
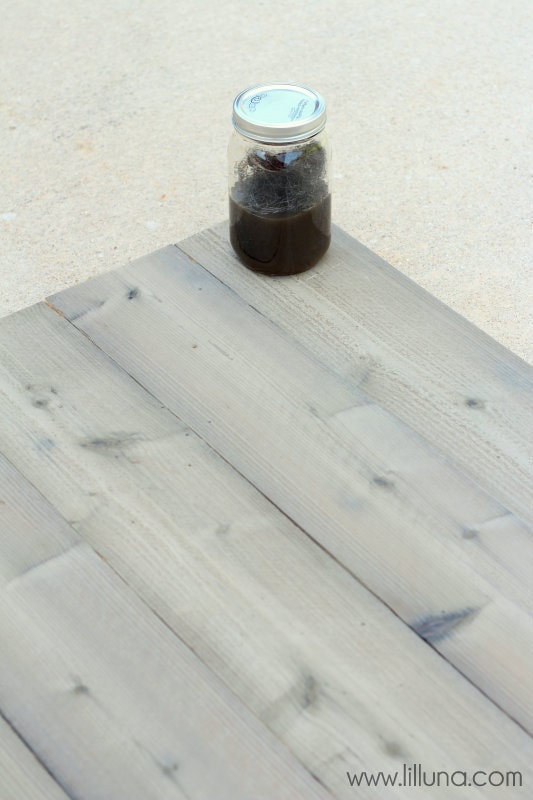
4. Make the aging solution by tearing pieces of steel wool and placing them in a jar (use gloves if possible because steel wool can be sharp). Fill jar with distilled white vinegar. Close the jar and let set for at least 12 hours. Shake before using. WARNING: This concoction smells horrible!!!
Paint using Paint Brush. The wood will begin to gray after a minute or so.
Let dry.
5. Design your vinyl and stick it to the top of the board.
Add spray paint of your color choice over the entire board. Let dry and then peel off your vinyl creating a backwards stencil.
Add a layer of spray polyurethane and let dry.
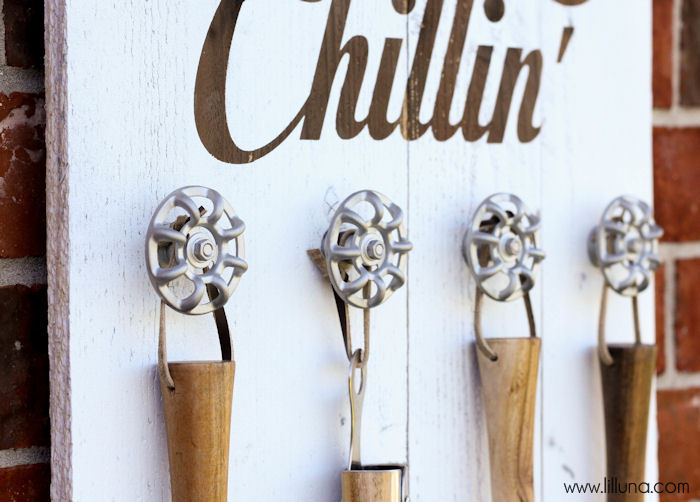
6. Drill holes to attach your knobs where you want them.
7. Add your tools and hang your sign.
VOILA!
