DIY Mini Snow Globe Ornament
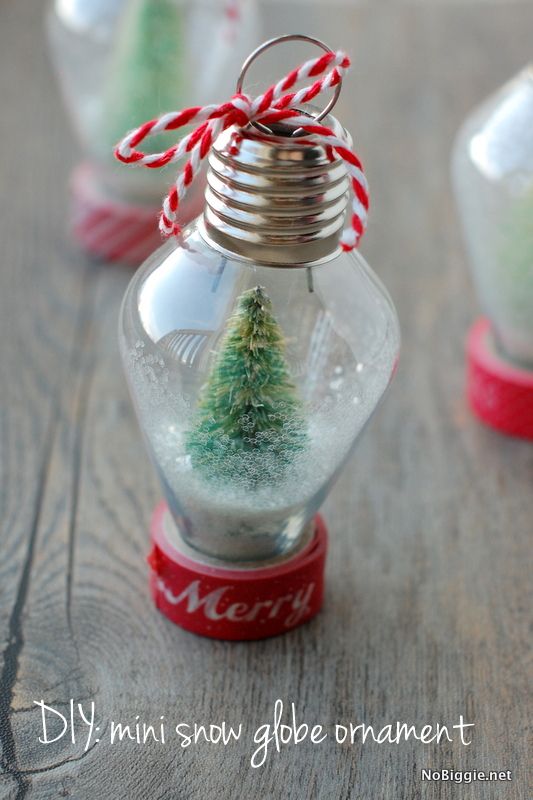
Creating a DIY Mini Snow Globe Ornament is a fun and festive way to add a personal touch to your holiday decorations. To make one, you'll need a clear plastic ornament, fake snow or glitter, small figurines or decorative elements, and craft glue. First, carefully remove the top of the ornament and fill it with the fake snow or glitter, then add in your chosen figurines. Secure them in place with a few drops of craft glue. Once everything is set, carefully place the top back on the ornament and give it a gentle shake to see the magical snowy scene come to life. These adorable ornaments are perfect for hanging on the tree or as delightful gifts for friends and family, spreading holiday cheer wherever they go. Enjoy the crafting process and watch as your DIY Mini Snow Globe Ornaments bring joy and charm to your festive décor this season.

Here’s what you’ll need for this project
- clear plastic old-fashioned Christmas light bulb ornaments (4inches tall)
- Martha Stewart course white glitter
- mini bottle brush trees (3inches tall)
- red and white striped baker’s twine
- a low temp hot glue gun
How to make a Mini Snow Globe Ornament (without water)
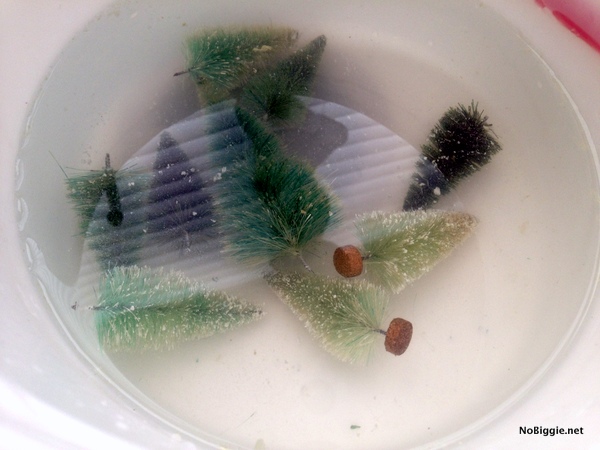
To start, I gave the tiny bottle brush trees a bath in a little water with a tiny bit of bleach. This step is completely optional. These little trees were really dark in color and I wanted to lighten them up a bit. I’ve seen that you can do this to change the color of the trees completely, by bleaching and then dying them, but I just wanted the same tone, just lighter. I really like how they turned out. They were also covered in lots of that flocking stuff, and I wanted it to not be so heavy, so I ran a plastic comb through the little trees while they were in the water. Then I rinsed and dried them really well.

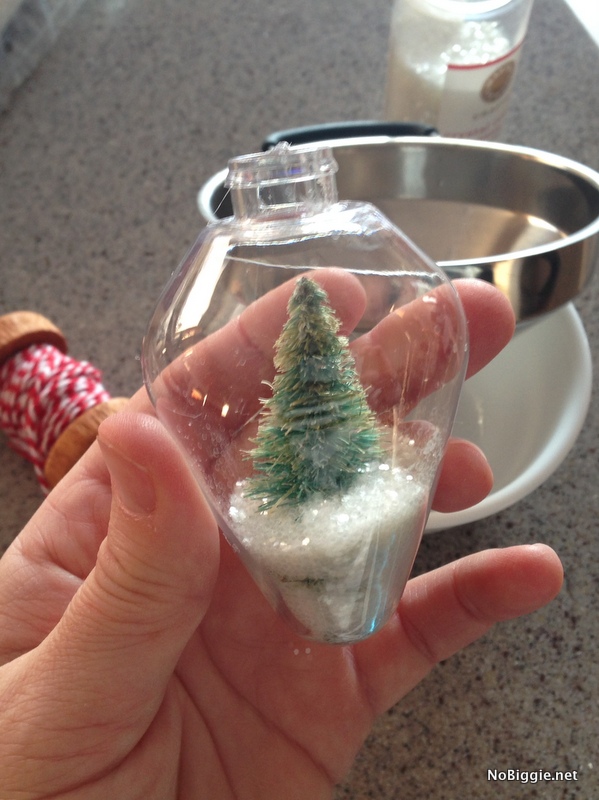
Once rinsed and dried, I checked to see if they would fit inside of these bulb ornaments, and they fit perfectly (yippee). I then gave a little dab of hot glue to the bottom wood piece of each tiny tree and then used a wooden skewer to press it down in the bottom center. Next use a funnel to add the course white glitter to each one.

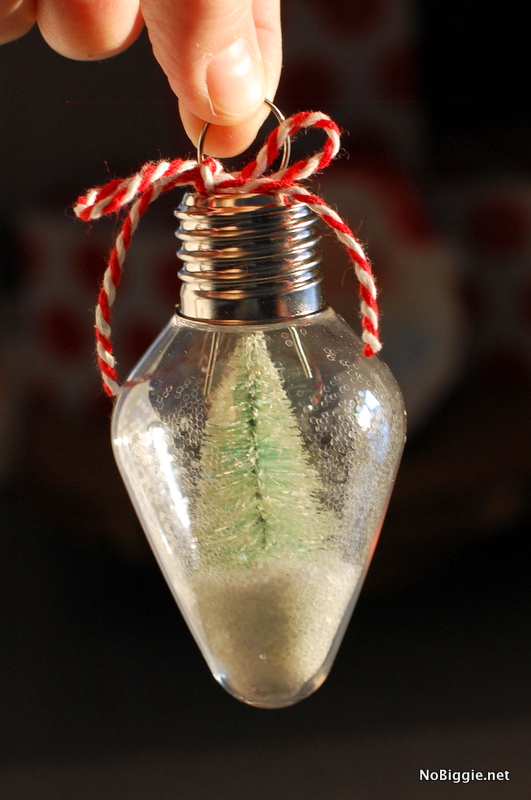
To finish them off, I added a few dabs of hot glue to the lid of each one to secure the lid on tight. Then I just tied a bow of red and white baker’s twine onto each each one. You could do a bow or use the baker’s twine as the actual hanger itself.

Different Ways to Personalize this Craft:
- use different colored bottle brush trees: if you can’t find them in the 3 inch size, you can always do a water bath with bleach to remove existing dark green to then die them different colors
- add monograms or tiny banners with family names inside
- add names to the outside with tiny letter stickers or custom vinyl letters
- rather than course glitter, add candy sprinkles or tiny colorful beads