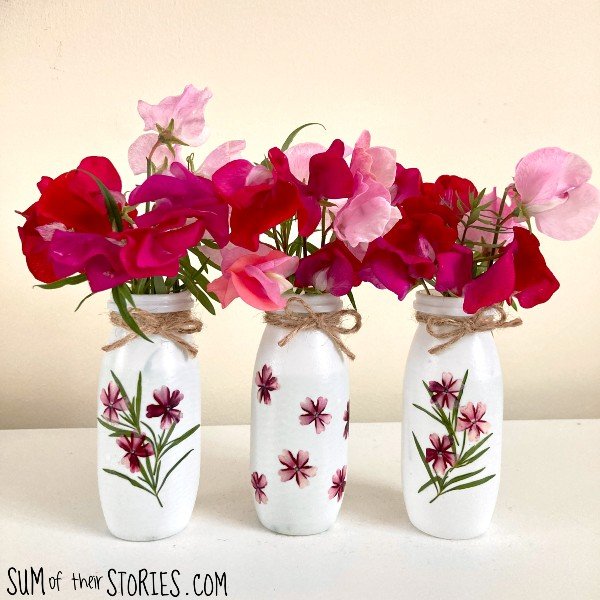
Mini Vases made from Yogurt Bottles
Looking for a fun and eco-friendly DIY project? Transforming yogurt bottles into mini vases is not only a great way to upcycle, but also a creative way to add a personalized touch to your home decor. With a few simple steps, you can cut and decorate the bottles to create unique mini vases that are perfect for holding small flowers or succulents. Whether you're looking to add a pop of color to your space or just enjoy getting crafty, this project is sure to bring a smile to your face. So grab those yogurt bottles, get creative, and let your imagination bloom with these charming mini vases!
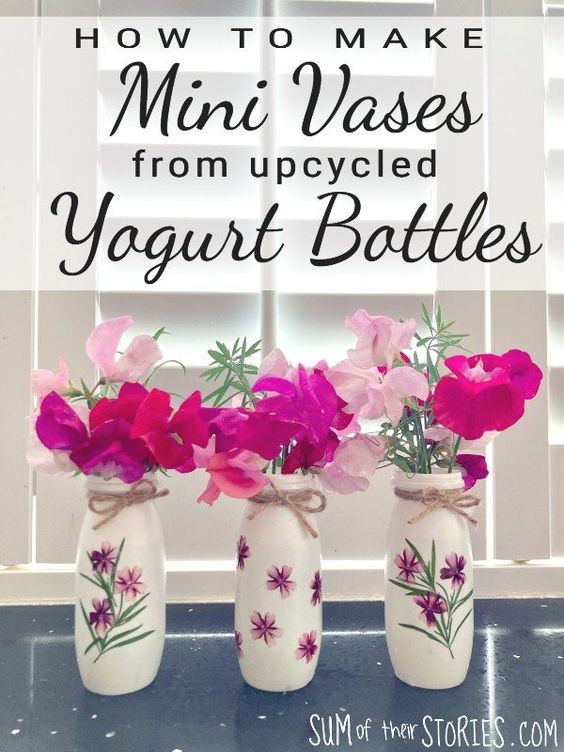
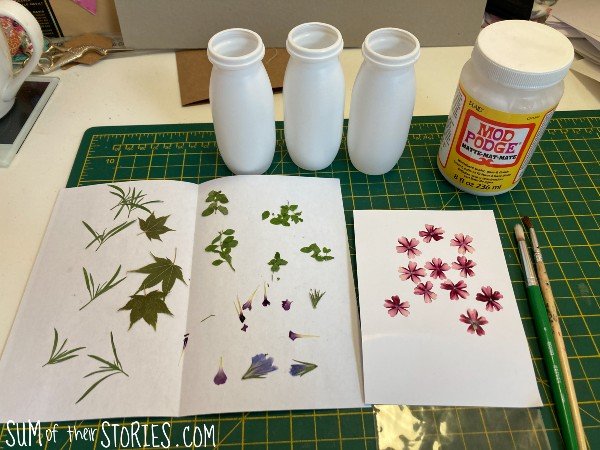
To turn yogurt bottles into mini vases you will need:
- Yogurt shot drink bottles - empty and clean obviously!
- Pressed flowers and leaves
- Mod Podge
- Twine
- A soft paint brush and tweezers
Pressing flowers and leaves
The first thing you’ll need to do is press your flowers and leaves.
There are several ways to press flowers:
- a stack of books
- a flower press
- ironing
- microwave
I opted for the old school method from my childhood of a stack of books.
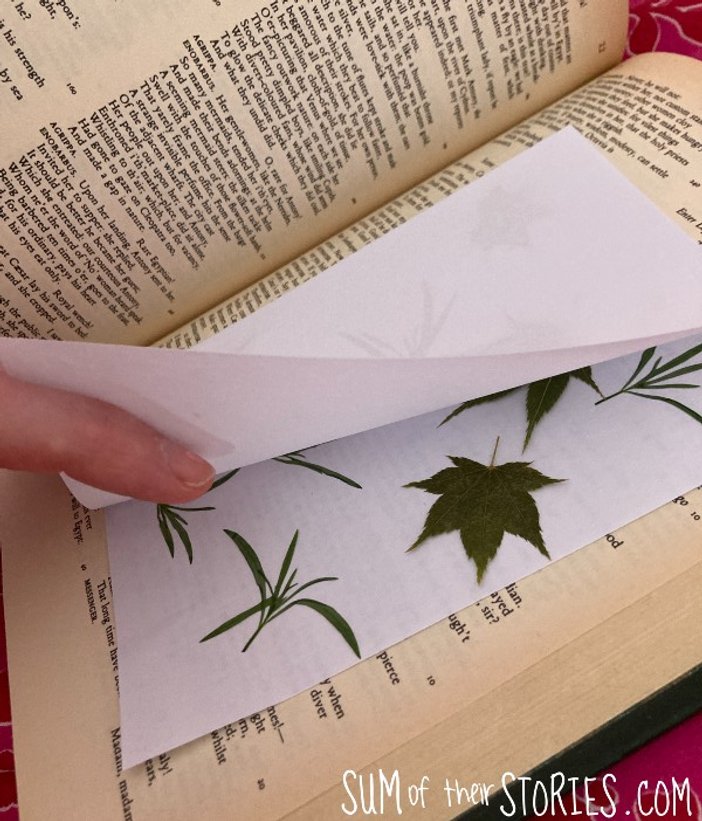
Place the flowers and leaves on a folded sheet of paper and pop them between the pages of a heavy book, add another heavy book or two on top for good measure and leave for 2 weeks.
If you don’t have access to flowers to press or just don’t want to wait you can buy ready pressed flowers too.
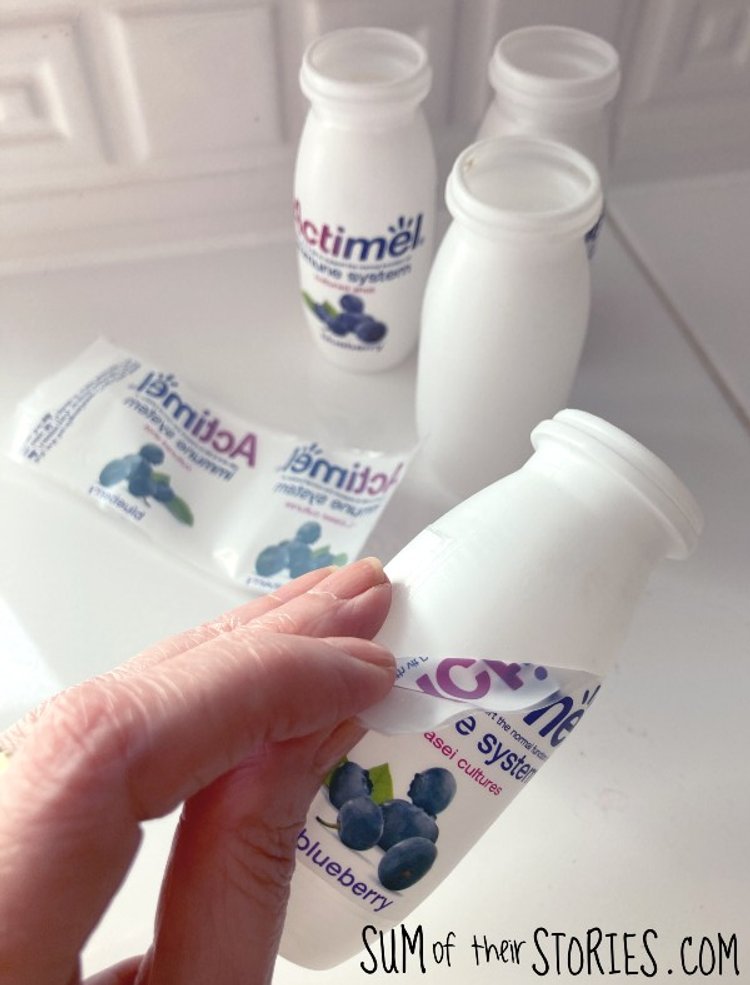
Once your flowers and leaves are ready you can prep your bottles. First, remove any labels. The yogurt bottle I had have a sort of “wrap” so they came off really easily. If your bottles have a sticky label you can soak it off or use something like Sticky Stuff Remover. Nail polish remover can work well to remove ink from plastic if it’s been printed directly on. If the label or any print is just not budging you could consider painting your bottles to cover them completely.
Decorating your yogurt bottles
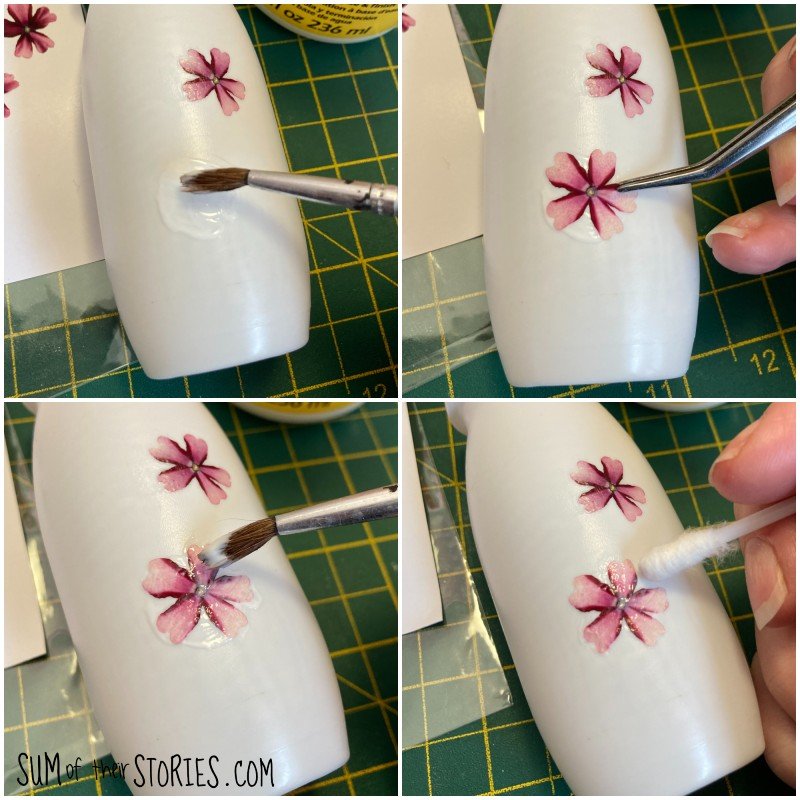
Dab a small bit of Mod Podge onto your plastic bottle and then CAREFULLY pick up a pressed flower with the tweezers and GENTLY place it on the glue. Then dab a small amount of Mod Podge on top and smooth it a little with a GENTLE dabbing motion. I cannot stress enough how GENTLE you will want to be as you handle your pressed flowers. Gentle and careful, careful and gentle. Using a soft paint brush to apply the Mod Podge will help too.
Lastly use a cotton bud to remove any excess glue - again do this ….. guess what ….. gently! You don’t want to slip and squish those delicate petals.
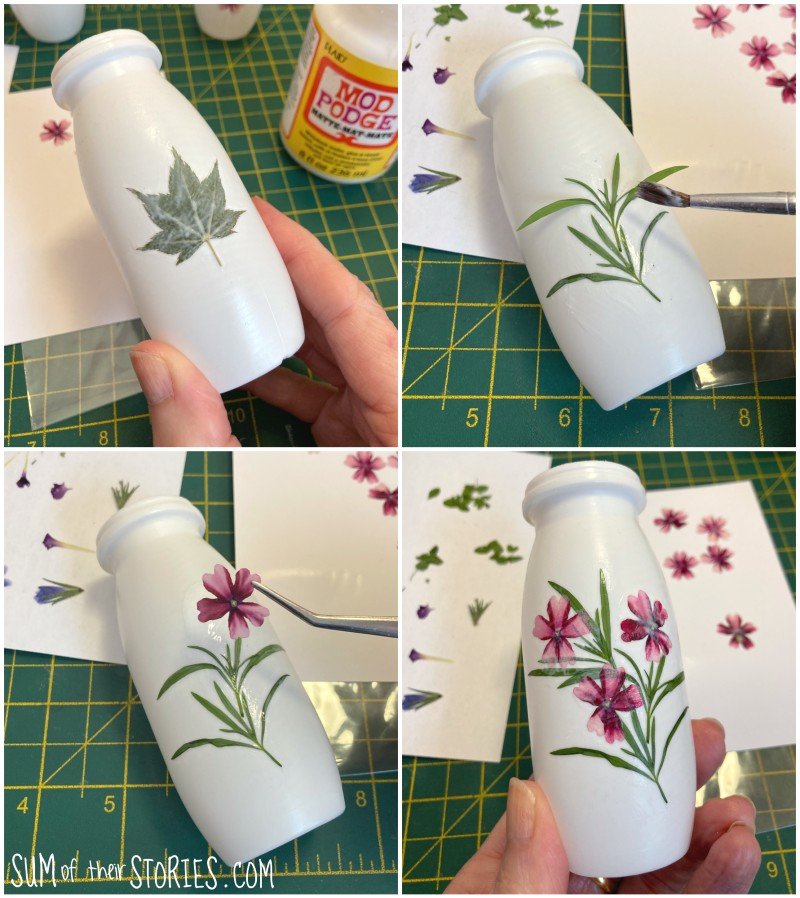
Continue glueing on the petals and flowers in any way you like. What you do will depend on what flowers and leaves you have of course. Have fun playing around with what you have.
You can plan first, by laying the flowers out on a piece of plain paper but I’d advise handling your delicate pressed flowers as little as possible really.
As soon as the glue is dry your mini vases are ready to use.
For a little extra you can add some twine wrapped and then tied at the top. I tried them with and without a bow and I think I like the bow version best.
