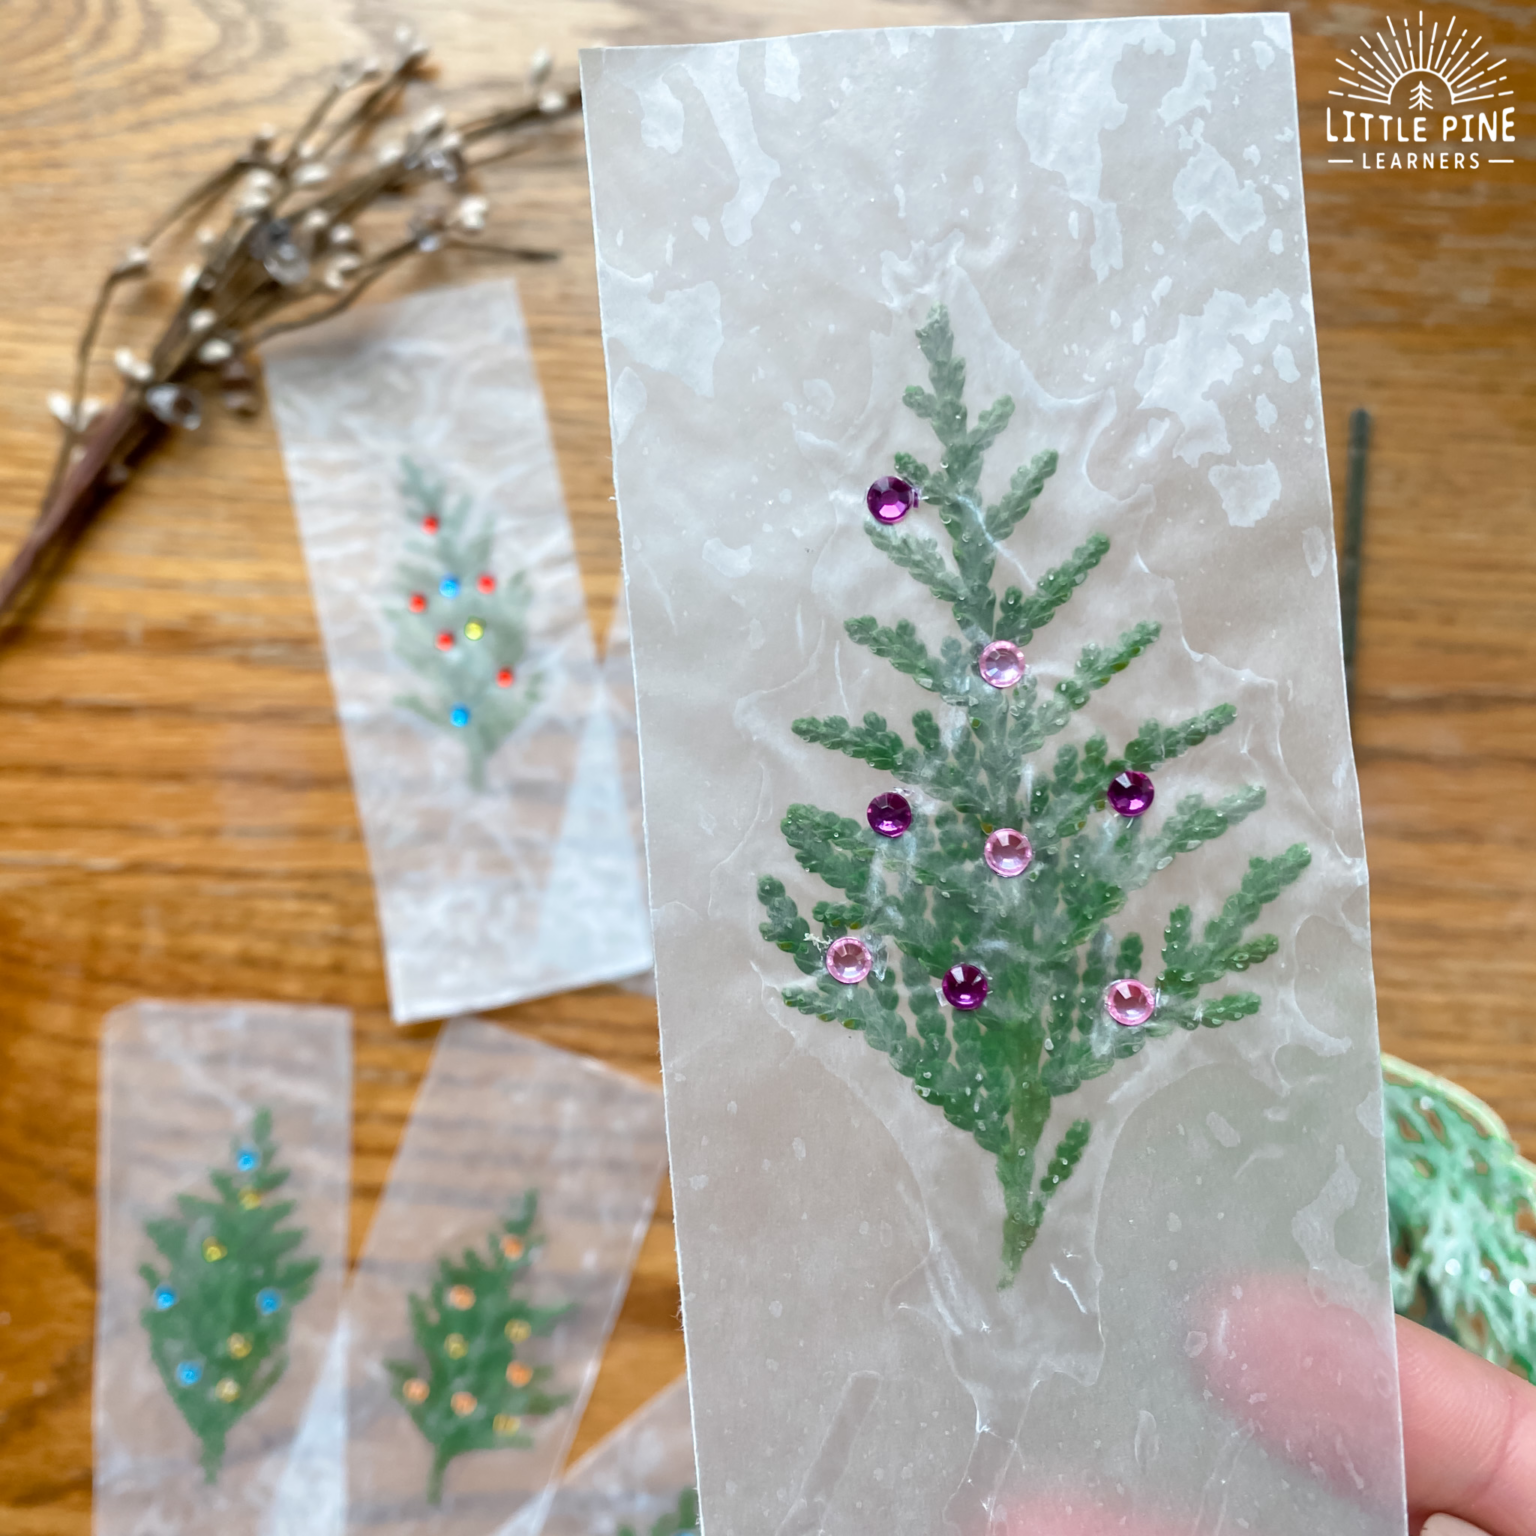
Make Your Own Bookmark with Wax Paper
Making your own bookmark with wax paper can be a fun and creative way to personalize your reading experience. You can even add stickers, glitter, or ribbon to give it that extra special touch. Once you're satisfied with your creation, let it dry completely before using it in your favorite book. Not only is this a great way to show off your artistic side, but it also makes for a unique and practical accessory for your reading adventures!
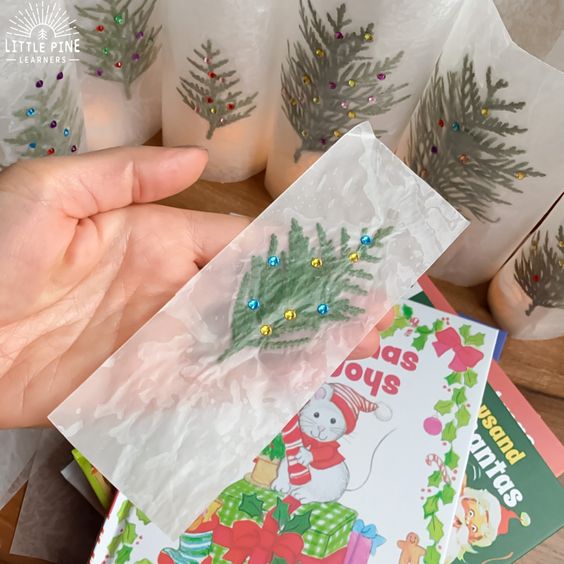
Supplies:
- Arborvitae Pieces
- Wax paper
- Towel or ironing board
- Scissors or portable paper trimmer
- Tape
- Gem Stickers (optional)
- Vintage Holiday Book Set with 8 Classic Stories
Here’s How I Made these DIY Wax Paper Lanterns:
Step 1:
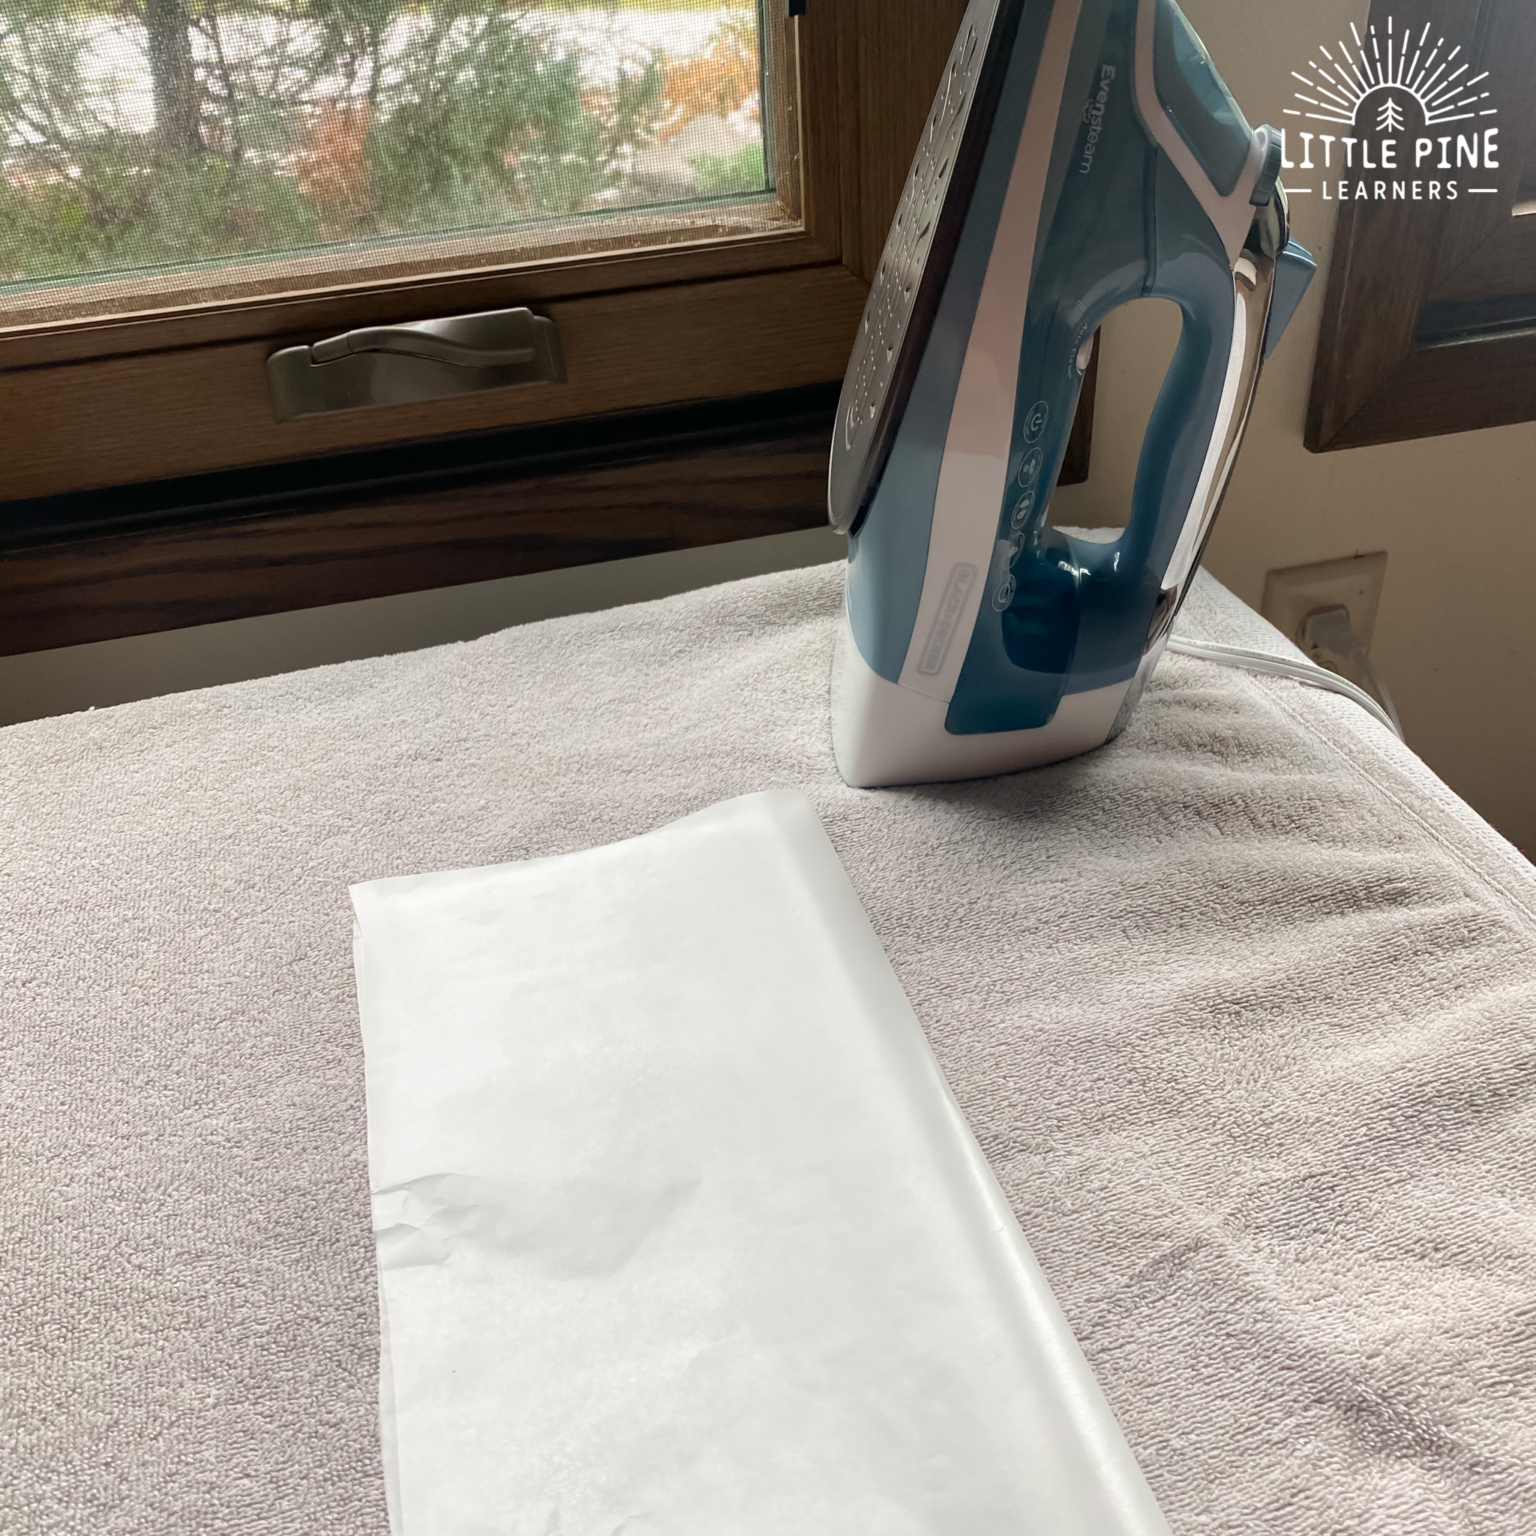
Clip some arborvitae pieces. Next, turn on your iron to a medium high setting. If your wax paper doesn’t stick together, then turn your iron up higher.
Step 2:
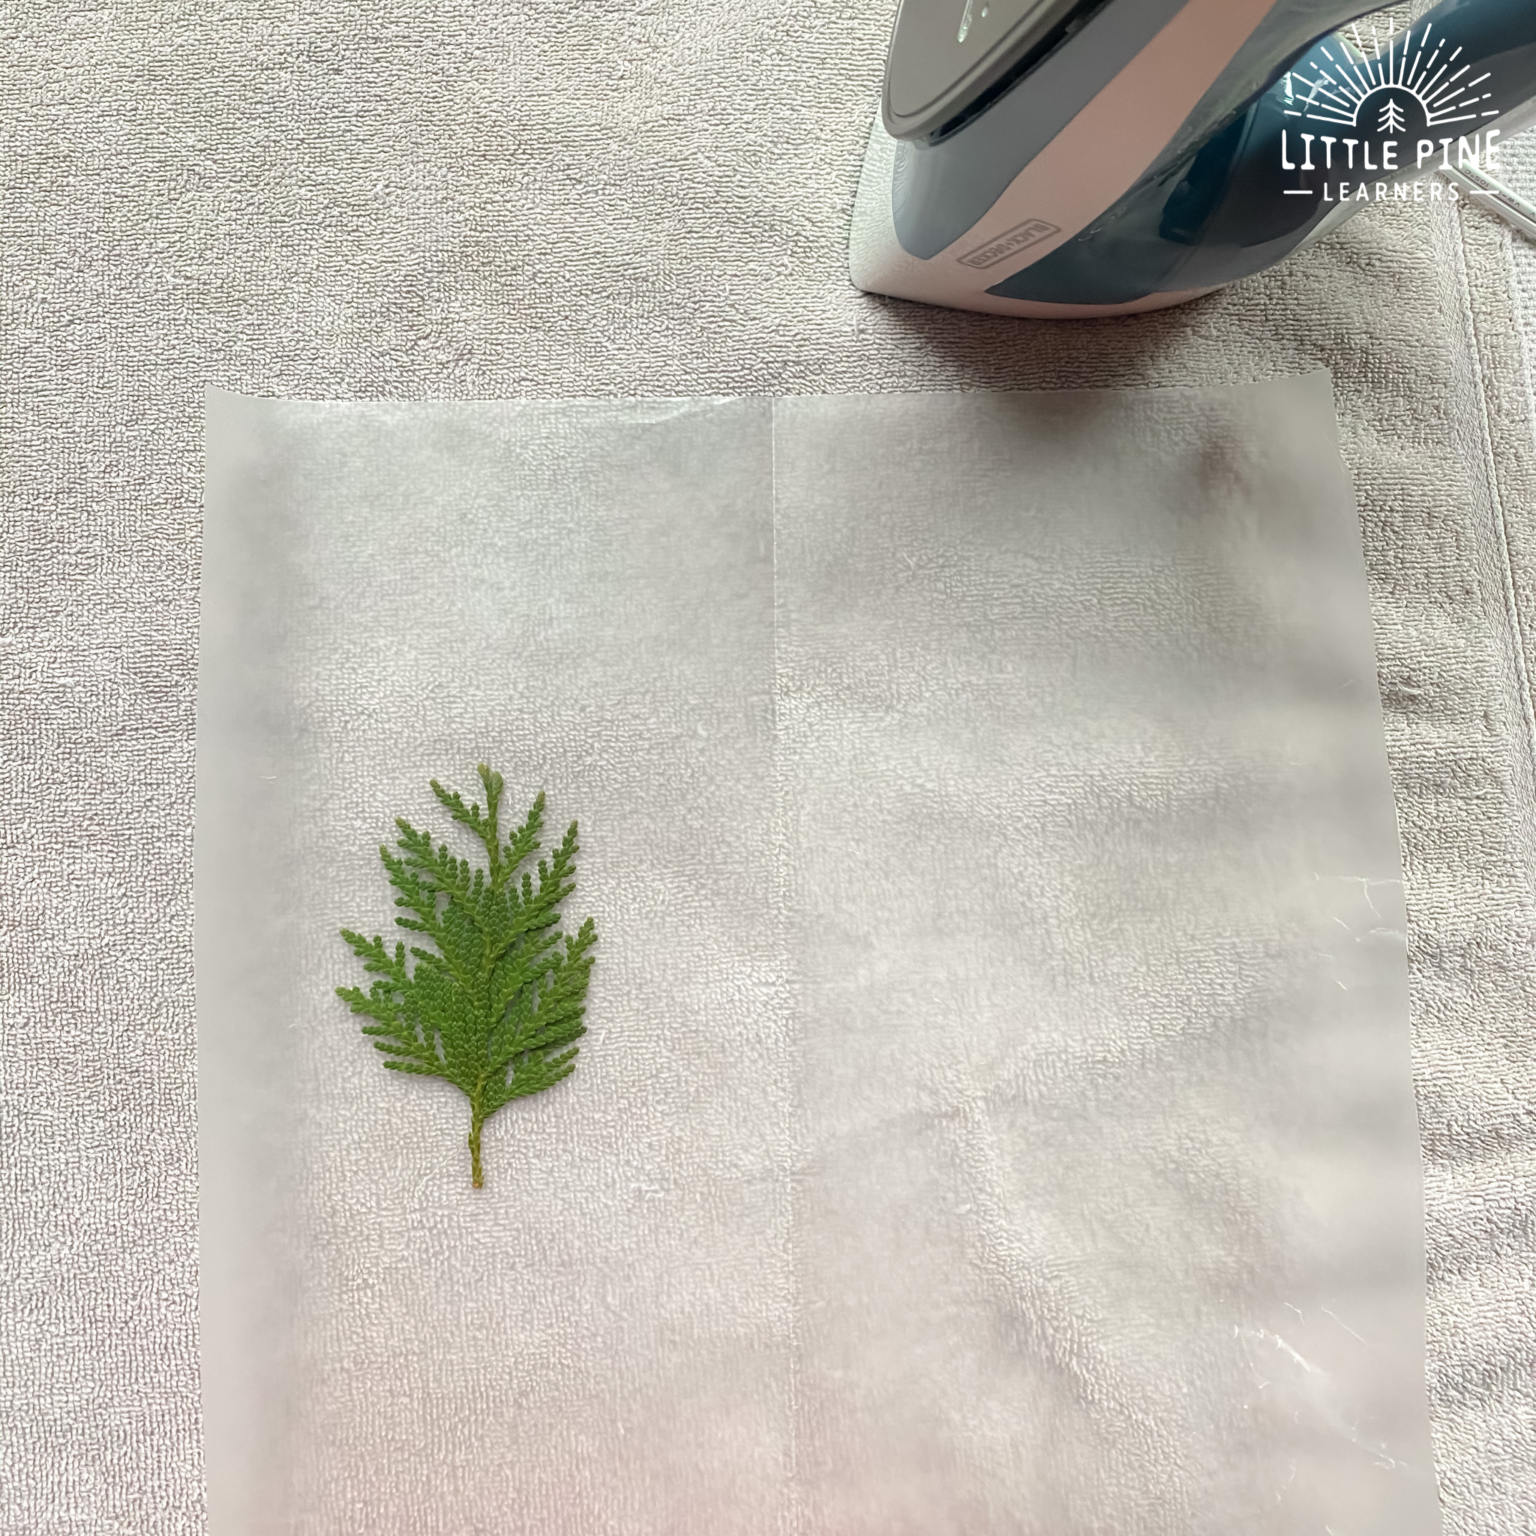
Cut a piece of wax paper, fold it in half to make a crease and open it back up again. My whole piece is about 21 inches long. This might seem way too big, but the wax paper will not seal if you don’t leave enough room surrounding the arborvitae piece.
Place your arborvitae piece on one half of the piece of wax paper.
Step 3:
Fold your piece of wax paper over the arborvitae piece. This doesn’t need to be perfect because you can always trim it up later.
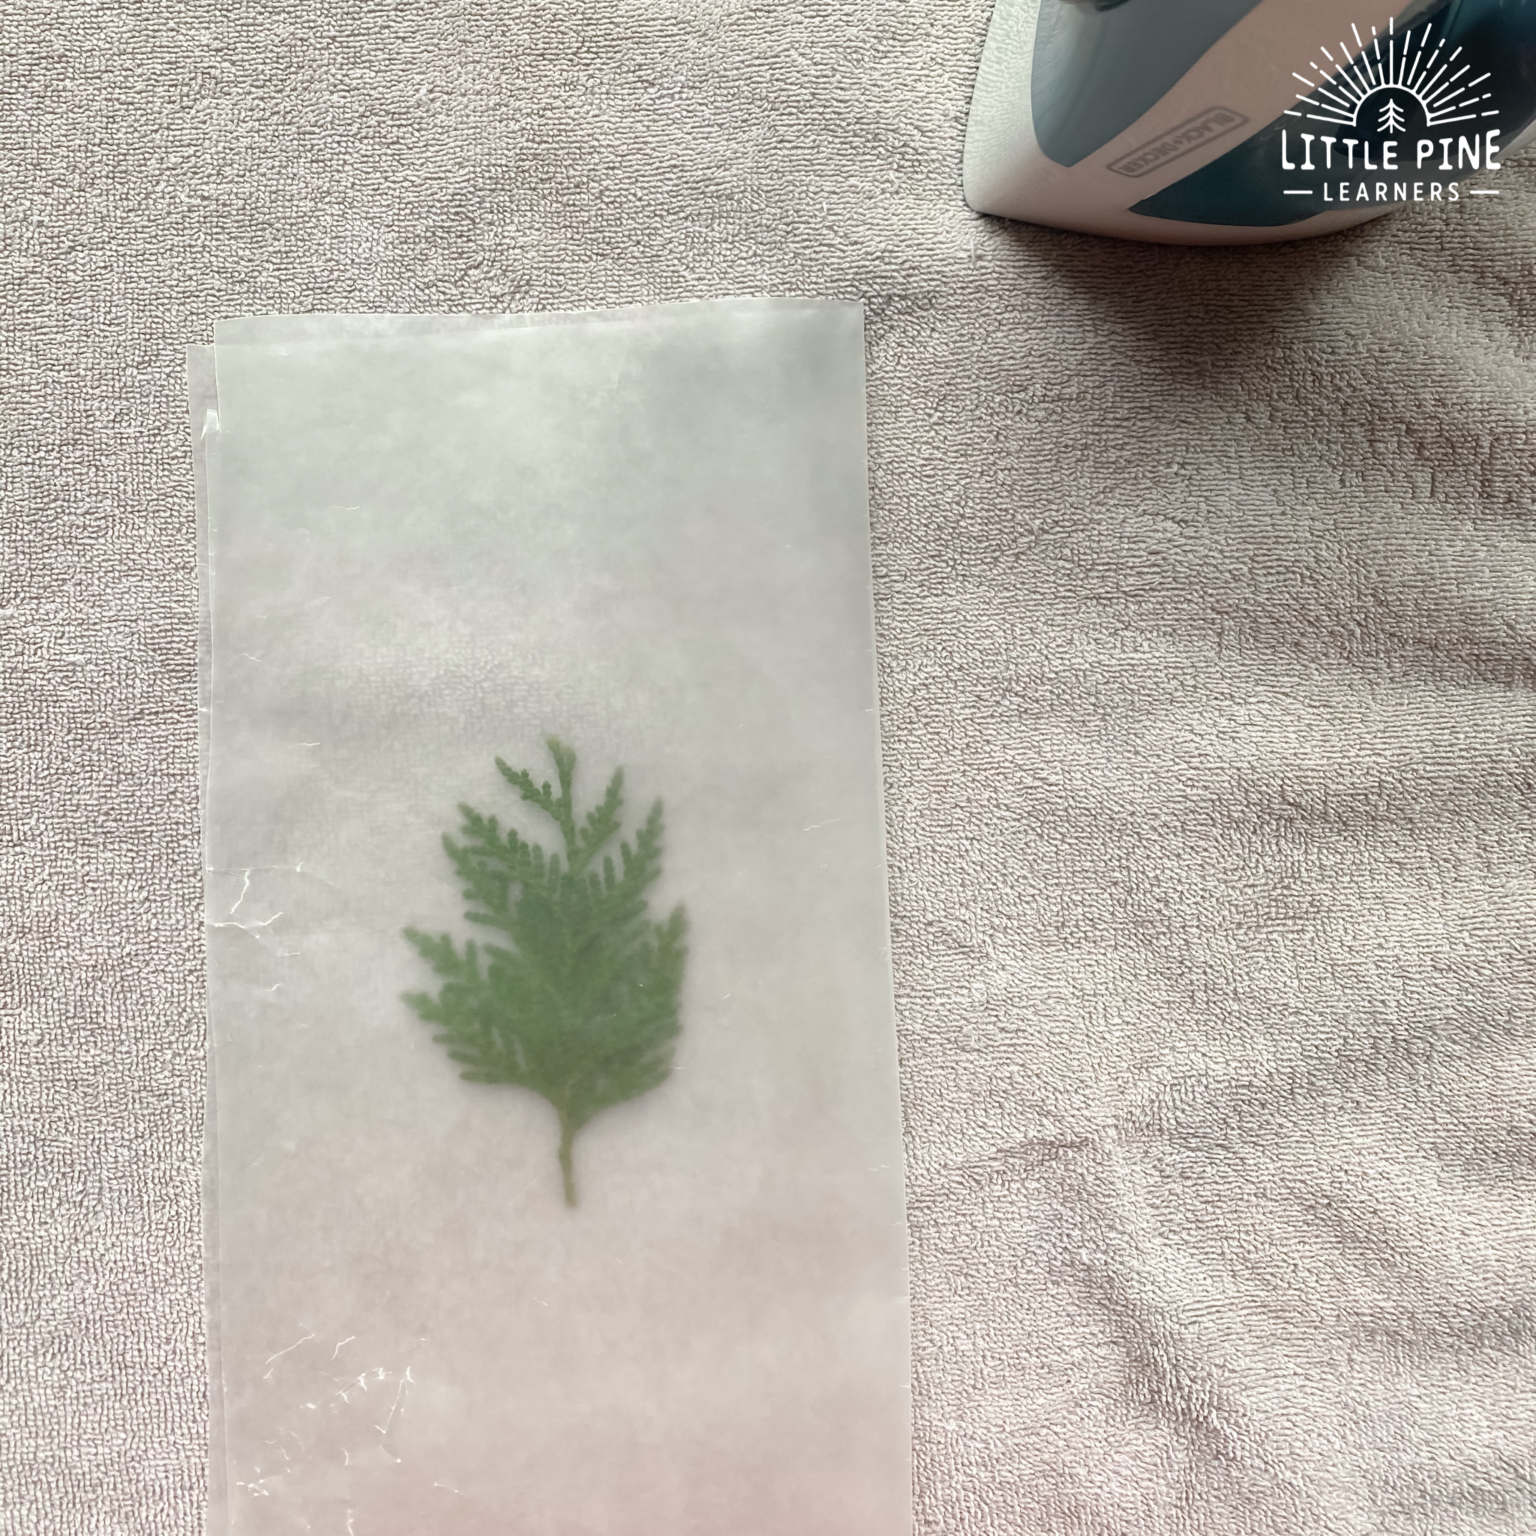
Step 4:
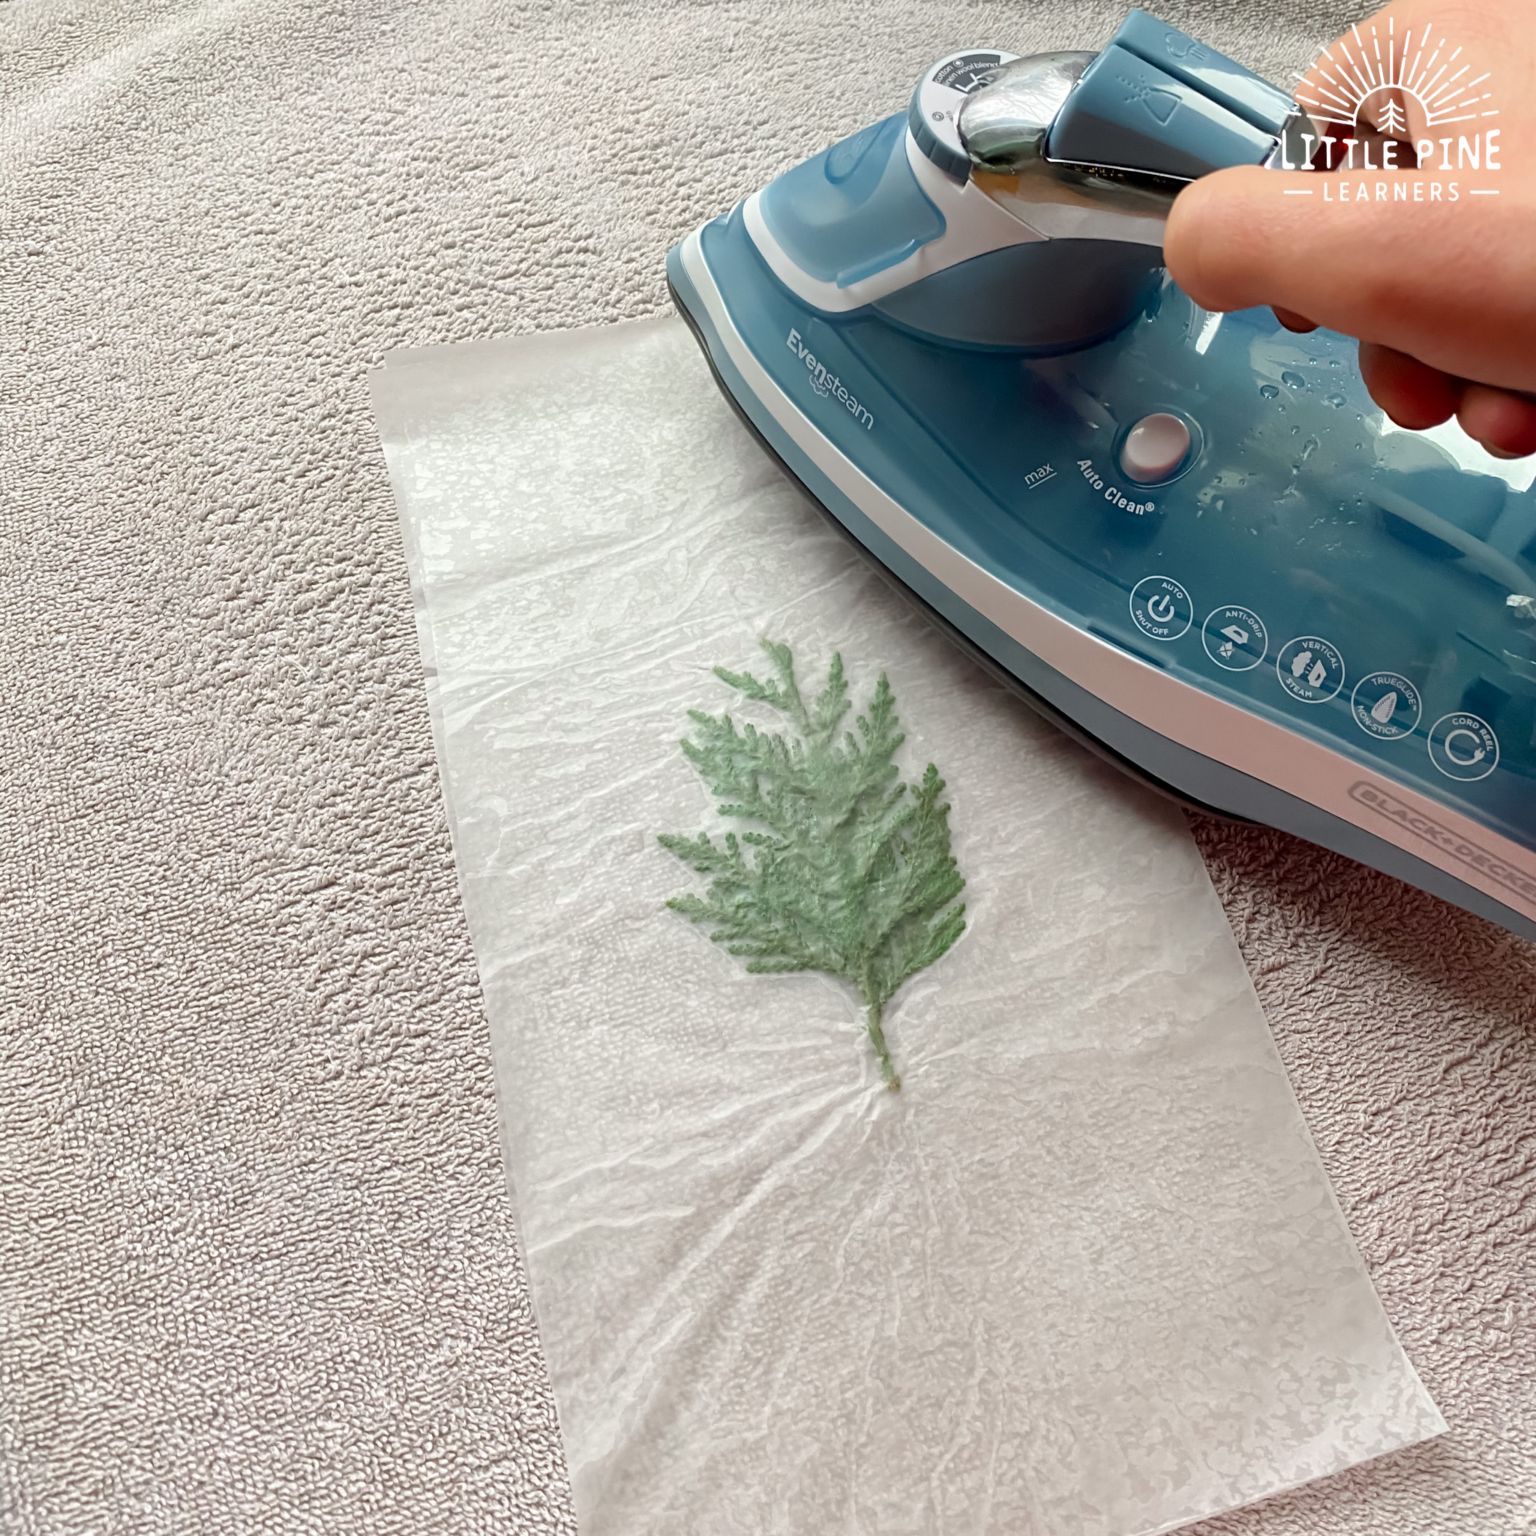
As soon as your iron hits the wax paper, it will fuse together! It’s a neat process to observe. I quickly ran the iron over the wax paper several times, then I flipped it over and did the same thing on that side.
Since there is an air pocket around the arborvitae piece, the green will fade a bit over time. They are just too thick to seal 100%.
Step 5:
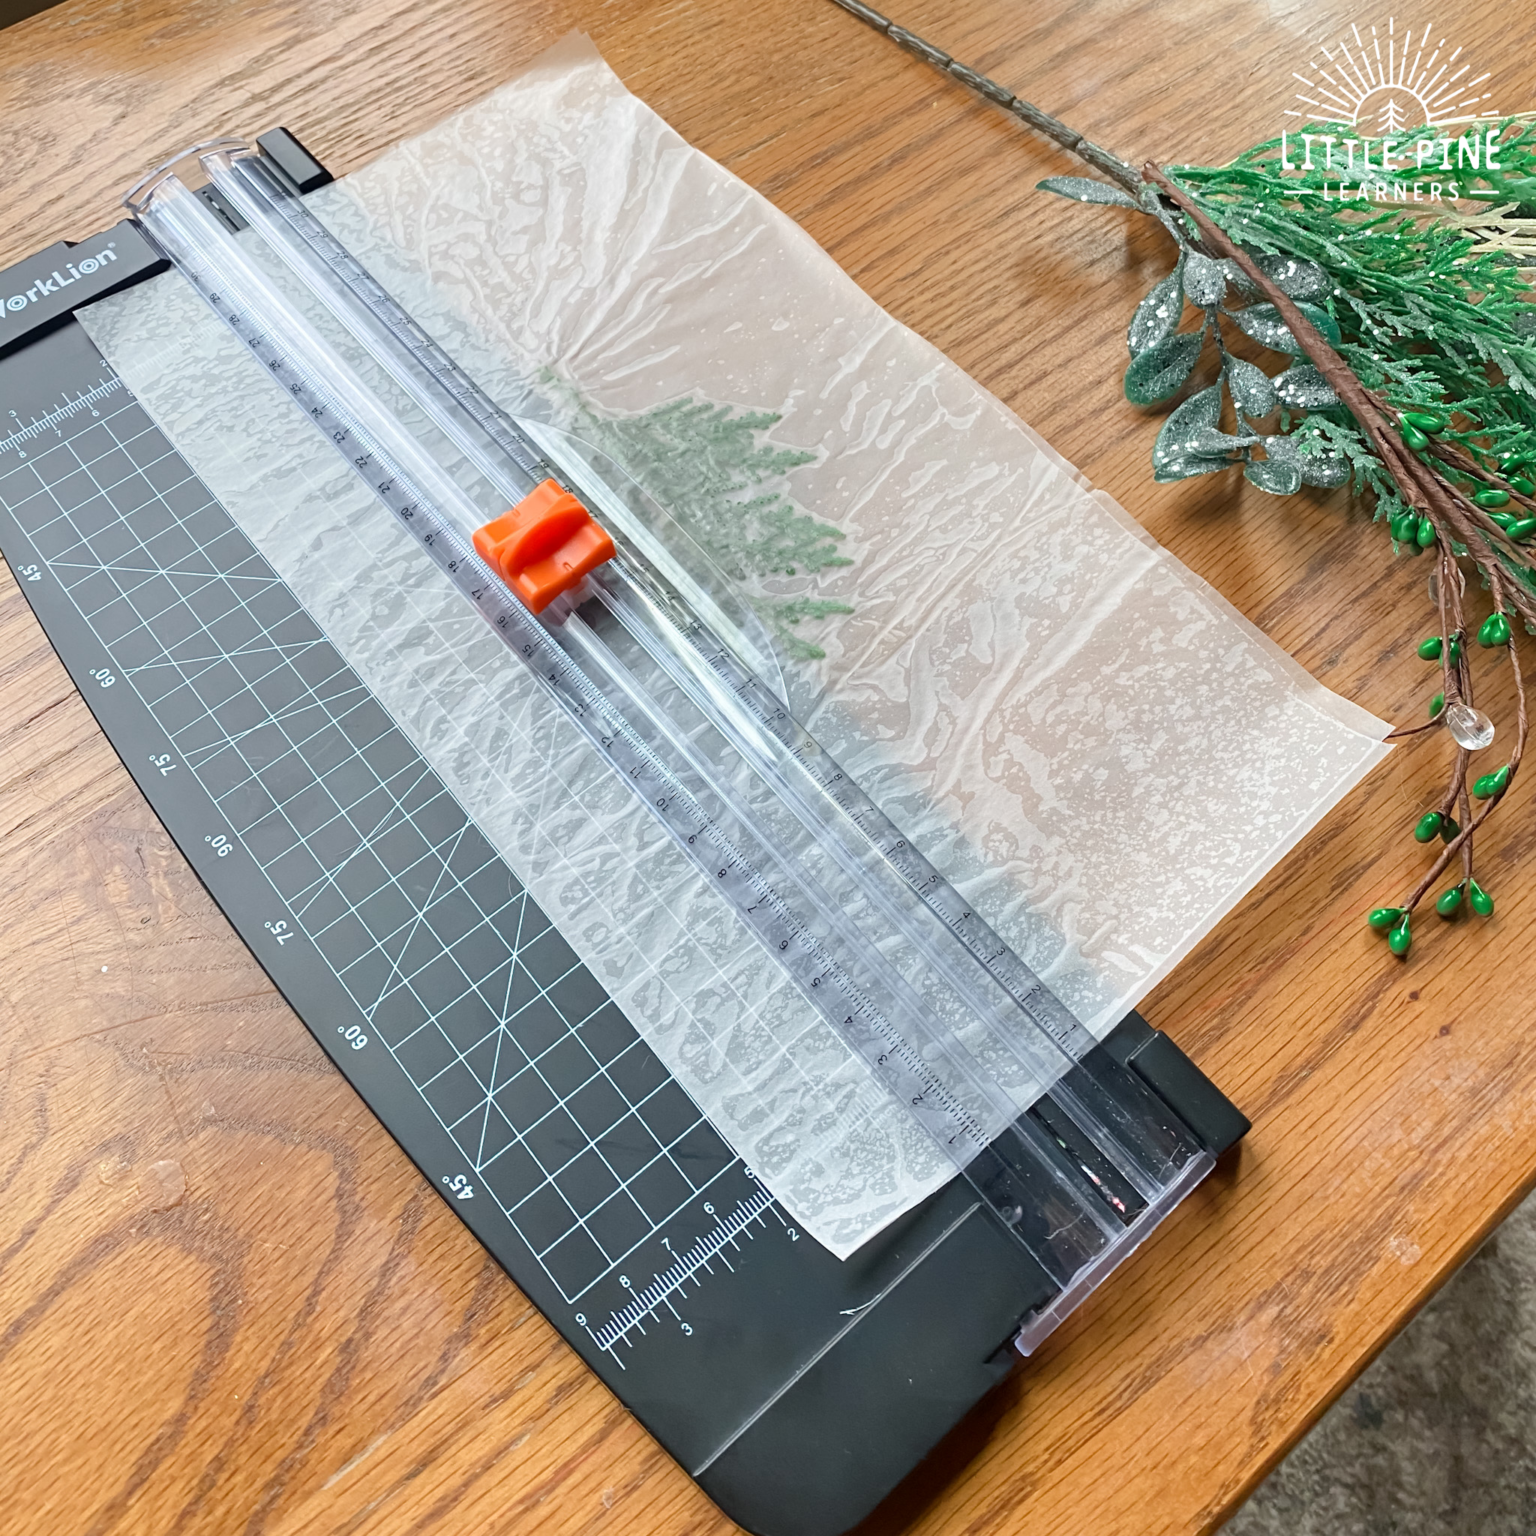
Now trim your paper to make it the height and width you would like. This is also when you can trim up those rough edges. You can use scissors, but I find this paper trimmer pretty handy!
Step 6:
This step is optional. We added some small gem stickers to mimic Christmas lights. They look so pretty!
