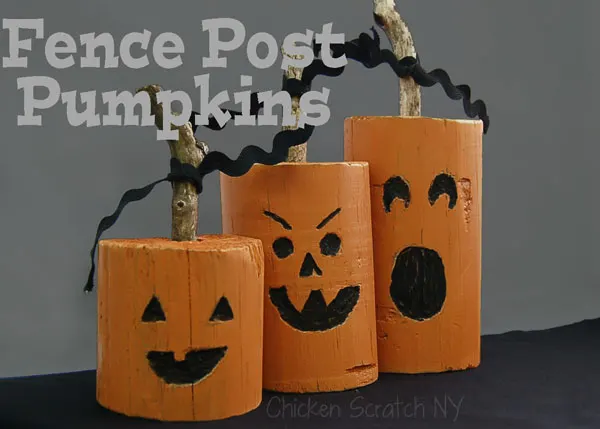
DIY Fence Post Pumpkin
If you're looking for a fun and creative way to spruce up your yard for fall, why not try making a DIY Fence Post Pumpkin? This charming project transforms ordinary wooden fence posts into whimsical fall decorations that will surely bring smiles to all who see them. It's a fantastic way to get into the fall spirit and impress your friends and neighbors with your crafty skills!
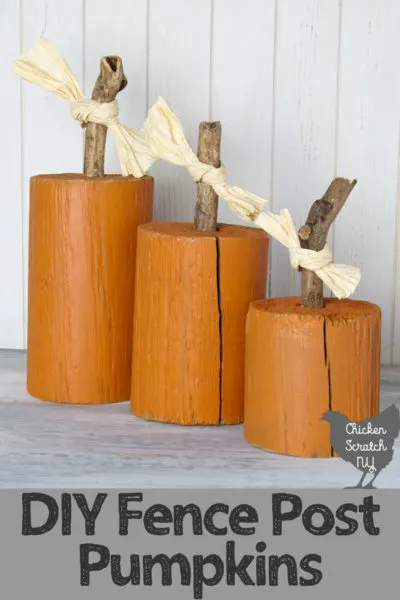
Reversible Fence Post Pumpkin Supplies:
The real beauty of this project is it’s verasility. I happen to have a generous hoard of fence posts ready to be turned into Jack-o-lanterns but you could achieve the same look with left over 2×4, 4×4 or even a really big branch.
- 3 pieces of wood, all different heights
- 3 dry sticks for stems (no one wants moldy pumpkins)
- Drill with bit large enough for your sticks
- Pencil
- Orange and black paint
- Dremel with carving bit
- Sanding block
- Paint brushes
- Hot glue gun
- Ribbon or Twine, optional
Instructions:
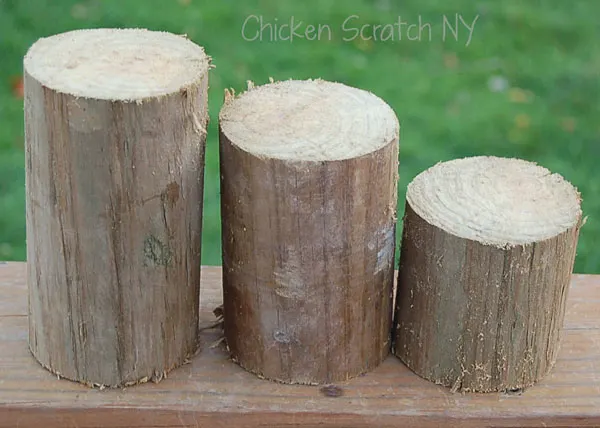
1. Starting with three pieces of round fence post use the sanding blocks (or sandpaper) to get rid of any splintery edges and smooth things down for the paint
2. Eyeball center and drill a hole, about 1/2 in deep, in the top
3. Draw or trace a face on each chunk of wood
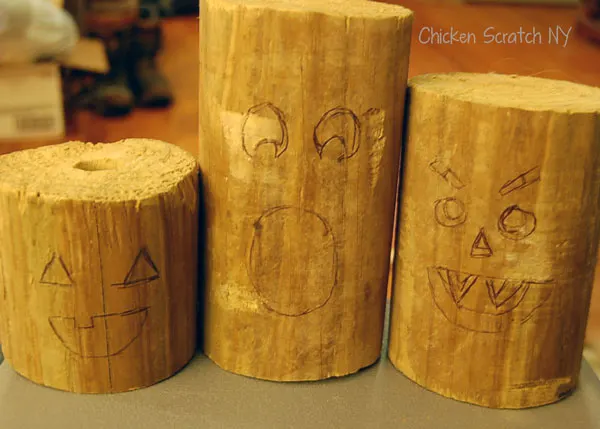
4. Using the Dremel carefully carve the faces about 1/4 of an inch deep. Protect your eyes! Wear safety glasses and a mask. As far as the carving, it doesn’t have to be perfect, we’re going for rustic here!
5. Paint the sides and top orange and using a smaller brush fill in the face with black paint
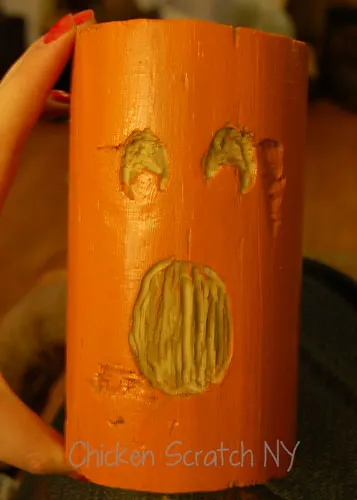
6. Once everything is dry sand around the edges, over the face and anywhere else you’d like a bit of the original wood to show through
7. Glue the stems in the holes you made earlier, tie a piece of ribbon, rick rack, or raffia to the top and you’ve got an everlasting pumpkin display!
