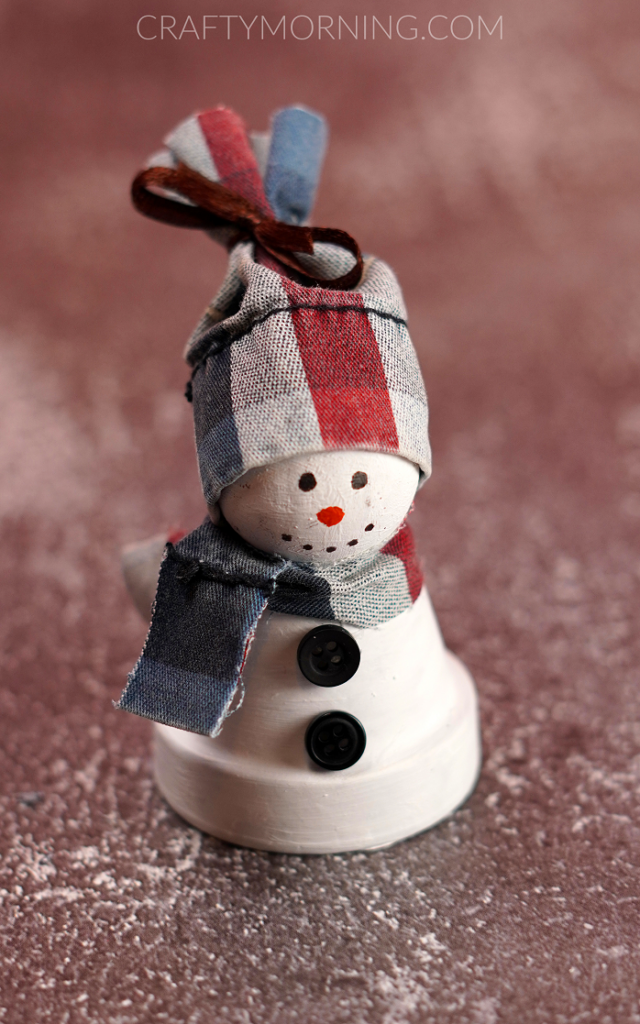
Clay Pot Snowman
Creating a Clay Pot Snowman is a wonderful way to add a cheerful touch to your winter decor. To make this cute craft, you'll need a few clay pots in assorted sizes, some white paint, colorful buttons, and a bit of creativity. Start by painting the clay pots white and allowing them to dry completely. Then, stack the pots from largest to smallest, securing them in place with strong adhesive. Next comes the fun part - decorating your snowman! Use buttons for the eyes and mouth, a colorful scarf made from felt or ribbon, and a warm hat perched on the top pot. Feel free to get creative and customize your snowman with your favorite accessories. Once complete, your Clay Pot Snowman will surely bring a smile to your face and spread joy to all who see it!

Ingredients
- mini clay pot
- small wooden bead
- white and orange acrylic paints
- paintbrush
- pencil
- black marker
- 2 buttons
- checkered fabric material
- silk ribbon
- scissors
- hot glue
Instructions
- Paint the pot and the wooden bead white.
- Draw the eyes, mouth, nose. Paint your eyes and mouth with black paint and your nose with orange.
- Cut a piece of the checkered material that is around the wooden bead ball, glue it to your cap. Tie the end of the cap with a thin silk ribbon.
- Glue the snowman's head to the pot and the two buttons to his belly.
- Cut a long piece of fabric and tie it around the neck of a snowman for a scarf!