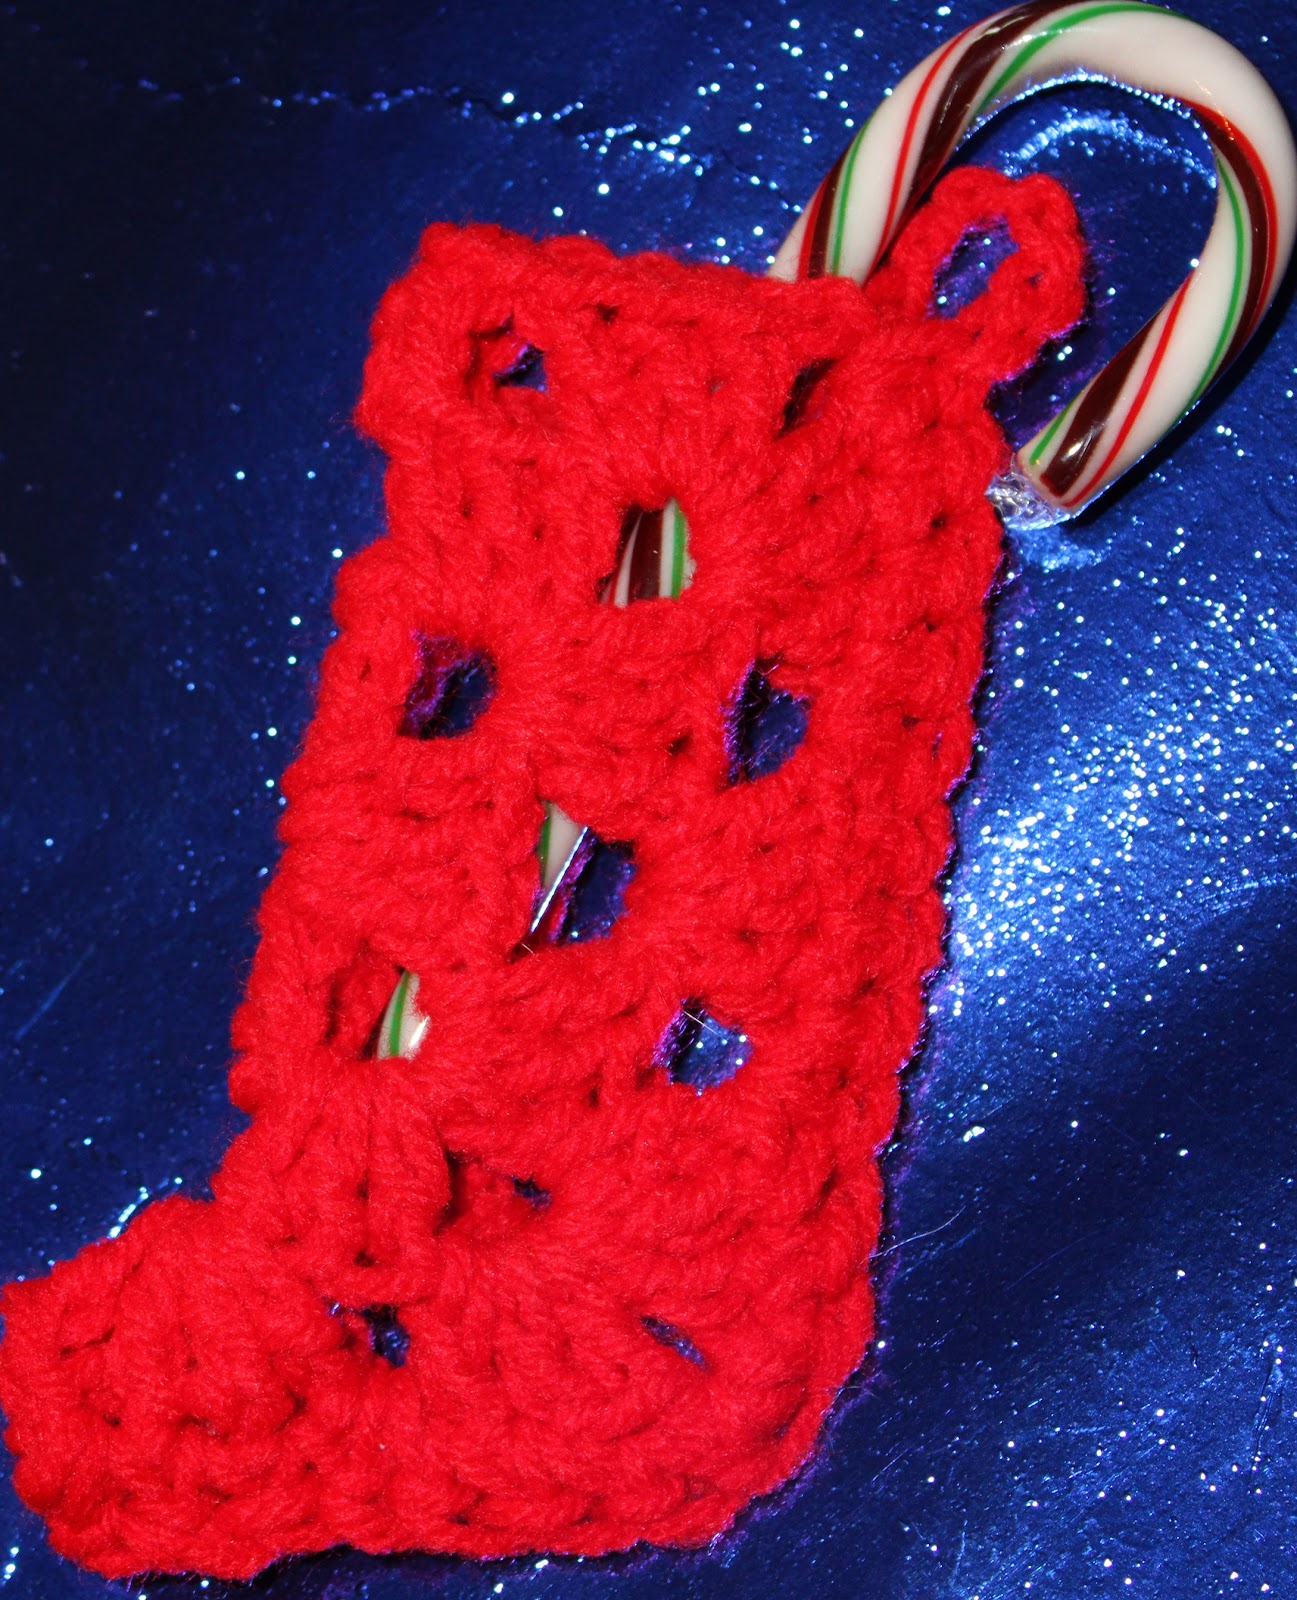
If you're looking to add a touch of homemade charm to your holiday decor, consider trying your hand at making a Crochet Granny Square Stocking. This classic crochet design combines cozy nostalgia with a modern twist, perfect for hanging by the fireplace or gifting to loved ones. With endless color combinations and creative possibilities, each stocking can be uniquely personalized to match your style or the recipient's taste. Whether you're an experienced crocheter or a beginner looking for a fun project, crafting a Crochet Granny Square Stocking is a rewarding and delightful way to spread holiday cheer. So grab your crochet hook, pick out your favorite yarn, and let your creativity shine as you weave together a festive stocking that will be treasured for years to come.

Materials: Yarn: Any worsted weight. I like Red Heart. Use small amounts of red, green and white for a traditional look.
You could use any colors to compliment your Christmas tree.
Hook & Gauge: I like an I hook. Use your favorite. Hook and gauge do not matter on this project.
Directions are written for making the stockings in one single color** or change colors every row for a true granny square look. You be the designer or just use up your short ends and pieces for a true country look. Be creative! The finishing touch is a candy cane tucked in each sock.
Please read through the pattern before you begin. Here is my pattern:
Begin: Ch 4, sl st into first chain to form a ring. You may also start with a magic circle.
Round 1 – Ch 3 (counts as a dc here and throughout), 2 dc in the ring, *ch2, 3 dc, repeat from* 2 times, ch 2
and sl into the top of the ch 3. Fasten off and change color, if desired.
Round 2 – If changing color, attach to any chain 2 space. Ch3, 2 dc, ch 2, 3 dc in the ch 2 sp,* ch 1, 3 dc,
ch2, 3dc in the next ch 2 sp, repeat from * 2 times. Ch 1, sl st in the top of the ch 3. Fasten off and change
color if desired.
**If continuing with the same color: sl st in the next 3 st, (you should be at a chain 2 space) ch 3, 2 dc, ch 2, 3 dc in the ch 2 sp,* ch 1, in the next ch2 space, 3 dc, ch2, 3dc, repeat from * 2 times. Ch 1, sl st in the top of the ch 3. Fasten off and change color if desired.
Round 3 – If changing color, attach to any chain 2 corner space. Ch3, 2 dc, ch 2, 3 dc in the ch 2 corner sp,
ch 1, 3 dc in the next sp, ch 1, in the next corner space, 3 dc, ch2, 3dc , ch 1, 3 dc, 2 tc, 3 dc in the next ch 1 sp (This is the toe of your stocking), ch 1, 3 dc, ch2, 3dc, ch1, 3 dc in the next sp, ch1, Ch 1, 3 dc, ch2, 3 dc, ch1, 3 dc in next ch1 space, ch1, sl st in the top of the ch 3.
**If continuing with the same color : sl st in the next 3 st, (you should be at a chain 2 corner space) Ch3, 2 dc, ch 2, 3 dc in the ch 2 corner sp, ch 1, 3 dc in the next sp, ch 1, in the next corner space, 3 dc, ch2, 3dc , ch 1, 3 dc, 2 tc, 3 dc in the next ch 1 sp (This is the toe of your stocking), ch 1, 3 dc, ch2, 3dc, ch1, 3 dc in the next sp, ch1, Ch 1, 3 dc, ch2, 3 dc, ch1, 3 dc in next ch1 space, ch1, sl st in the top of the ch 3, and in the next 3 ch.
Finishing: Fold your stocking in half, your last stitch should be at the top of the stocking. Chain 6 (this will be your hanger), with your stocking still folded in half, sc down the side of the stocking catching stitches on both sides. Continue all the way through the toe. Fasten off and hide your ends. Tuck a candy cane in the
sock.
