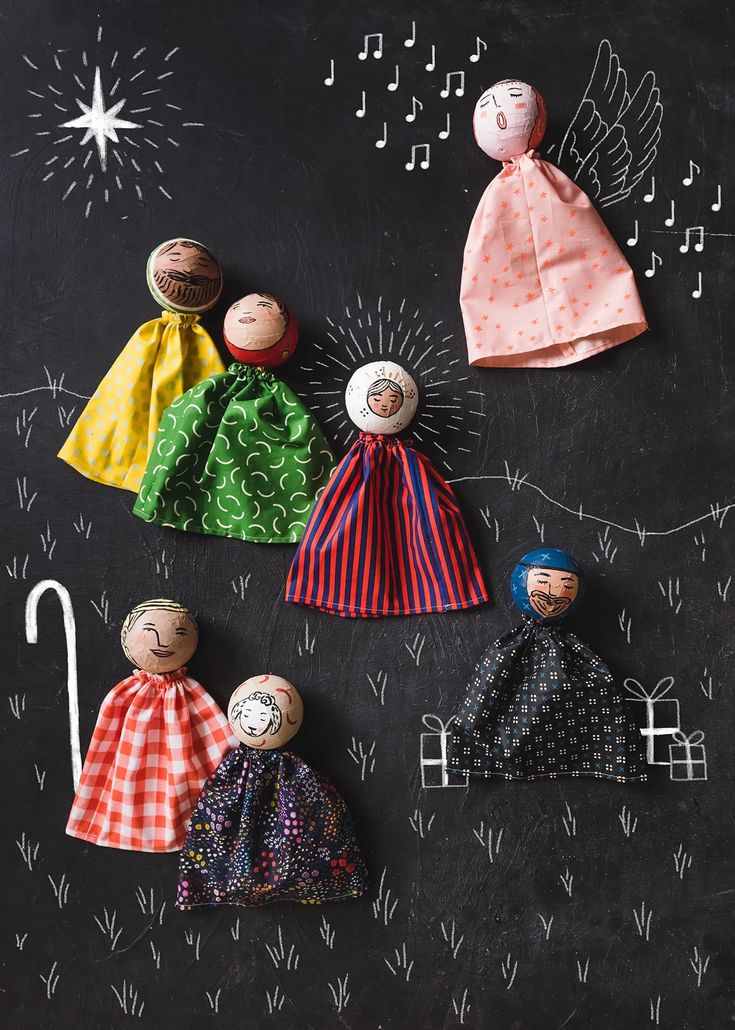
DIY Nativity Puppets
Creating DIY Nativity puppets can be a wonderful way to add a personal touch to your holiday decorations. By using simple materials like felt, glue, and fabric scraps, you can bring the characters of the Nativity story to life in a fun and creative way. Whether you're crafting these puppets for your own enjoyment or as a thoughtful gift for a friend, the process can be both relaxing and rewarding. Let your imagination guide you as you design each puppet, adding details like facial expressions and clothing to make them truly unique. As you work on this project, remember to have fun and enjoy the opportunity to engage in a hands-on craft that celebrates the spirit of the season.

Materials:
- Paper Mache Spheres–We included 7 characters
- Acrylic Paints
- Paintbrushes
- Electric Drill
- 7 #2 pencils
- Fabric–We used 7 different varieties
- Sewing machine or needle and thread
- Glue gun
Instructions:
- Paint each ball as a member of the nativity using the acrylic paints. Let dry
- Using an electric drill, drill a hole in the center base of each face, just wide enough to fit a pencil through snuggly. We used a Drillbit.
- Insert a pencil into each one and set aside.
- Cut each type of fabric into an 18″ by 10″ piece.
- Finish the 18-inch long sides of the fabric by folding under 1/4-inch and sewing. This is optional but creates a cleaner finish.
- Then fold each piece of fabric in half longways, with right sides together, and stitch so you create a cylinder of fabric.
- Iron the seam allowance open so it lays flat.
- Sew a gathering stitch (using a long seam allowance) along the top of the fabric cylinder.
- Gather the top by pulling the bobbin threads tightly so the top part cinches together.
- Slide the pencil into the fabric and hot glue the gathered portion to the base of the head.
No comments
Write a comment