DIY Joy Sign
Creating a DIY Joy sign is a fantastic way to add a touch of positivity and creativity to your space. To make one, you can gather materials like wooden letters, paint, and glue. Start by painting the letters in bright, cheerful colors like yellow or turquoise. Once they are dry, arrange them to spell out "joy" and use glue to secure them onto a wooden board or canvas. You can also add embellishments like glitter or ribbons for an extra festive touch. Displaying this handmade sign in your home will surely bring a smile to your face and spread joy to all who see it!

To make this sign all you need is:
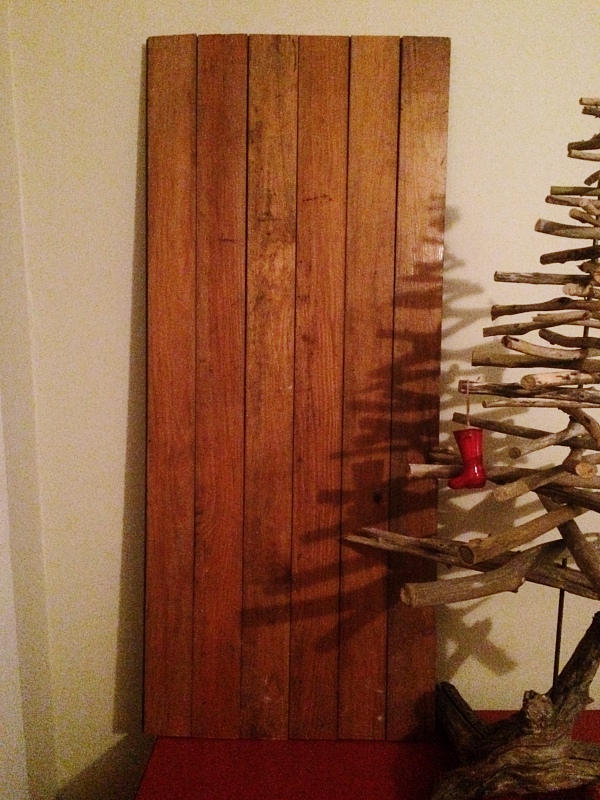
boards cut to the same length {we used scrap wood we had lying around}
White paint & red paint
two paint brushes {one small & one large}
Chalk
Wreath {I got ours from Marshalls last year}

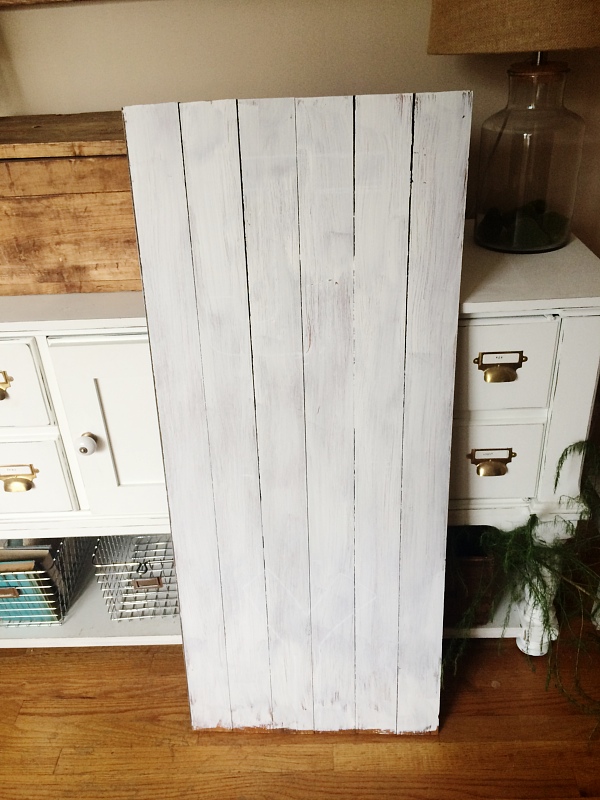
We used boards across the back of these six boards to keep them together. & after they were secured we painted them with a thin of white paint.

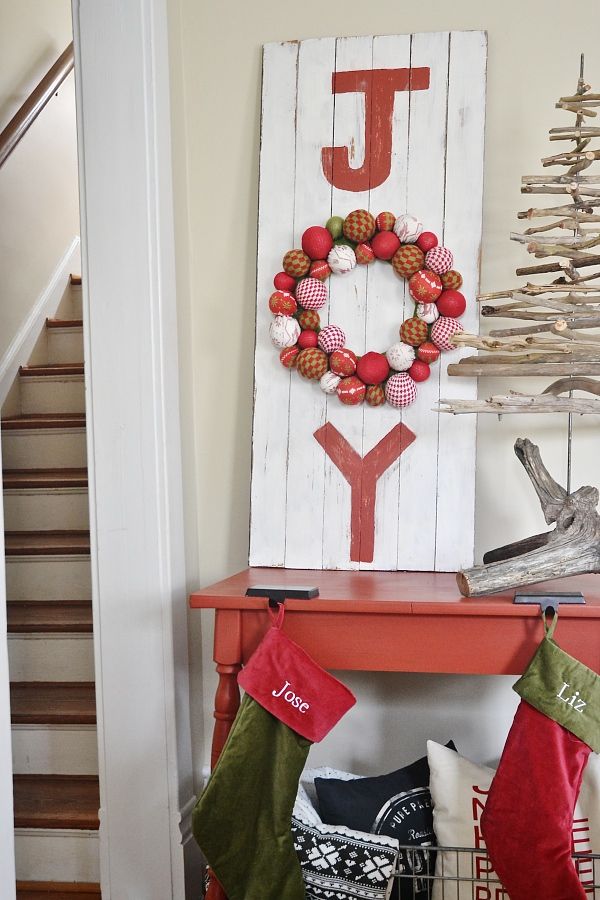
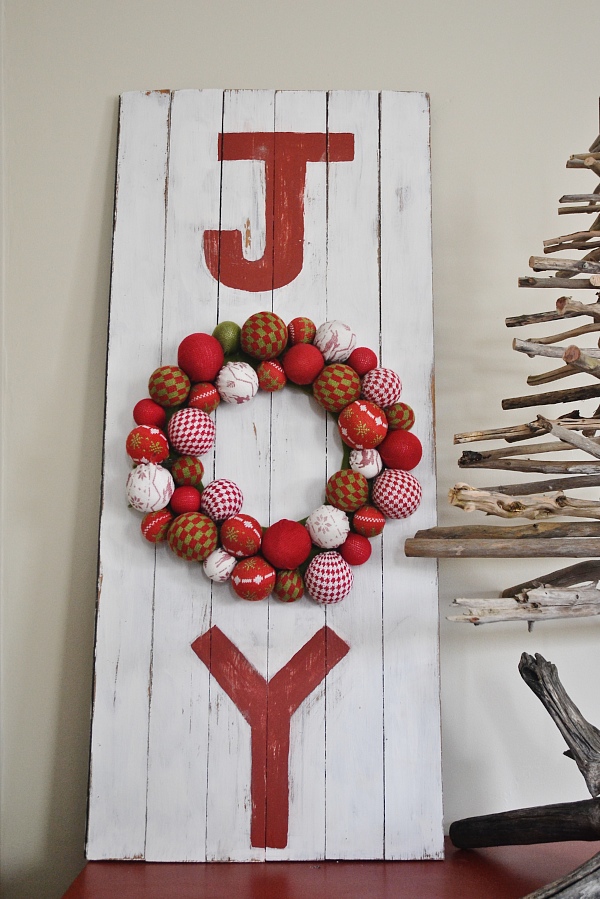
This is the fun part. I used chalk to free hand draw the letters on to the board. I first measured out where the center was and where the wreath was going to hang. I really just eyeballed where the letter would go & how big they are. I wanted the letters to look a little primitive and hand painted so I didn’t want to use a stencil of any kind. After I drew them in chalk, I hand painted them with the smaller paint brush with Behr antique red. When the paint was all dry I distressed the piece with a sanding block lightly & hung the wreath with a command strip. Joy sign complete!

It’s fun to think how many different ways you could make this sign by changing up the boards, paint colors, wreaths, & more. You could also change your sign up every year by changing out the wreath.