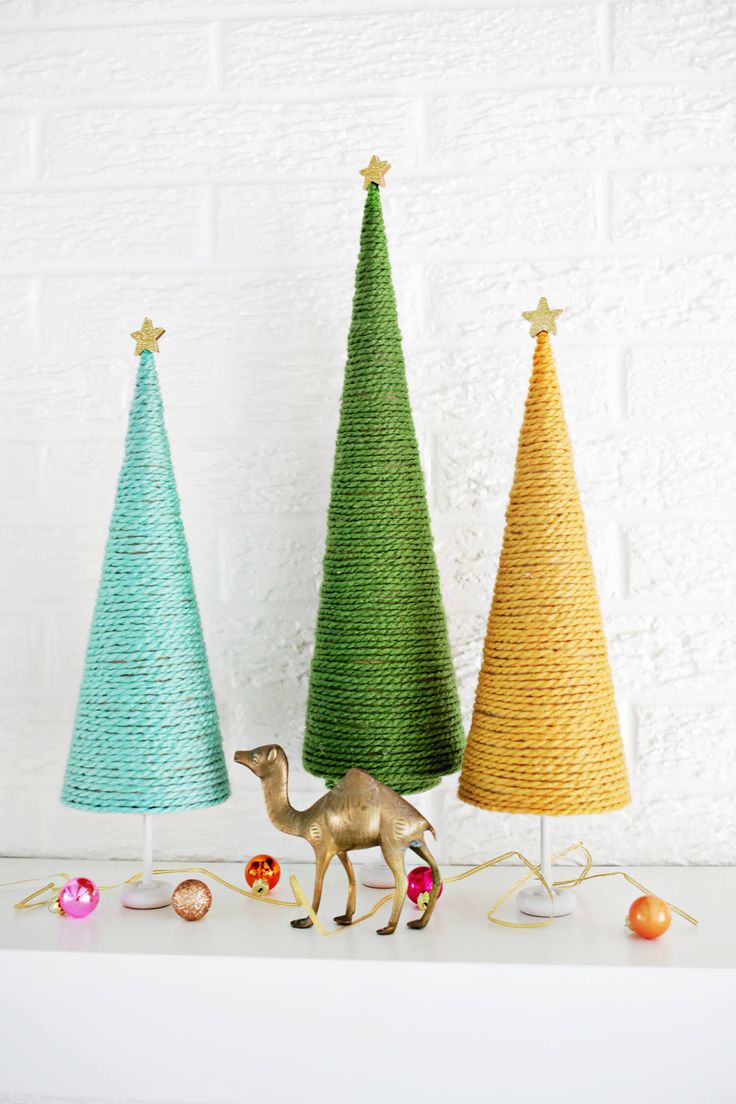
DIY Yarn Christmas Tree
If you're looking to add a touch of charm to your holiday decor, why not try making a DIY Yarn Christmas Tree? This fun and creative project is perfect for all skill levels and can be customized to match your style and color scheme. You can add embellishments like miniature ornaments, pom poms, or even fairy lights to make your tree truly unique. This project is not only a great way to get into the festive spirit but also makes for a wonderful handmade gift for friends and family. Get your creativity flowing and have fun crafting your very own yarn Christmas tree this holiday season!

Supplies:–yarn in as many colors as you’d like
–cardboard or styrofoam cones
-wooden toy wheels in a large and small size
–dowel rod that will fit the hole of the wooden wheels
–small wooden stars
-white and gold paint
–gold glitter paper
-scrap piece of cardboard
–hot glue gun
Take your hot glue gun and glue the start of your yarn all the way around the bottom of your cone. Keep gluing the yarn around and around as close to the previous layer as you can until you have filled the cone to the top with yarn.
I used a high-temp glue gun for this project since the glue is hotter and you have a longer time span before it cools too much to adhere anything, but a low-temp glue gun will work too.
I would suggest that on the bottom wider half of the cone you lay down one line of glue at a time before placing your yarn on top, and then once it gets skinnier up top you can do more of a vertical zig-zag pattern with the glue so you can wrap several times around before the glue dries.
If using a hollow cone that doesn’t have a bottom, once your cone is full of yarn, trace the bottom of the cone onto a scrap piece of cardboard and cut out the circle.
Glue the circle onto the bottom of your cone so you have a platform to attach your tree base to.
Cut your dowel rod into 2-3” sections (you’ll probably want a small saw or hacksaw to cut these) and slide a small wheel on one side and a larger wheel on the other side. You can glue these together if you like, but they usually fit pretty snugly even without glue.
Paint the tree bases white and let dry. Glue the base to the center of the bottom side of each cone.
Paint your small wooden stars gold. Trace the star shape onto the back of some gold glitter paper. Cut out the stars and glue them to the fronts of the wooden stars and attach the star to the top of the tree. Set out your trees and admire your work!