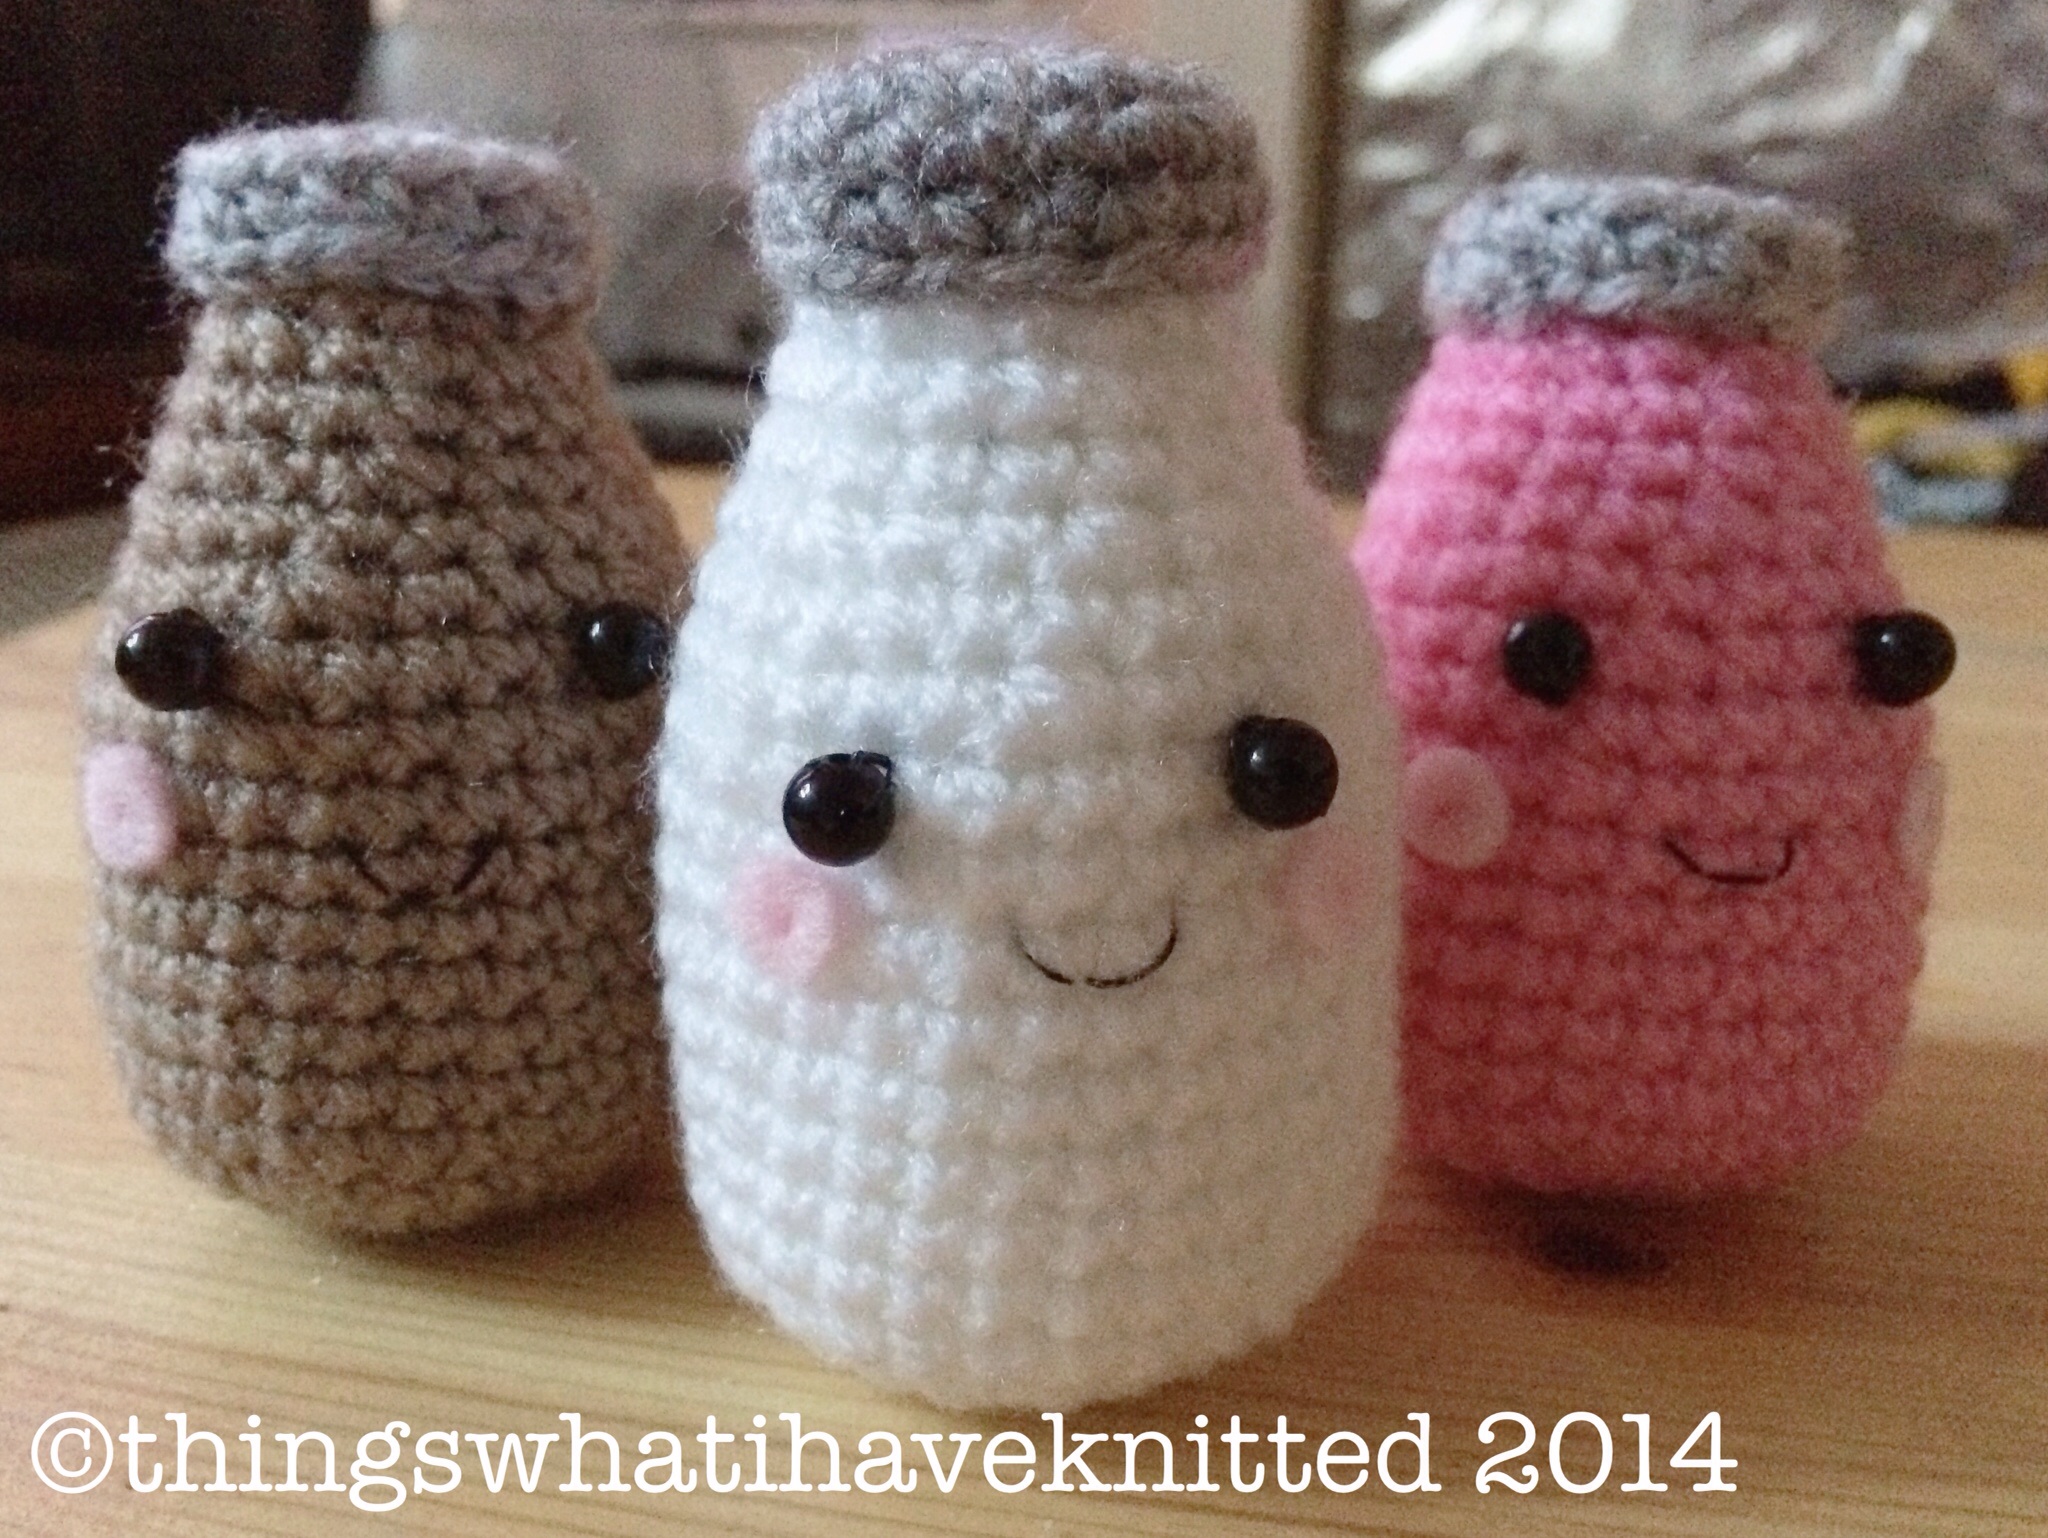
Crochet Little Milk Bottles
Crochet Little Milk Bottles are not just adorable, they are the perfect addition to any cute and cozy setting! These tiny creations can add a touch of whimsy to your home decor or make wonderful gifts for friends and family. The detailed crochet work that goes into crafting these miniature milk bottles showcases the skill and creativity of the maker. Whether you're a crochet enthusiast looking for a fun new project or someone who appreciates handmade crafts, these little milk bottles are sure to bring a smile to your face. So grab your yarn and hook, and let's get crocheting some charming little milk bottles that are bound to brighten up any space!

You will need:
1)DK yarn in your chosen flavour.
2)Some DK yarn in grey for the bottle cap ( you could even use gold to make gold top milk!)
3) A 3mm crochet hook.
4) Two 5mm black beads for the eyes, you could also use safety eyes or scraps of black yarn.
5) Pink felt cut into circles for the cheeks.
6) Black thread for the mouth and attaching the eyes. Pink thread to sew on your cheeks or a small dab of fabric glue.
7) Toy stuffing.
8) Darning needle.
Key:
DC : double crochet (US single crochet)
* : indicates a repeat.
DCtog: single crochet two stitches together in order to decrease.
Back loop only: make your stitches in the loop closest to you.
Bottle.
Magic ring 6 DC, and add a stitch marker or scrap of yarn in a contrasting colour to the beginning of your round. This makes it easier to count your stitches!
R1: 2DC* repeat to end of round (12)
R2: 1DC, 2DC* repeat to end of round (18)
R3: 1DC, 1DC, 2DC* repeat to end of round (24)
R4: 1DC, 1DC, 1DC, 2DC* repeat to end of round (30)
R5-13: 1DC* repeat to end of round (30)
R14: 1DC, 1DC, 1DC, 2DCtog* repeat to end of round (24)
R15: 1DC* (24) repeat to end of round
Start to stuff from here. Install safety eyes if you’re using them.
R16: 1DC, 1DC, 2DCtog* repeat to end of round (18)
R 17-18: 1DC* repeat to end of round (18)
R19: 1DC, 2DCtog* repeat to end of round (12)
R20: 1DC* repeat to end of round (12)
Cut yarn and fasten off. You can tuck the tail into the bottle, there’s no need to weave it in as you will seal it with the cap later.
Cap.
Magic ring 6 stitches.
R1: 2DC* repeat to end of round (12)
R2: 1DC, 2DC* repeat to end of round (18)
R3: Into the back loops only, 1DC* repeat to end of round (18)
Leaving a long enough tail for sewing, cut yarn and fasten off.
Sew the cap onto the bottle, once secure and you’re happy with positioning, weave in your ends.
At this point you can add your features (eyes, cheeks and mouth).