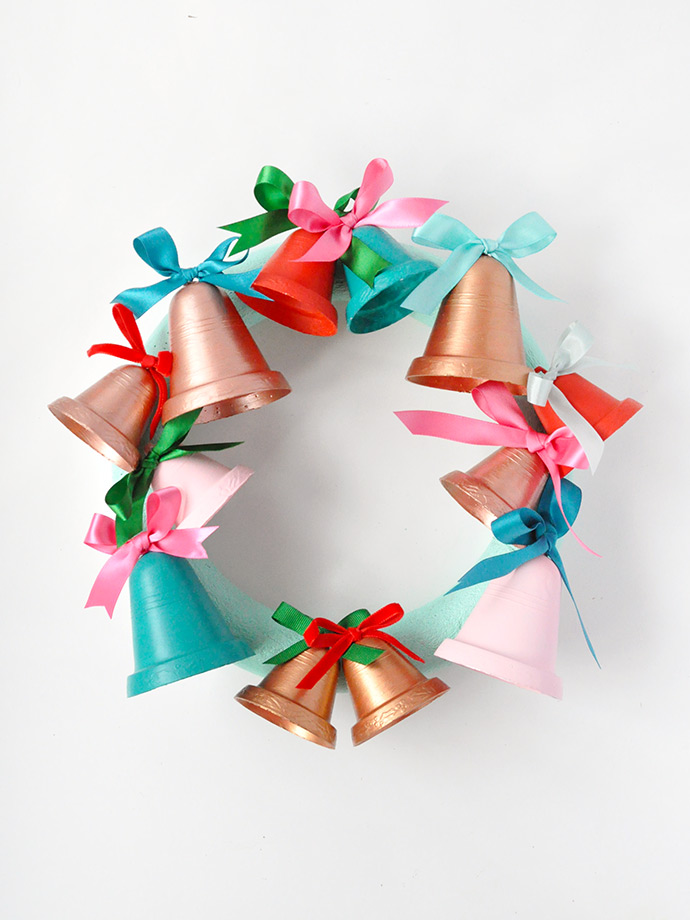
Painted Jingle Bell Wreath
The Painted Jingle Bell Wreath is a delightful addition to your holiday decor that is sure to spread cheer and charm throughout your home. With its vibrant colors and festive jingle bells, this wreath carries a playful and merry vibe, perfect for welcoming guests with a touch of warmth and joy. Hang it on your door or wall to instantly transform your space into a winter wonderland. Crafted with care and attention to detail, this wreath captures the spirit of the season and makes for a lovely focal point in any room. So, embrace the holiday spirit and let the Painted Jingle Bell Wreath brighten up your surroundings with its festive appeal!

What you need:
- Martha Stewart Crafts Multi-Surface Acrylic Craft Paint (Metallic & Satin)
- Martha Stewart Crafts Gesso Primer
- Paintbrushes
- Plastic bell decor
- Foam wreath
- Hot glue gun
- Pins
- Ribbon
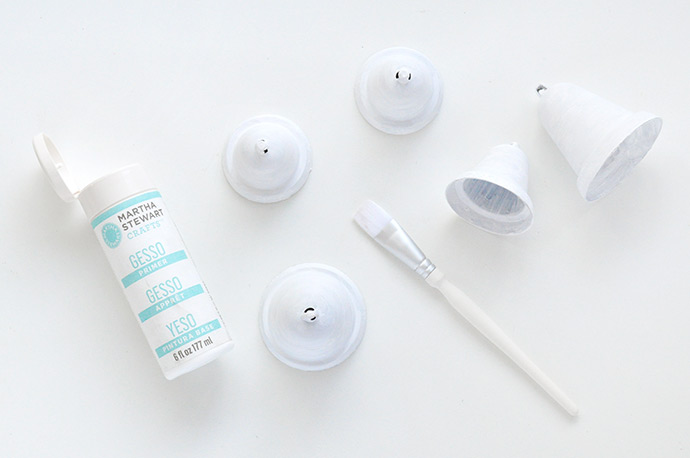
Step 1
Remove the plastic bells from the garland and apply gesso primer on the inside and outside of each. Let dry.
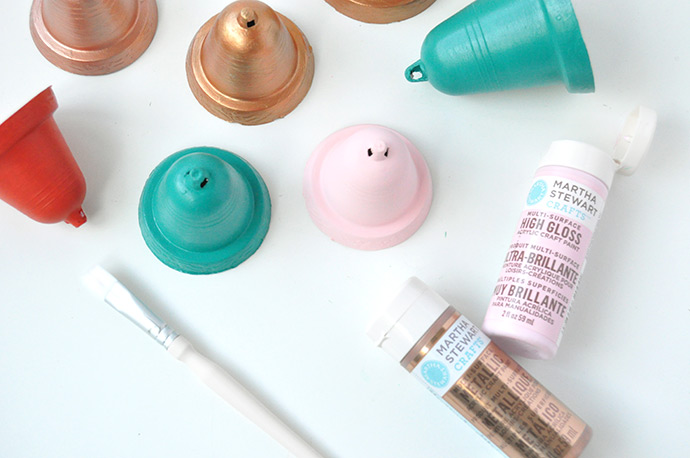
Step 2
Paint each bell (again inside and out) with metallic and satin paint – we used a mix of both! Let dry.

Step 3
Tie a bow for the top of each bell.
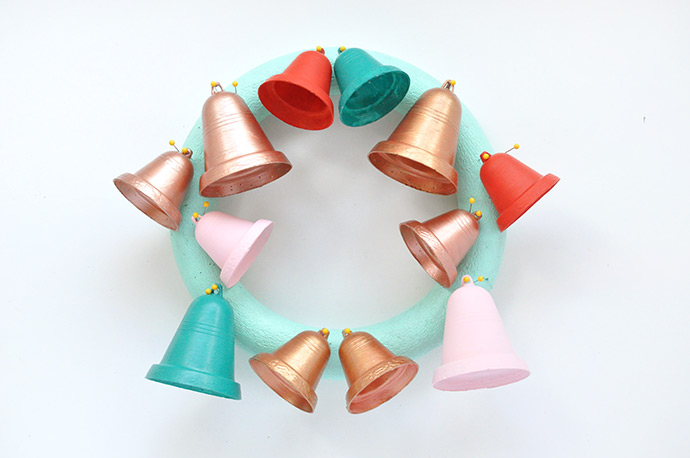
Step 4
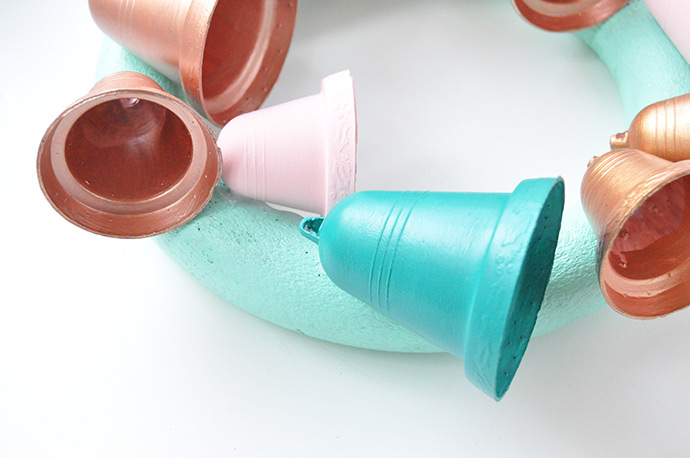
Paint the foam wreath and let dry completely. Then place the painted bells on the wreath, using pins to set up the placement until you’re happy with it.
Step 5
Use your hot glue gun (on the low heat setting) to attach the bells onto the wreath.

Step 6
Hot glue the bows onto the tops of the bells.
