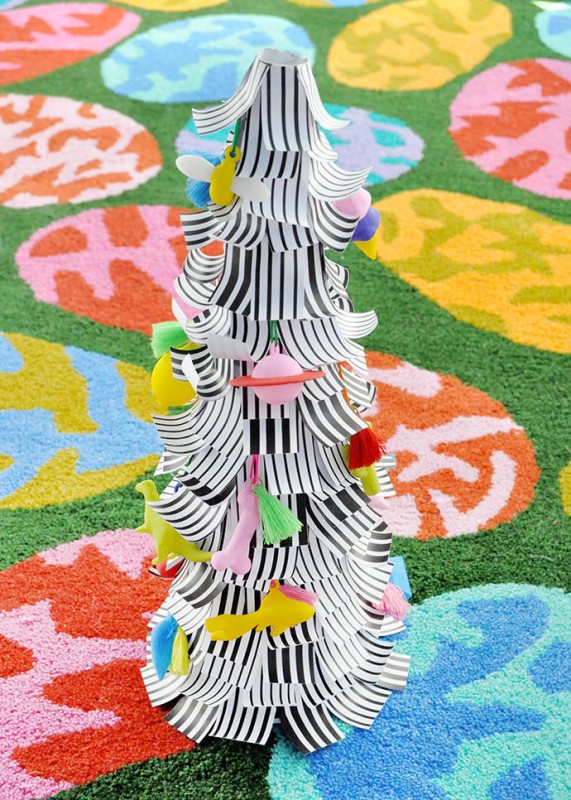
DIY Mini Christmas Tree
Looking to add some festive cheer to your space? Why not try making your own DIY mini Christmas tree! It's a fun and creative project that can be tailored to suit your style and space. Gather some craft supplies like green felt, pom poms, and a small cone-shaped object for the base. Cut out and assemble the felt into tree shapes, then decorate with the pom poms as ornaments. Feel free to get creative with colors and designs! This DIY mini Christmas tree is a charming addition to any tabletop or desk, perfect for spreading holiday joy wherever you place it. Give it a try, and let your crafty side shine this holiday season!
What you need:
- Kid Made Modern Charm Chest
- Kid Made Modern Black and White Pad
- Kid Made Modern Arts and Crafts Library (scissors and glue)
- Double-sided tape (optional)
- Mini foam cone (optional)
- Sewing pins (optional)
Instructions:
Step 1
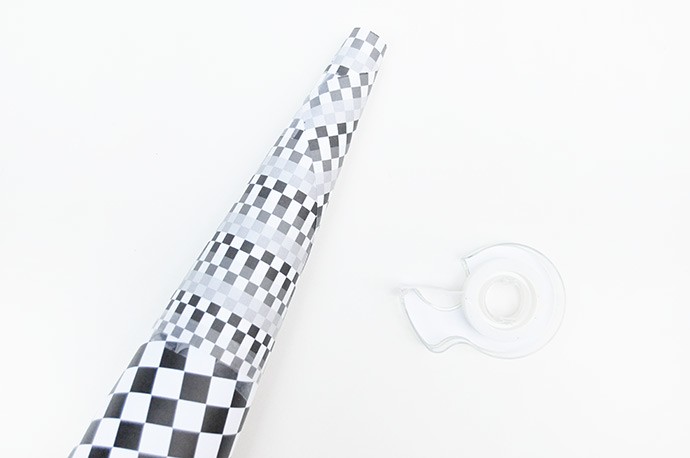
Roll a piece of paper from the Black and White pad into a cone – it doesn’t matter which pattern you pick for this because it’ll be mostly covered later. We used a miniature foam cone as the base for our tree and wrapped 2 pieces of paper around using double-sided tape or glue to attach it in place. If you don’t have a foam cone on hand though, you should be able to simply roll the paper into a cone, tape/glue to secure, and trim the bottom edge so that the cone sits nicely on your table.

Step 2
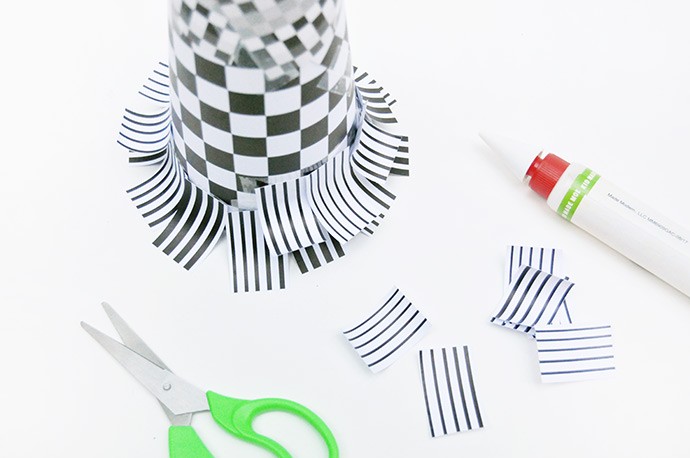
Grab a few more pages from the black and white paper pad – we used striped sheets for this step, but you can pick whichever you like. Cut paper strips about 3/4″ wide and then use your scissors to gently curl the paper as shown above. Then cut the curled strips into rectangles about 1″ to 1 1/2″ long.
Step 3
Starting at the base of the cone, begin attaching the rectangles around it, working your way up. You can use either white glue (you won’t need much!) or double-sided tape for this. If you’ve ever made a DIY pinata before, this technique is similar to attaching the fringe – work your way up the cone, attaching rectangles as you go, each row slightly overlapping the one below it. You may have to go back to step 2 to make more curled paper rectangles if you run out while covering the tree.

Step 4
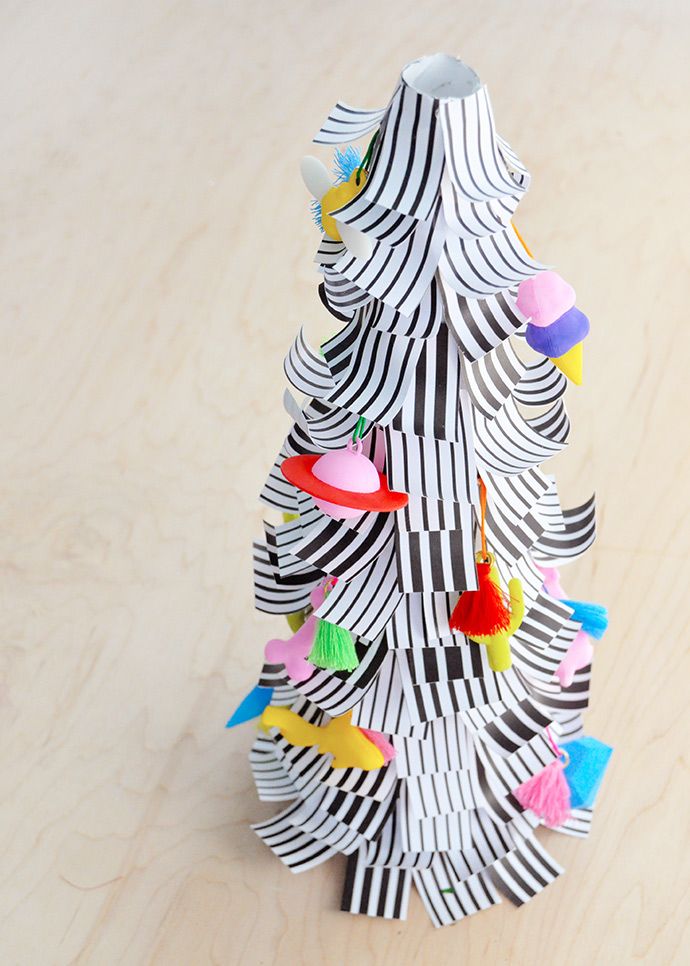
Once the whole tree is covered, you should have something like this!
Step 5
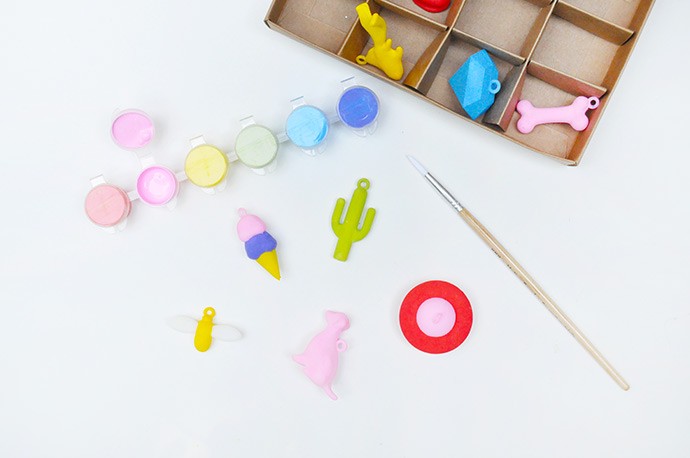
Now the fun part: painting decorations! We used the charms from Kid Made Modern’s new Charm Chest because they are the absolute perfect size for our mini tree. Paint the charms with the paint included in the set and let dry.

Step 6
Once the charms are dry, tie a loop on top and add any tassels or additional beads as desired. Your charms are ready to hang! If like us, you have a foam cone under your tree, you can use sewing pins to attach the ornaments onto the tree – this way, you can easily remove them for storage, or if your kids want to use them for something else later. If your tree doesn’t have a foam cone inside, use tape or glue to attach the strings onto the tree.
