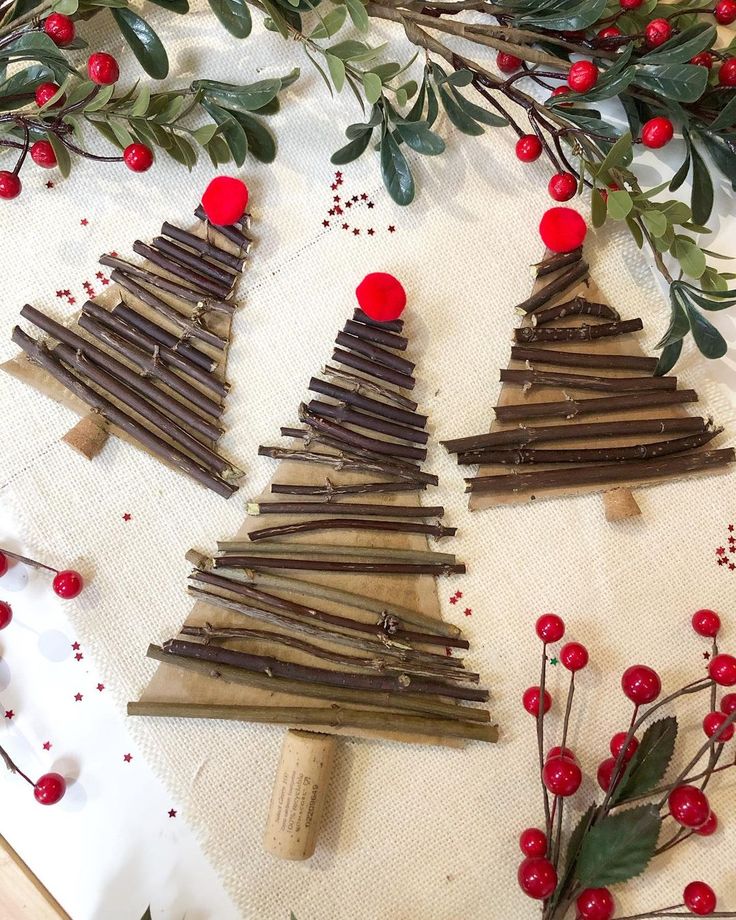
Easy Stick Trees
Christmas crafts for kids are always a joyous way to get into the holiday spirit, and stick trees are a fantastic option to bring some festive cheer into your home! These adorable decorations are not only fun to make but also create a charming atmosphere. These delightful projects are not only a wonderful way to keep little ones entertained but also double as heartwarming keepsakes to cherish for years to come. So, gather your materials and let the holiday crafting begin!

Materials Needed:
- A collection of sticks or twigs of various lengths.
- A sturdy piece of cardboard or cork for the base.
- Red pom-poms or any small red craft balls for decoration.
- Greenery or artificial red berries for embellishment.
- Craft glue or a hot glue gun (to be used by an adult or under adult supervision).
- Scissors.
Steps:
- Prepare the Sticks: Gather sticks and twigs from outside. Try to find ones that are straight and break them into descending lengths to form the shape of a Christmas tree.
- Create the Base: Cut a small piece of cardboard or use a cork to serve as the tree’s trunk. This will be the anchor point for the sticks.
- Arrange the Sticks: Start with the longest stick at the bottom, applying glue to the back and pressing it onto the base. Continue layering the sticks above, with each subsequent stick being slightly shorter than the one below it to create a triangular tree shape.
- Add the Topper: Once the tree shape is formed with sticks, glue a red pom-pom or craft ball at the top of the tree to act as a festive topper.
- Decorate: Embellish the sides of the tree with greenery or artificial berries. You can also sprinkle some glitter for a bit of sparkle.
- Let it Dry: Allow the glue to dry completely. Depending on the type of glue used, drying times may vary.
- Display: Once dry, these rustic trees can be displayed on a mantle, as part of a table centerpiece, or anywhere you want to add a touch of handmade holiday cheer.
No comments
Write a comment