Stacked Toilet Paper Roll Snowman
Creating a stacked toilet paper roll snowman is a simple and fun craft activity that brings a touch of whimsy to your winter decor. This adorable snowman is a charming addition to your holiday decorations and is sure to bring a smile to everyone who sees it.
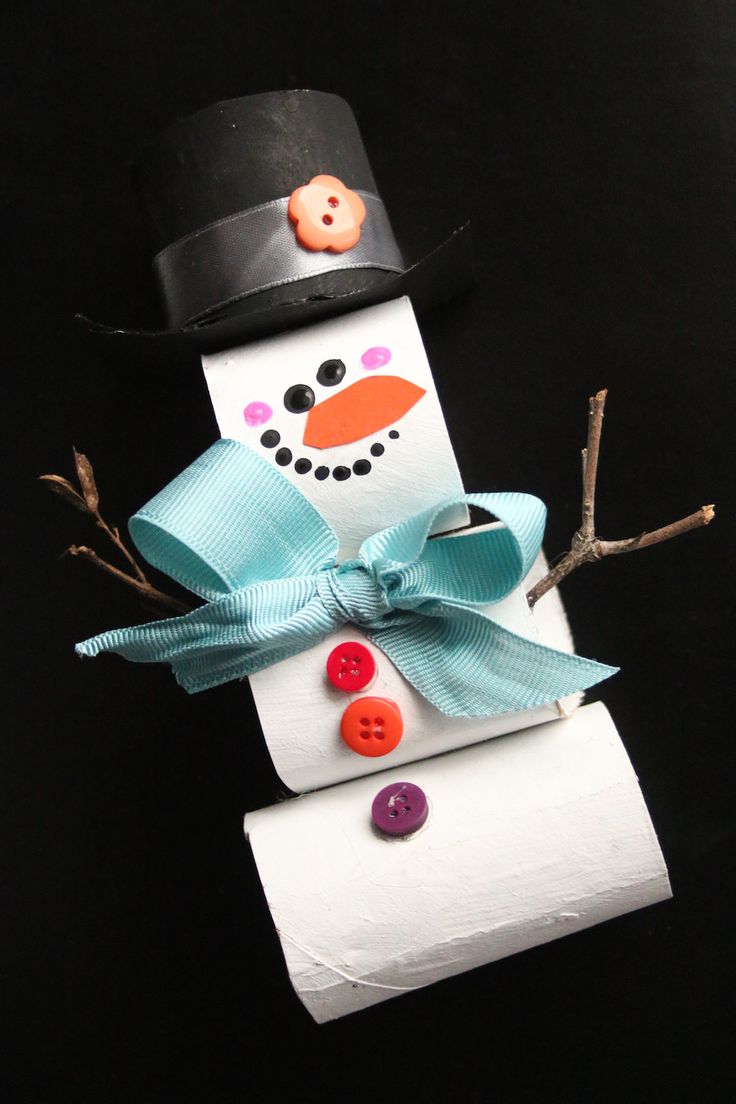
Supplies:
- 3 toilet paper rolls (or 1 paper towel roll)
- 2 small twigs
- paint (white, black, pink, and orange)
- orange construction paper (or orange paint) for nose
- paint brush
- scissors
- buttons
- ribbon
- low heat glue gun
Instructions:
STEP 1: Cut three pieces from your cardboard rolls for the snowman’s head, middle and bottom.
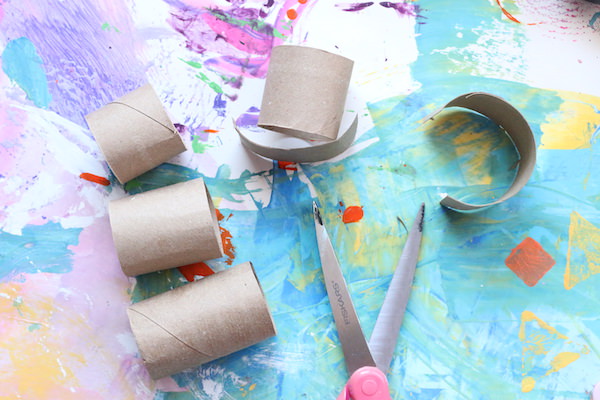
STEP 2: Cut 2 pieces of cardboard roll for the hat. One piece will remain tube-shaped for the upright part of the hat. You’ll cut the other piece lengthwise, and flatten it slightly. This will be the brim of the hat.
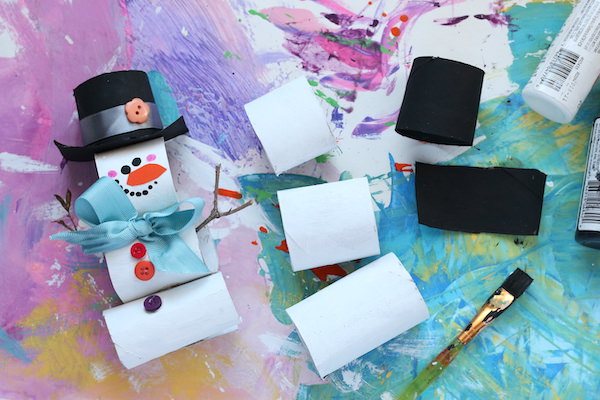
STEP 3: Paint the 3 pieces of the snowman’s body, inside and out, with white paint.
STEP 4: Paint the 2 pieces for the hat with black paint.
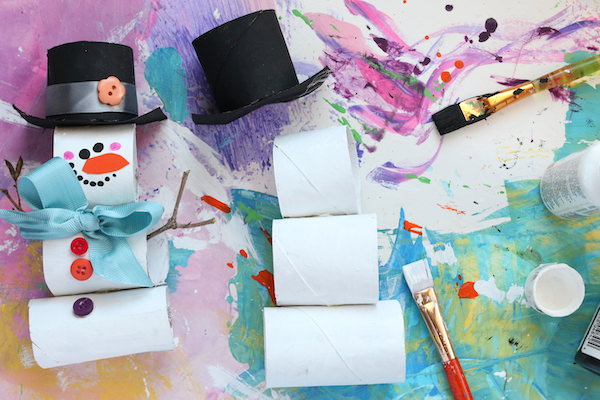
STEP 5: With a low-heat glue gun, glue the snowman’s head, middle and body together.
STEP 6: For the hat, run a bead of glue around the bottom of the tube-shaped piece, and press it to the brim. Glue the hat on the snowman’s head.
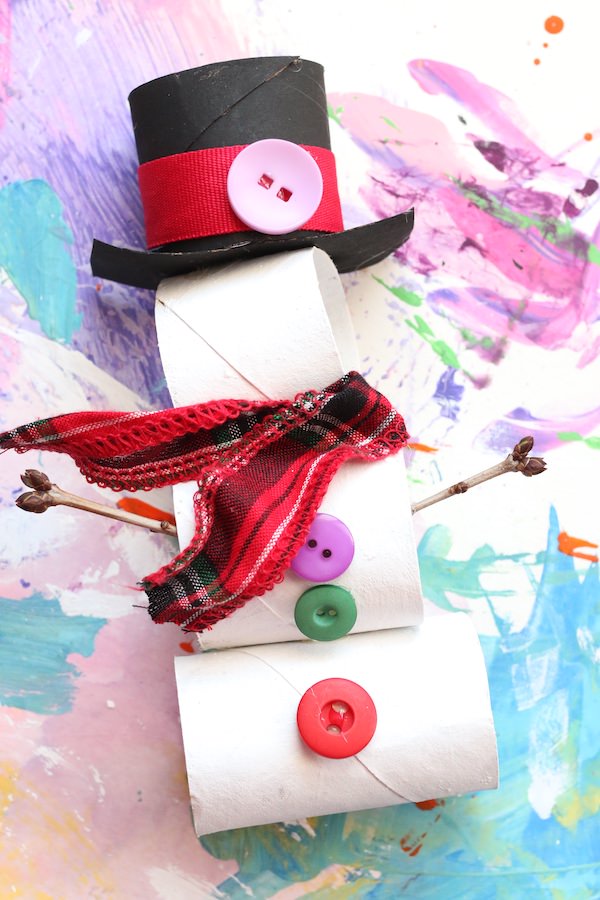
STEP 7: Glue a ribbon in place for a scarf, and glue a few buttons down the front of the snowman.
STEP 8: Add a ribbon and a button to your snowman’s hat.
STEP 9: Attach twigs just inside the middle section of the snowman.

STEP 10: With the handle end of a paint brush, dot on eyes, mouth and cheeks. Cut a construction paper nose and glue that in place, or paint one on with orange paint.
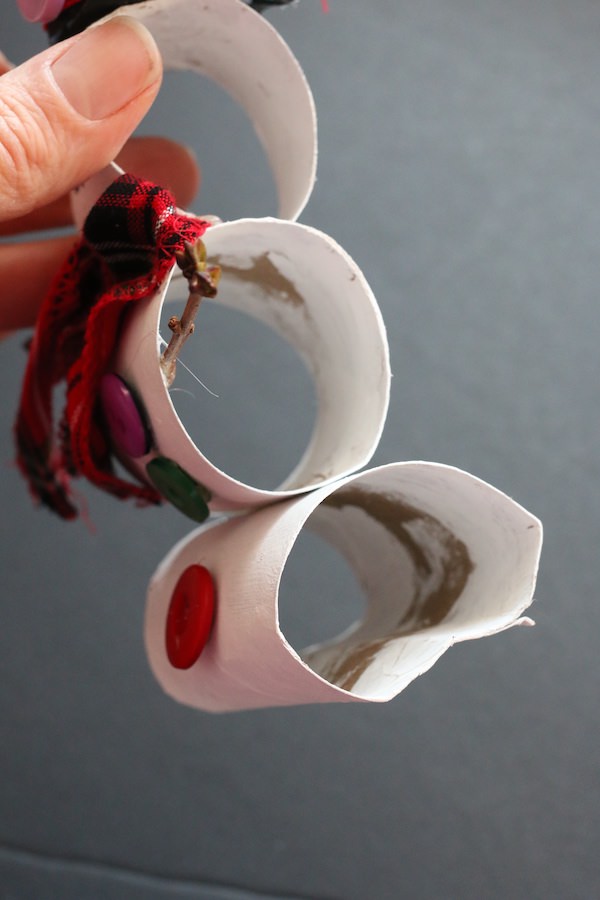
STEP 11: Stand him up: To stand your snowman up, gently press the very bottom of your snowman in, and pinch or press to form a bit of a crease (see above image). Adjust as necessary to make your snowman stand up.

Set your sweet little snowman on a windowsill, desk or dresser so you can enjoy his company during these last few weeks of winter.