Toilet Paper Roll Christmas Trees
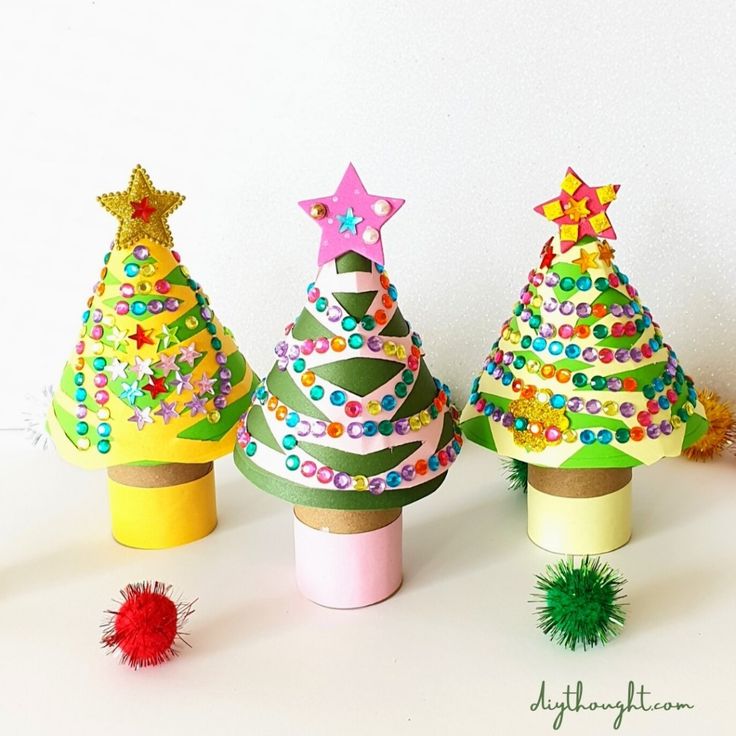
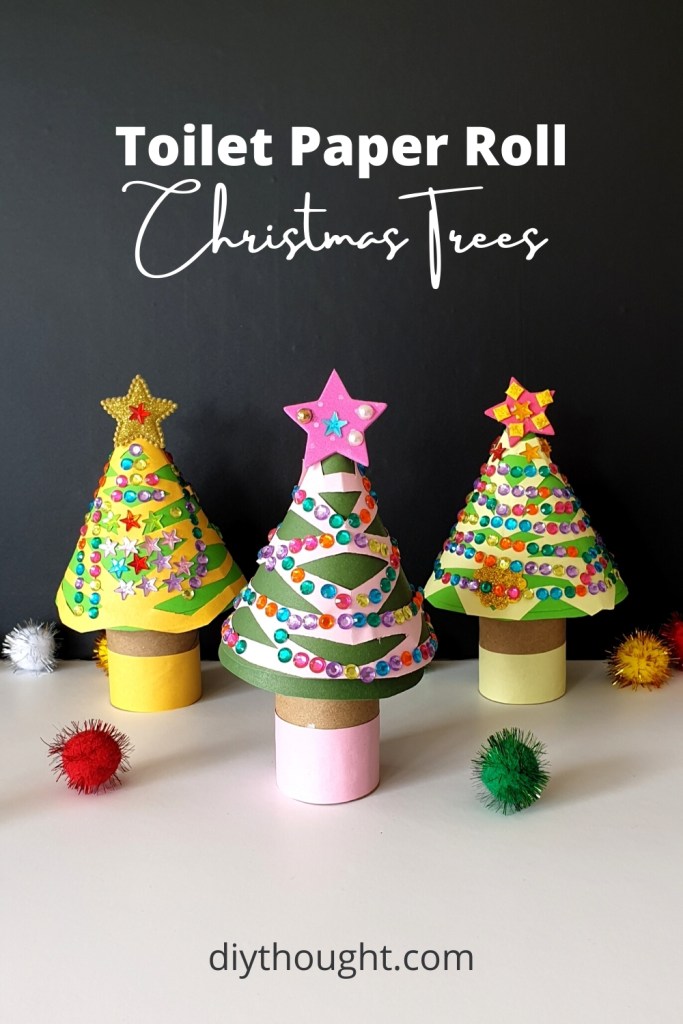
Creating toilet paper roll Christmas trees is a fun and eco-friendly way to get into the holiday spirit! Not only are these DIY trees a festive addition to your home decor, but they are also a great way to repurpose materials and get creative with your crafting. So gather up those empty rolls, get your creative juices flowing, and let's turn trash into cheerful Christmas trees!

Materials Needed
- Toilet paper roll tube
- A4 Cardstock for the treetop
- Paper for the snowflake
- Glue stick
- Hot glue
- Star for the top of the tree
- Craft box decorations, we used adhesive gems
- Scissors
- Sticky tape
- Math compass or a round plate to draw around
Prep
Start by gathering all of the supplies from the Materials Needed list. We used green cardstock for the treetops and colored paper for the snowflakes. To extend this activity get your children to decorate the paper for the snowflake with pens or crayons.
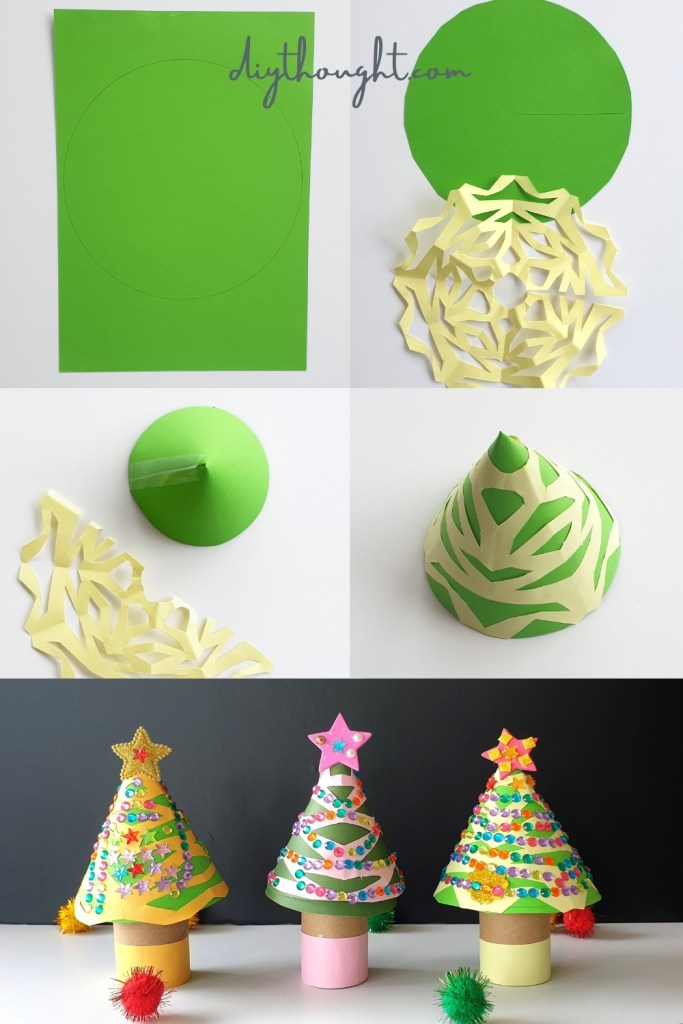
Using the math compass or round plate draw a large circle onto the cardstock, you want the circle to stretch the width of the A4 piece of cardstock. Cut out the circle. Cut a line from the side of the circle to the center point. Now take the circle and bring the two cut lines together, one on top of the other and create a cone shape. Secure in place using the sticky tape. Have a look at the photo below to get more guidance.

Snowflake
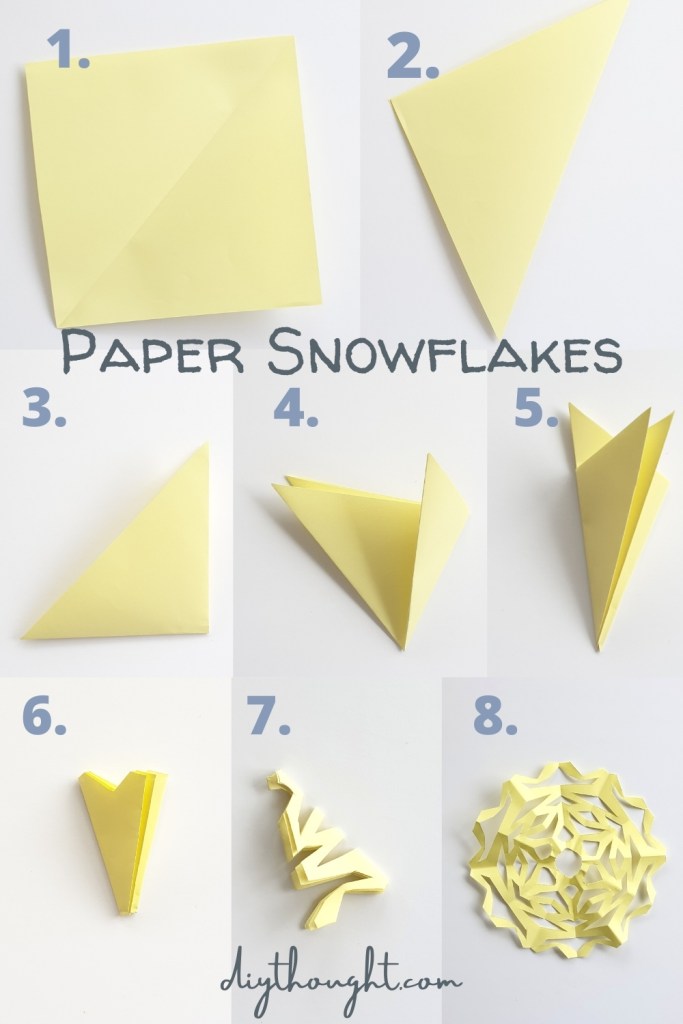
Make a snowflake or skip this step and go straight to decorating the tree. To make a snowflake have a look at the photo and follow the steps below.

- Using an A4 piece of paper fold the corner all the way to the other side of the paper to form a large triangle. Cut off the bottom unused part of the paper. Put aside to use to wrap around the base of the tree.
- You will now be left with your folded triangle.
- Now fold this triangle in half again.
- With the point pointing down fold one upper point about 2/3 across.
- Fold the other point over the top. Both sides should be equally folded. If not unfold and adjust.
- Cut the two pointed ends off in a design you like. This can be straight across, rounded or triangular, anything will look lovely. Also cut a small design at the other pointed end. This will be the center of the snowflake.
- Now cut out any pattern you like from the sides. Make sure you leave some of both sides intact! For use with this Christmas tree craft, it is ideal to cut quite a bit of the paper away so plenty of the tree base will show through.
- Unfold.
Once unfolded wrap the snowflake around the treetop, measure, and cut. You should use about half of the snowflake to decorate the tree. Use the glue stick to glue the snowflake onto the tree.
Decorate
Get all of your fun craft box decorations and decorate the tree. You can use any craft box supplies that you like and stick them onto your tree in any design. We used adhesive gems which made the decorating super easy for Miss 6 as no glue was needed!
Use the remaining paper from the snowflake (or use another color) and glue it around the base of the toilet roll tube using a glue stick.
Glue the tree together
Finally use hot glue to glue the top of the tree onto the toilet roll tube. Add a star to finish the tree.
