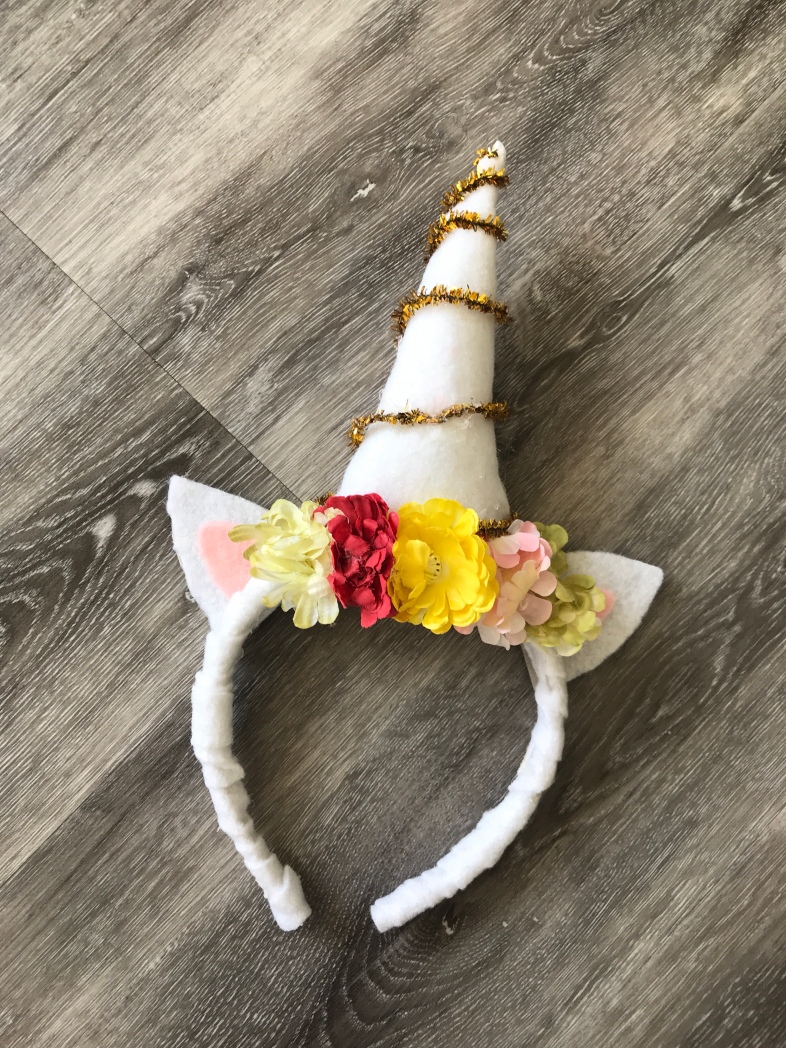
DIY Unicorn Horn Headband
Unicorn horn headbands are a delightful and whimsical accessory that adds a touch of magic to any outfit. With their shimmering colors and spiral design, these headbands are perfect for adding a playful and enchanting touch to birthday parties, Halloween costumes, or just for a fun night out. They are versatile and can be worn by both children and adults, making them a charming addition to anyone's wardrobe. Whether you're a fan of unicorns or just looking to add a pop of color to your look, a unicorn horn headband is sure to bring a smile to your face and spread a little bit of joy wherever you go.
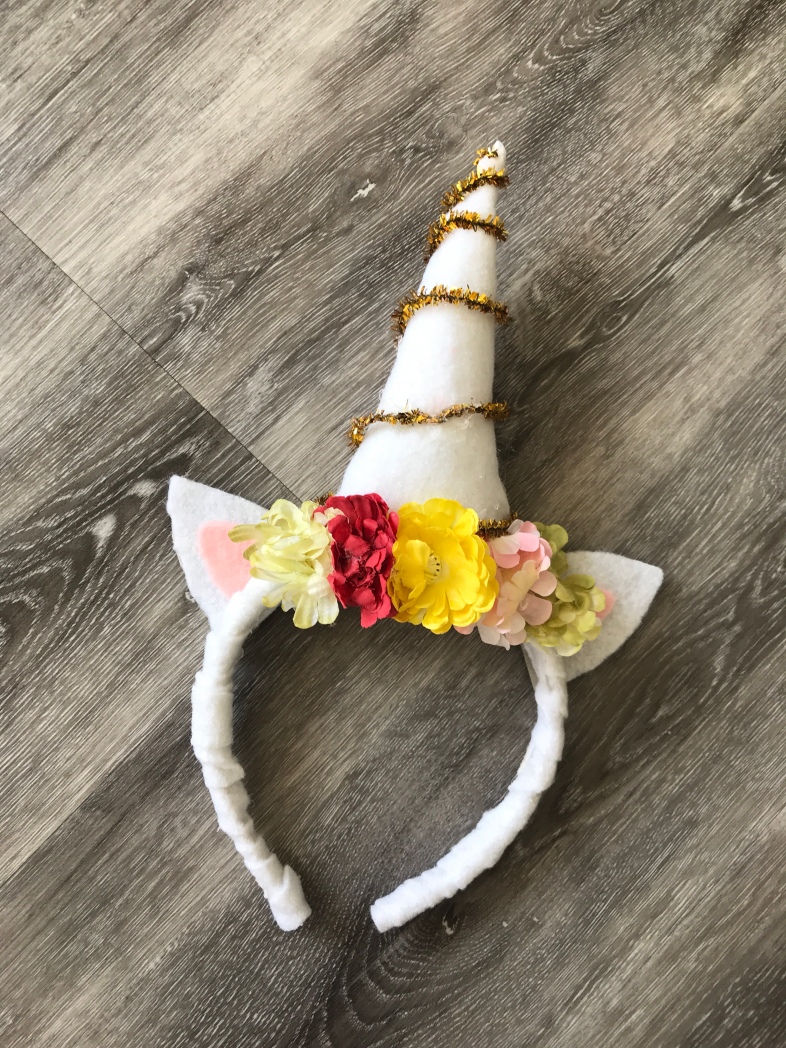
Materials:
- Taylor Joelle Rainbow Stripe Dress
- white felt (I had them cut me a 1/4 yard at the fabric store, and I have tons left).
- pink felt
- cardboard (I used a notebook cover)
- hot glue gun
- scissors
- headband (mine is from the dollar store)
- gold pipe cleaner (or gold wire)
- stuffing
- flowers to decorate
Step 1:
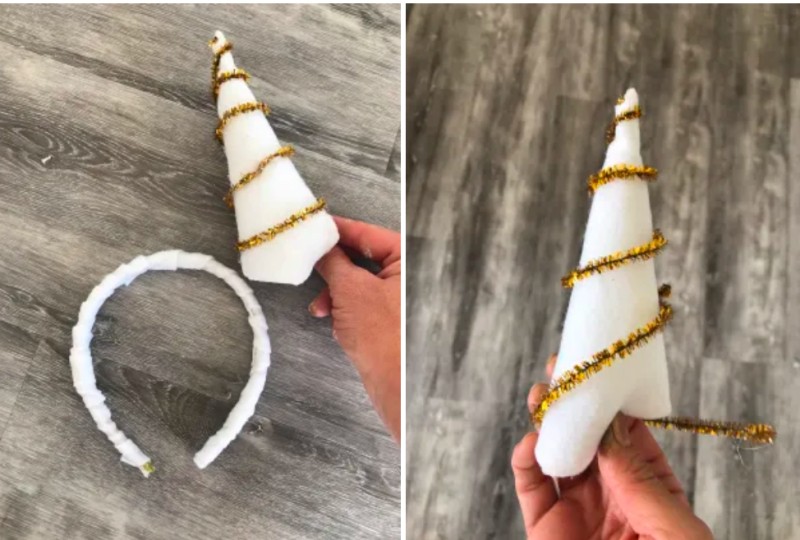
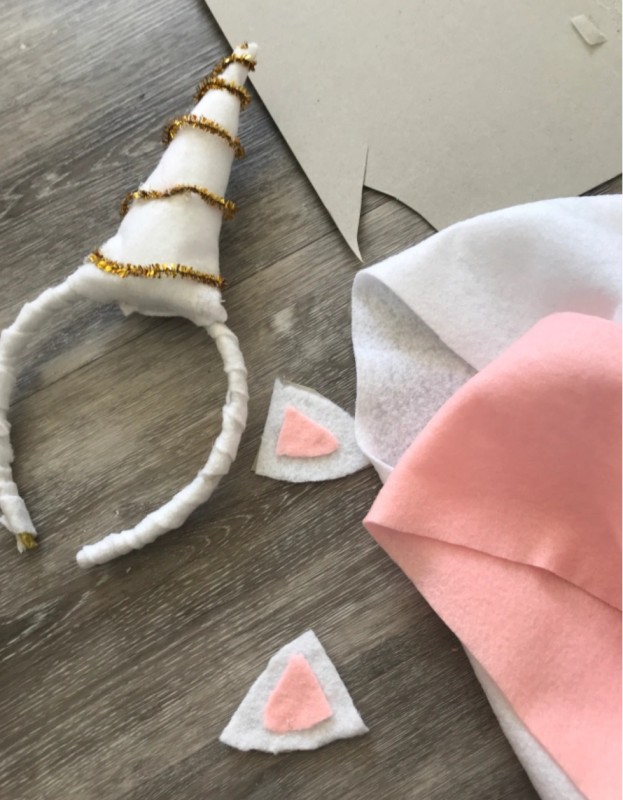
Cover the headband with strips of white felt using hot glue
Step 2:
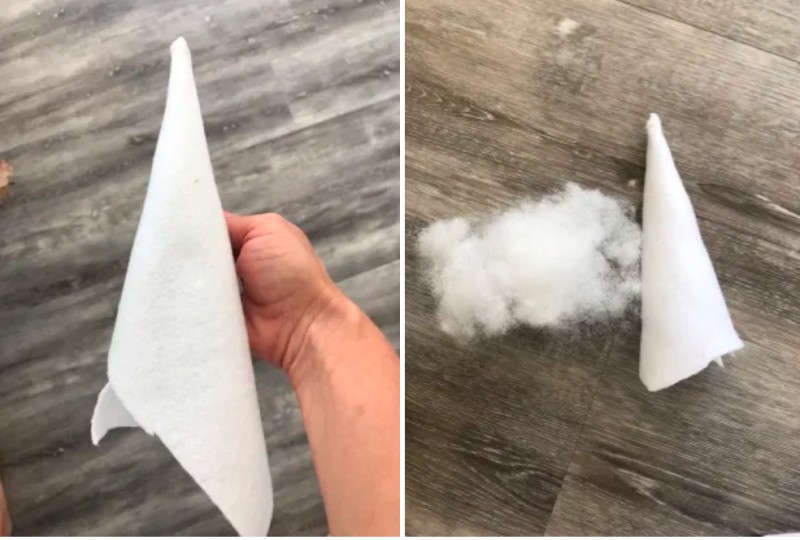
Create the horn. I pinched down one corner, began rolling into the shape I want and used hot glue to secure as I rolled. Once it was the size I wanted, I cut the bottom to make it an even cone. Next I stuffed the cone with some cotton stuffing (took some from a throw pillow I was planning on tossing).
Step 3:
Wrap the pipe cleaner or wire around the horn. I used dabs of hot glue to secure it. Then, attach the horn to the headband. This time I uses lots of hot glue and fold the sides over the headband.
Step 4:
Cut the unicorn ears out using cardboard and felt. Glue the felt to the cardboard to make it stiff. Then use hot glue to attach the ears to the headband.
Step 5:
Embellish with some fake flowers. Rather than spending a lot of money buying the different colors I need, I bought 1 bunch of white flowers and painted them with spray paint and acrylic paint that we had around the house. Glue the flowers to the headband.
