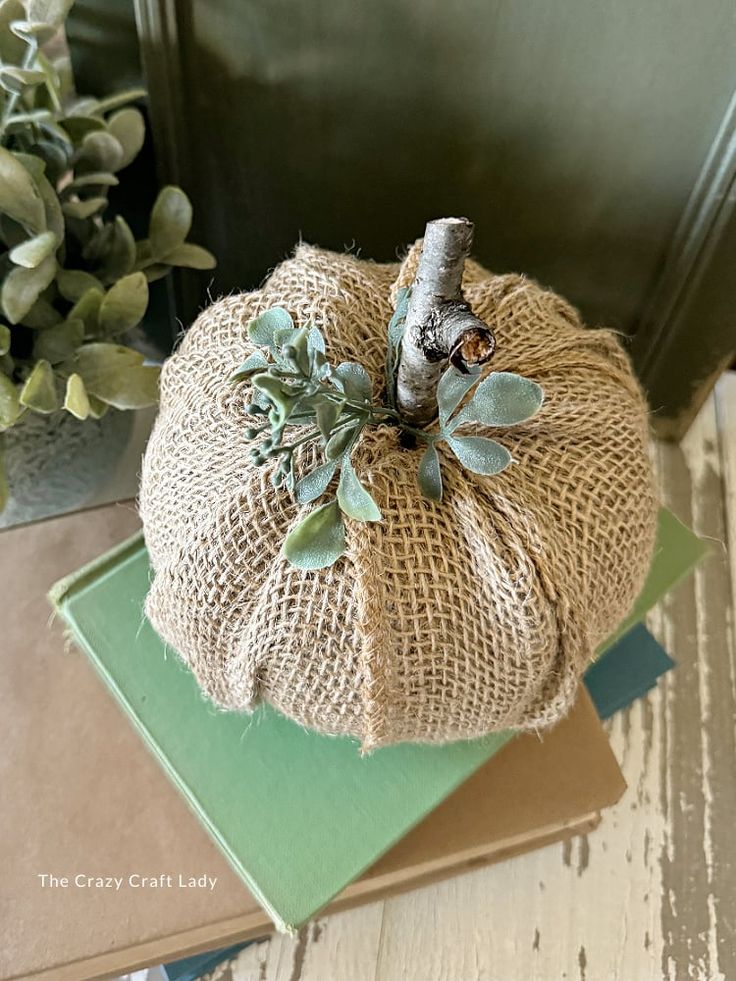
Burlap Pumpkin Craft
Creating a burlap pumpkin craft is not only a fun and creative project but also a delightful way to bring the cozy fall vibes into your home. By gathering some burlap, stuffing, and a bit of creativity, you can make adorable pumpkins that will add a warm touch to your autumn decor. Whether you make them with your kids or enjoy some solo crafting time, these burlap pumpkins are sure to bring a smile to your face and a touch of homemade charm to your space. So, grab your crafting supplies and get ready to enjoy the simple pleasure of making these cute and festive decorations!

Materials
- styrofoam pumpkin (Dollar Tree)
- Folkart home decor chalk paint (color: castle)
- stick (from outside)
- roll of burlap ribbon (5" wide, cut in 10" lengths)
- a sprig of faux greenery
Tools
- 1" flat paint brush
- Exacto knife (pen blade)
- miter shears
- hot glue gun
- Scissors
Instructions
- Prep the pumpkin. Start by removing the stem with an exacto knife (pen blade). Create an additional circle in the bottom of the pumpkin as well.

Paint the pumpkin. Paint the entire pumpkin using a 1" flat paint brush in the chalk paint color castle. Allow it to dry completely.

Cut the ribbon. Cut about 7 pieces of ribbon in 10" lengths.

Assemble the pumpkin. Starting with one piece at a time, tuck one end of the ribbon into the top of the pumpkin and the other end into the bottom. Create folds to give it texture. (Watch the video to see how I did this.) Keep adding ribbon until the pumpkin is completely covered.

Embellish the pumpkin. Cut a twig/stick down to size. Pop it into the center of the pumpkin (it will also help hold the burlap in. Finish by hot gluing a sprig of faux greenery to the top near the twig.

Notes
If you want to paint the entire pumpkin at once, use a piece of parchment paper to sit the wet side on while painting the remaining dry side.