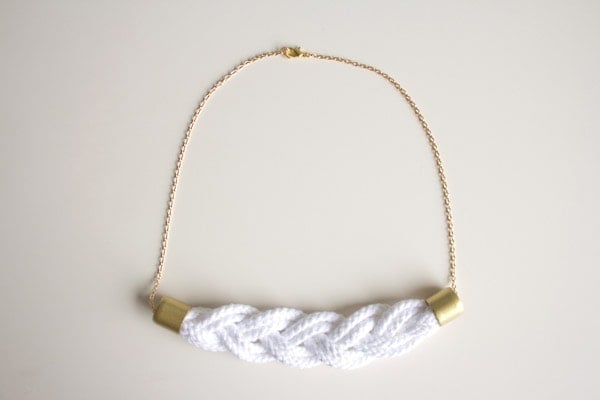
DIY Braided Rope Necklace
Are you looking to add a touch of creativity to your jewelry collection? Why not try making a DIY braided rope necklace! This fun and easy project allows you to customize your necklace to match your style perfectly. Once completed, you now have a unique and stylish accessory that you can proudly wear or gift to friends and family. Enjoy getting crafty and expressing your individuality through this simple yet charming DIY project!

Materials
- cotton rope trim
- 2 bushings (mine were copper but I spray painted them gold)
- necklace chain
- necklace clasp
- jump rings
- needle nose pliers
- strong glue
- scissors
- tape
Make Time: 30 minutes
Cut 6 pieces of rope trim, 10″ each. Tape down the ends. Make three groups of two strands each and braid together. When your braid is about 7-8″ long, wrap tape tightly around both ends.
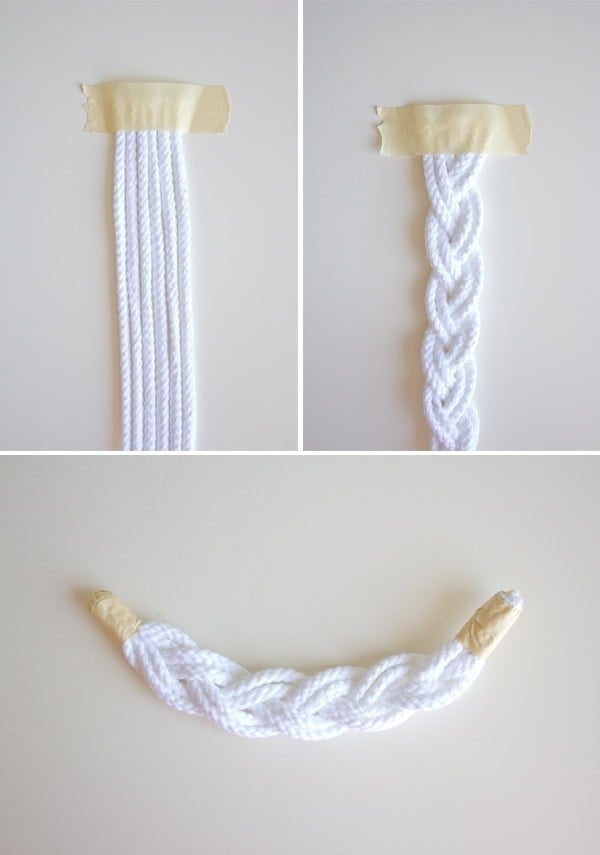
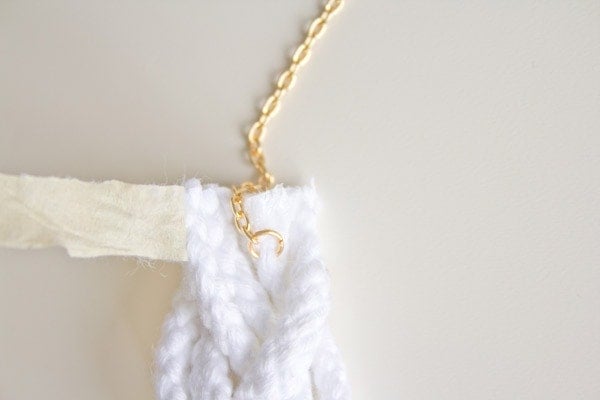
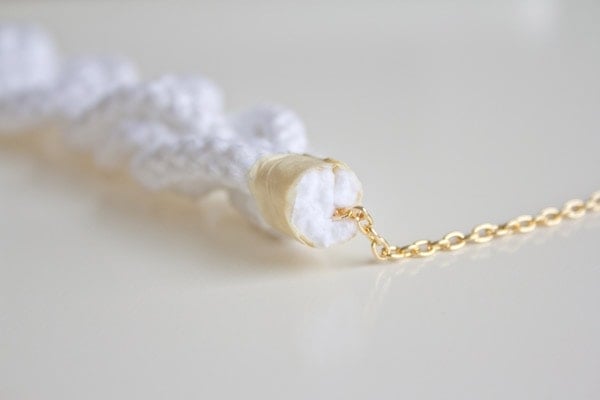
Trim the taped ends to about 1/2″ in length. Unwrap one end. Thread a jump ring through one of the ropes and apply some glue to the rope so that it doesn’t unravel. Attach 7″ of chain. Re-wrap the ropes in the tape tightly. Repeat on the other side.
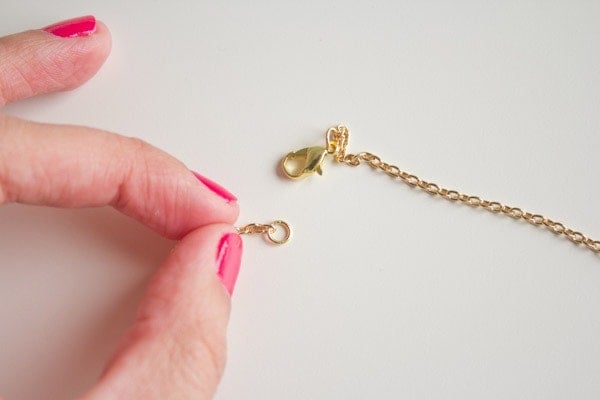
On the open ends of the chain, attach a jump ring on one side and a necklace clasp on the other.
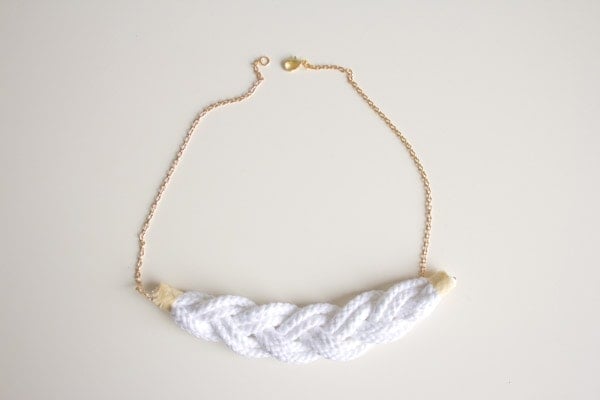
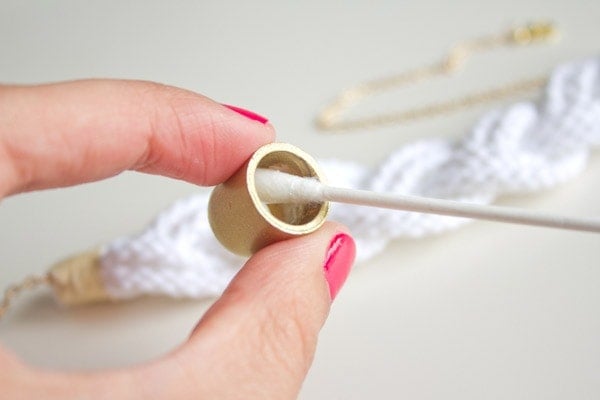
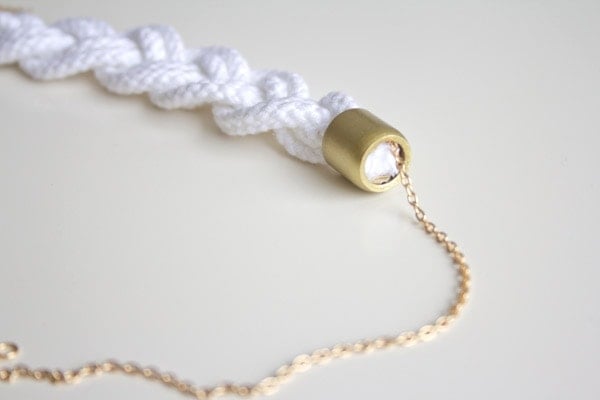
Apply glue to the inside of the bushing and carefully string it onto one end of the necklace. Secure the taped end inside, hiding the tape and being sure that the bushing is firmly glued in place. Repeat on the other side.
