DIY Door Snowman
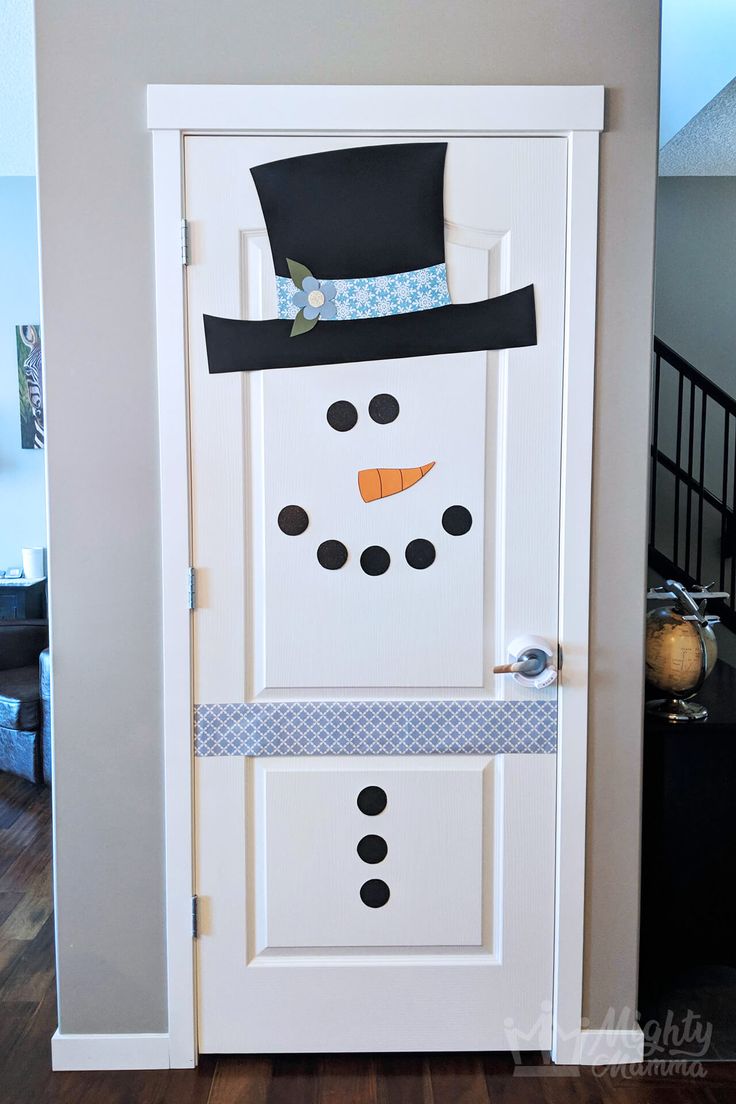
The DIY Door Snowman is a delightful and charming way to welcome the winter season with a touch of whimsy and creativity! Whether you are a seasoned crafter or trying out a new project for the first time, this DIY idea is sure to bring a smile to your face and brighten up your home during the colder months. So, grab your supplies, get creative, and enjoy spreading some cheerful winter spirit with your very own DIY Door Snowman!

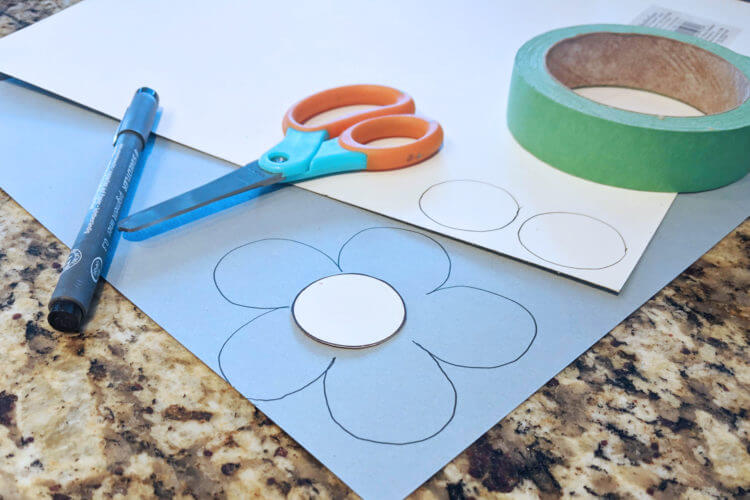
Trace out round black circles for the snowman’s coal eyes and mouth. I found a glass that I thought would be an appropriate size. I traced 8 circles around 2 ½ inches in diameter (5 for the mouth & 3 for coal buttons). I traced 2 slightly larger circles around 3” in diameter for the eyes. I used black glitter paper as it made our snowman’s eyes sparkle in the light.
Draw and cut the shape of a top hat and top hat brim out of the large piece of black poster board.
Out of orange cardstock, freehand and cut out a carrot nose (I also, drew some lines on the nose for more detail.)
Out of other paper of your colour choice freehand and cut out shapes for flowers, leaves, or holly berries.

Cut the scarf from a large piece of gift wrap. Make sure you cut the piece long enough that it goes across the width of the door.
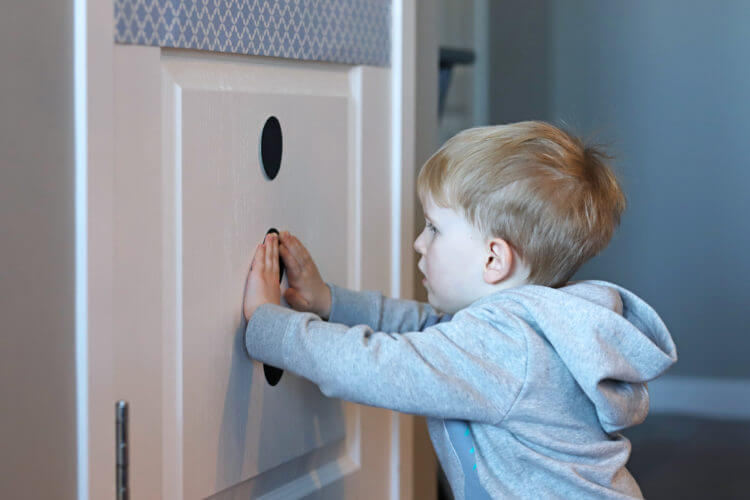
I then used painters tape which I put into a loop (because it’s easy on the finish of our walls and doors) and had the kids help me attach all of our snowman parts to the door.
