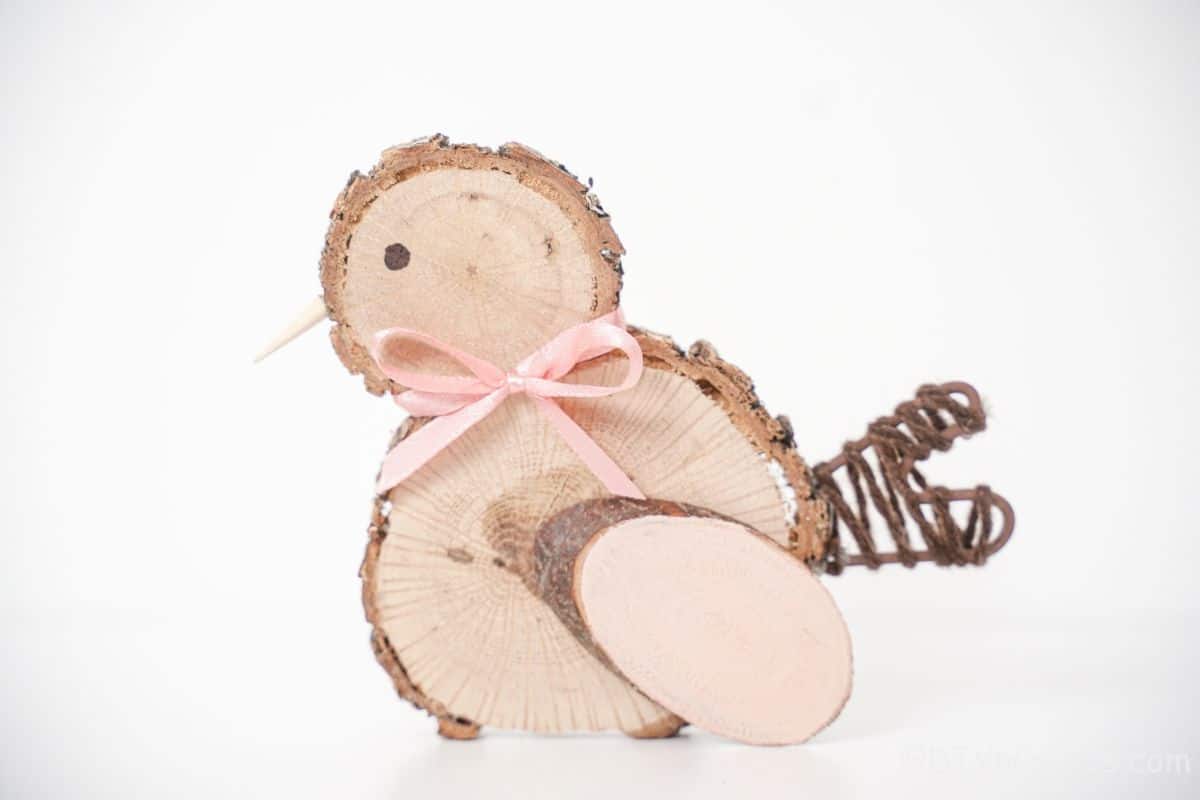
Cute Wood Slice Chicken Decoration
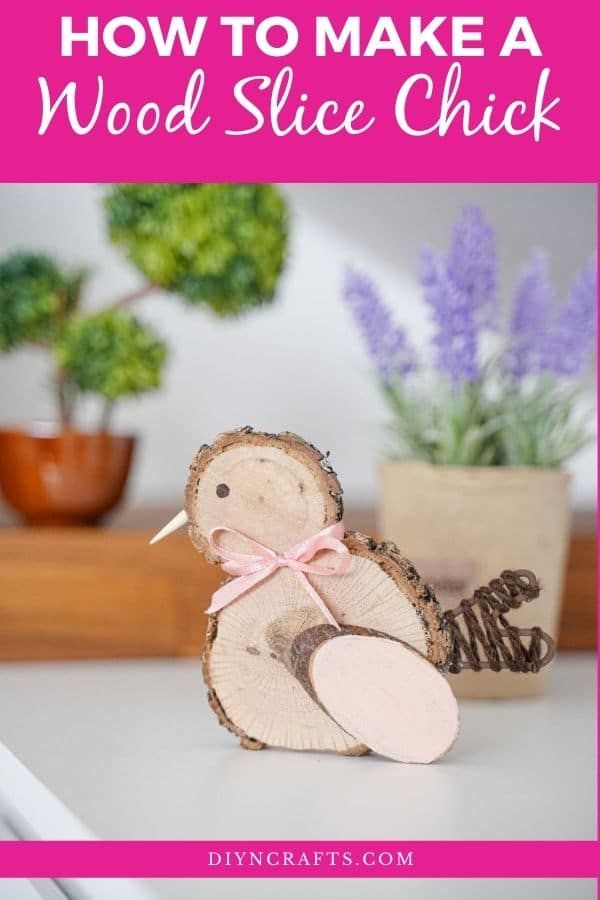
Looking for a charming addition to your home decor? The wood slice chicken decoration is the perfect choice! This delightful piece adds a touch of rustic flair to any room, making it a real eye-catcher. Crafted from natural wood, its intricate details and warm colors bring a cozy, farmhouse feel to your space. Whether placed on a shelf, mantle, or table, this adorable chicken decoration is sure to put a smile on your face every day. So why not invite this cute and quirky feathered friend into your home and enjoy its whimsical charm?
Supplies Needed
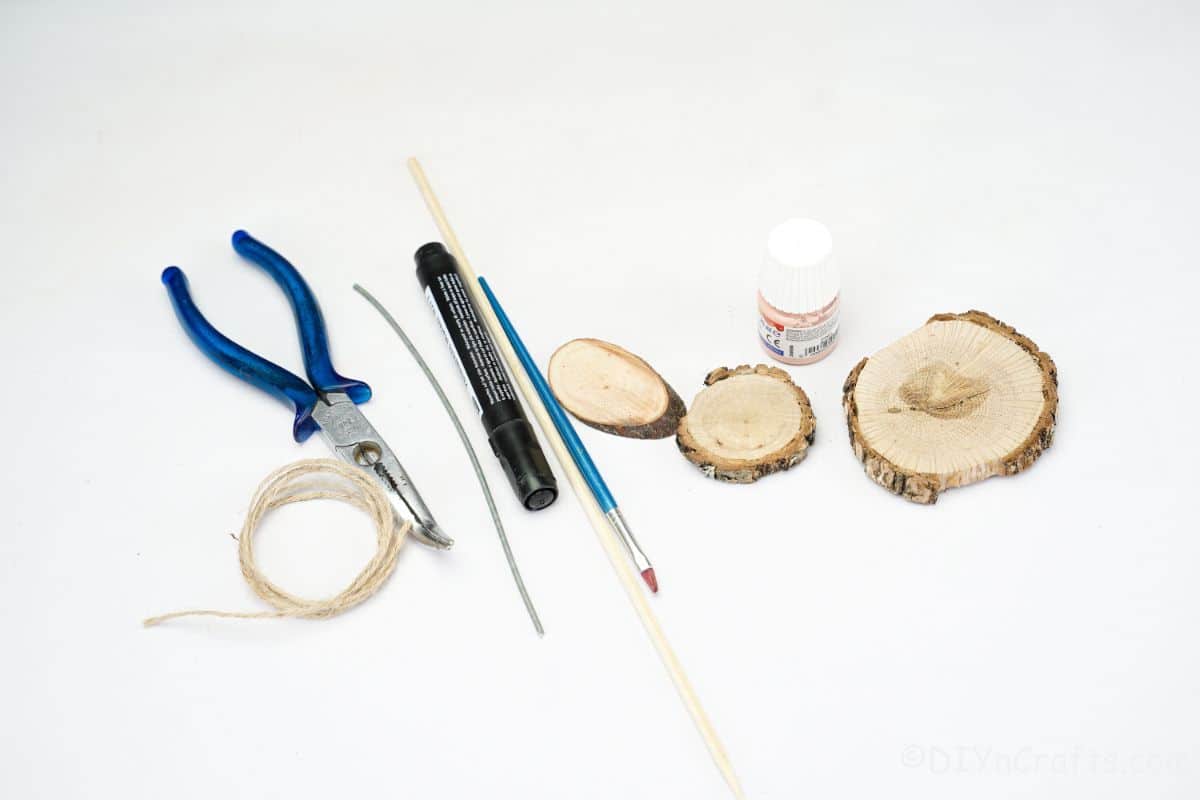
- 1 medium round wood slices
- 1 small round wood slice
- 1 oval wood slice
- Cream craft paint
- Black marker
- Metal wire
- Twine
- Pink ribbon
- Hot glue gun
- Hot glue sticks
- Scissors
- Sandpaper
- Paintbrush
- Pliers
How to Make a Wood Slice Chicken
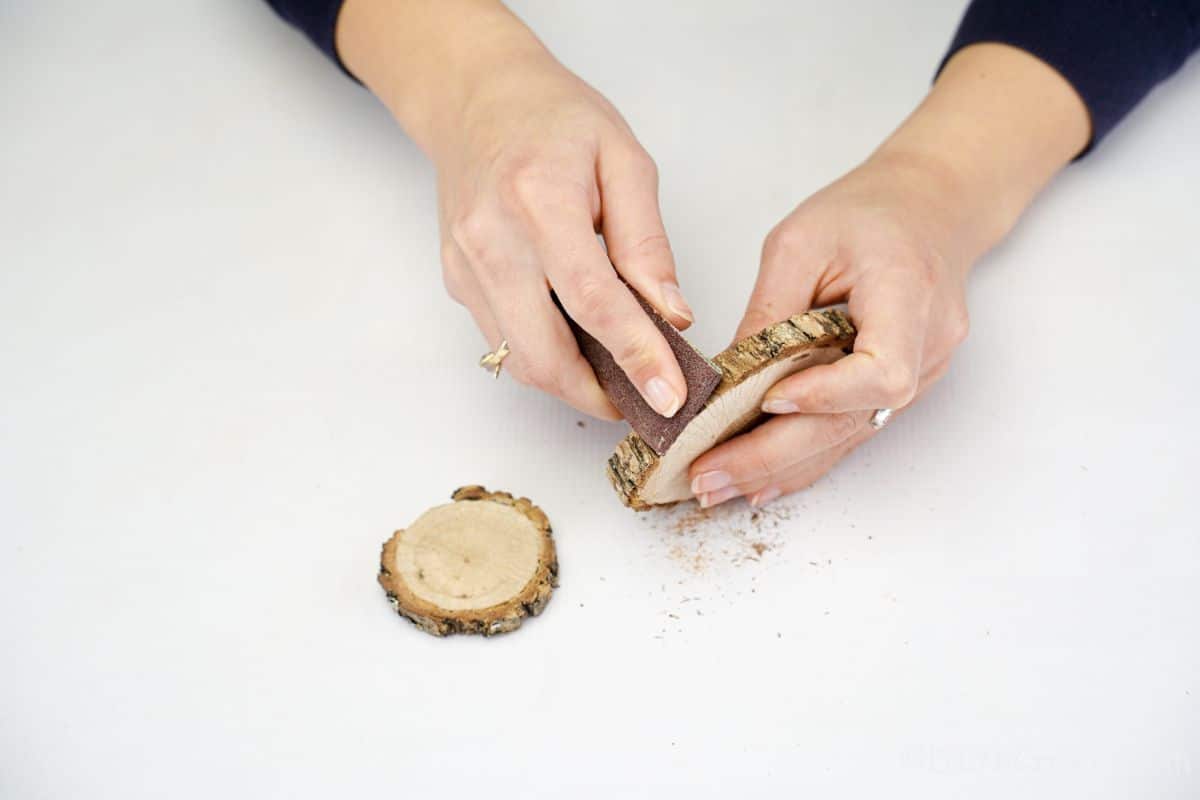
Use scissors or a craft knife to trim the bark off of the top and bottom of the larger wood slice so you have a flat top and flat bottom with a rounded side.
Do the same on only one side of the smaller wood slice. You can use sandpaper to smooth these edges if you want a cleaner edge.
Now, glue the smaller one on top of the larger one so that the two are glued together at the flattened spaces.
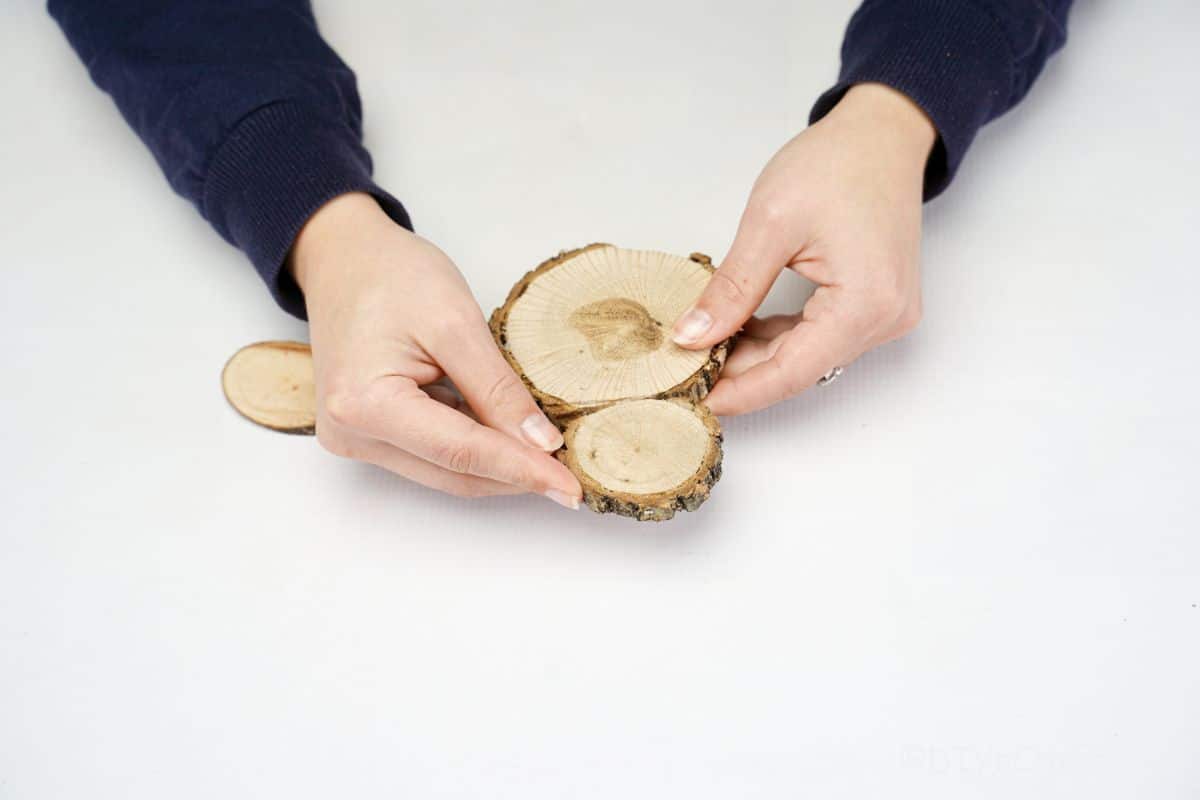
Next, glue the oval wood slice to the side of the "bird" to create a wing.
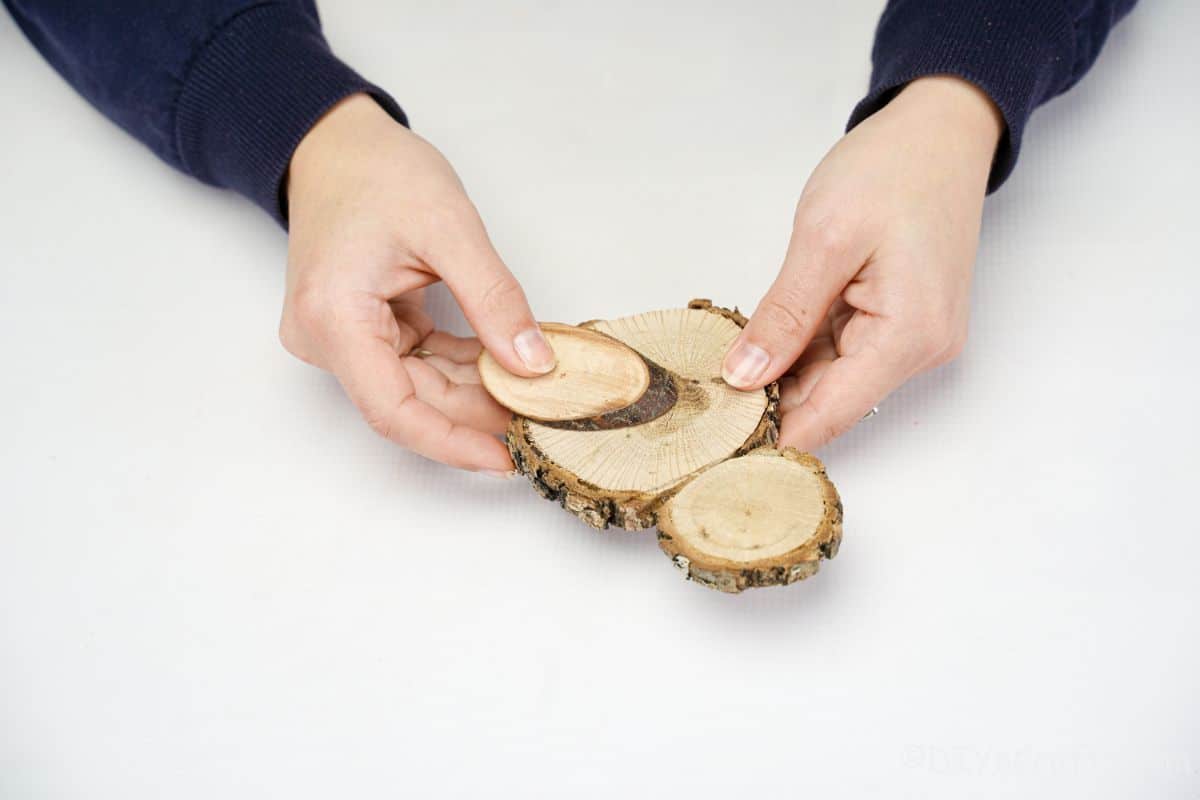
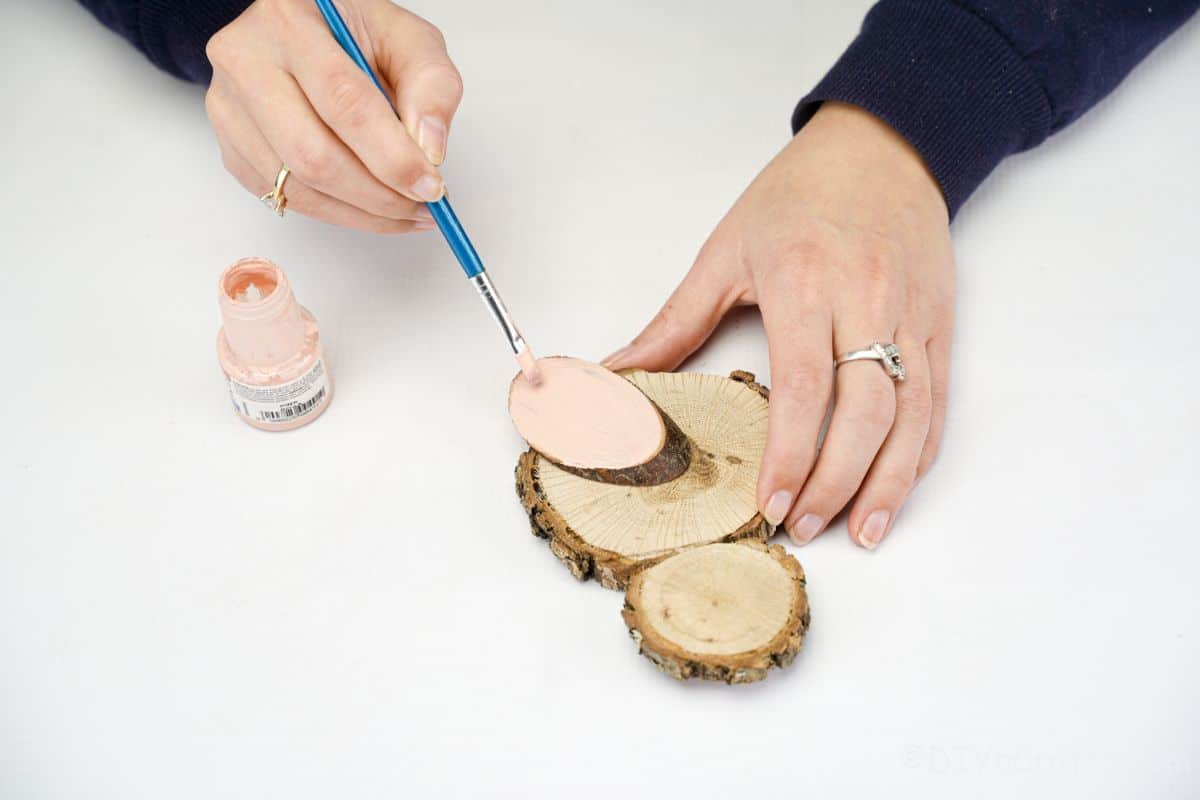
Paint the wing with cream, pink, or brown paint and set it aside to dry. If desired, you can paint the entire bird at this time, but it is not necessary to create a rustic look.
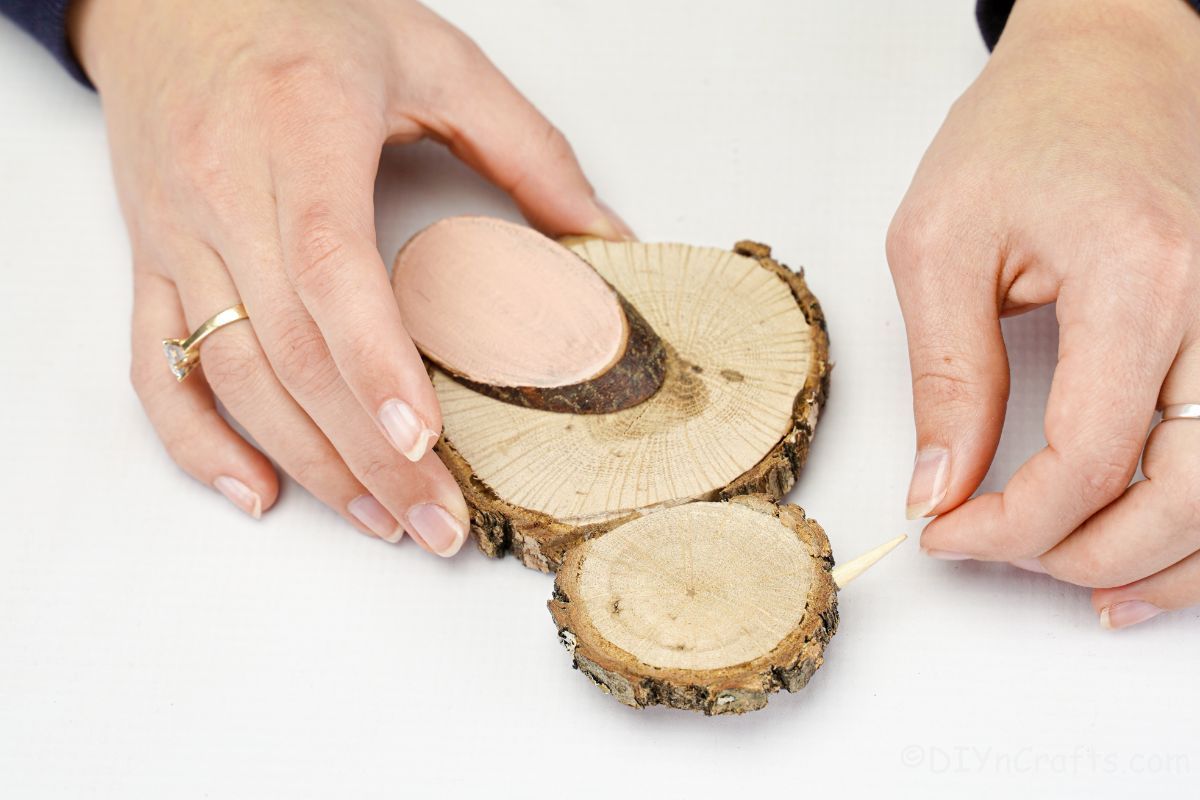
Once the wing has dried, add a small beak from wood to the front. This is easy to make from scrap wood, a toothpick, or even a dowel that has been cut into a point. If not available, you can use felt or paper to create a little peak.
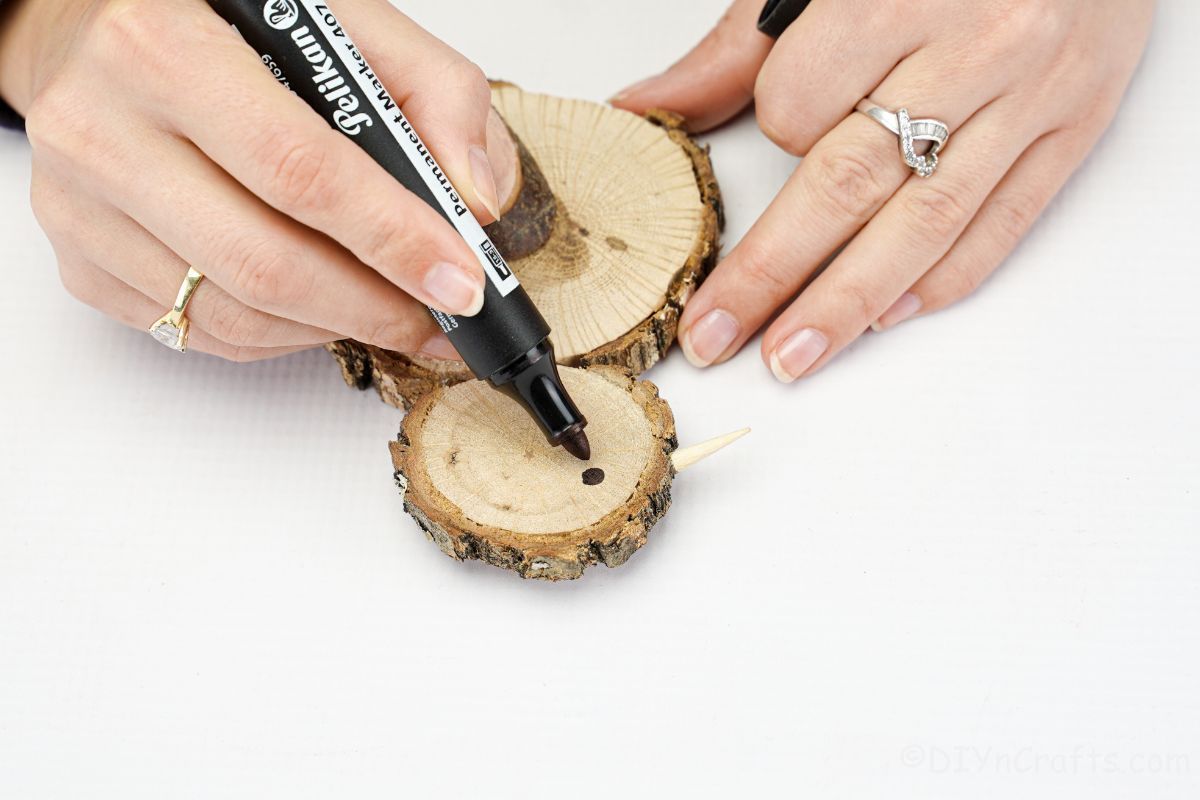
Then use a marker to create an eye on the side.
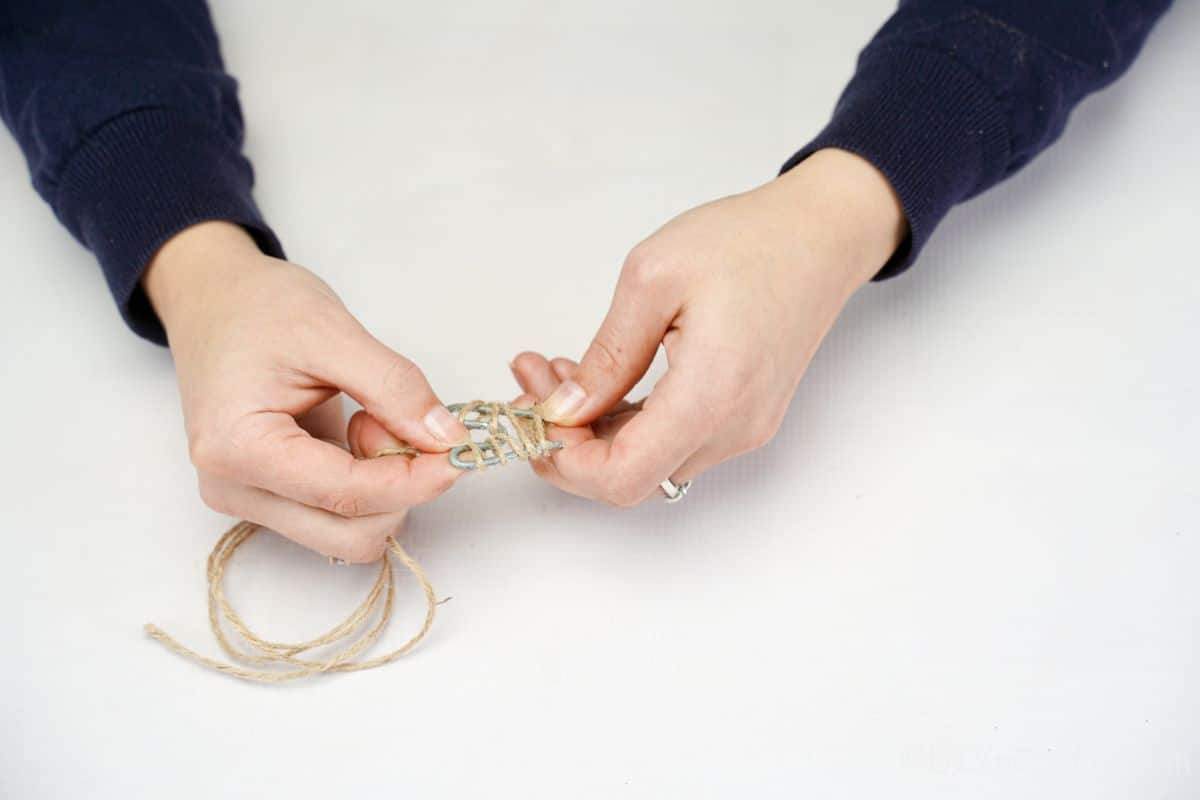
Use pliers to shape a piece of metal or floral wire into an "m".
Wrap twine around the "m' loosely, then glue into place. You want some of the metal to show, but if you prefer it can be painted or you could wrap the twine all the way around the metal so it is totally covered.
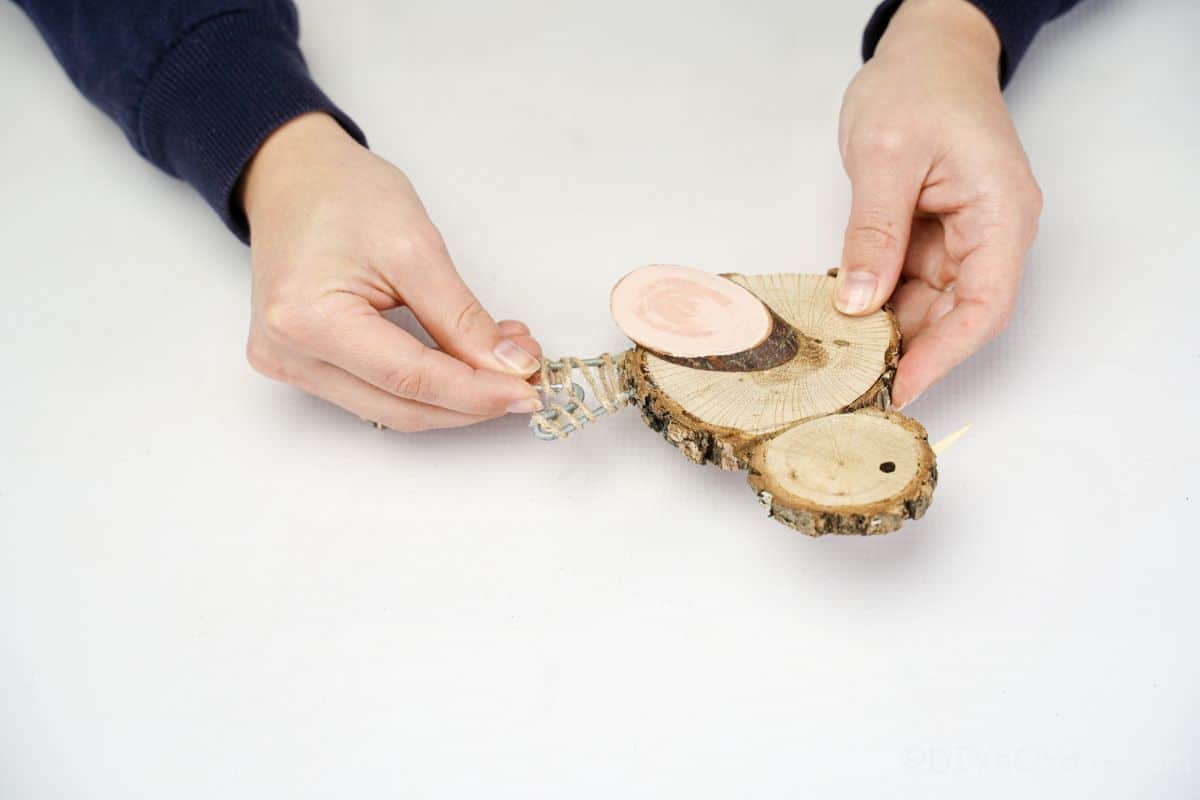
Glue this tail onto the bottom side of the bird below the wing.
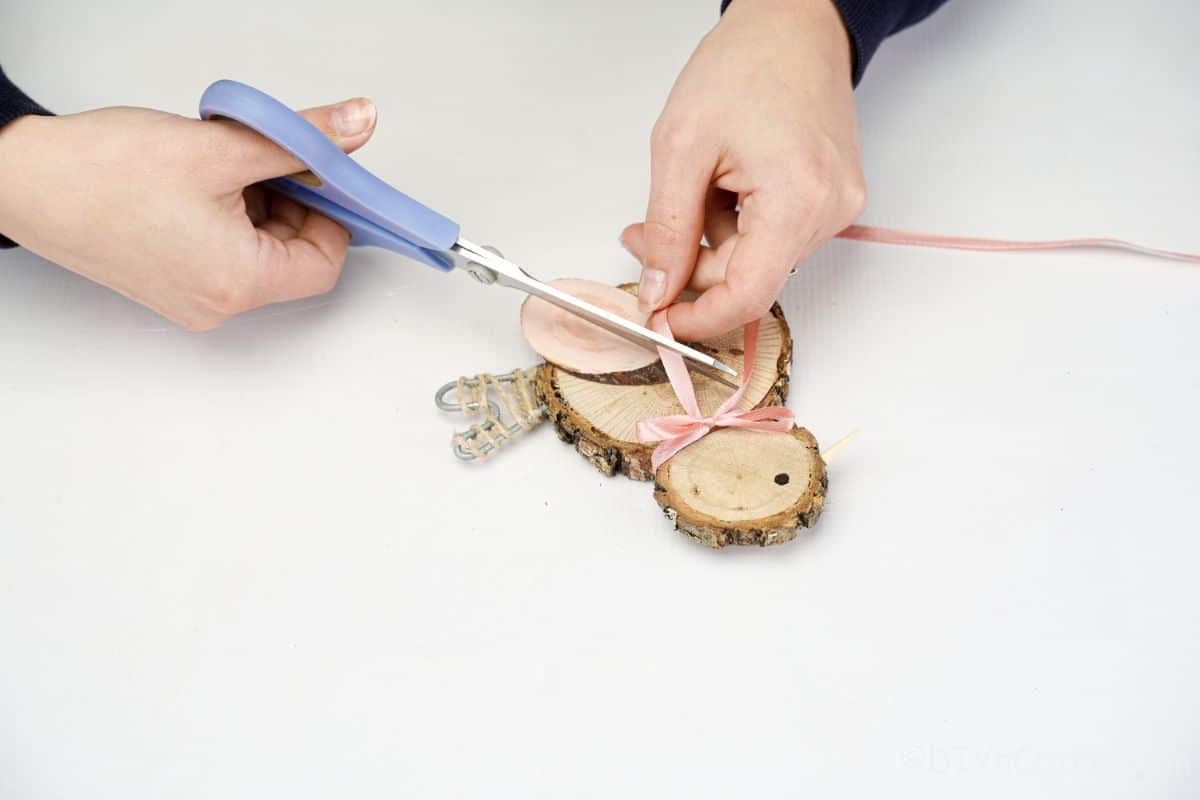
Next, cut out some ribbon and tie it around the neck of the bird, then tie the ends into a bow shape. Glue this to secure in place.
If desired, you can add additional embellishments like feathers, glitter, or paint the other wood slices before you display it!
