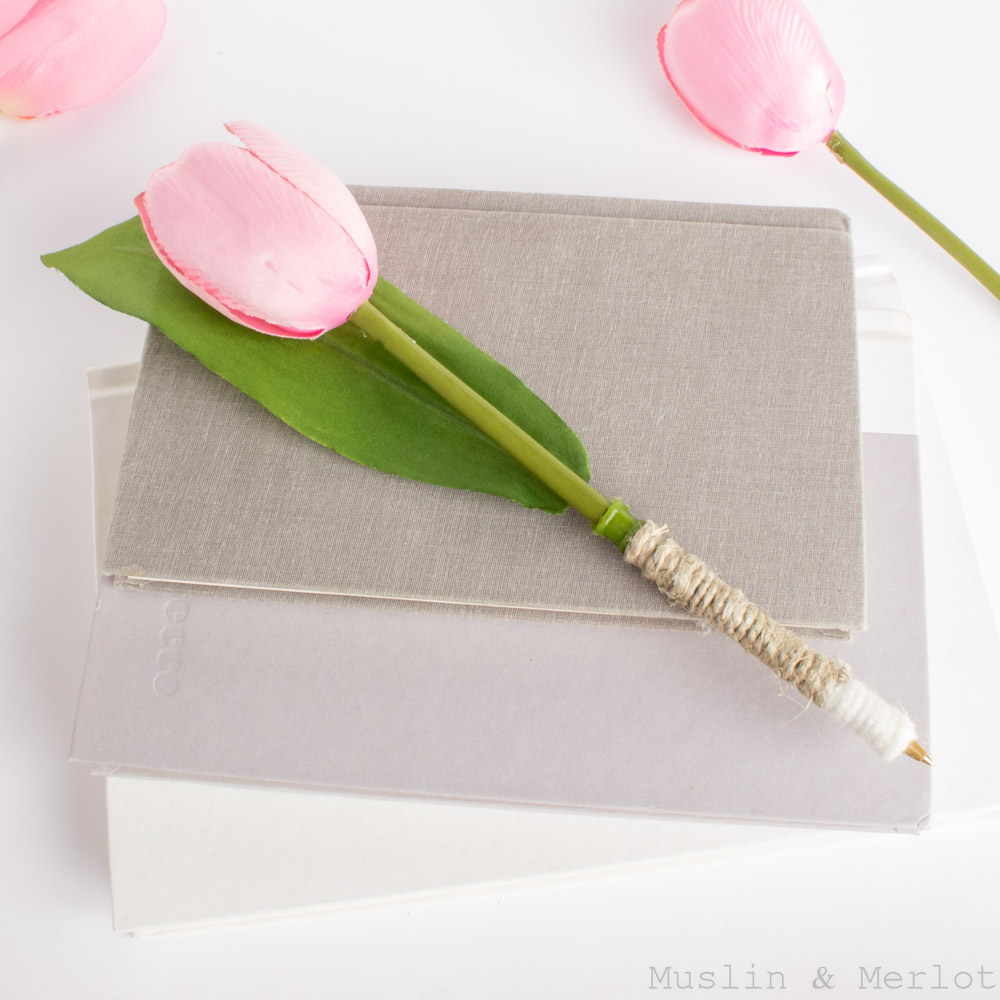
DIY Tulip Pen
Creating your own DIY Tulip Pen is a fun and creative way to add a touch of charm to your everyday writing tools. By using simple materials, you can easily transform an ordinary pen into a delightful tulip pen. Not only is this project simple and budget-friendly, but it also makes for a lovely handmade gift for friends and family. So, grab your supplies, get crafty, and watch as your plain pen blossoms into a beautiful tulip creation that will brighten up your day!

I thought up this project a few days ago - so excited to share this with you!
You will need:
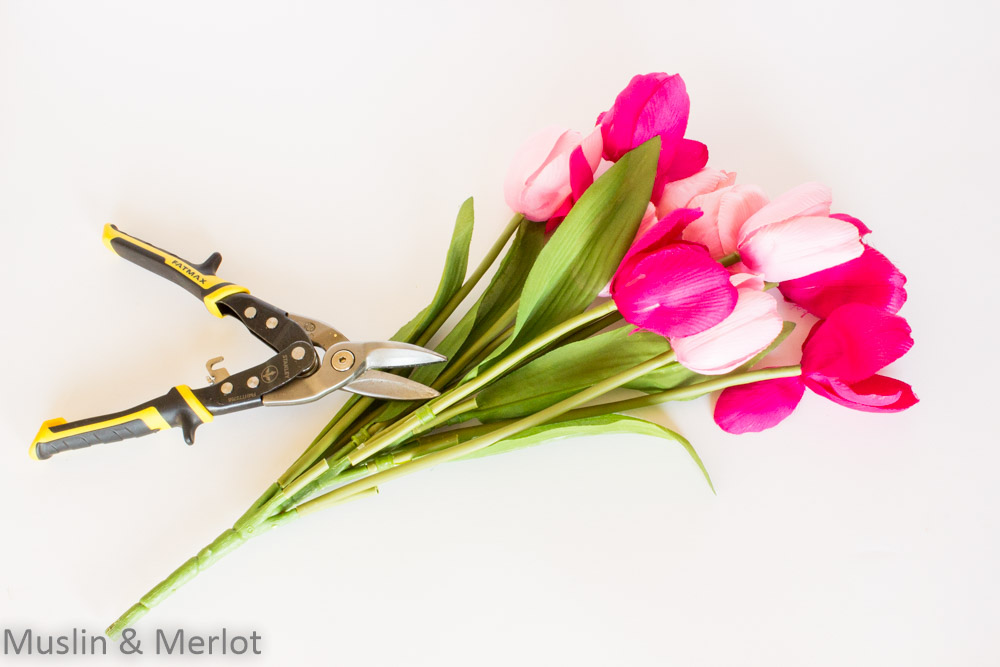
- Fake Tulips
- Glue Gun
- White Yarn
- Hemp Cord
- Scissors
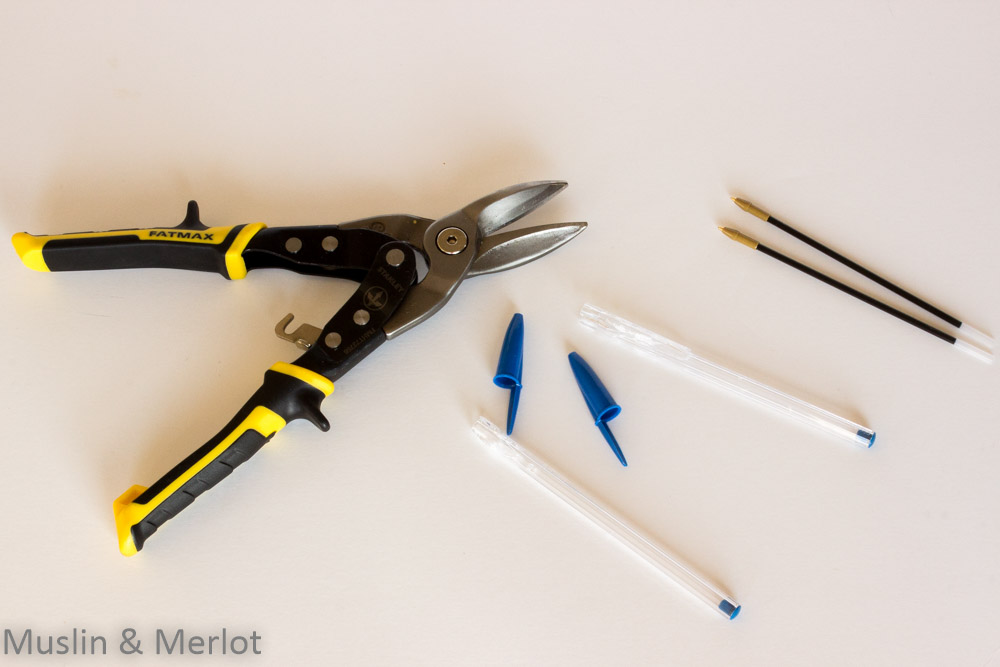
- Aviation Snips OR wire cutter
- Cheap Bic pens
Use your fatmax to crush the plastic near the top of the pen. Remove the ink. Dispose of plastic.
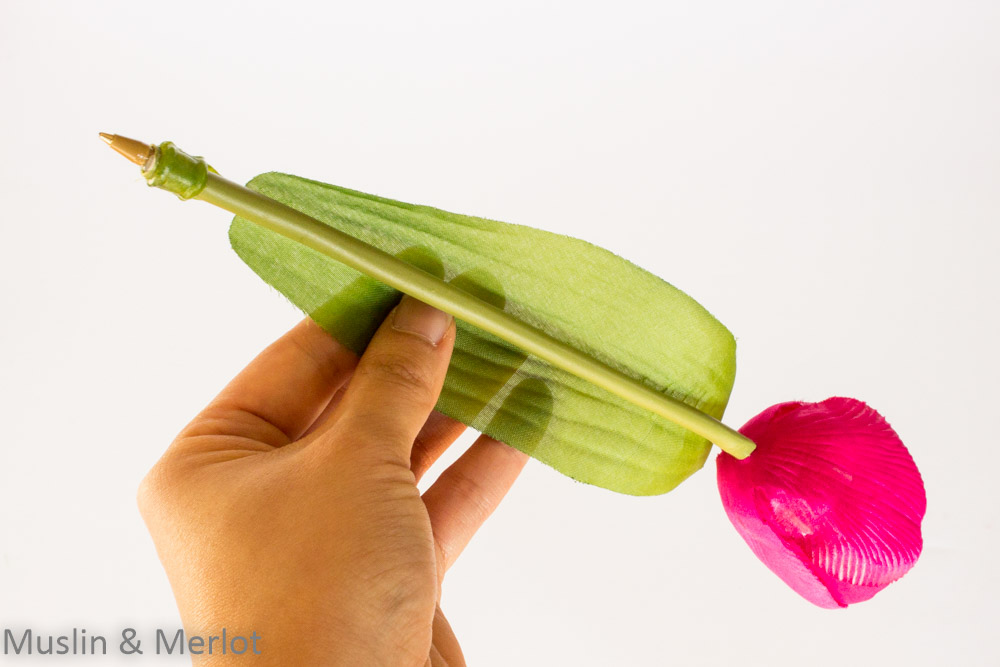
Use the fatmax again (or a wire cutter) to cut a tulip stem away from the bunch.
There will be a small wire inside the hollow plastic tube. Do not remove the wire.
The tulip leaf will slide up and down the tube. Decide now whether or not you'd like a tulip leaf as part of your pen. If not, slide the leaf stem off of the tube.

Hold the pen by the writing end. Quickly make two lines of glue on the ink.
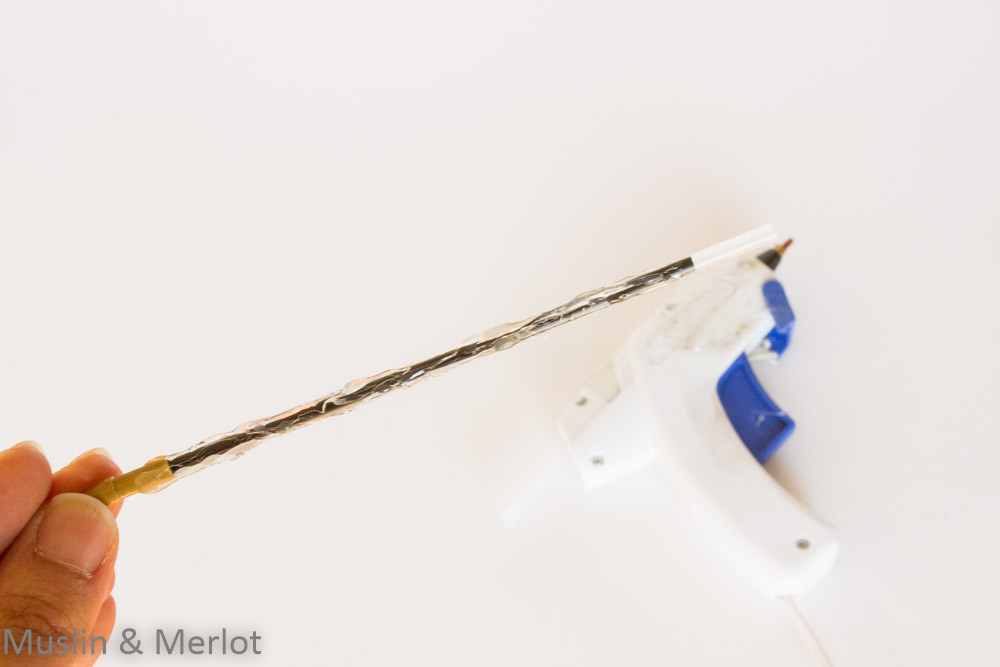
Immediately push the pen into the tulip stem. This must be done quickly, before the glue sets.
Push the leaf up the stem.
Cut a piece of yarn, approximately 18 inches long.
Cut a piece of hemp cord, approximately 24 inches long.
Put a drop of glue a little ways down from the end of the pen. Wind the yarn around the end, gluing intermittently. Wind it back the other way. This will make two layers of yarn. Glue the end down.
Put a drop of glue next to the yarn. Wind the hemp cord around the stem, gluing intermittently. Glue the end down.

Place your tulip pens in a vase. This would be a fun Mother's Day gift! Or spring wedding idea!