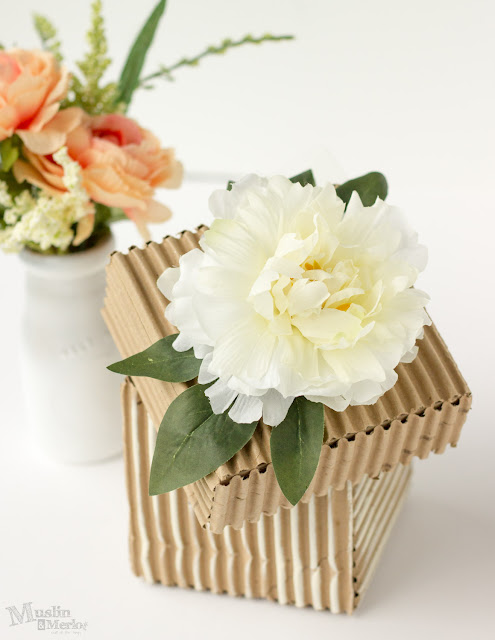
DIY Corrugated Cardboard Gift Box
Creating a DIY corrugated cardboard gift box is not only a fun project but also a great way to add a personal touch to your gifts. You can unleash your creativity by choosing your favorite colors and patterns to decorate the box. By repurposing materials you already have at home, you're not only saving money but also contributing to reducing waste. Plus, the recipient will surely appreciate the effort and thoughtfulness that went into making a unique and eco-friendly gift box just for them! So, grab some cardboard, scissors, and glue, and get ready to craft a one-of-a-kind gift box that will make your present even more special.

Supplies:
- Ruler
- Cutting Surface
- Corrugated Cardboard, 13 1/2" square and 8 1/2" square
- Scissors
- Box Cutter
- Craft Glue (I used Elmer's)
- Ribbon, paint and artificial flowers (optional)
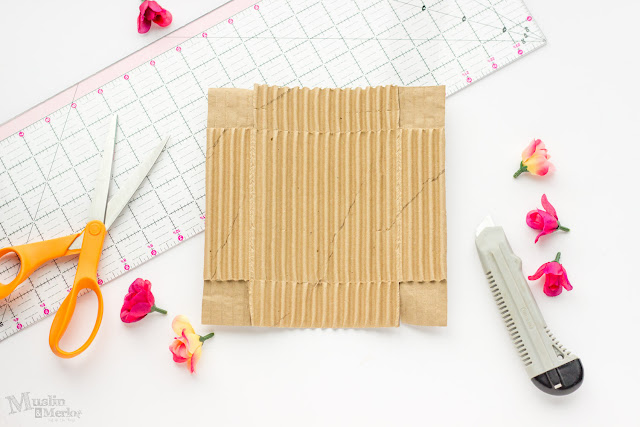
Lightly score (not cut) the square into thirds, then score into thirds again. This will give you 9 - 4 1/2 squares.
In the top corner squares, score a line 1 inch above the original score line.
In the bottom corner squares, score a line 1 inch below the original score line.
Cut on pink lines:
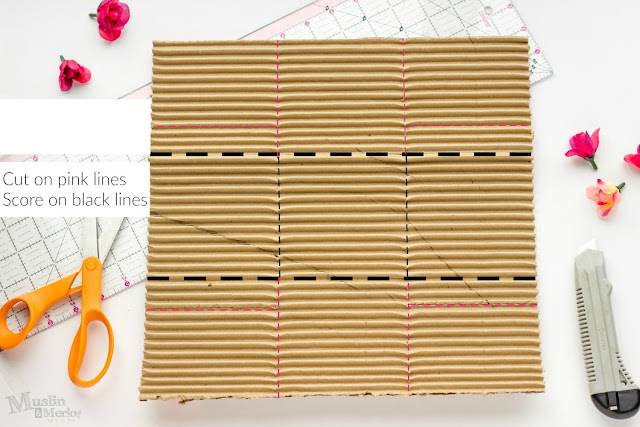
It should look like this:
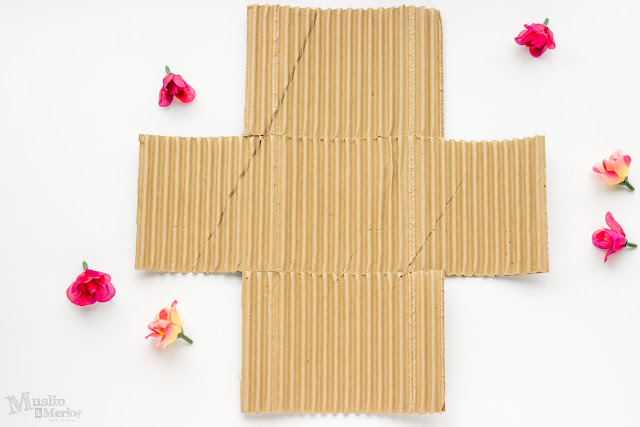
Carefully tear off the corrugation from each 1-inch wide rectangle:
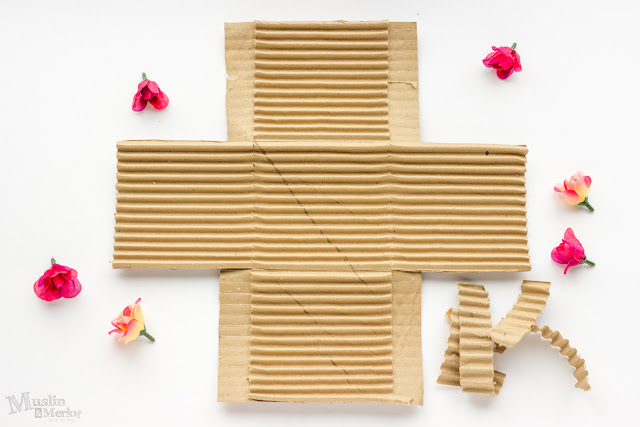
Cut the corners off each 1-inch wide rectangle tab:

Fold all scored lines. The corrugated side of the cardboard should be on the outside.
Put a thin layer of glue all over the tabs and hold against the corresponding sides, like so:
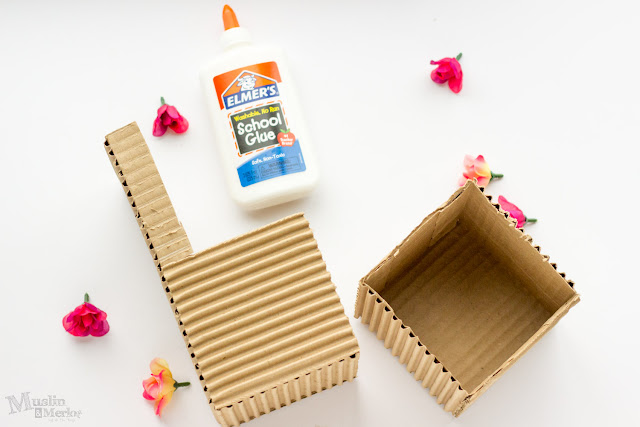
Hold the glued sides in place with your hands for a couple minutes until the glue sets.
Make the cover:
Cut an 8 1/2 inch square. Score 1 3/4" in from each edge. Remove the corrugation from the corners. Snip one side each corner tab. Fold all scored lines and glue the tabs into place
Decorate box as desired. I sponge-painted the corrugation and glued flowers to the top!