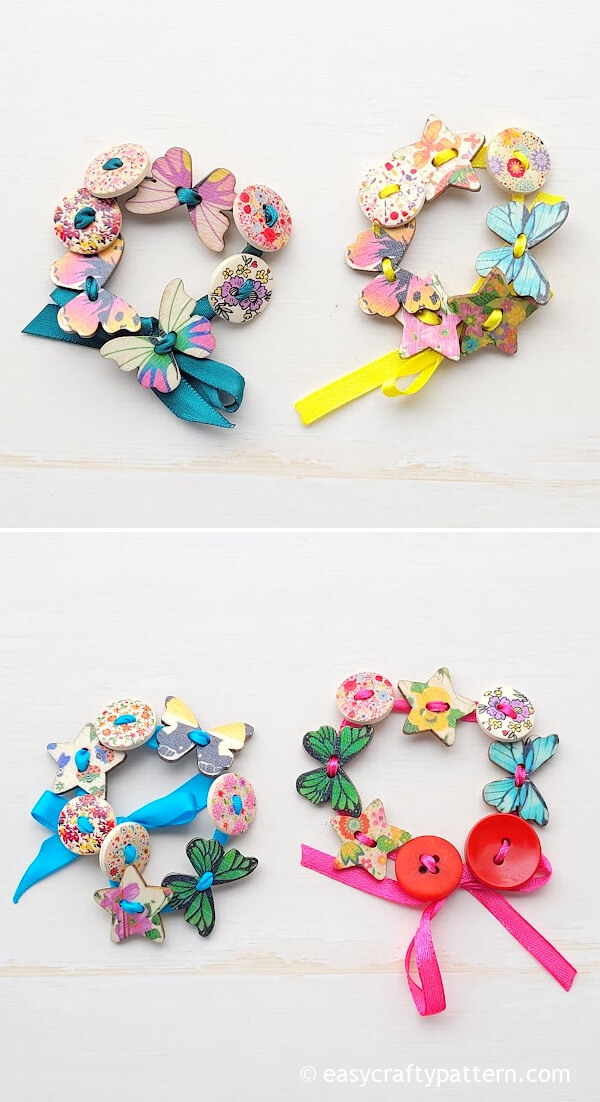
Cute Button Bracelet
Oh, how delightful it is to talk about cute button bracelets! These charming accessories are the perfect blend of craftiness and style. With just a few simple materials and a dash of creativity, you can create a unique bracelet that adds a lovely touch to any outfit. The best part? You can customize it to your heart's content by choosing different colors and sizes of buttons, making each piece truly one-of-a-kind.
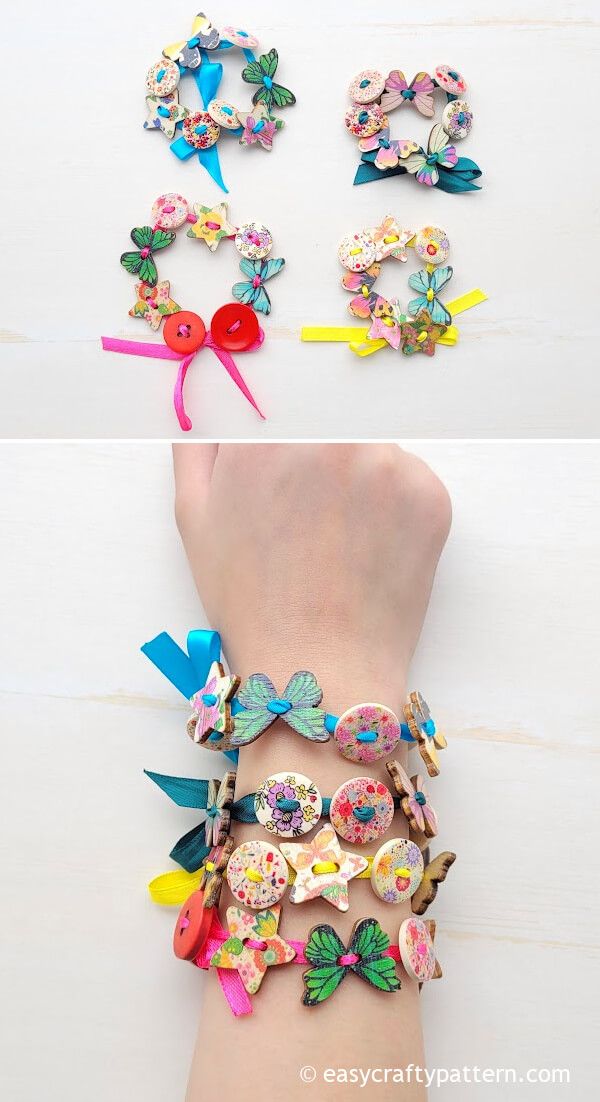
Supply To Make The Bracelet
Use colorful mismatched buttons or the same color for a monochrome look. I used a mix of plastic and painted wooden buttons for this project.
Use the thin, narrow ribbon to make threading it through the button easier. Wrapping one ribbon’s end with transparent tape also helps, or you can trim the ribbon end into a small pointy end, then seal it with the lighter to prevent fraying.
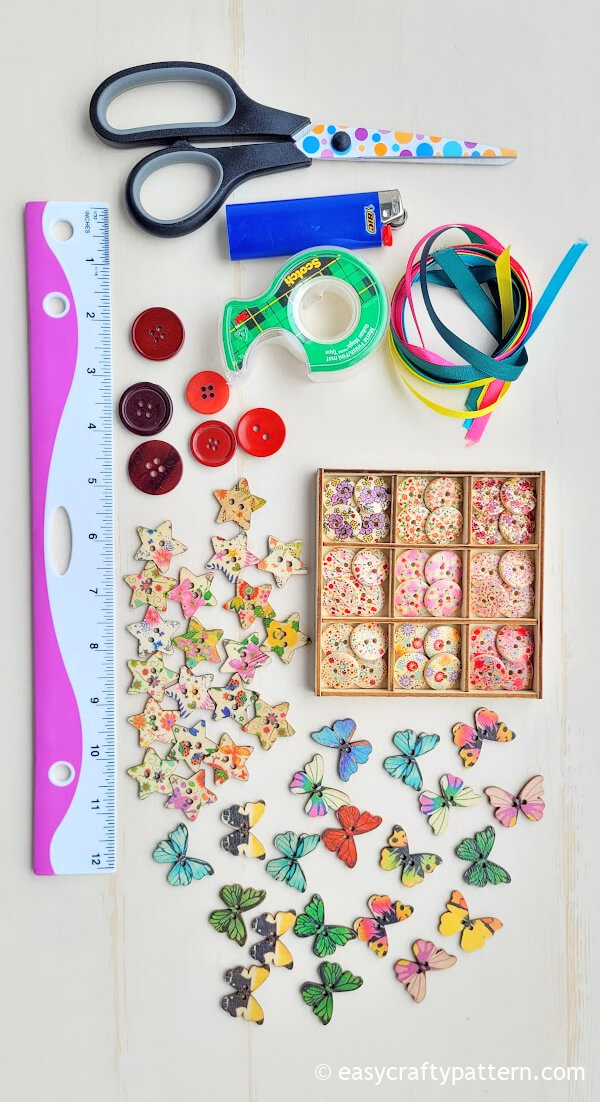
- Thin narrow ribbon
- 6 to 8 Buttons
- Lighter
- Transparent tape
Button Bracelet Tutorial
Seal the raw edge of the ribbon with a lighter.

Roll one ribbon’s end into a tiny piece, then wrap it with transparent tape. The tape will make it easier to thread the buttons.
Measure the ribbon by wrapping it around your wrist, then add 12″.
Knot the ribbon on one end, right on the 6″ mark.

Thread the ribbon through the button.
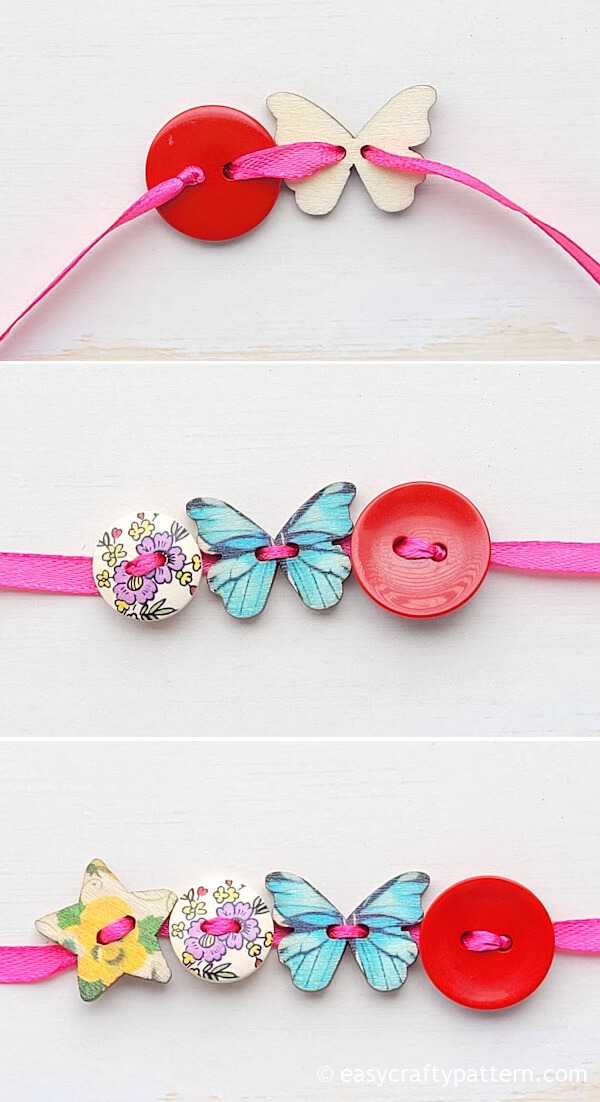
Continue threading the button as much as you want.
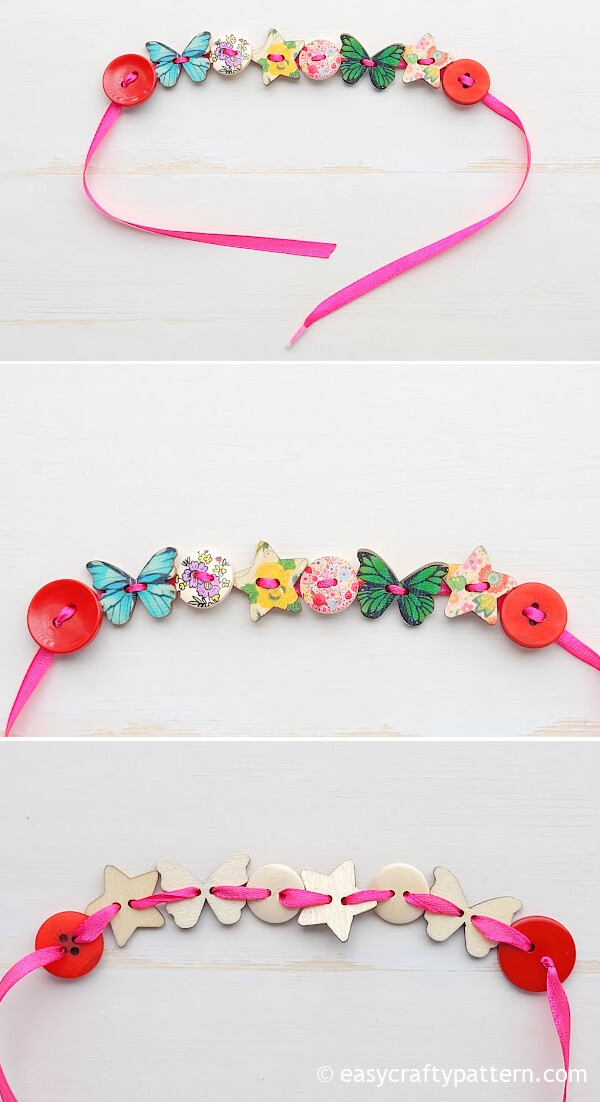
Put the bracelet on your wrist.
Measure the length to get the correct fit on your wrist.
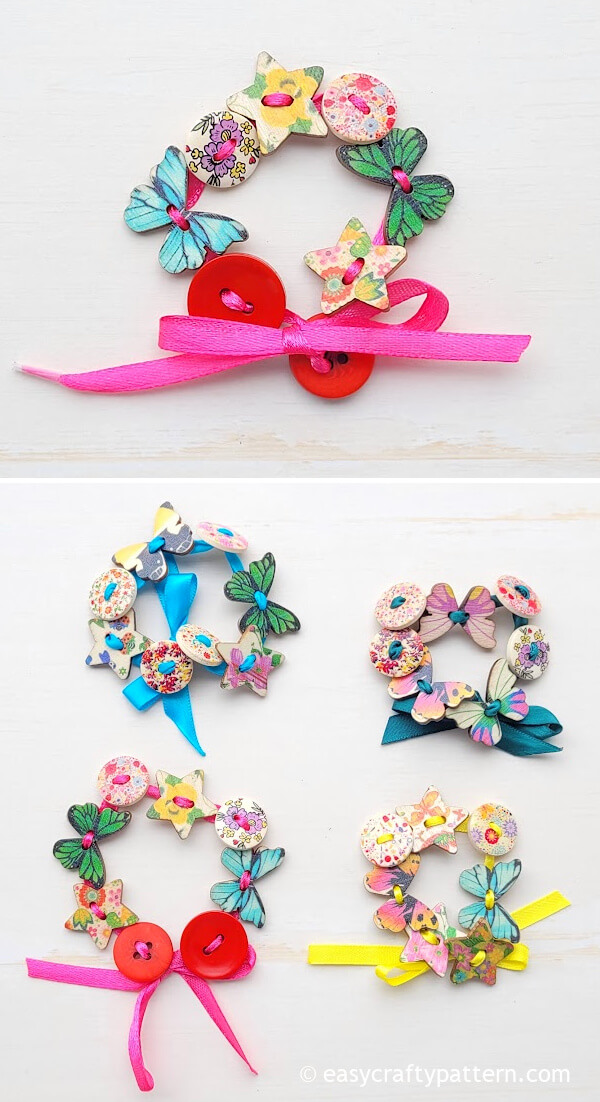
Remove one button if you need it shorter, or add more buttons if you need it longer.
Wrap the bracelet around your wrist, then make a bow knot on the extra ribbon on both ends. Cut the excess ribbon if it is too long.
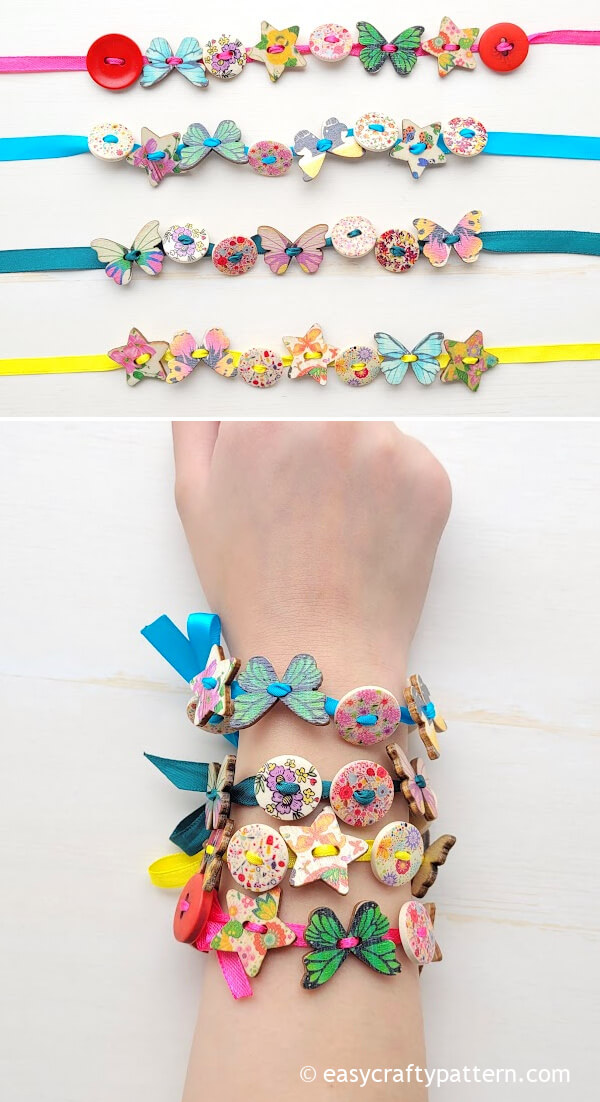
You can adjust the distance between the buttons by sliding them. Add charms like bells, seashells, clay charms, or beads to make the bracelet more fun-looking.
