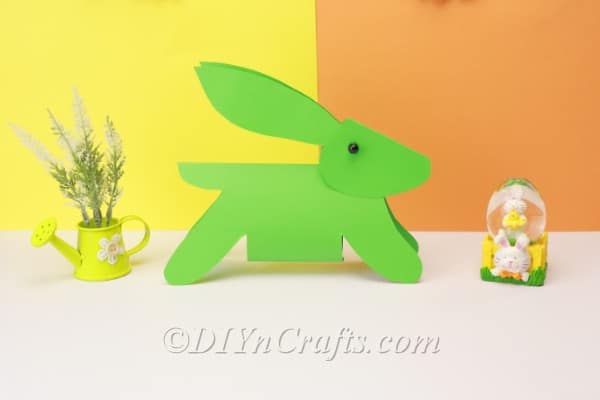
Paper Easter Bunny
The Paper Easter Bunny is a delightful DIY craft that adds a touch of charm to your Easter decorations. With just a few simple materials, you can create these adorable bunnies to adorn your home during the holiday season. Get creative with different patterns and colors to make each bunny unique and fun. Whether you're crafting with kids or enjoying some relaxing me-time, making Paper Easter Bunnies is a cheerful way to get into the festive spirit!

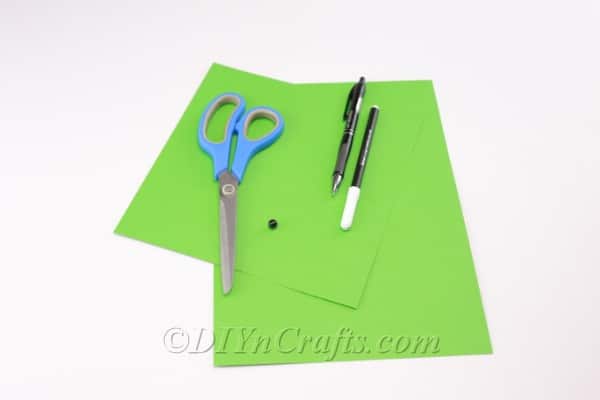
Materials
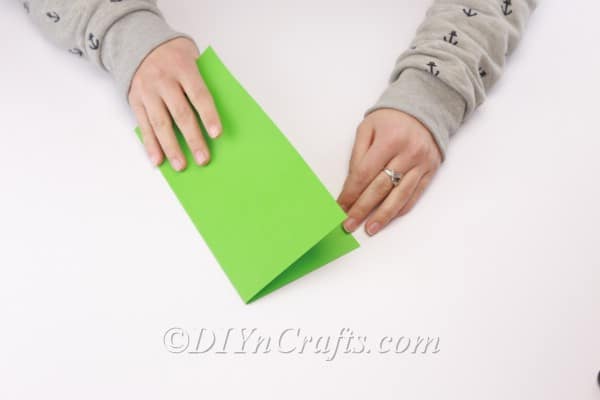
Begin by folding one of your sheets of construction paper in half to form a rectangle. We are going to be using this piece of paper to make the bunny’s head.
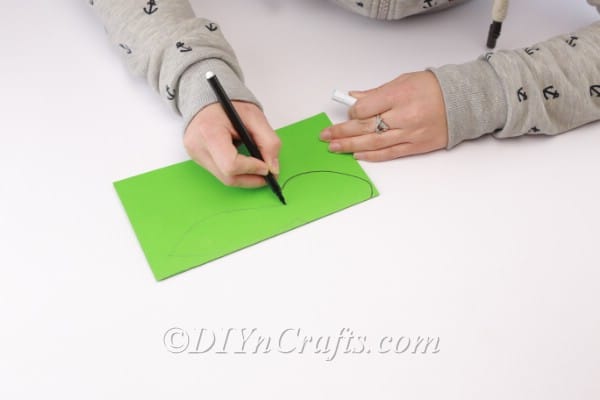
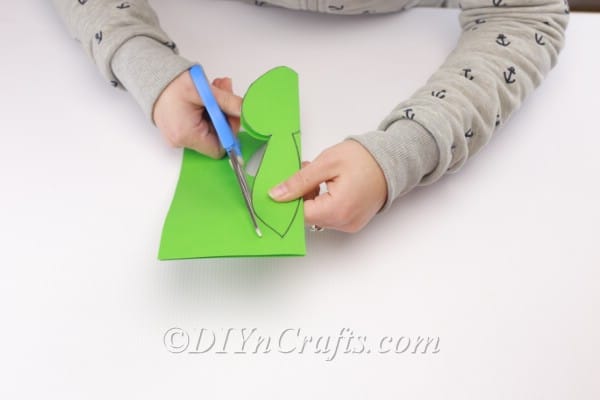
- Next, use a pen or pencil (or marker) to sketch the shape of the head and one of the bunny's ears.
- Remember, our bunny is going to be standing in profile. So you want to draw the shape of the head as it would appear from the side. This is also why you only need to draw one of the ears. As the paper is folded in half, when you cut out the shape, you will end up with two ears, one on either side.
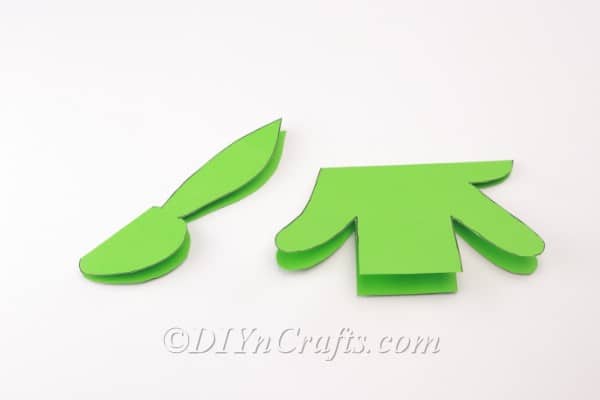
- You do not want the ears to be attached to one another, so make sure you cut that part of the fold away. Leave it intact where the bunny's head is so that the fold becomes the top of the head connecting the two symmetrical sites.While this is a bit of a challenge to describe in words alone, it is a pretty simple concept when you see it demonstrated in the video or take a look at the images
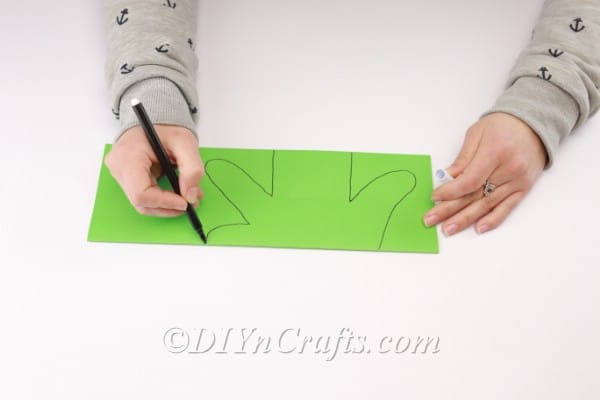
Fold the other piece of construction paper in half. You will be using the same principles of symmetry to craft the bunny's body out of this sheet.

- Sketch the shape of the bunny’s body as seen from the side. Because you folded the paper in half, the symmetry means that you will have created both sides of the body simultaneously with the fold of the paper serving as the top of the body.
- It is difficult to describe in words he shape that you need to draw, so it I suggest looking at the pictures and watching the video if you can. But you should be drawing two legs and a tail. Between the legs, just draw a rectangle shape for the body. Again, the fold of the paper should be the bunny’s back.
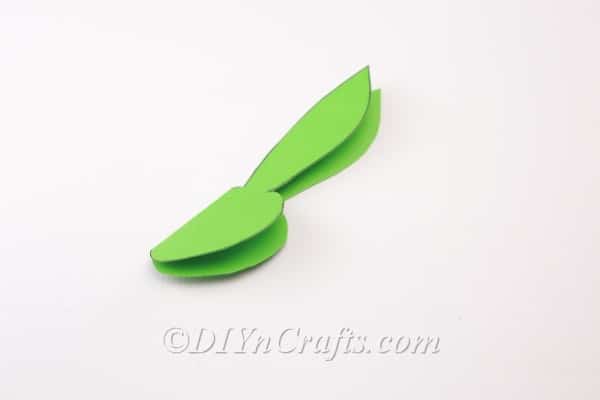
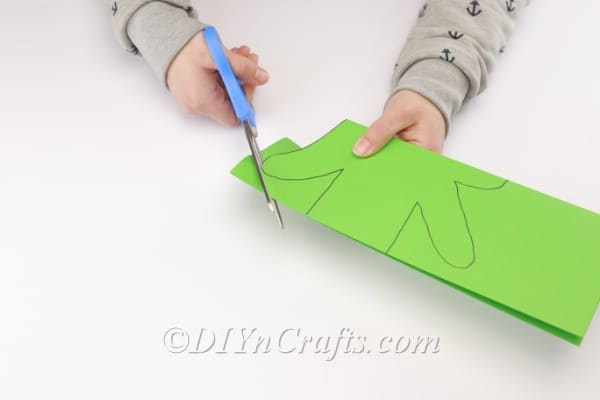
Cut out the shape that you have drawn
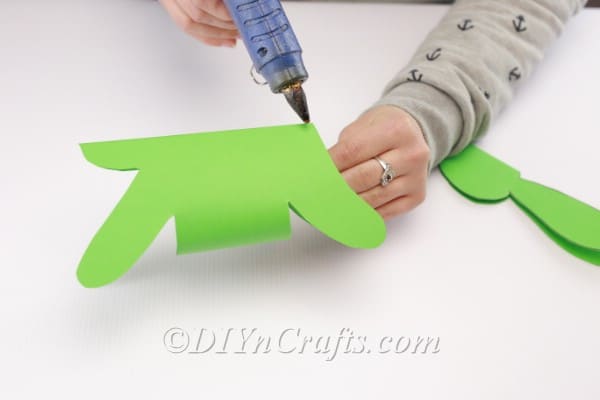
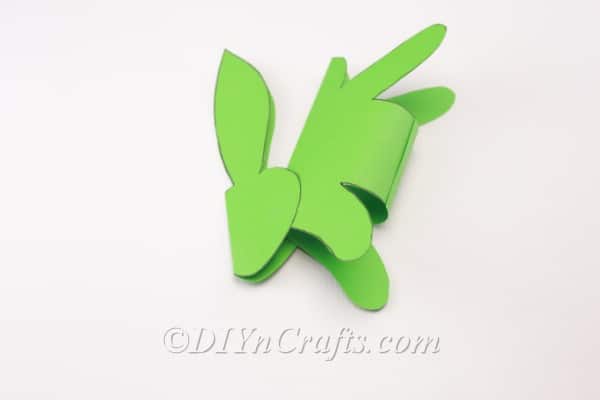
Now you are going to attach the rectangles at the bottom together with glue. Once you have done this, the body of the paper bunny will be more cylindrical in shape and three-dimensional.

Glue the bunny’s head to its body
Finally, glue on the faux pearls or whatever you chose to represent the eyes. Your completed bunny will be able to stand up on four legs.