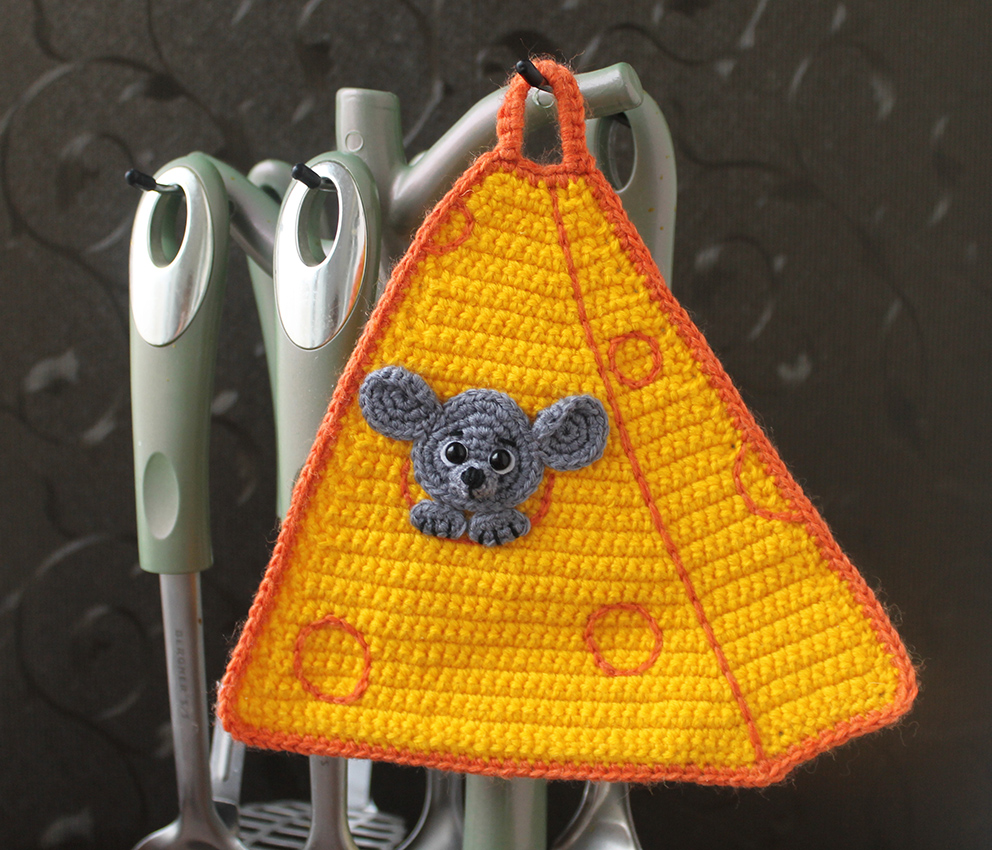
Crochet Mouse in Cheese Potholder
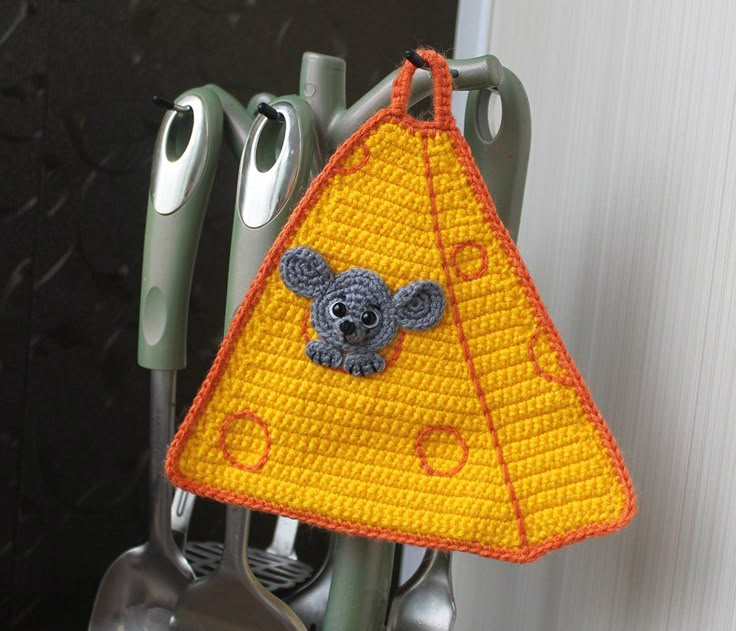
The Crochet Mouse in Cheese Potholder is simply adorable! This whimsical kitchen accessory adds a touch of playfulness to your cooking routine. With its cute design featuring a curious mouse peeking out from a block of cheese, it's hard not to smile every time you use it. Whether you're grabbing a hot pot from the stove or simply displaying it as a charming decoration, this potholder is both functional and delightful. Perfect for adding a sprinkle of charm to your kitchen, this Crochet Mouse in Cheese Potholder is sure to make your culinary adventures even more enjoyable!
Materials:
The same thickness yarn. I have acrylic 220m/100g
Yellow, grey, brown colour yarn
A crochet hook. I used 1.5mm crochet hook
A sewing needle
Matching sewing threads
Black and pink colour embroidery yarn/thread
Beads for eyes (I used 6 mm)
Abbreviations:
ch – chain
st - stitch
sl st – slip stitch
sc – single crochet
hdc – half double crochet
inc – increase (2 sc in 1 st)
dec – decrease (single crochet two stitches together)
3 in 1 - 3 sc in 1 loop
(...) x N times – repeat instructions in brackets N times
Potholder
Crochet with yellow colour yarn.
48 ch
Row 1. Starting from the second ch from hook: 47 sc, ch, turn (47)
Row 2. 9 sc, 3 sc together, 35 sc, ch, turn (45)
Row 3. dec, 43 sc, ch, turn (44)
Row 4. 9 sc, dec, 33 sc, ch, turn (43)
Row 5. 43 sc, ch, turn (43)
Row 6. 9 sc, dec, 32 sc, ch, turn (42)
Row 7. dec, 40 sc, ch, turn (41)
Row 8. 9 sc, dec, 30 sc, ch, turn (40)
Row 9. 38 sc, dec, ch, turn (39)
Row 10. 8 sc, dec, 29 sc, ch, turn (38)
Row 11. dec, 36 sc, ch, turn (37)
Row 12. 8 sc, dec, 27 sc, ch, turn (36)
Row 13. 36 sc, ch, turn (36)
Row 14. 8 sc, dec, 26 sc, ch, turn (35)
Row 15. dec, 31 sc, dec, ch, turn (33)
Row 16. 7 sc, dec, 24 sc, ch, turn (32)
Row 17. 32 sc, ch, turn (32)
Row 18. 7 sc, dec, 23 sc, ch, turn (31)
Row 19. dec, 29 sc, ch, turn (30)
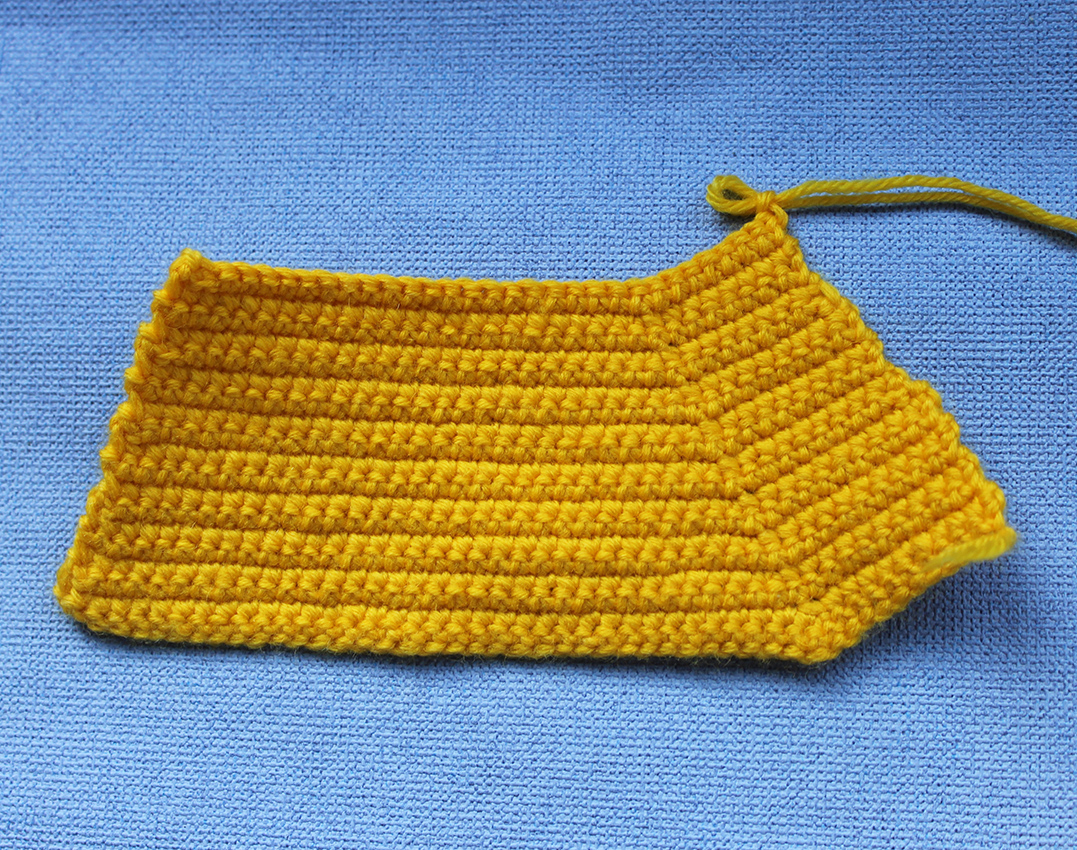
Row 20. 7 sc, dec, 21 sc, ch, turn (29)
Row 21. 27 sc, dec, ch, turn (28)
Row 22. 6 sc, dec, 20 sc, ch, turn (27)
Row 23. dec, 25 sc, ch, turn (26)
Row 24. 6 sc, dec, 18 sc, ch, turn (25)
Row 25. 25 sc, ch, turn (25)
Row 26. 6 sc, dec, 17 sc, ch, turn (24)
Row 27. dec, 20 sc, dec, ch, turn (22)
Row 28. 5 sc, dec, 15 sc, ch, turn (21)
Row 29. 21 sc, ch, turn (21)
Row 30. 5 sc, dec, 14 sc, ch, turn (20)
Row 31. dec, 16 sc, dec, ch, turn (18)
Row 32. 4 sc, dec, 12 sc, ch, turn (17)
Row 33. 17 sc, ch, turn (17)
Row 34. 4 sc, dec, 11 sc, ch, turn (16)
Row 35. dec, 12 sc, dec, ch, turn (14)
Row 36. 3 sc, dec, 9 sc, ch, turn (13)
Row 37. 13 sc, ch, turn (13)
Row 38. 3 sc, dec, 8 sc, ch, turn (12)
Row 39. dec, 8 sc, dec, ch, turn (10)
Row 40. 2 sc, dec, 6 sc, ch, turn (9)
Row 41. 9 sc, ch, turn (9)
Row 42. 2 sc, dec, 5 sc, ch, turn (8)
Row 43. 1 sc, dec, 3 sc (5)
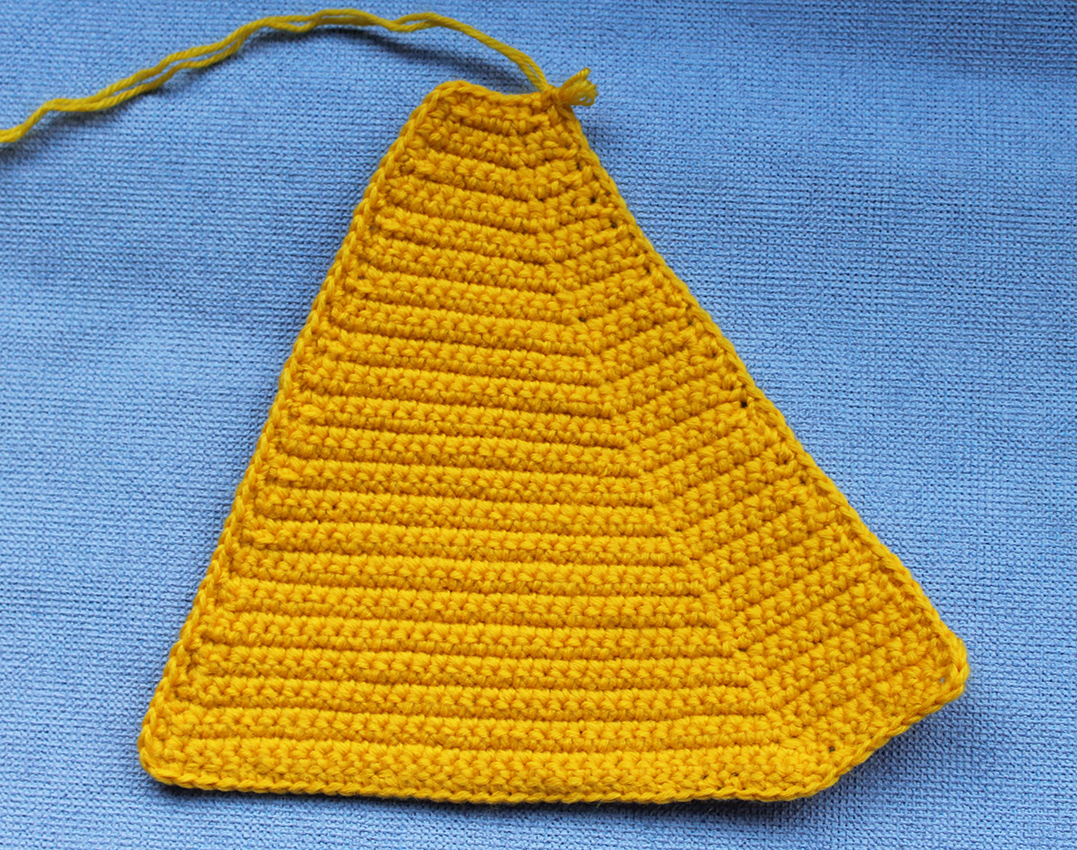
Work sc around the part from point A to point E. Make 2sc in 1 loop of points A, B, C, D & E.
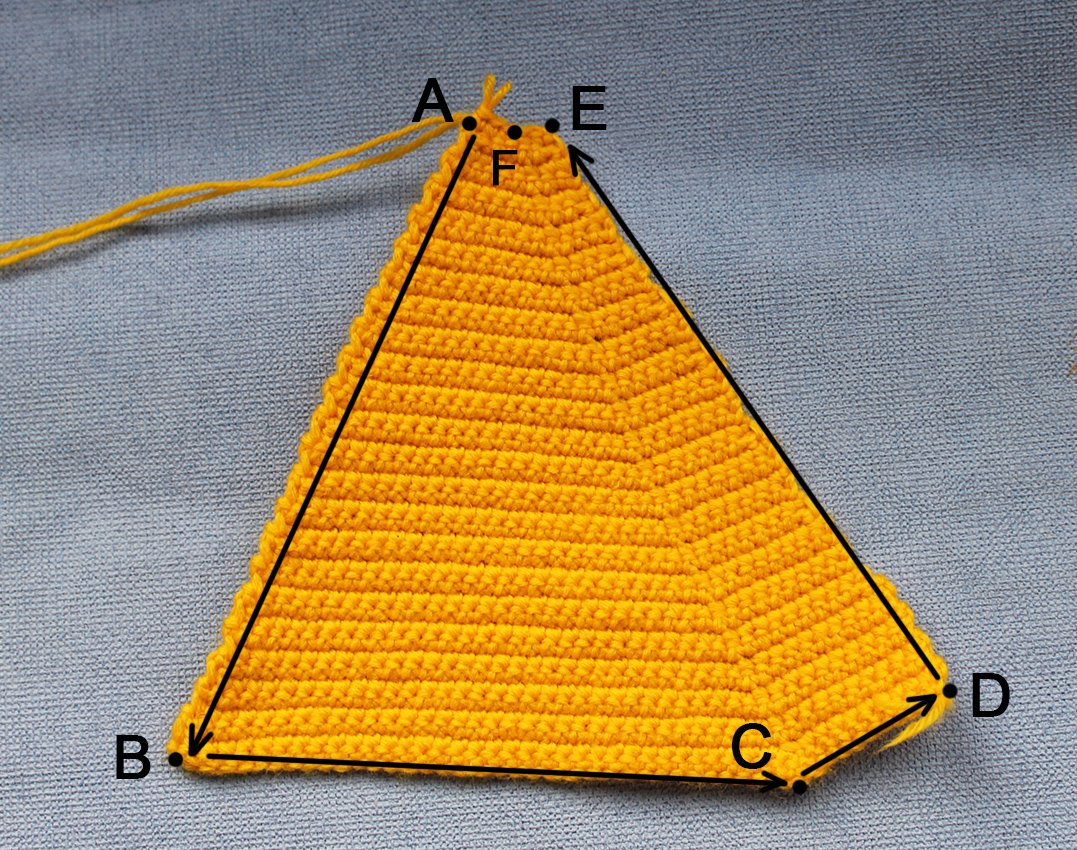
Change to brown colour yarn, work sc around the part once again.
Do not cut the yarn end just yet!
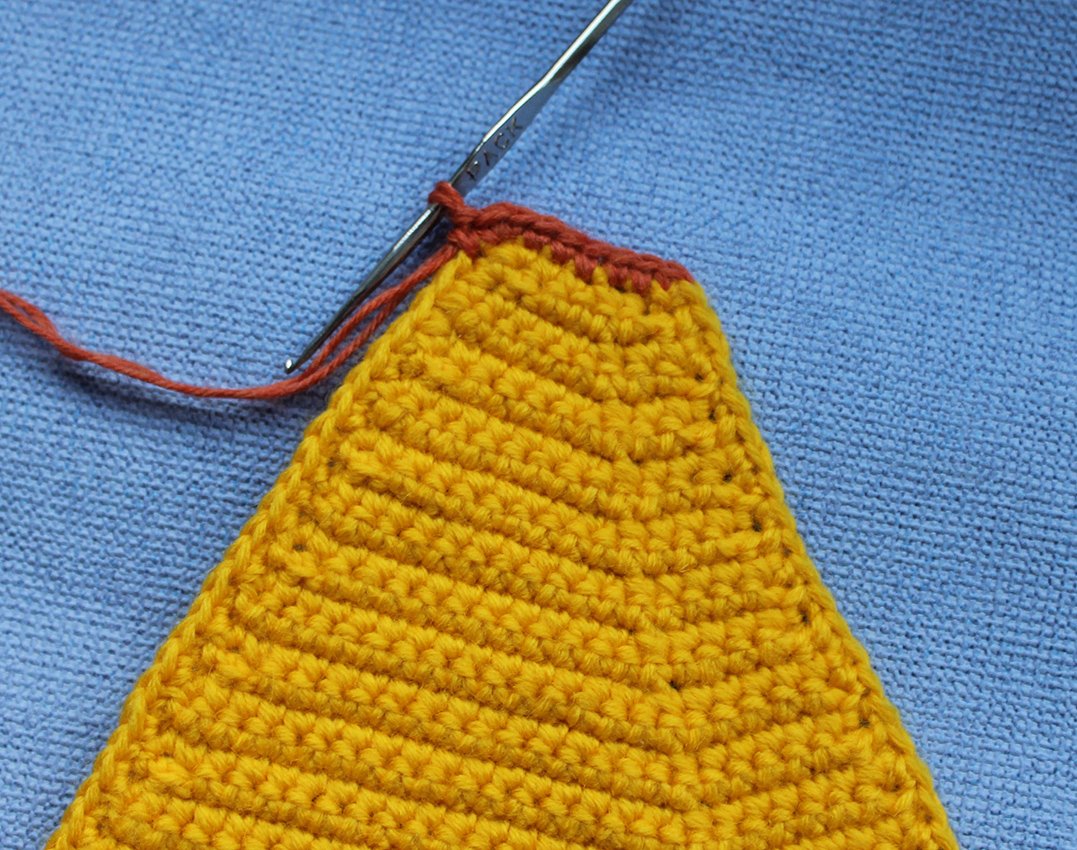
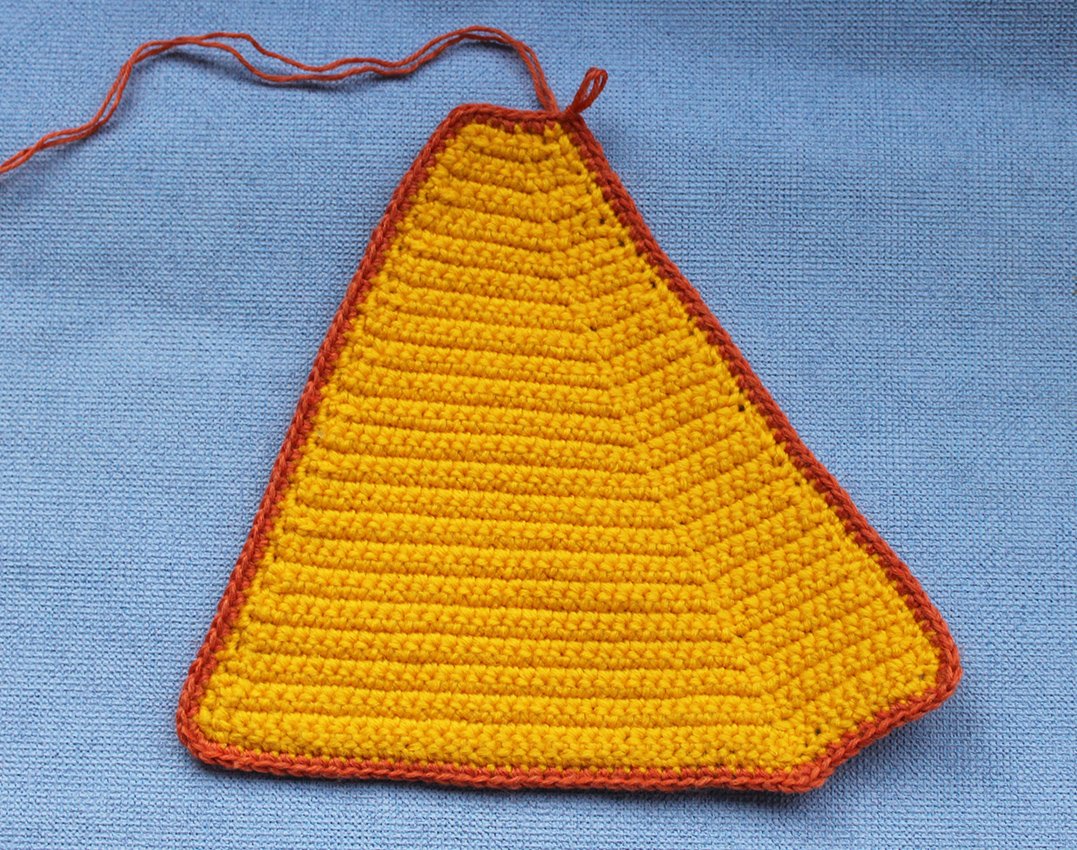
Crochet a loop to go on your kitchen hook: ch 12, finish off with one sl st, fasten off. Continue working tight sc around potholder’s loop. Bind off, do not cut the yarn end.
Make a few sl st up to point F.
Make sl st from pint F to point C. Ensure that the yarn you are working with is on the wrong side of the part, insert the crochet hook into the part, wrap the yarn over the hook, pull it put and through the loop on the hook. Repeat the process up to point C.
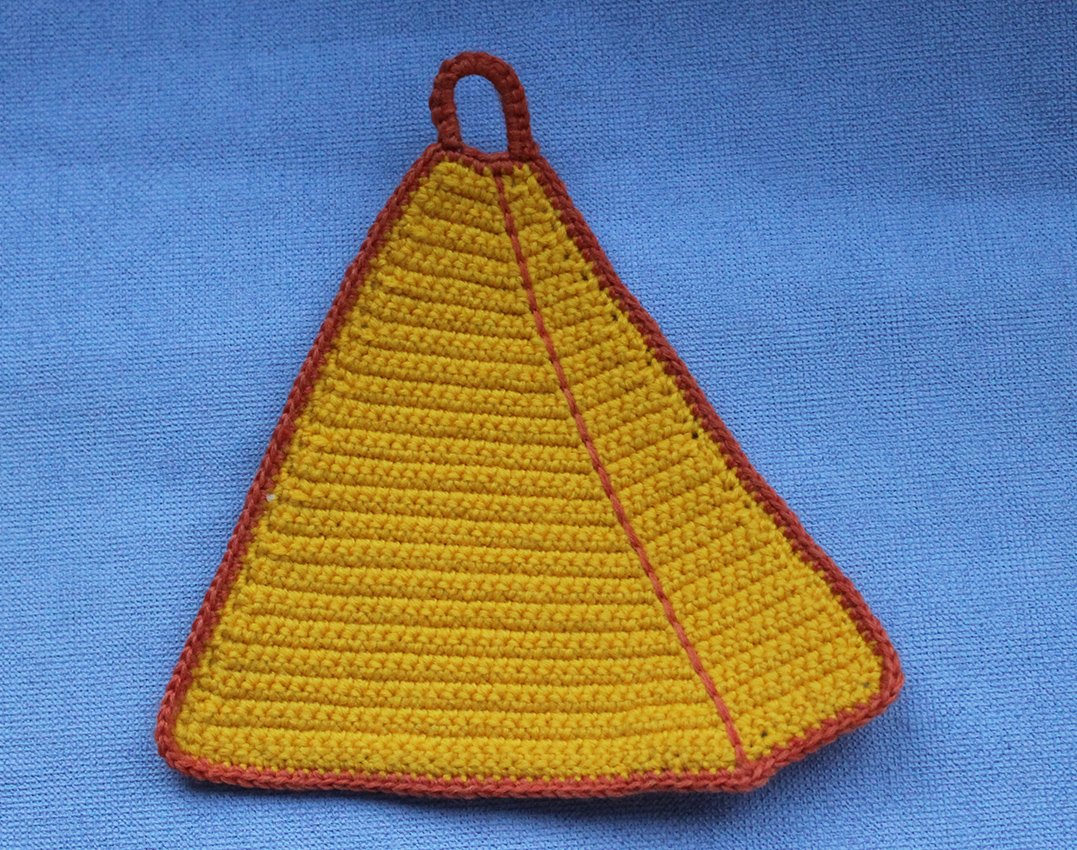
Bind off, cut off the yarn, hide the end.
Holes in cheese
Take a piece of paper and draw some circles of various sizes. Cut them out to use as stencils. Pin then to the potholder in the order you wish. Embroider the circles using brown colour yarn and the technique described above.
Mouse
Crochet with grey colour yarn.
Head
Ch 4
Rnd 1. starting from 2nd ch from hook: 2 sc, 3 in 1, 1 sc, inc (8)
Rnd 2. inc, 1 sc, 3 inc, 1 sc, 2 inc (14)
Rnd 3. 2 sc, 3 in 1, 2 sc, 3 inc, 4 sc, 2 inc (21)
Rnd 4. inc, 2 sc, 2 inc, 2 sc, (inc, 1 sc)х3 times, 4 sc, (1 sc, inc)х 2 times (29)
Rnd 5. 1 sc, inc, 2 sc, (inc, 1 sc)х 3 sc, 2 sl st
Cut off yarn, hide the end.
Muzzle
Rnd 1. 4 sc in a Magic Ring (4)
Rnd 2. 4 inc (8)
Rnd 3. (3 sc, inc)х 2 times (10)
Front legs (make 2)
Ch 5
Rnd 1. starting from 2nd ch from hook: 3 sc, 3 in 1, continue further along the other side of chain: 2 sc, inc (10)
Ears (make 2)
1 Rnd. 6 sc in a Magic Ring (6)
2 Rnd. 6 inc (12)
3 Rnd. (1 sc, inc)x 6 times (18)
Cut off yarn, hide the end.
Butt
Ch 4
Rnd 1. starting from 2nd ch from hook: 2 sc, 3 in 1, 1 sc, inc (8)
Rnd 2. inc, 1 sc, 3 inc, 1 sc, 2 inc (14)
Rnd 3. 2 sc, 3 in 1, 2 sc, 3 inc, 1 sc, 2 sl st, 1 sc, 2 inc (21)
Rnd 4. inc, 2 sc, 2 inc, 2 sc, (inc, 1 sc)х3 times, 1 sc, 2 sl st, 1 sc, (1 sc, inc)х 2 times (29)
Cut off yarn, hide the end.
Tail
Ch 20
Rnd 1. starting from 2nd ch from hook: 19 sl st
Cut off yarn, fasten off.
Back legs (make 2)
Ch 5
Rnd 1. starting from 2nd ch from hook: 3 sc, 5 hdc in 1 loop, continue further along the other side of chain: 2 sc, inc (12)
Cut off yarn, fasten off. Embroider paws and heels with pink colour yarn.
Sew the mouse on. Start with the head, then sew the muzzle onto the lower part of the head.
Fold the ears as shown in the photo, sew them on. Sew the legs on.
Sew the butt, tail and back legs onto the reverse side of the potholder.
Embroider paws with black colour yarn. Embroider the nose and stripes on the muzzle.
Glue the eyes on or embroider them with yarn.
Potholder is completed!
