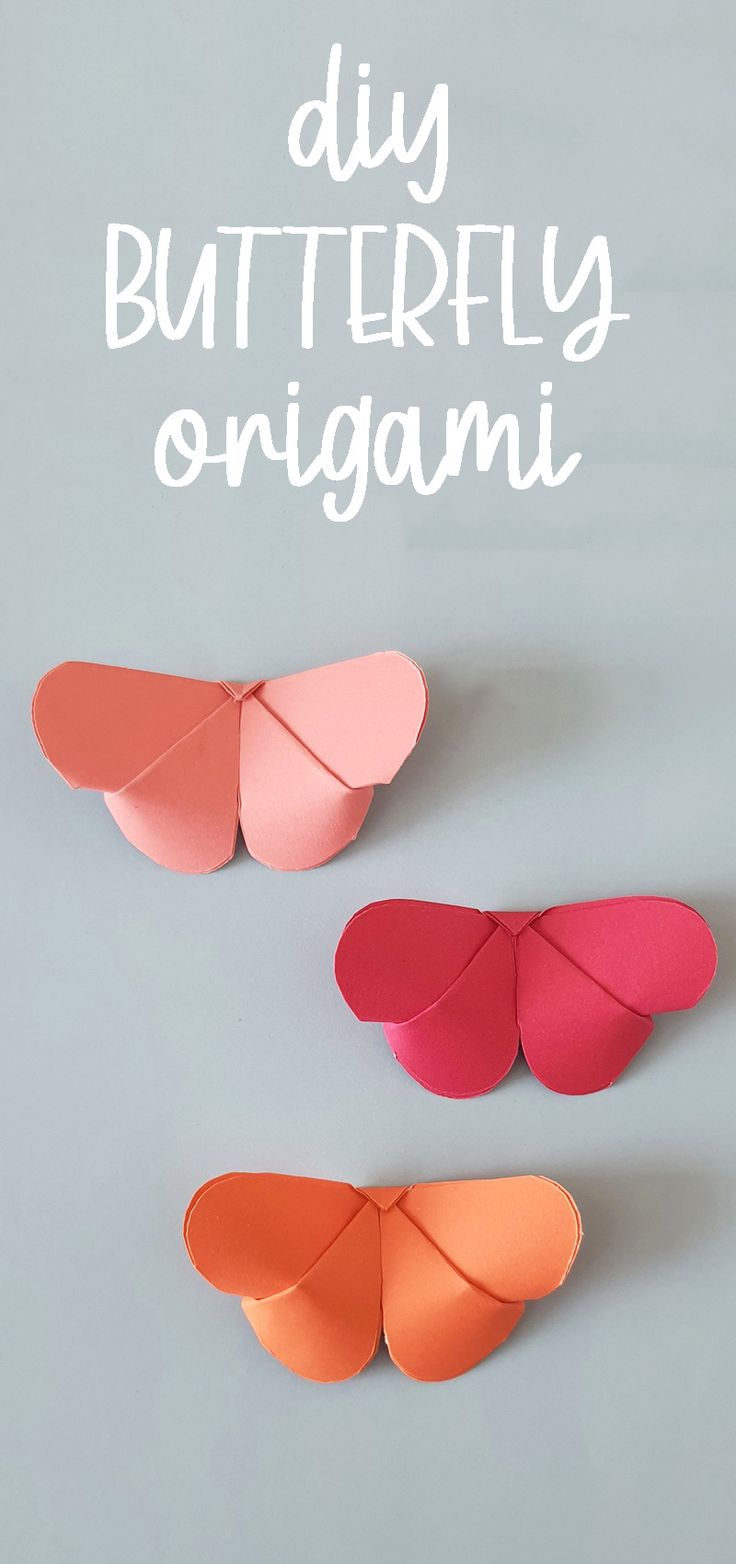
DIY Origami Butterfly
Creating a DIY origami butterfly is a delightful way to spend an afternoon. With each delicate fold, you'll begin to see your butterfly take shape. It's like a little paper magic trick! Once you've mastered the art of origami butterflies, you can fill your space with a fluttering swarm of colorful creations. So grab your favorite paper and let's fold some joy into the world, one butterfly at a time!
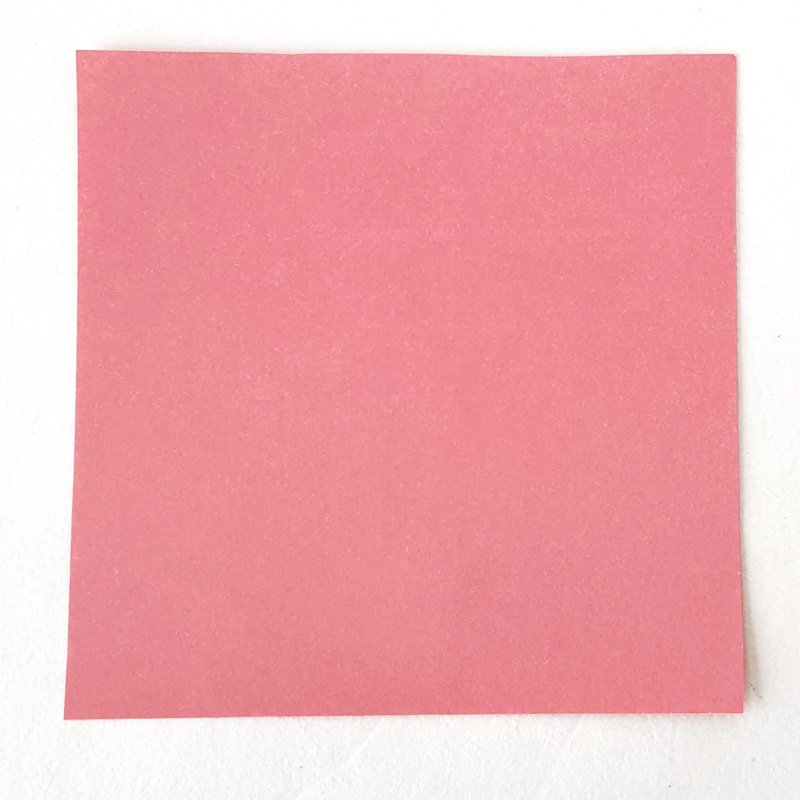
What you need
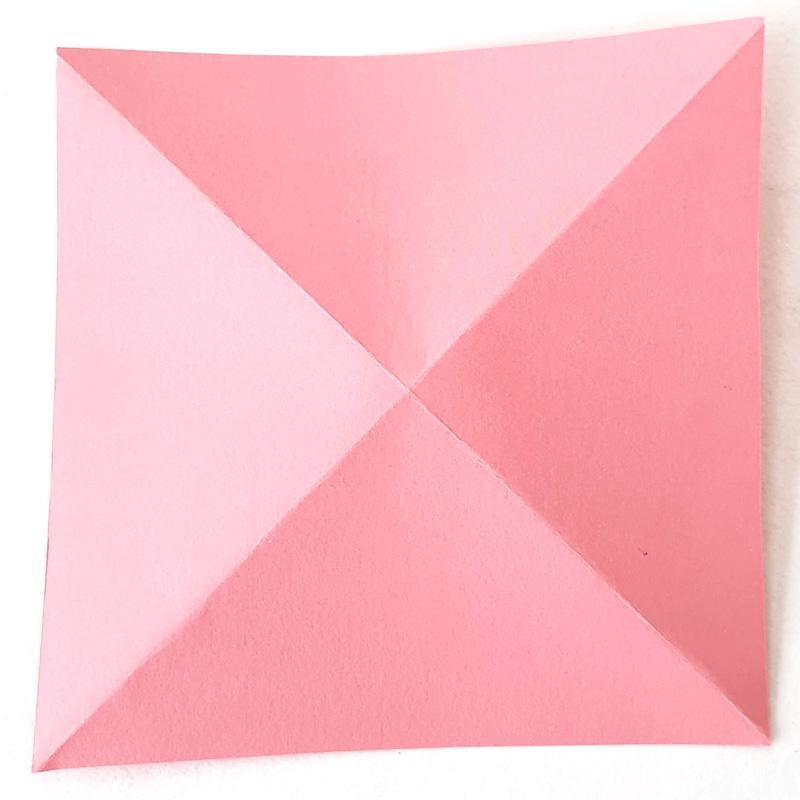
3. Flip the paper over so that the creases are popping up at you.
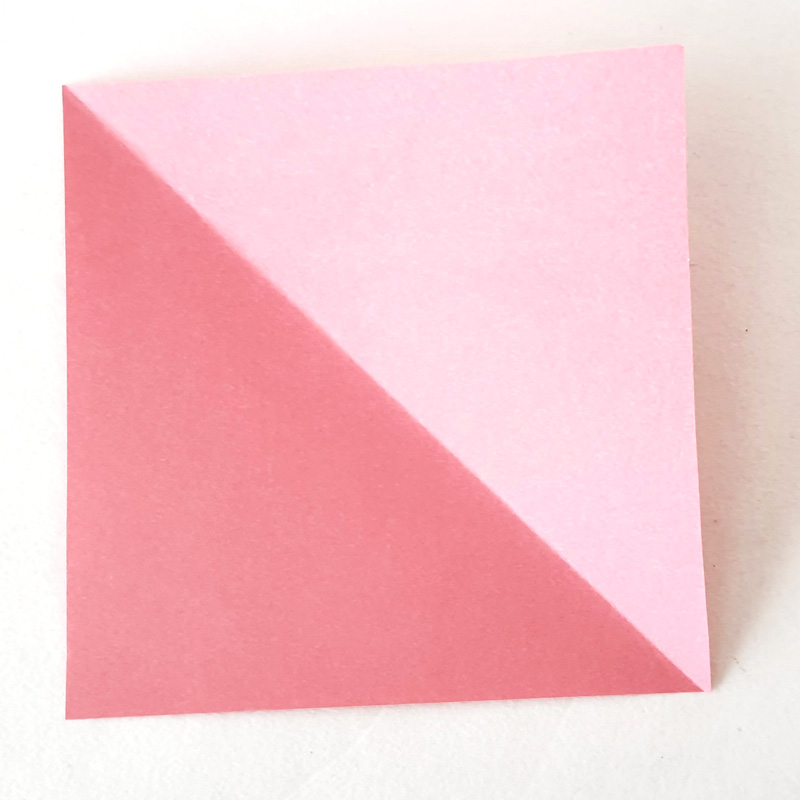
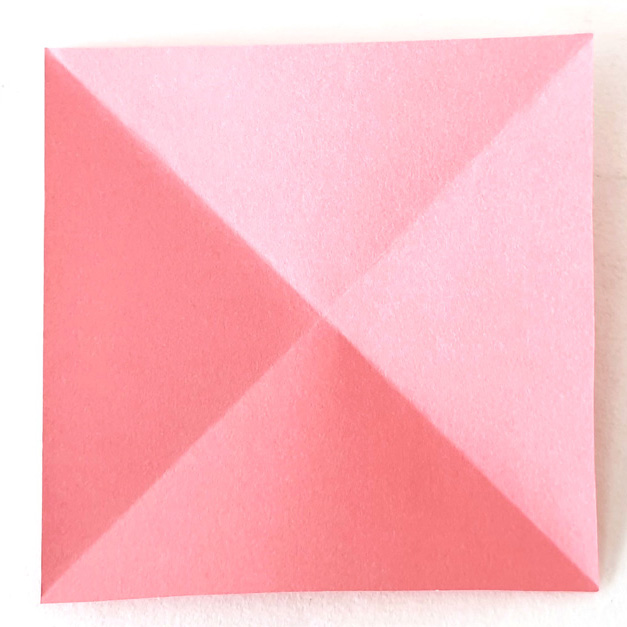
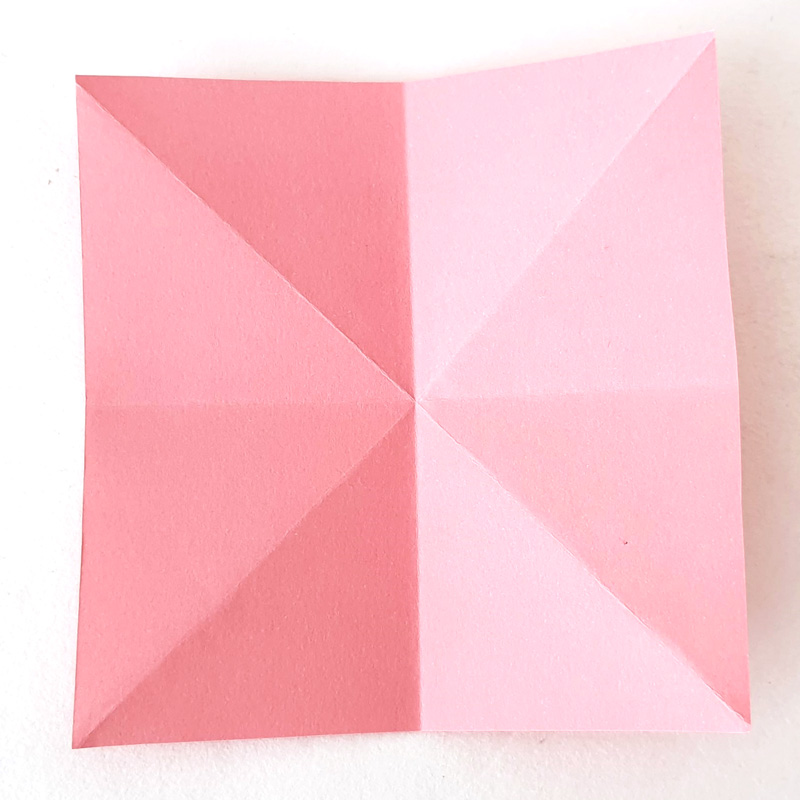
. Fold the paper in half horizontally by folding the top edge down to the bottom, crease, and unfold. Create a vertical crease by folding the paper from left to right. Unfold.
5. Here’s the part that will make a lot more sense in the picture than in words: Poke down the side creases you just made so they bend away from you, and let the diagonal creases pop up toward you.
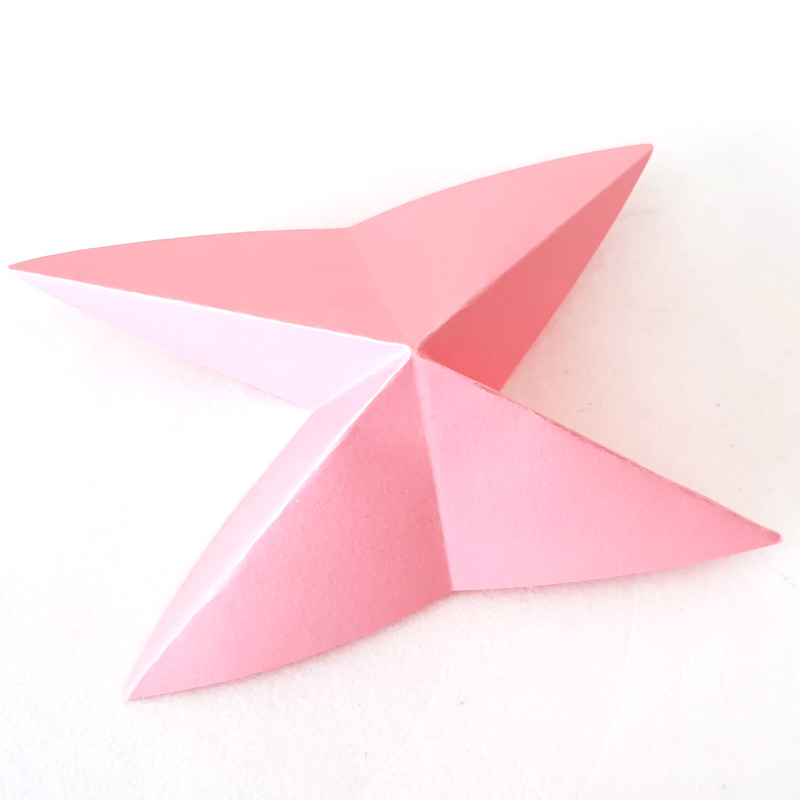
You will now be able to flatten the paper into a thick triangle as shown in the picture.
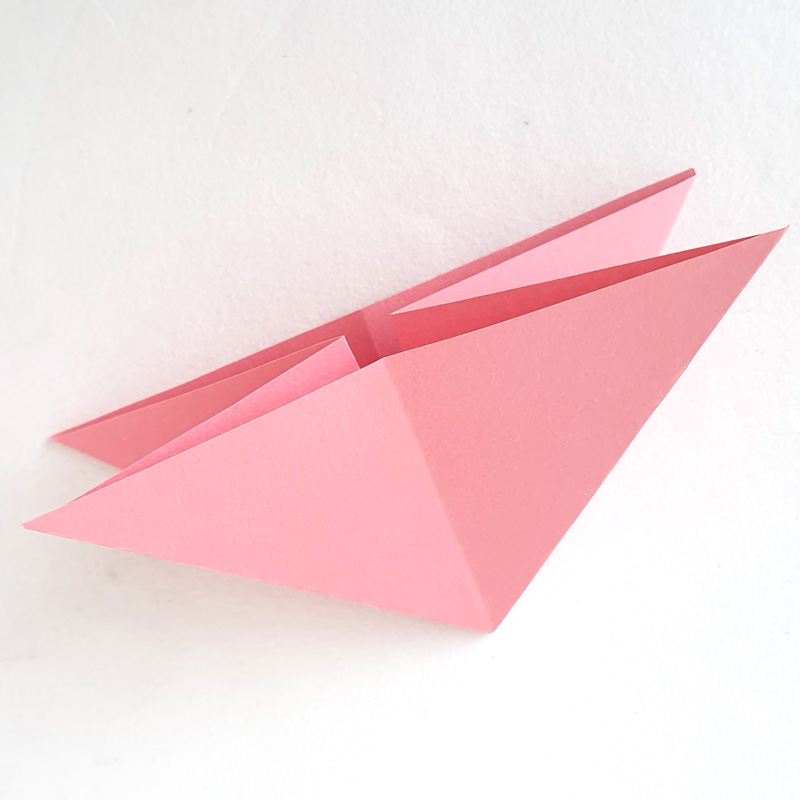
6. Fold it in half along the center crease so all the triangle flaps are together.

Find the corner where you have 4 separate layers. Trim that corner to make it rounded.
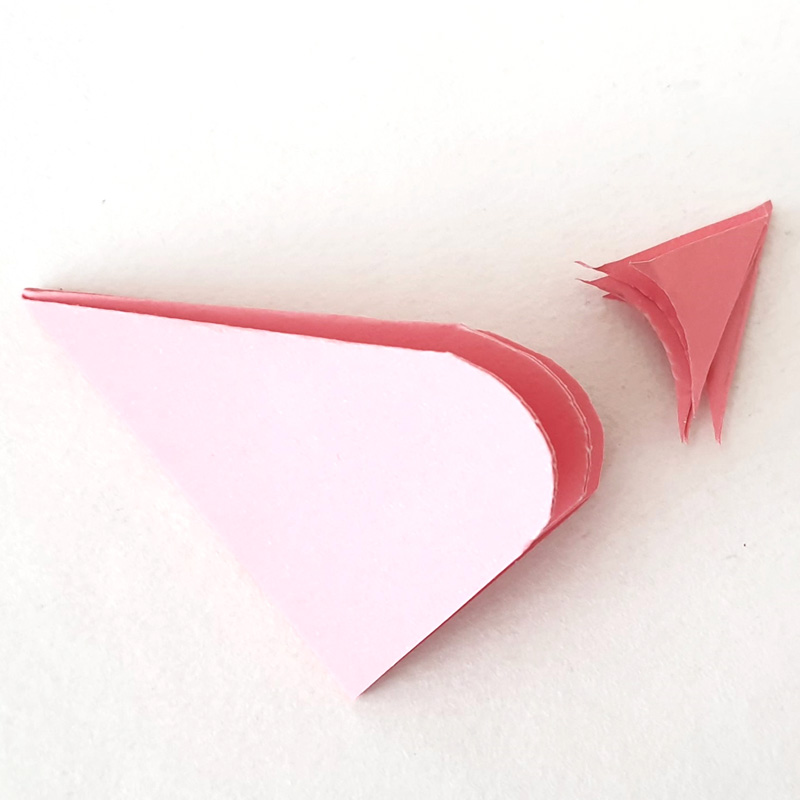
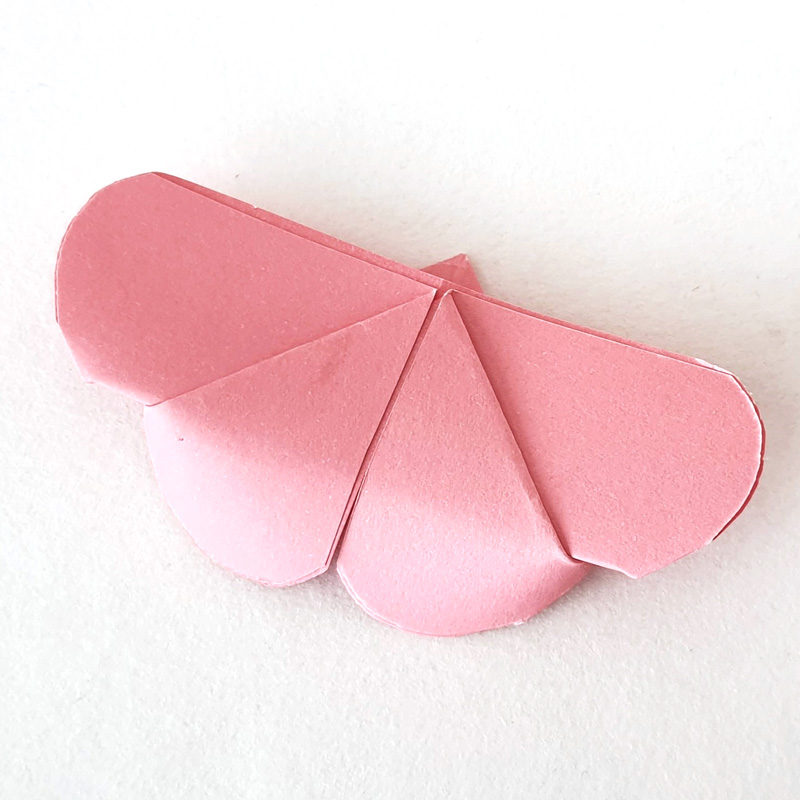
Unfold that last fold you made, so that you again see a crease down the middle with two layers of triangles on each side.
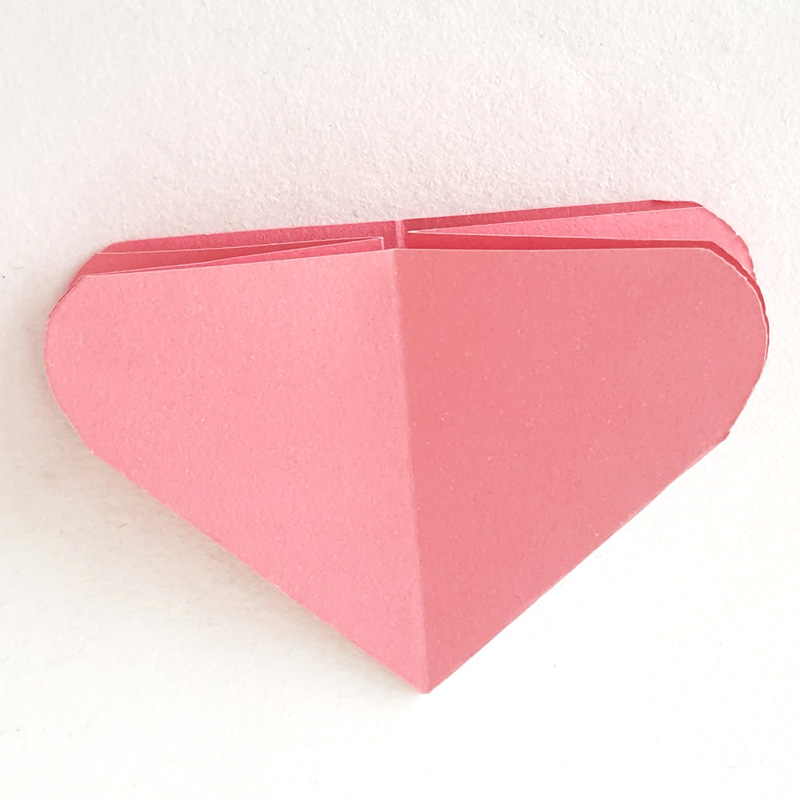
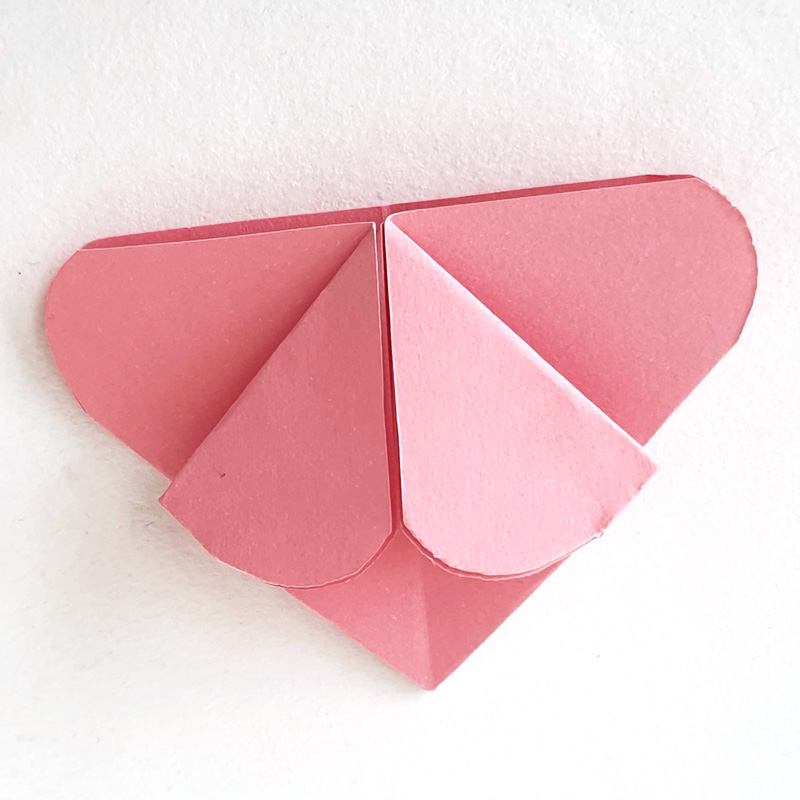
Take the rounded corner on your left side – there should be two layers of paper in your fingers. Fold to bring the edge up against the center crease.
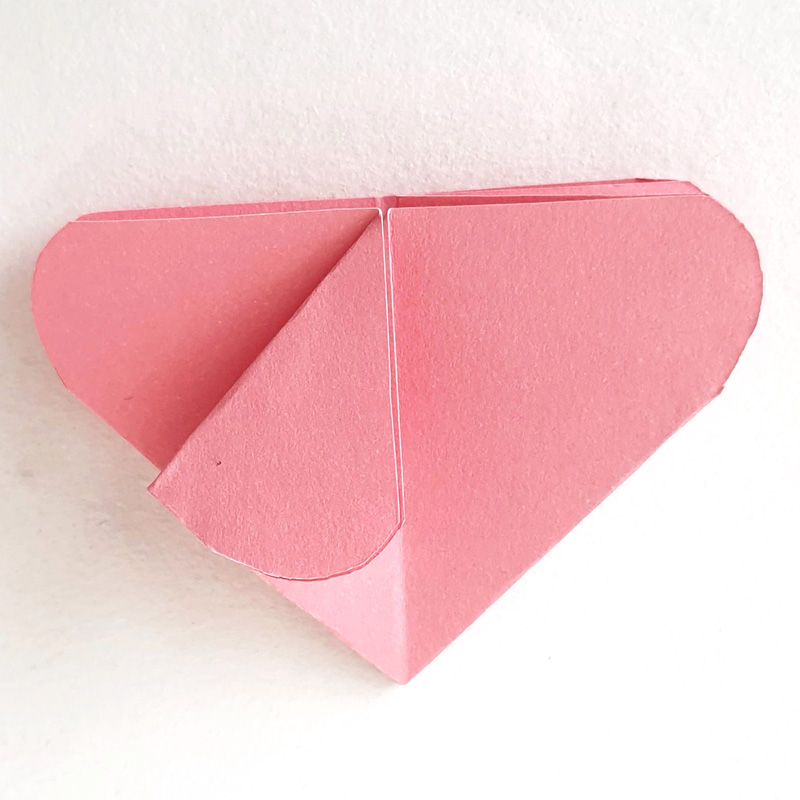
Repeat on the right side.
10. Flip the project over.

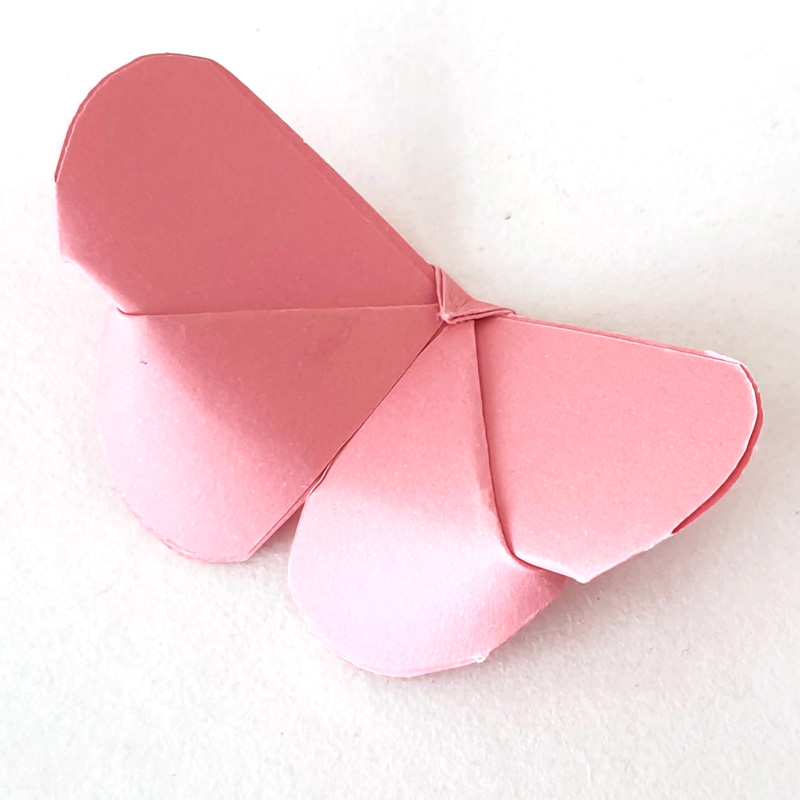
11. Take the still-pointy tip of the triangle and fold it up so it sticks out a little past the opposite edge. Your rounded edges may start popping up – do not crease them down just yet. You can do that later if you want, or you can leave them curved.

12. Flip the project over to the other side again. Take that tip of the triangle that you left sticking out and fold it over to the front. You can now use a drop of glue to secure it in place.