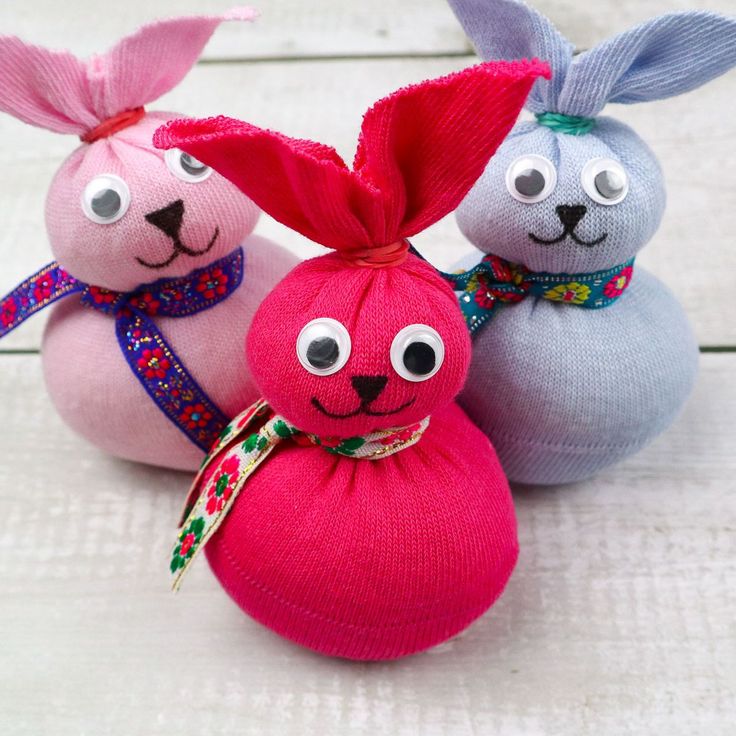
DIY Easter Sock Bunnies
Looking to add a touch of cuteness to your Easter decorations? Why not try making some DIY Easter Sock Bunnies! These adorable little creatures are easy to create and can be a fun project for the whole family. All you need are some colorful socks, rice or stuffing for the filling, rubber bands, and googly eyes. Simply fill the sock with rice or stuffing, tie off the top with a rubber band to create the head and body sections, shape the ears, and add the finishing touches with googly eyes. Before you know it, you'll have a bunch of charming Easter Sock Bunnies hopping around and bringing a smile to everyone's face!
Supplies You’ll Need
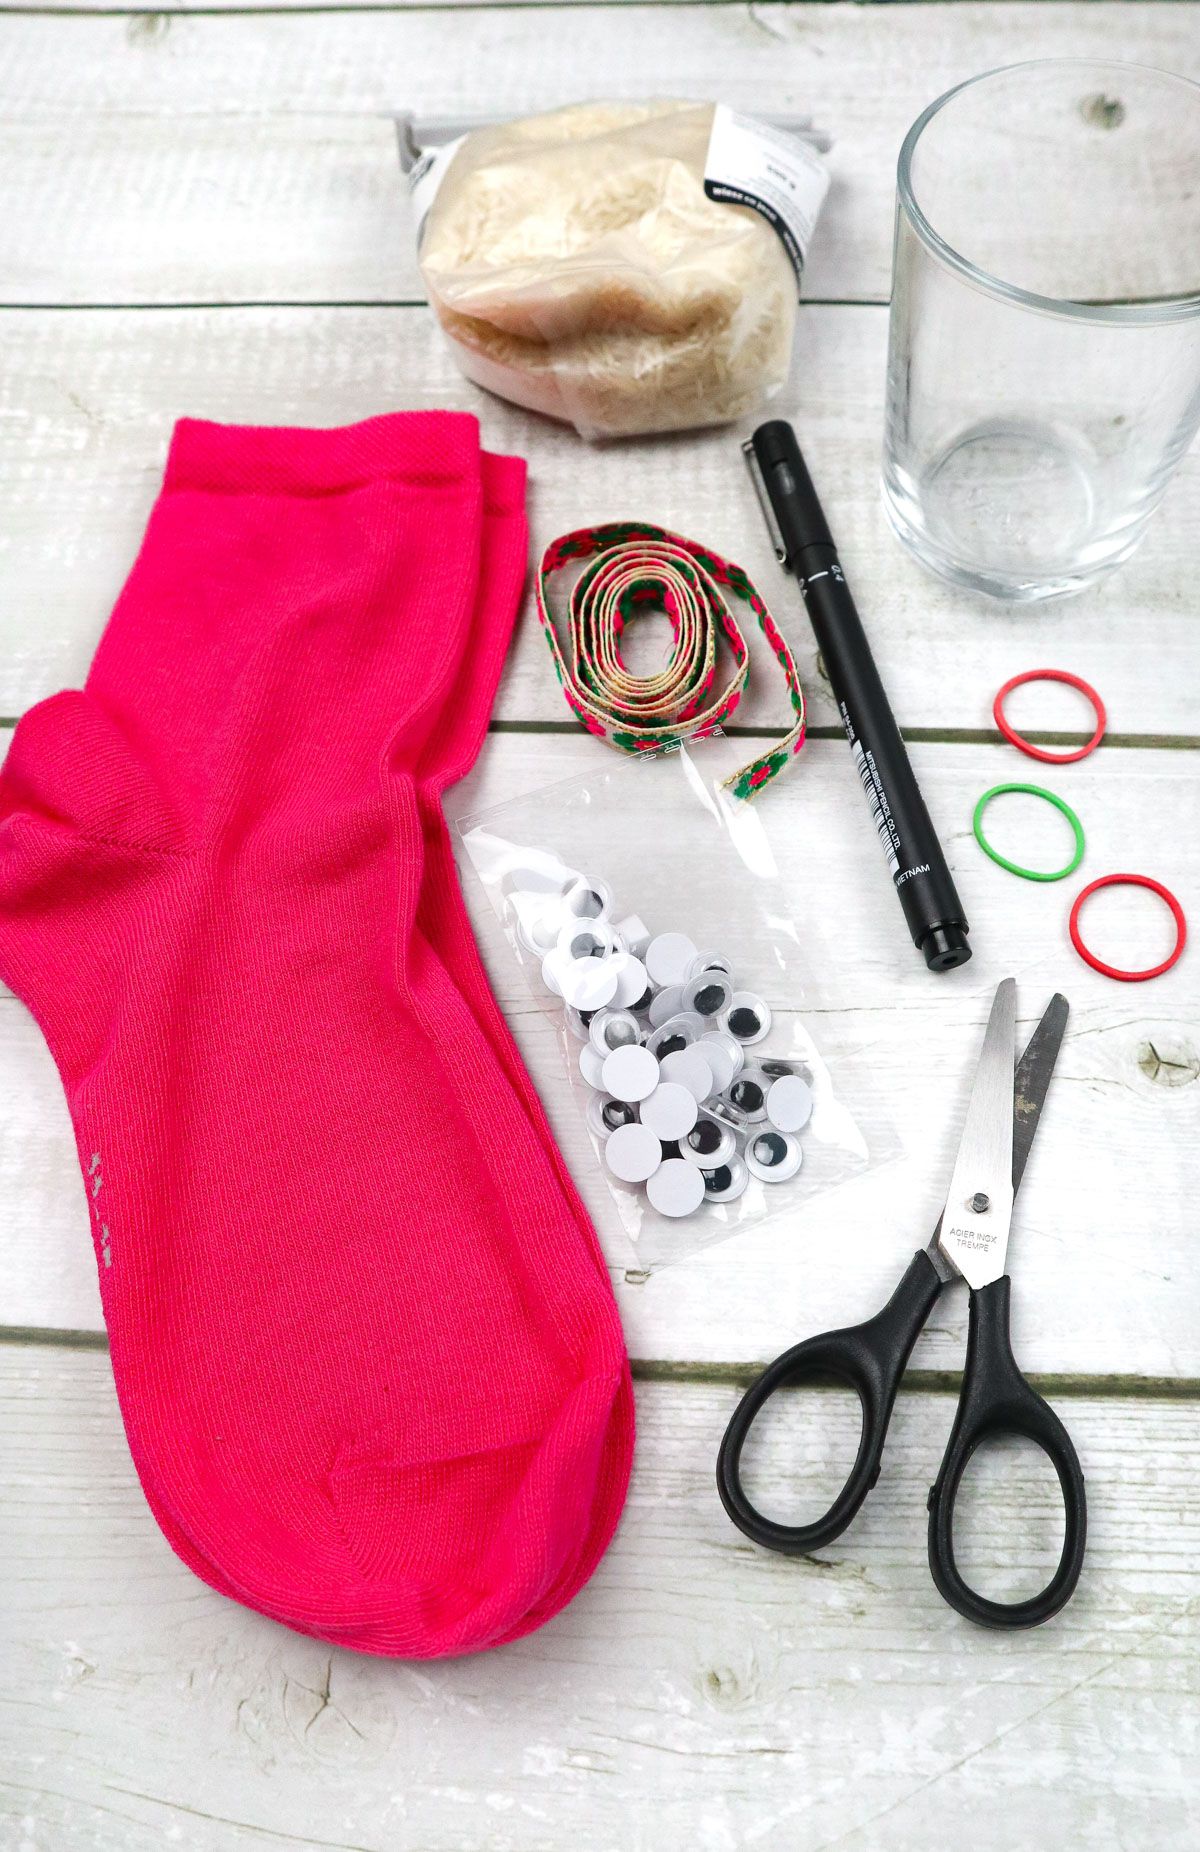
Step 1. To start our wonderful diy easter sock bunnies, grab your cup and sock designated for the bunny. Work the ankle area over the top of the cup–this makes putting rice in the sock way easier.
This cup acts solely as a catch-all and a safer way to pour rice into a sock. Add a shallow pan beneath the cup if needed for even more security.
Step 2. As mentioned, now is the time to add the uncooked rice. The size of the bunny will depend on how large your sock, cup, and amount of rice.
I highly recommend having all these parts figured out before assembly begins! The last thing you want to do while crafting is substituting and working on the fly with some integral parts of the craft.
Step 3. Take one rubberband and secure the top of the sock so the rice stays put. Make sure to use a rubberband that won’t budge easily to ensure your rabbit’s life span.
A few loops around the top should do the job–secure enough that no rice will fall out but not tight enough that it affects the overall look of the bunny.
Step 4. Once the top is secured, work another band onto the body after shaping a head. This rubber band will maintain most of the bunny’s silhouette, so make sure it’s flexible.
These rubber bands should be tight enough that you won’t have to manipulate them once the head is formed. Looping them over once or twice works as well.
Step 5. This next step is optional but adds a sweet pop and adorableness! You’ll grab another rubber band and secure it on the backside to create a tail.
Shape it similarly to the head but smaller.
Step 6. Prep the top of your sock, above the first rubber banded area, for ears. Fan the area or rearrange it so it’s sitting nicely for cutting.
Step 7. After the area is prepped, cut down the middle, ensuring it does not hit the rubber band. Trim and shape the ears as needed.
Step 8. Finally, the fun part–facial features and accessories! Make your Easter Sock Bunnies minimal or maximal with features, whether they’re just like mine or just the silhouette.