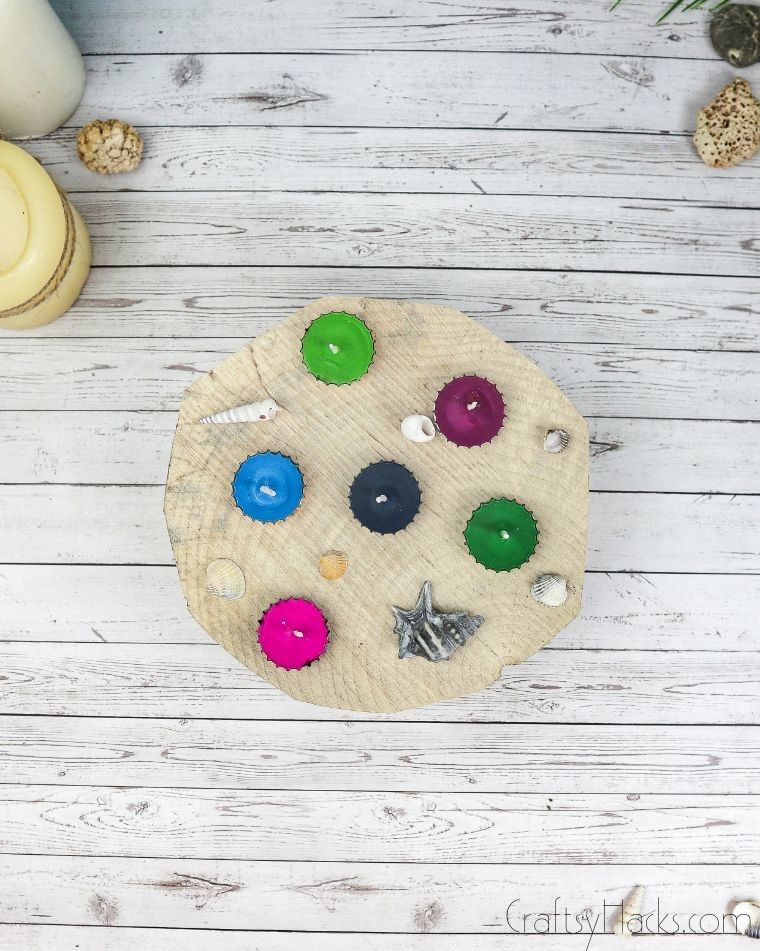
DIY Bottle Cap Candles
Creating your own DIY bottle cap candles is a fun and rewarding way to upcycle those old bottle caps lying around. Not only does it give them a new purpose, but it also adds a touch of coziness to your home. These tiny candles make wonderful gifts or party favors, and the best part is you can customize them with different scents and colors to suit your mood or decor. So, next time you finish a bottle, don't toss the cap - turn it into a delightful bottle cap candle instead!

What You’ll Need
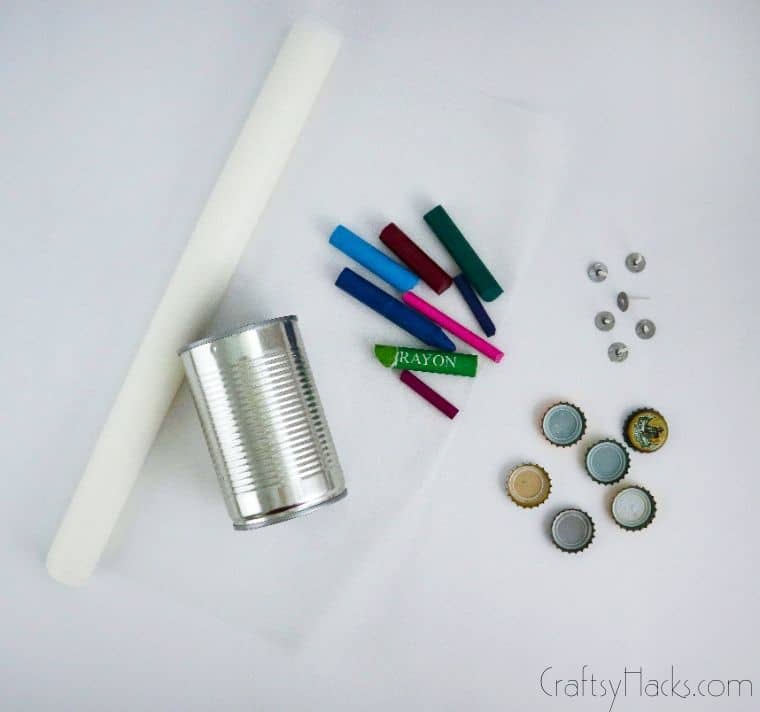
Bottle caps
Crayons
Empty soup can
Pre-waxed wicks
Saucepan
How to Make Bottle Cap Candles
Let there be light! Here’s how to make these incredibly cute candles.
Step One
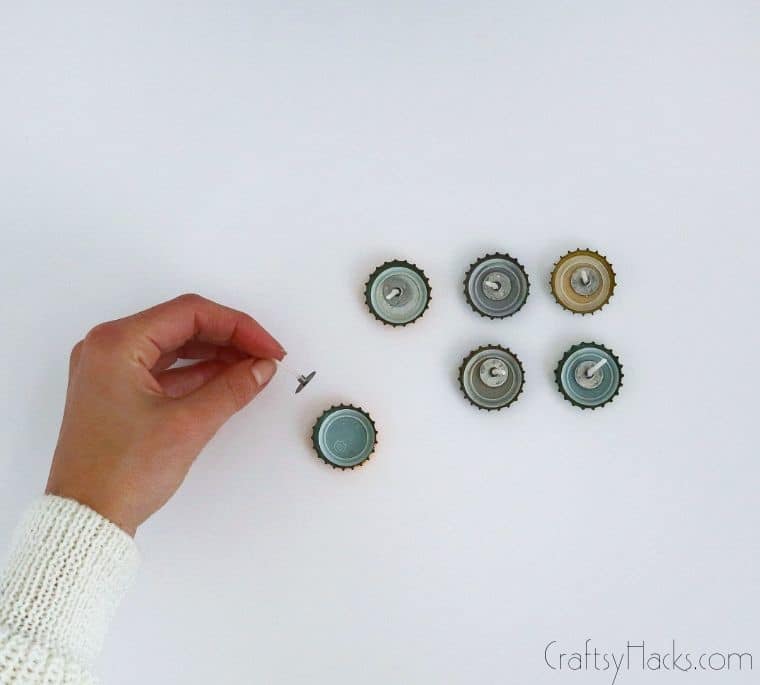
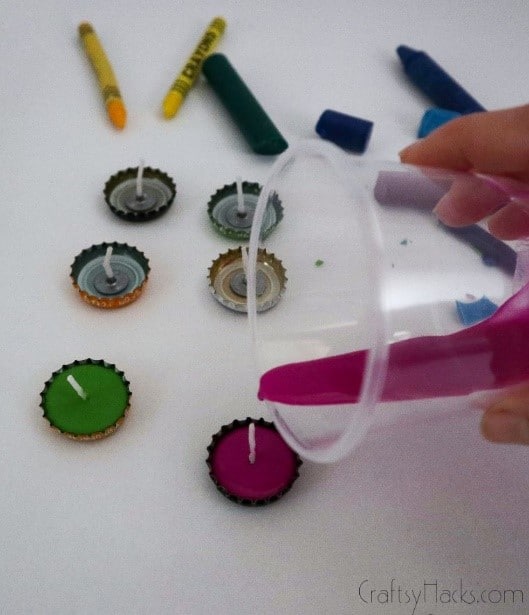
Start off by laying out all your bottle caps and place a pre-waxed wick into each one. If you can’t find tealight sized wicks, you can always trim down full-sized wicks to the ideal length.
Step Two
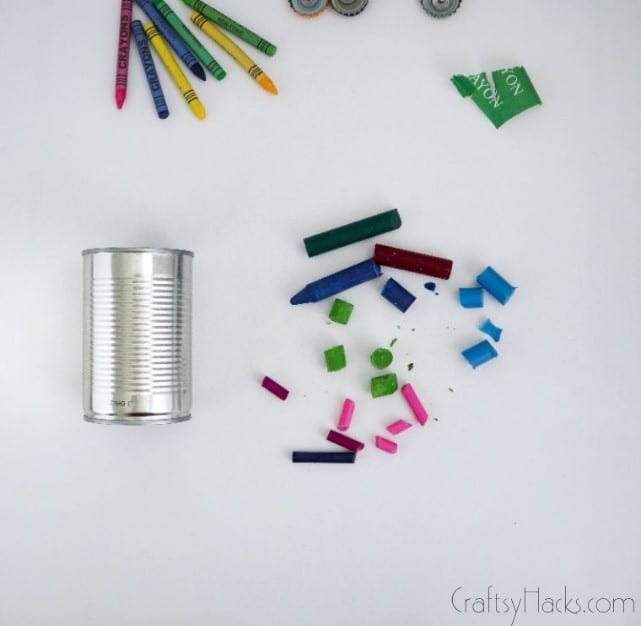
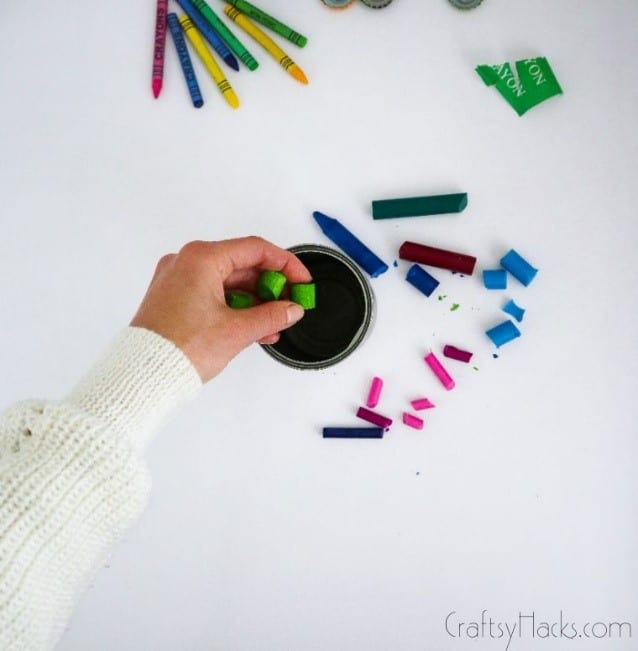
Pick out your crayon colors! These are going to form your candle’s wax, and this is your chance to get super creative. Blend your colors, swirl them into spirals, or choose a gradient palette. The choice is yours!
Make sure to crush up the crayons for easy melting. While this isn’t completely necessary, it does make the melting process faster.
Step Three
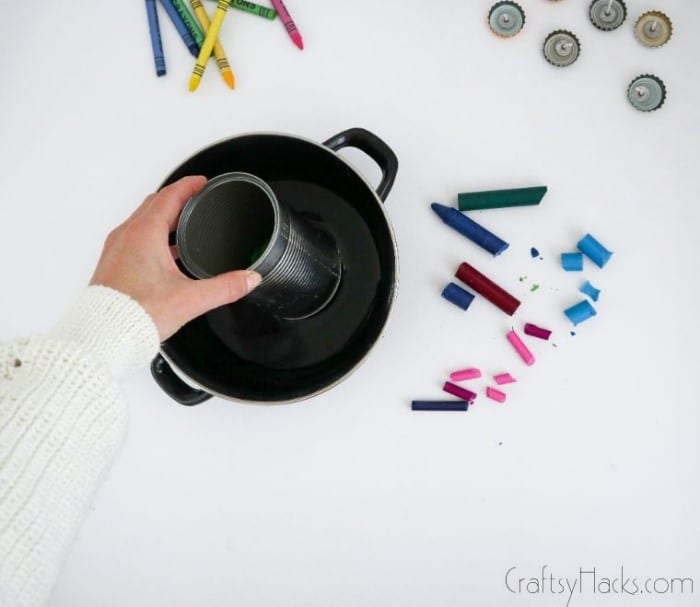
Drop the crushed crayons into your metal soup can. Ideally, your can should be metal as it needs to survive the heat without melting. Glass or ceramic will work as well.
Step Four
Place a saucepan on the stove and fill it about a quarter of the way full of water. Heat the water until it’s almost simmering, then place the metal can into the pan.
This acts almost like a double boiler, melting the crayons with heat from the water rather than directly in the pan. Let’s just say it’s a lot easier to throw out a soup can than a saucepan!
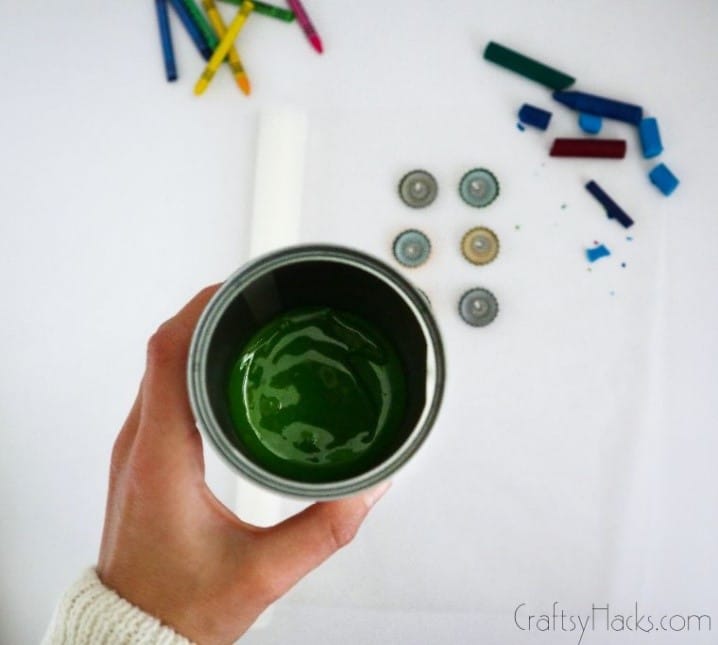
Step Five
Gently melt the crayons down until they go fully liquid. I suggest melting each color one by one before moving on. If you have many soup cans, switch them out to keep your colors pure.
Otherwise, you can just wash the can between colors. Make sure you use hot water to get rid of all the wax.
Step Six
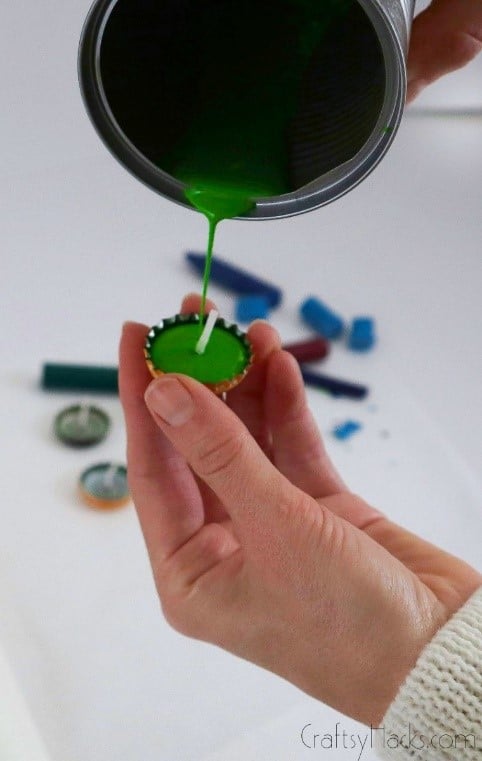
This is where you need to move quickly and carefully. Hot wax can burn if it touches the skin, but you don’t want it to cool too fast and stop pouring altogether.
Crayon wax cools particularly fast!
Gently pick up one of our bottle caps, making sure the wick is placed well. Then, pour the wax into the bottle cap to form the candle. You can also do this on a sheet of baking paper to avoid mess.
Step Seven
Repeat with all the rest of your colors. Make sure you’re melting and pouring one by one. Otherwise, your wax will dry as you wait.
If you want to make these look extra special, spray the bottlecaps with some gold spray paint before you begin. This brings a rustic chic look to the entire DIY. Gorgeous!
There you have it!
No comments
Write a comment