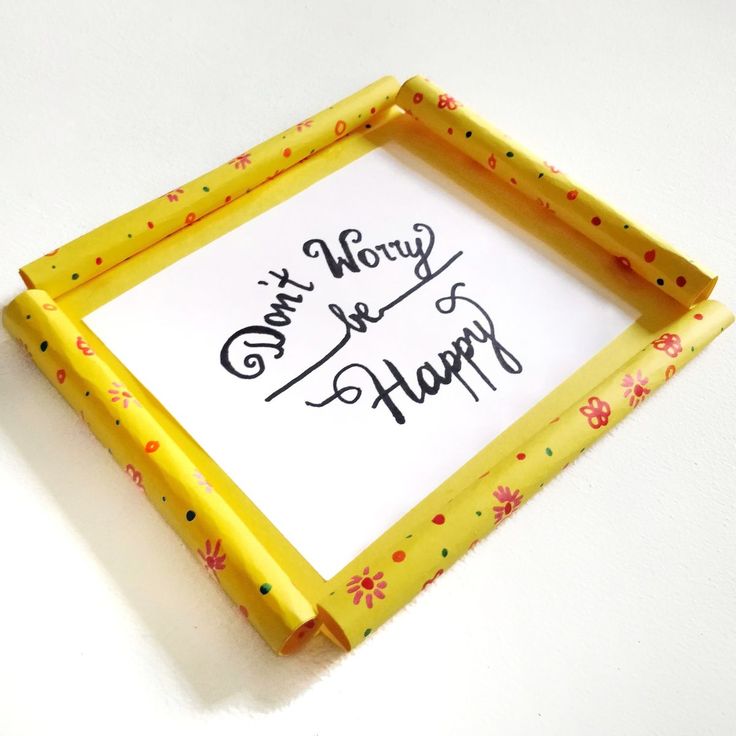
DIY Paper Picture Frames
Creating your own DIY paper picture frames can be a fun and creative way to showcase your favorite memories. All you need are some colorful papers, scissors, and a dash of imagination! With the stated materials, you can customize your frames to match any decor or style. Whether you're looking to add a personal touch to your home or searching for a thoughtful gift idea, these homemade picture frames are sure to bring a smile to anyone's face. So, gather your supplies and let your creativity soar as you embark on this delightful craft project!
What You’ll Need to Make Picture Frames
The materials you will need to make this adorable homemade DIY picture frame are:
Ruler
Permanent markers (or crayons, depending on your preference)
A4 paper sheets
Glue
Scissors
How Do You Make a Homemade Picture Frame Out of Paper?
Make this picture frame from the materials listed above. You can find them everywhere, and I guarantee you already have most of these in your homes.
Craft tip: You will see from the instructions later on that you will be rolling the paper to create the frame. So, try to draw patterns that accommodate this action.
Avoid large designs that run the entire size of the flap, as this gets distorted after rolling. Instead, use small, repetitive patterns (think gift wrap paper).
But then again, this is your craft so you can go about it whichever way you prefer. The important thing is to let you and your kids’ imagination take the lead!
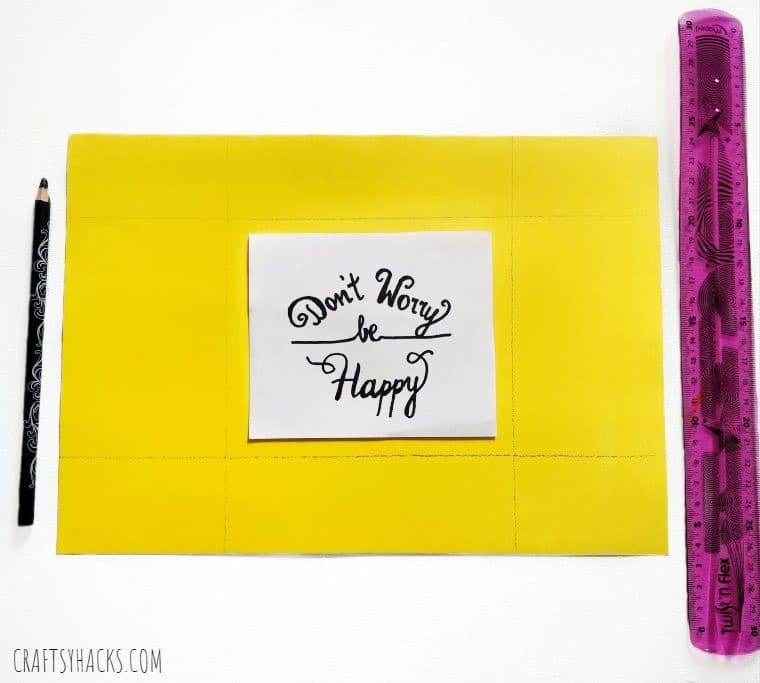
STEP 1
Start by choosing a sheet of colored paper. Place the picture to be framed in the center and use a pencil to make guidelines around it.
Be mindful of making the guidelines a few centimeters away from the photo edges. This makes it easier to paste the picture on the frame afterward (you don’t want it to look sandwiched or forced into the frame).
STEP 2
Cut the four outer corners of the sheet, as shown in the picture.
Time to decorate your picture frame!
Draw patterns using sharpies, crayons, glitters, or even using embellishments and stickers. You only have to adorn the areas around the central rectangle, leaving the spot where your picture will go plain.
Craft tip: Use wrapping or scrapbook paper if you are after a super quick project or simply want to do away with decorating them yourself.

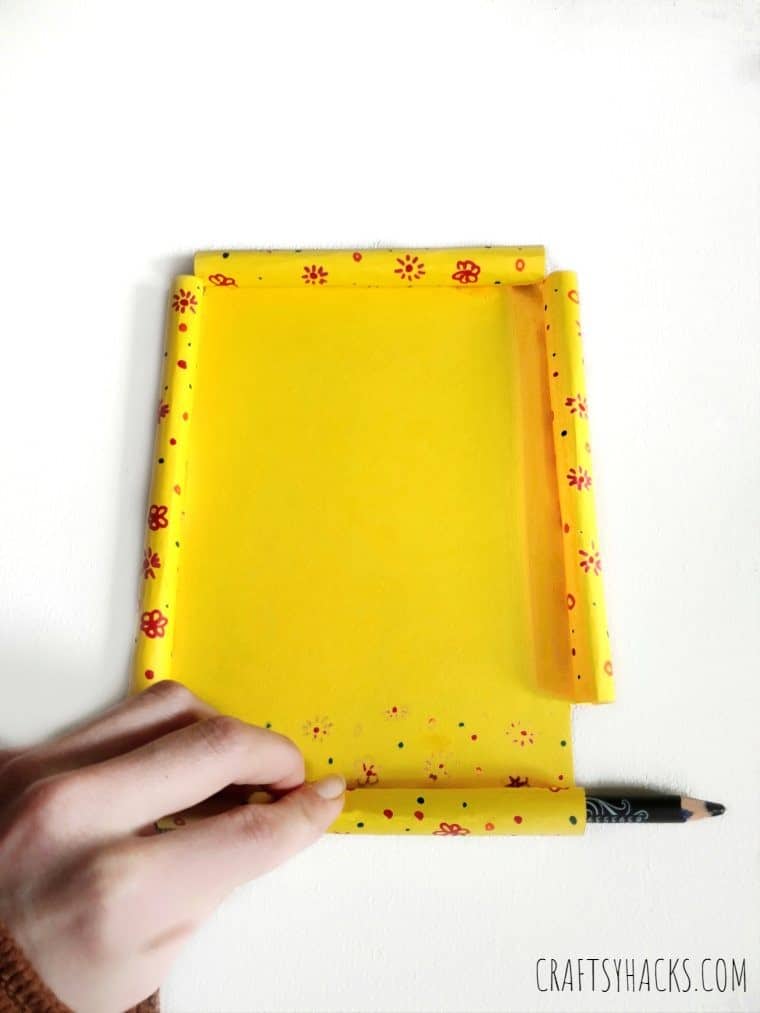
STEP 3
Take a pencil and use it to roll the decorated corners in. This process gives your frame a 3D effect.
Make sure the decorated side is visible. Use glue to stick the rolled corners together if required.
Craft tip: Use paper strong enough to achieve the desired effect, but soft enough so you can easily roll it.
STEP 4
You’re now ready to glue in the picture you want to display on your beautiful DIY picture frame!
Remember, you don’t have to stick to photos. You can also use this frame to exhibit your kid’s drawings and quotes or use them as gift tags and decorations.

No comments
Write a comment