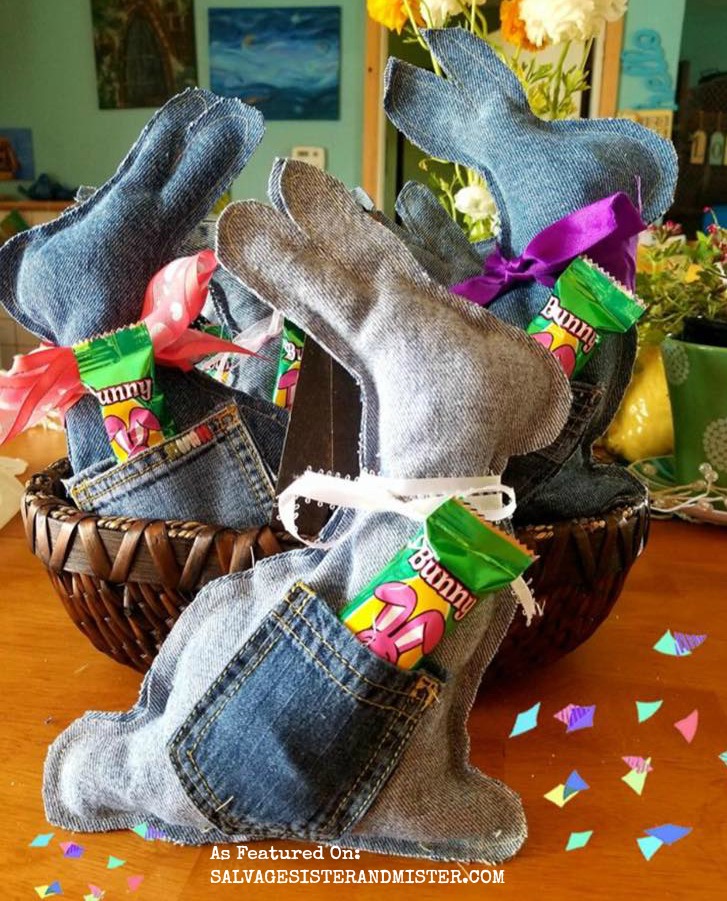
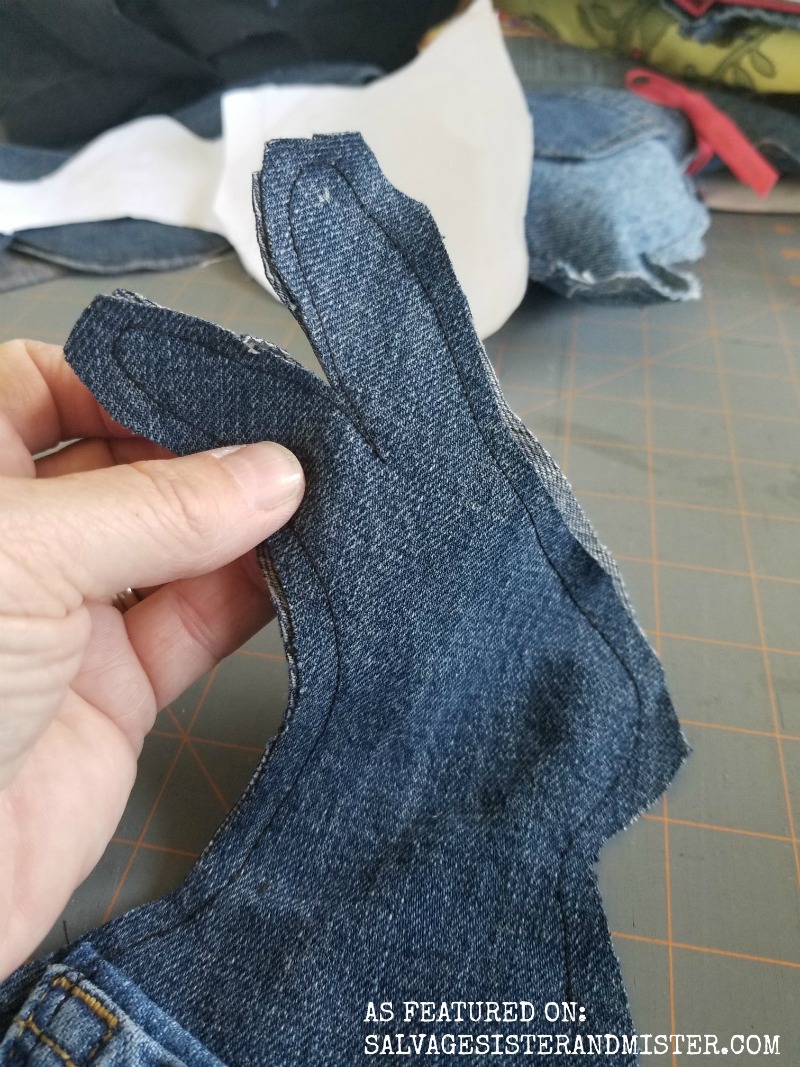
Sign in Create account

DIY Denim Bunny

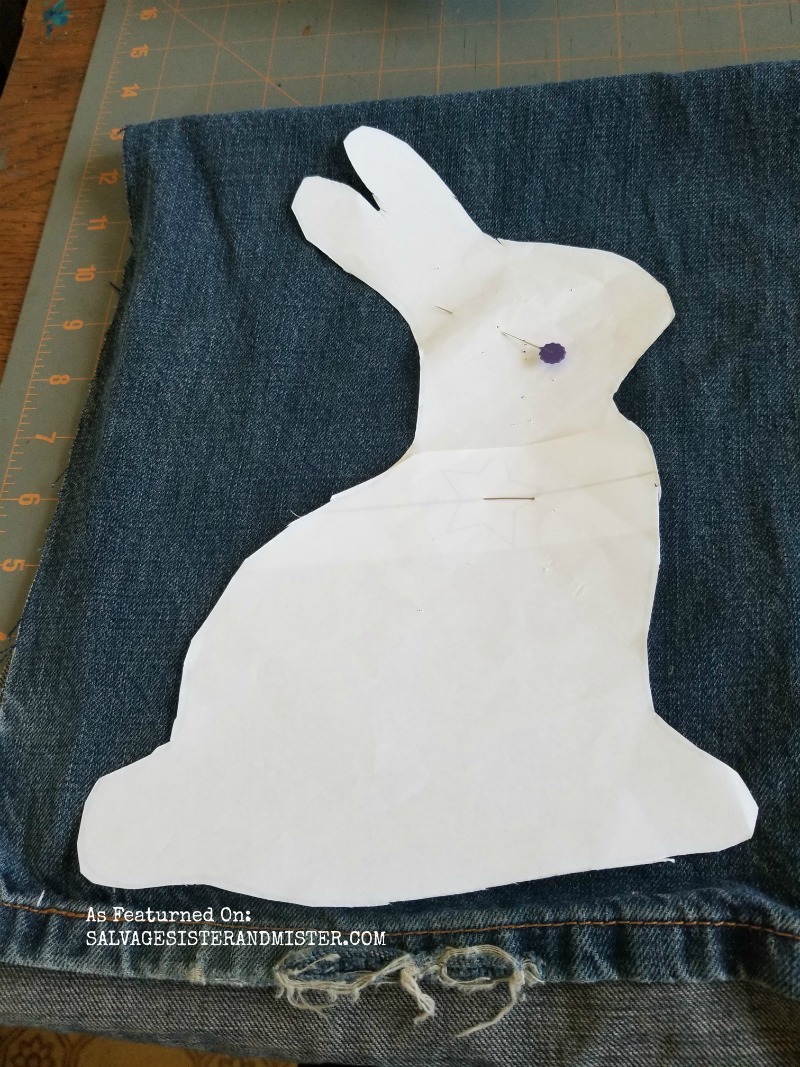
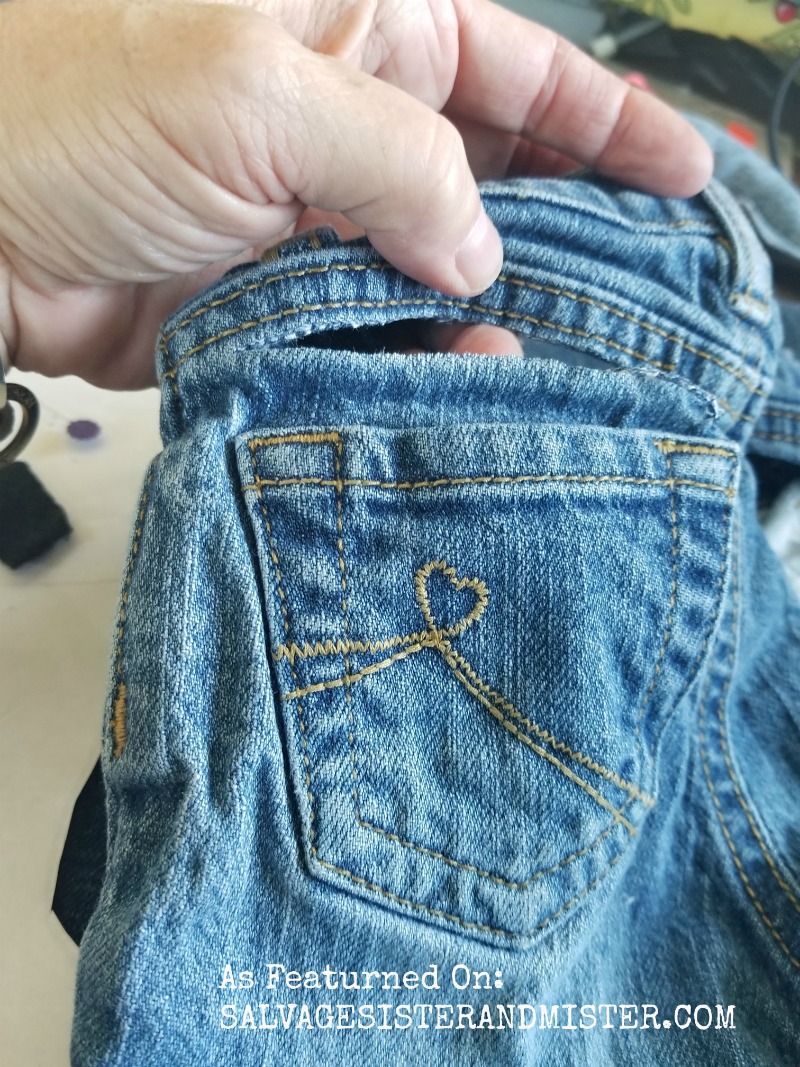
Creating a DIY Denim Bunny is a fun and creative project that will bring a touch of charm to your home decor or a thoughtful handmade gift. By recycling old denim fabric, you can give new life to your worn-out jeans and create something adorable at the same time. Whether you're a crafting enthusiast or just looking for a fun weekend activity, making a denim bunny is sure to spark joy and put a smile on your face. With some basic sewing skills and a dash of imagination, you can customize your bunny with cute details like buttons for eyes or a colorful ribbon bow. Embrace the whimsical world of DIY and hop into this delightful denim bunny project today!

SUPPLIES

Pins
Bunny Outline/Stencil
1 Reg Jeans/Pocket of Kid Jeans
Scissors
Sewing Supplies
Stuffing (shredded fill and denim scraps)
Ribbon

HOW TO:

Cut down a seem on a leg of jeans and cut at the top.
Starting at the bottom leg, fold over material so the inside of the jeans is not showing.
Take bunny pattern and pin to jeans.

Cut out the bunny around the pattern- you will have a front and back.

Cut all the way around a kids pocket, except for the top. Put the right sides together, sew right at the edge of the pocket and flip it over then stitch all the sides.

Take the two bunny pieces and sew together leaving a space open to stuffing.
Erin sews down a bit to the ears to make them more floppy and doesn’t put a lot of stuffing in them.

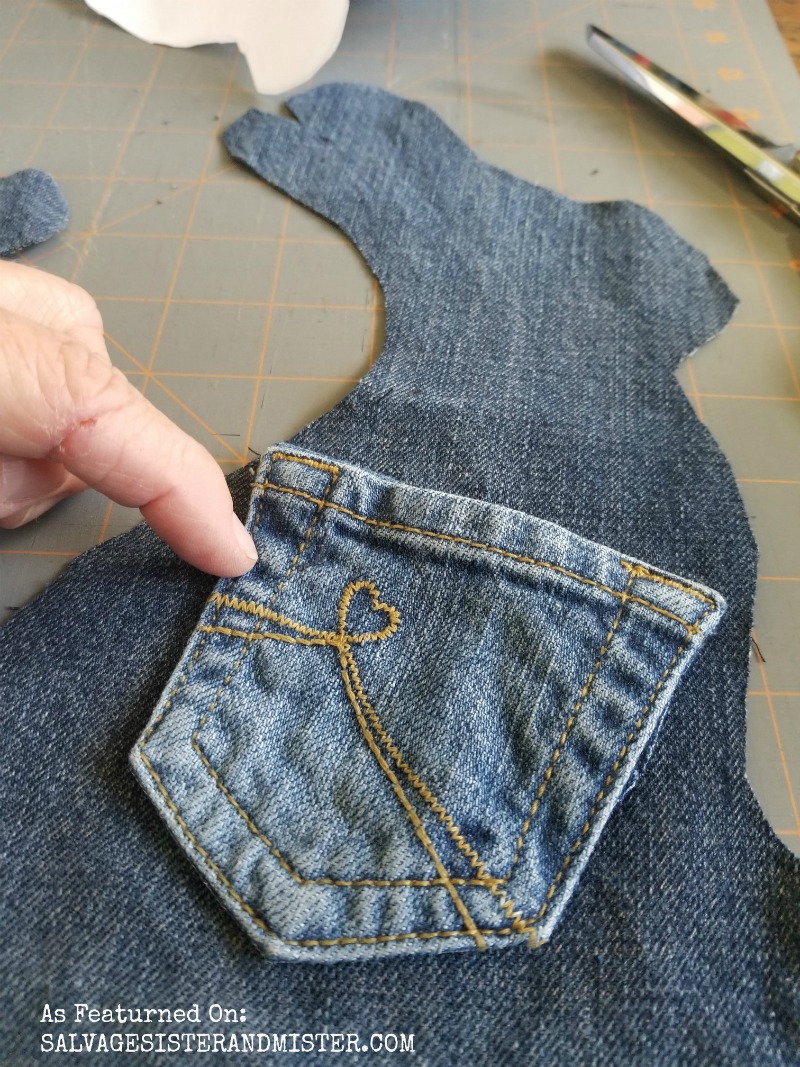
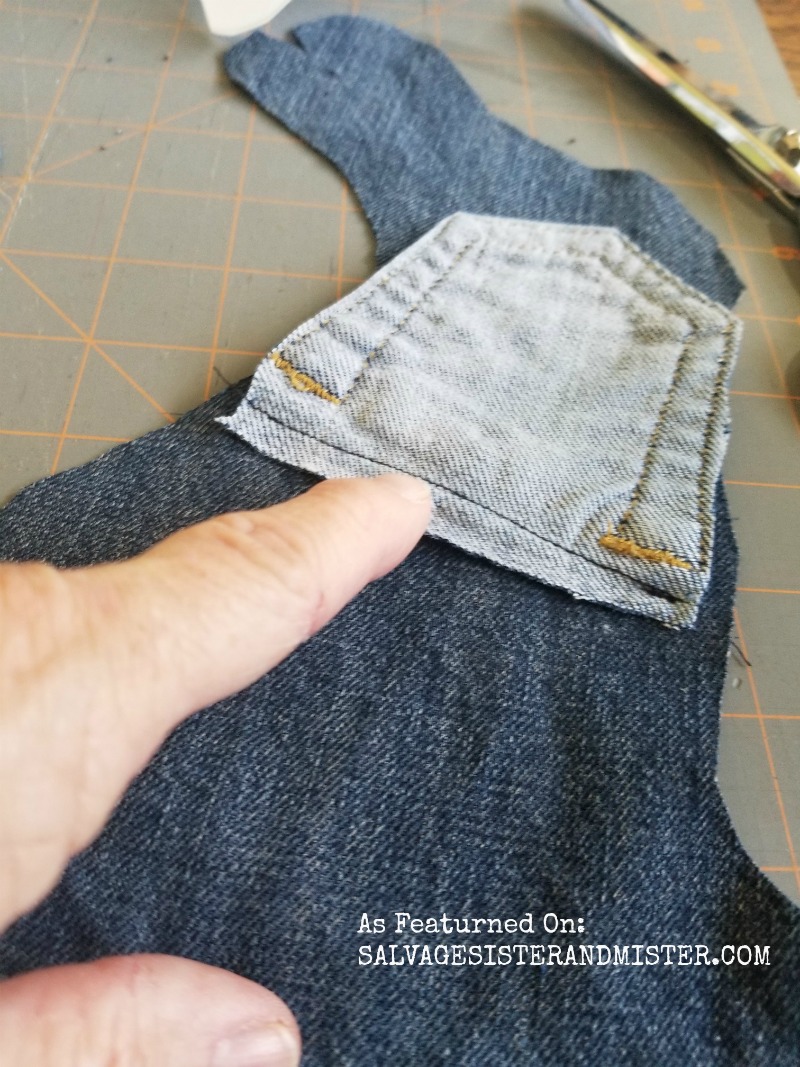
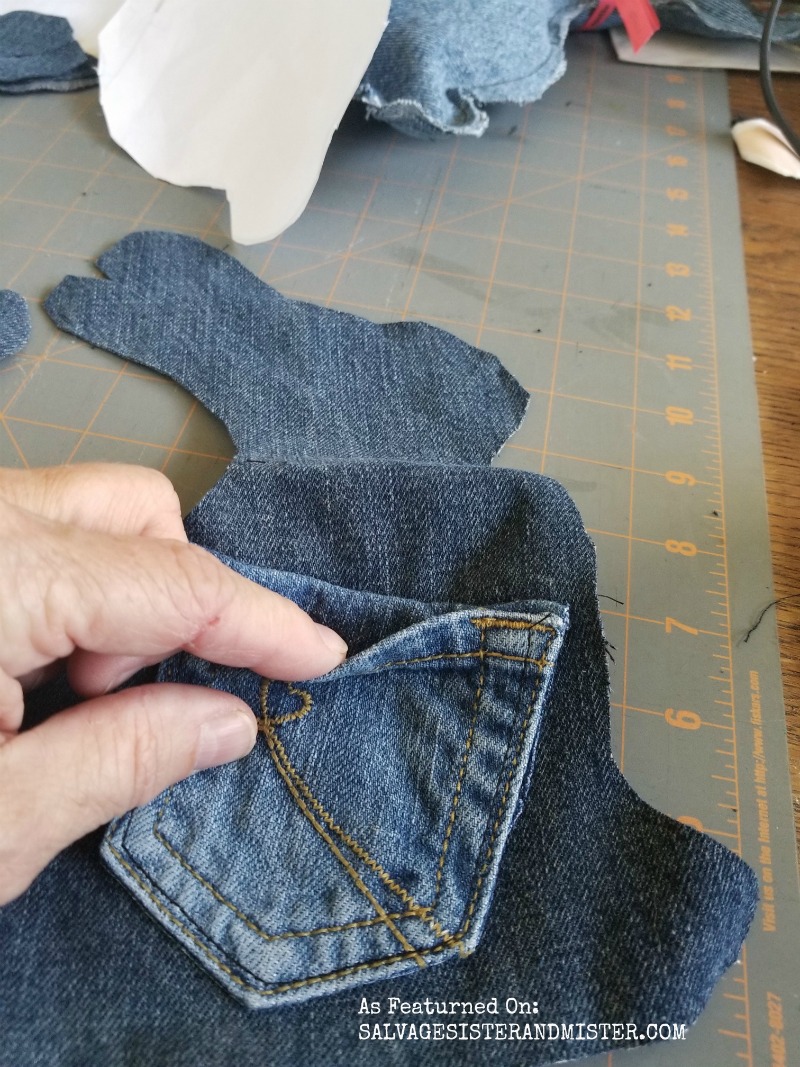
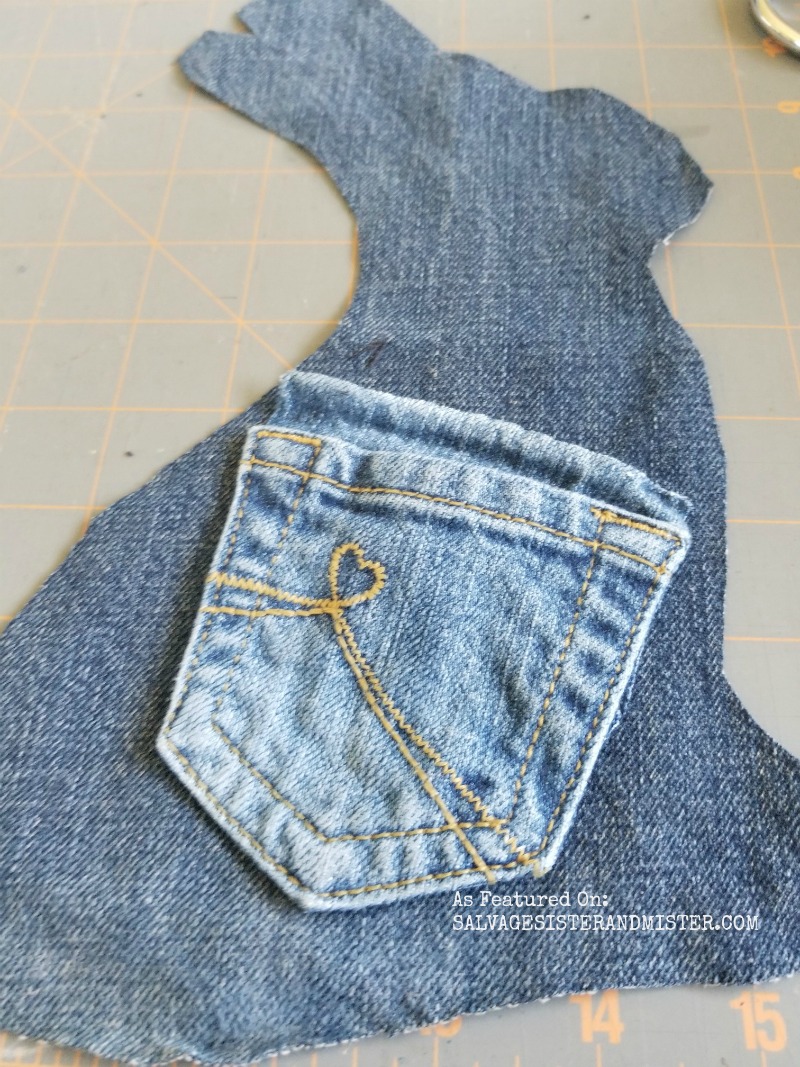
Once the bunny is stuffed the bunny is sewn shut and is ready to add a little treat, or two, to that pocket.


Like!1
Add to bookmarks
95
No comments