DIY Chalkboard Bunny
If you're looking for a fun and adorable DIY project, the DIY Chalkboard Bunny is just what you need! This project is perfect for adding a touch of whimsy to your home decor or crafting with kids. Whether you use it as a memo board, to-do list, or a creative outlet, this DIY Chalkboard Bunny is sure to bring a smile to your face every time you see it.
Materials:
- Wood Slice
- Chalkboard Paint
- Paint Brush
- Wrapped Wire
- Gold Florist Wire
- Hot Glue Gun & Glue
- Faux Spring Flowers
- Chalk
Tutorial:
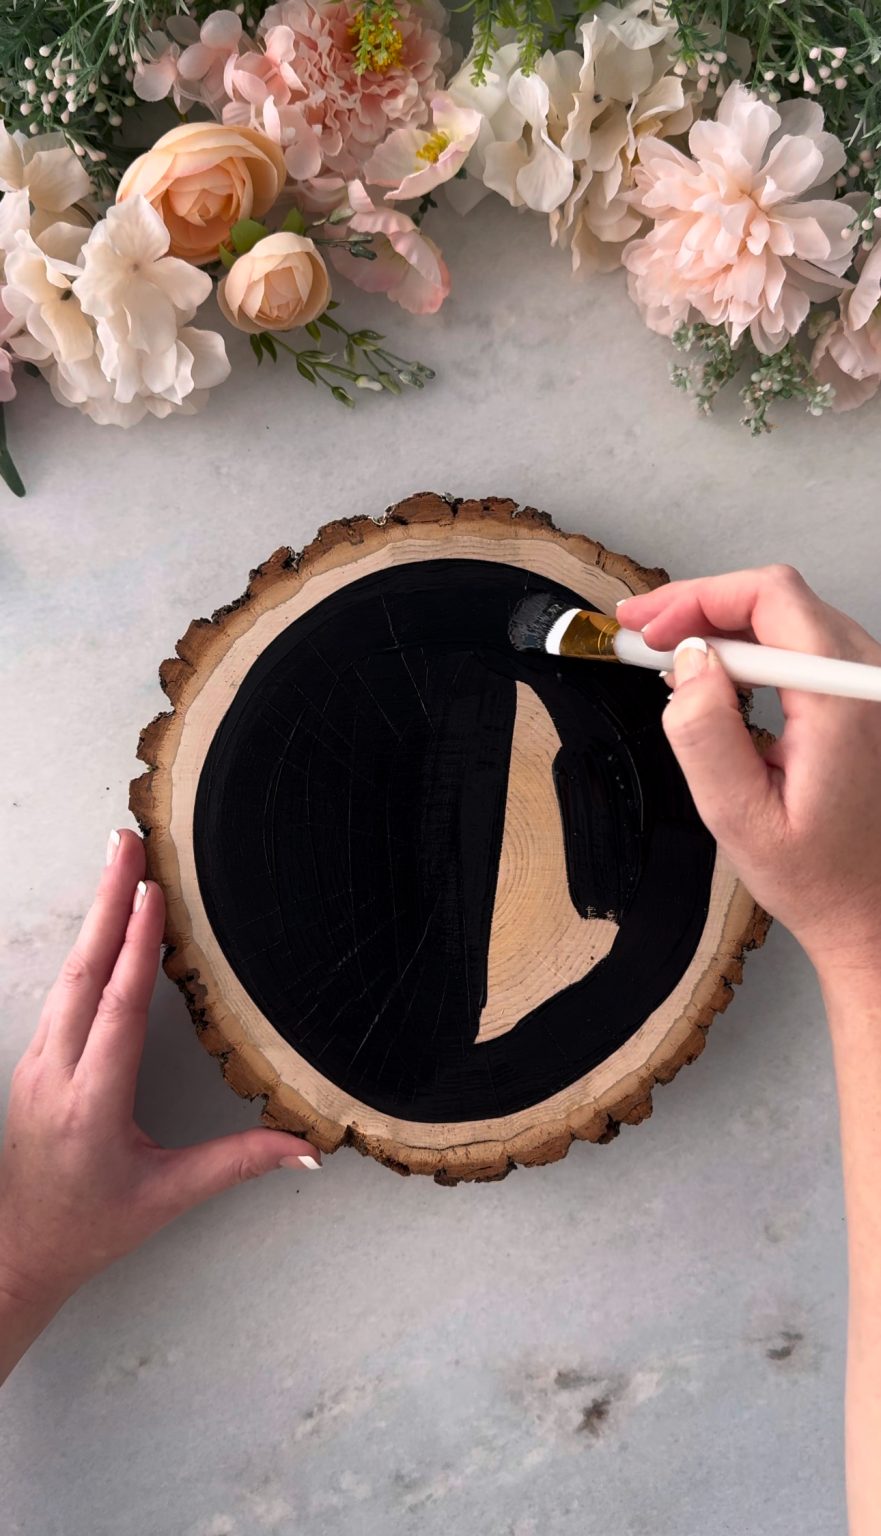
1. First, paint one side of the wood slice with chalkboard paint. Let dry according to the packing instructions. Repeat this process 1-2 more times for a thicker layer of chalkboard paint. Repeat this process on the other side too.
2. Bend one wrapped wire into the shape of a bunny ear and use a piece of gold florist wire to tie the ends of the wrapped wire together. Repeat with a second wrapped wire.
3. Hot glue the bunny ears to the top/center of the chalkboard wood slice.
4. Then remove the flower tops from the stems and hot glue the flower tops to the top of the chalkboard wood slice around and on both sides of the bunny ears.
5. Place the chalkboard flat on your table and season it with chalk. You can do this by laying your chalk flat on the chalkboard and rubbing it back and forth and all around the chalkboard until it is fully covered with chalk. Then wipe it with a dry cloth to spread it around. Finally, wipe it with a damp cloth.
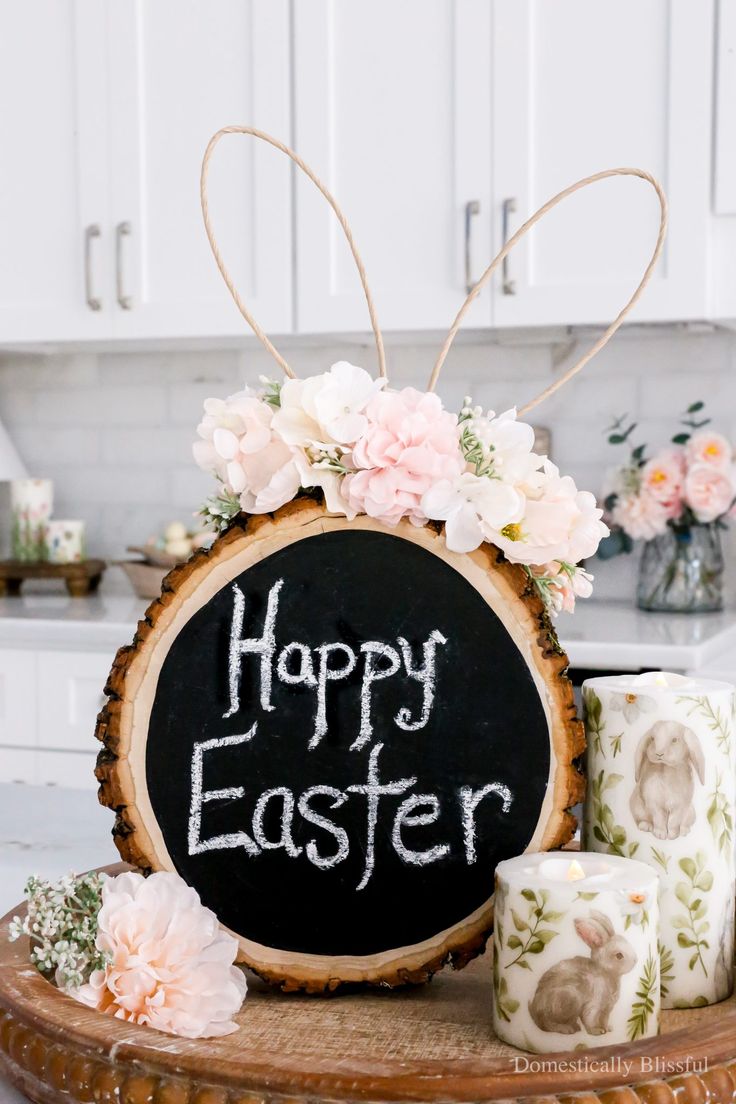
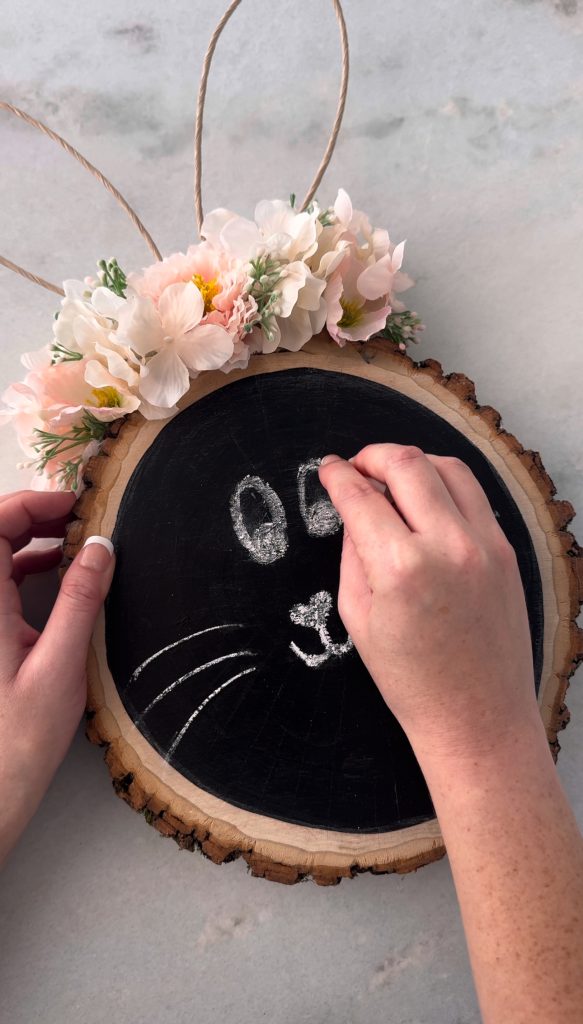
6. Finally your favorite Easter quote or draw a spring bunny on your new Bunny Chalkboard.
7. That’s it! Happy Easter!
No comments
Write a comment