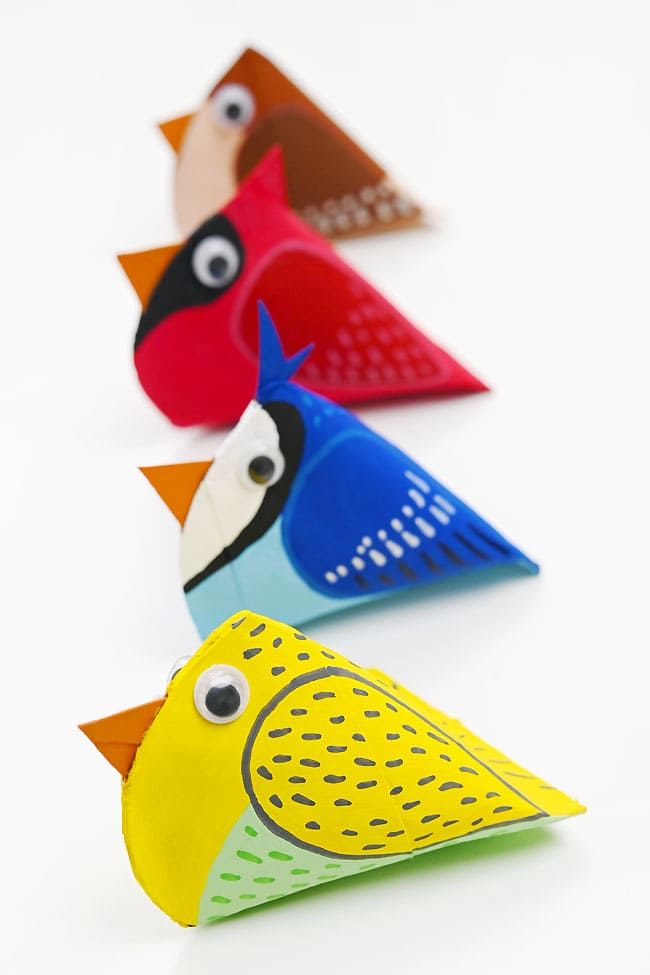
Paper Roll Birds
Paper Roll Birds are a delightful and eco-friendly craft that will surely bring a smile to your face. By repurposing old paper rolls, you can create adorable feathered friends that add a charming touch to any space. Whether you're crafting with kids or simply looking for a fun and creative project, making Paper Roll Birds is a wonderful way to unleash your imagination and spread joy through simple, yet artful, creations. So gather your craft supplies, let your creativity soar, and enjoy the cheerful company of these whimsical avian companions!

Materials:


Add hot glue along one half of the flattened side.

Press the two sides of the roll back together, holding it firmly for 20 to 30 seconds while the glue dries.

Trim about 1 inch off the open end of the roll.


Cut this end on a bit of a curve. Keep the center the same length, but trim down a bit on each side.

Add a small line of glue towards the center curve. Place the beak into the glue.

Now add another line of glue across the whole side. Press the sides together, again, holding them until the glue dries and it stays on its own.


Choose a main colour for your bird. Paint the top and wings of the bird this colour.

Once the paint has dried, add a second coat if necessary.

Paint the chest and bottom of the bird a second complementary colour. Again, add a second coat of paint if you’d like.

Paint the beak orange, yellow, or black, depending on what kind of bird you’d like to make.


You can also add feather details on the back of the bird and on the tail.

Use a matching colour of marker (a darker green, for us) to add feather details to the chest and bottom of the bird.

Attach googly eyes to either side of the bird’s face with glue tape or a small dot of hot glue.

Your paper roll bird is complete!