Making your own DIY decorative flower pots with hot glue is a creative and fun way to add a personal touch to your plant decor! All you need are some plain pots, colorful hot glue sticks, and your imagination. With a steady hand and a little bit of patience, you can create unique designs and patterns that will make your plants stand out. Whether you're a seasoned crafter or just looking for a new project to try, this activity is sure to bring a smile to your face and some extra charm to your home. So grab your supplies and get ready to unleash your inner artist!

Materials, including…
Resin
Plaster
Concrete
Clay
Hot Glue
Soap
Wax
Since I was applying the ornamental design on a rounded surface, I used hot glue because it is more flexible.
Supply List
Decorative Flower Mold
White Chalk Paint
Brown or Black Craft Paint
Gold Leaf Rub N Buff
E-6000
Hot Glue Gun
Hot Glue Sticks
Crystal Clear Paint Sealer
Instructions:
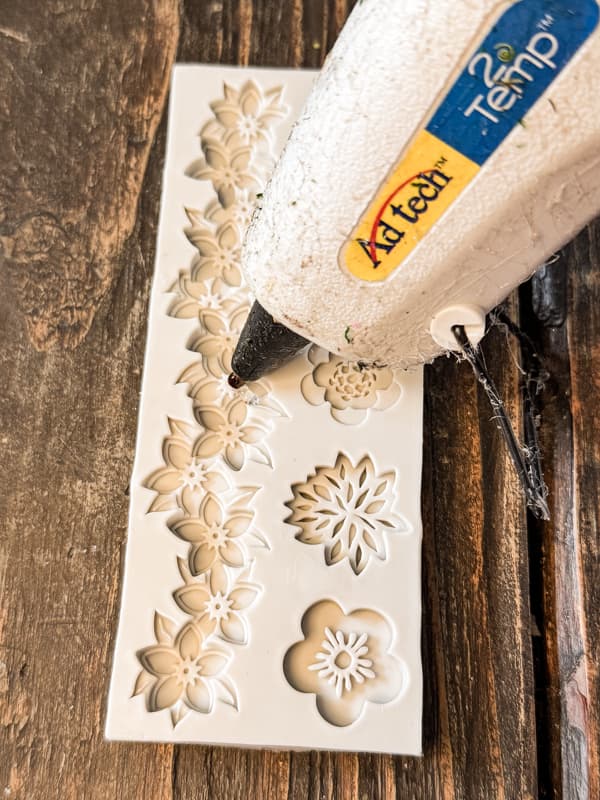
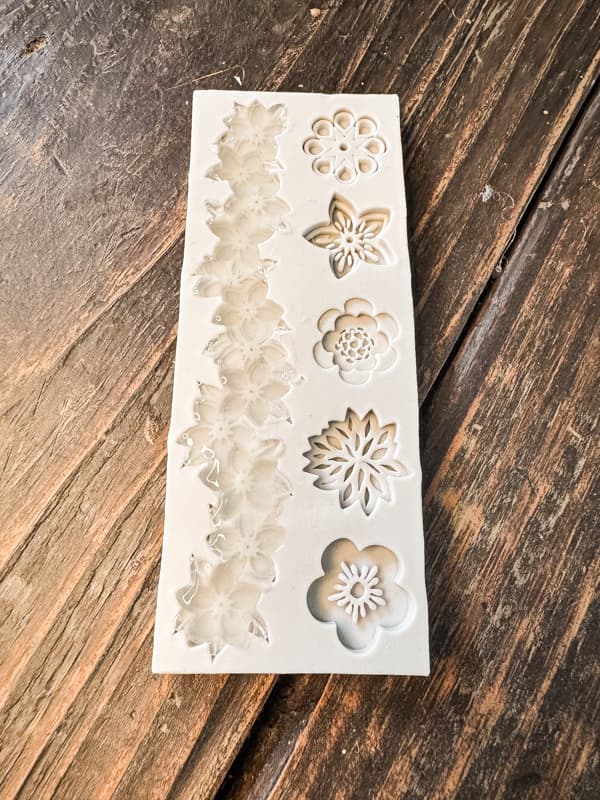
Step One – Create a Design With Hot Glue
The first step is to heat your hot glue gun on high and fill the mold with glue to create the flower design. Ensure that you get the glue into all the edges. Set the mold aside and allow the glue to dry completely. Then, repeat until you have enough flowers to cover the design area. The glue peels out of the tray easily.
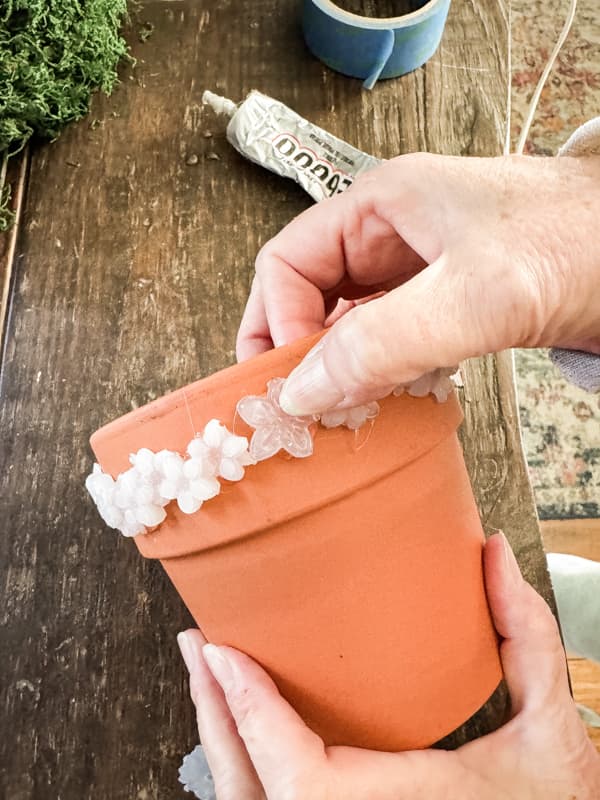
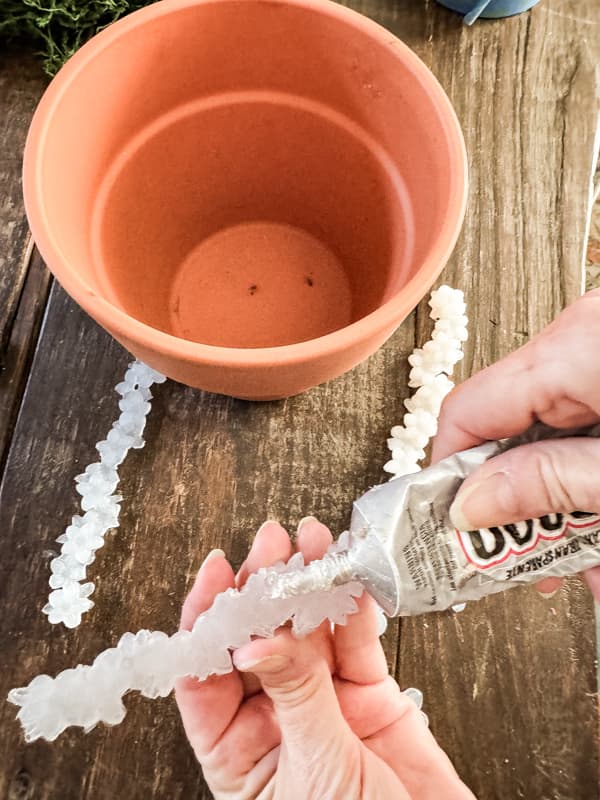
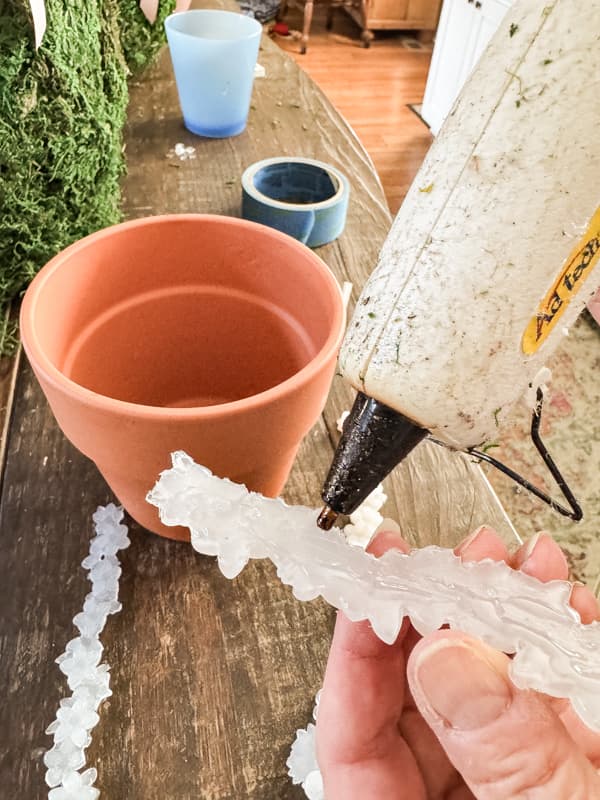
Step Two – Attach Design To Clay Pot
I decided to use my tried-and-true method of permanently attaching items with glue. First, I added E6000 glue to the back side of the flower design. Then, I added some hot glue over the top. Finally, I pressed the flower design onto the clay pot and held it until the hot glue set. Repeat for each piece until your design is to your liking. Using this technique to apply glue allows you to complete this step in only a few minutes!
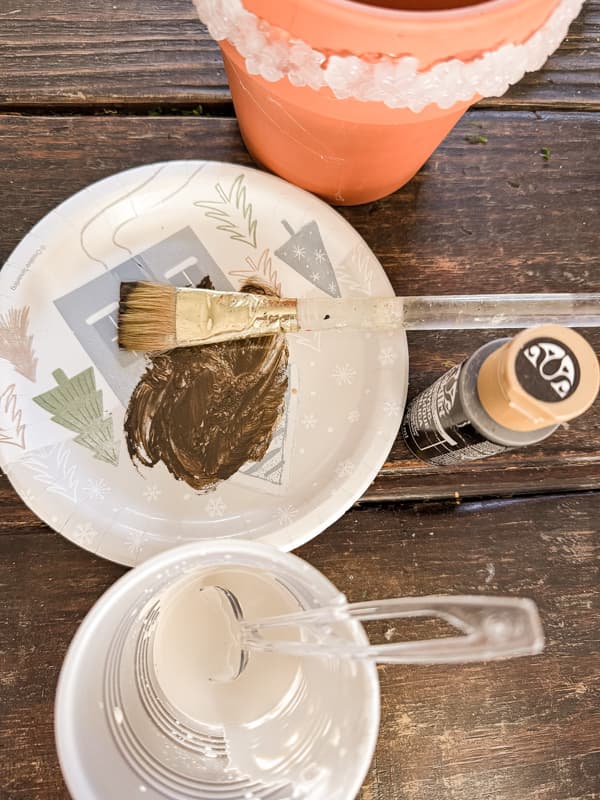
Step Three – Paint Decorative Flower Pot
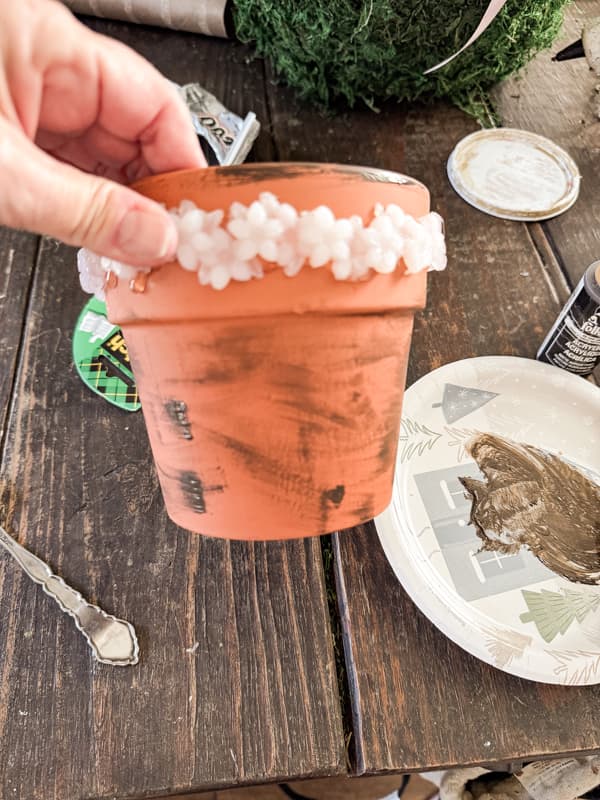
Now, you are ready to paint your decorative flower pot. There are many options for adding color to clay pots. You can spray paint a solid color, add an aged pot finish, paint a wash over the pot, etc. I chose to add a slightly distressed, aged appearance to my pot.
I began by adding a few swipes of dark brown paint. Then, I added a 50/50 water to the chalk paint for a whitewash appearance. I brushed the whitewash over the entire pot, paying extra attention to the raised decorative flowers.
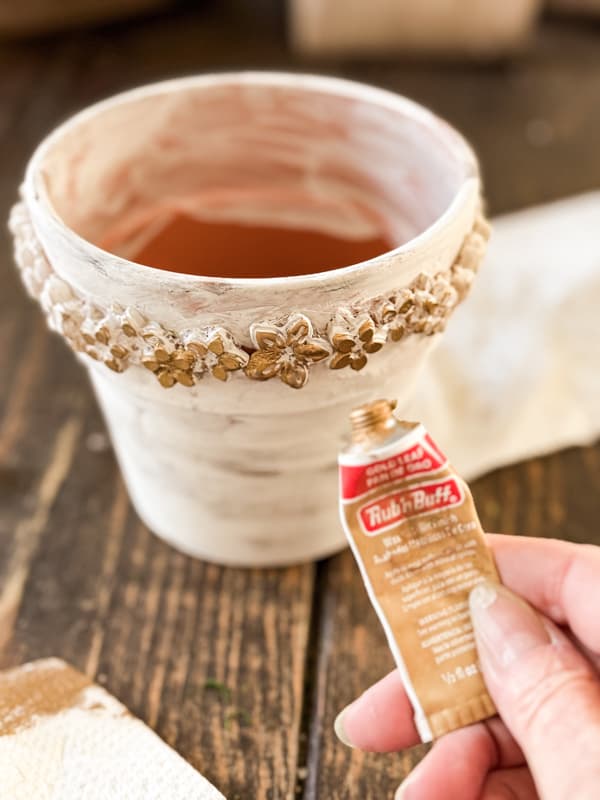
Step Four – Add Gold Leaf Rub N Buff
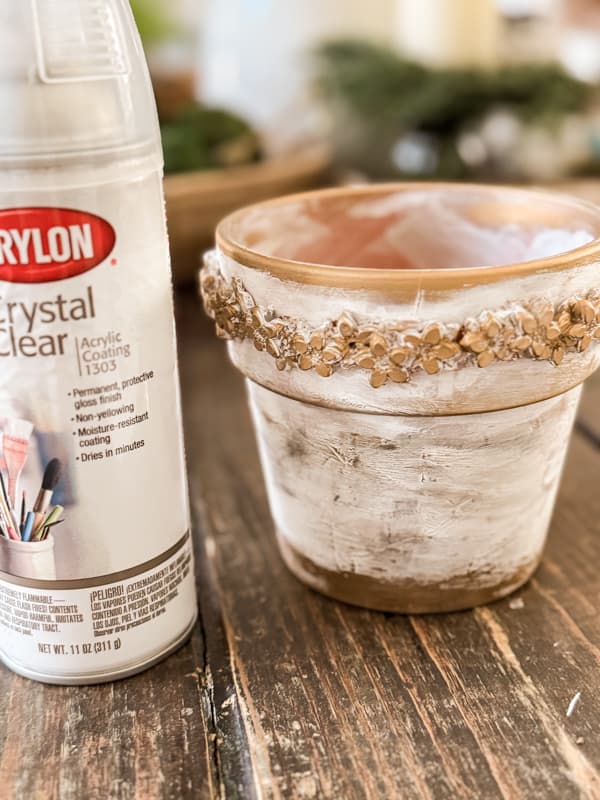
I wanted to enhance the decorative feature of the upcycled clay pot, so I added a touch of gold. To apply add gold leaf Rub N Buff to a paper towel and apply a light coverage over the raised flower design. In addition, I added some around the edges of the pot and a light rub over the pot sides to add some texture. Once I was happy with the finish, I added a light coat of Crystal Clear Spray Sealer to protect the finish.
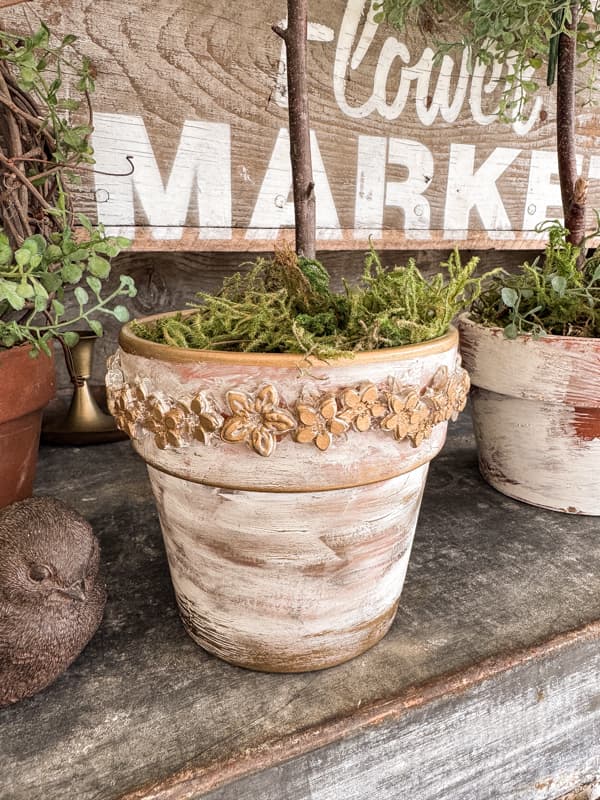
Hot Glue Craft Flower Pot
This hot glue craft only took minutes to complete and I’m loving the results.