Making your very own DIY Fleece Bunny is a fun and rewarding craft project! With just a few simple materials like soft fleece fabric, stuffing, and a needle and thread, you can create a cute and cuddly bunny that will bring joy to anyone who sees it. Whether you're a seasoned crafter or new to sewing, this project is perfect for all skill levels. Get creative with different colors of fleece and add your own touches to make each bunny unique. Just follow a step-by-step tutorial, and you'll have your adorable fleece bunny ready to hop into your heart in no time!
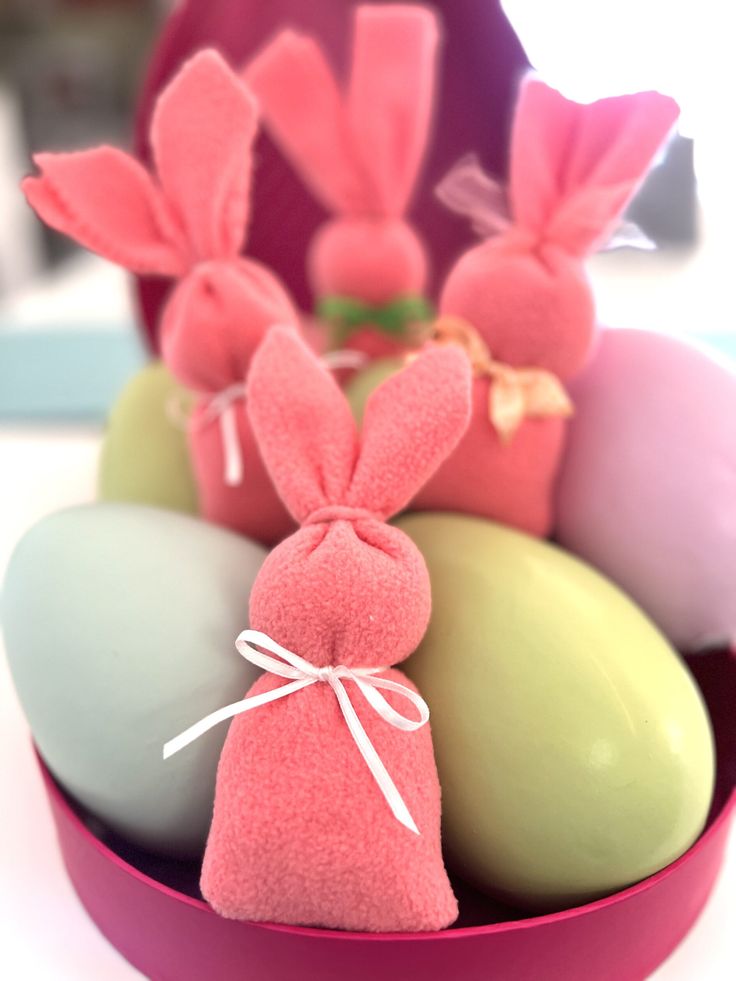
How to Make a Fleece Bunny
Supplies
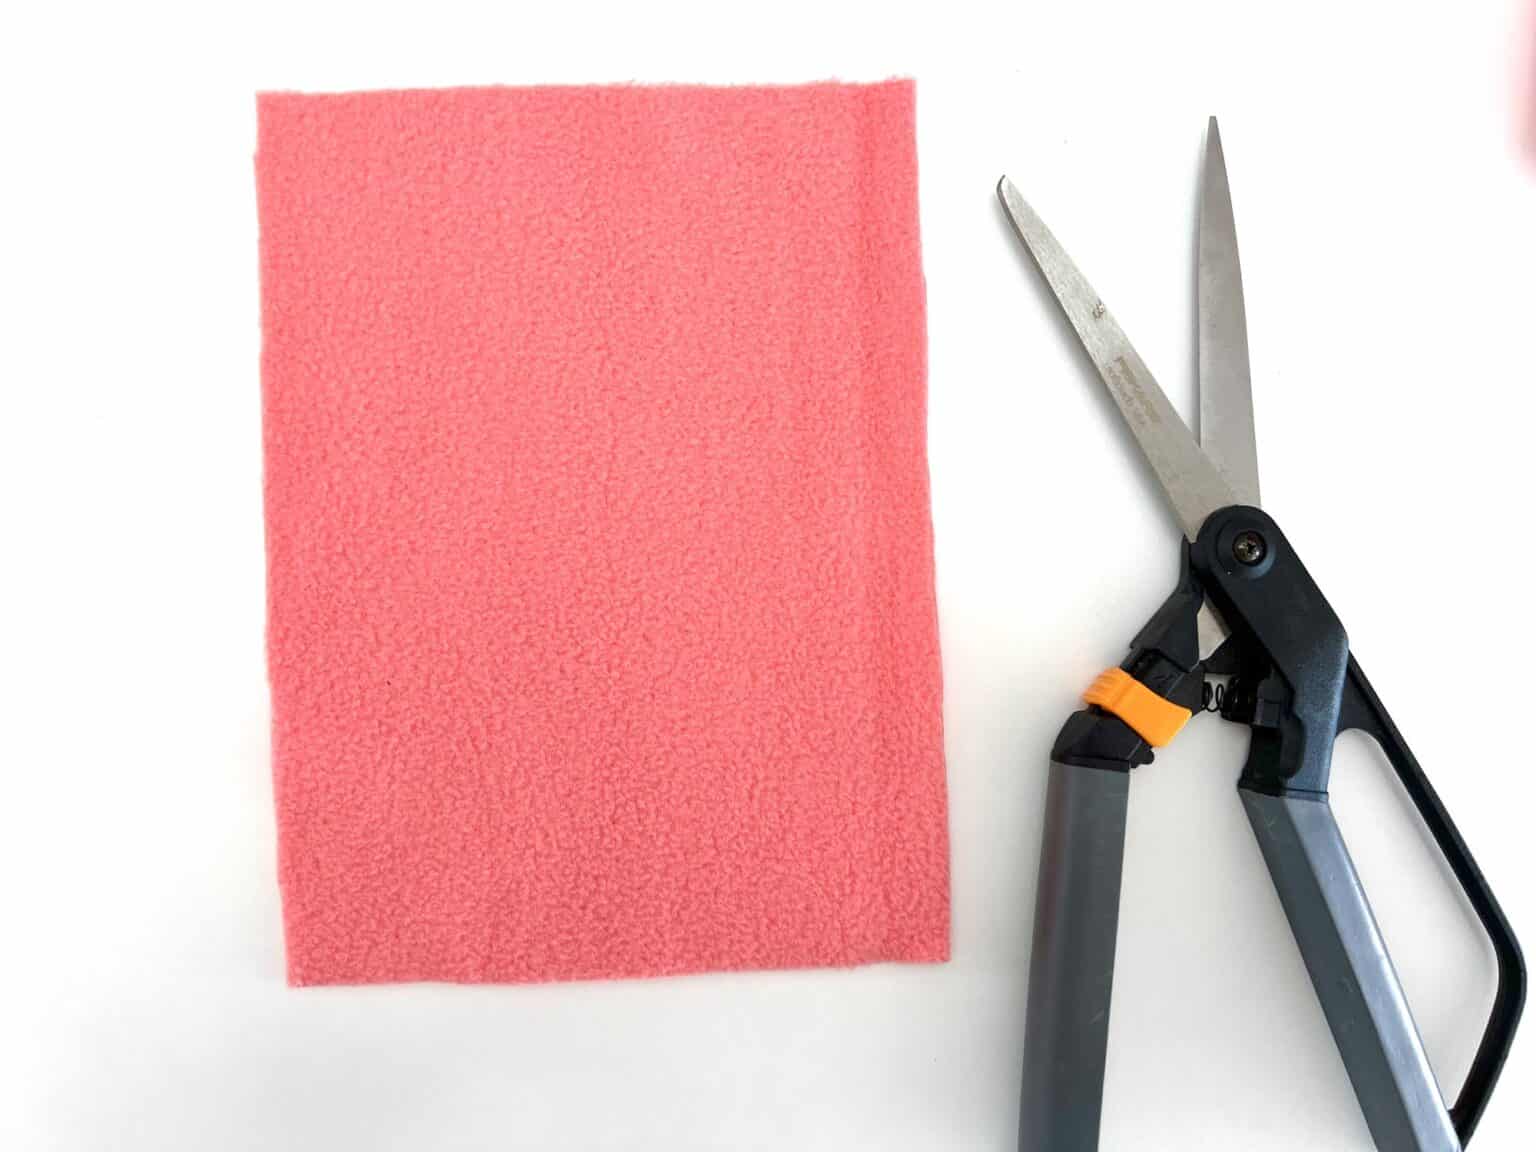
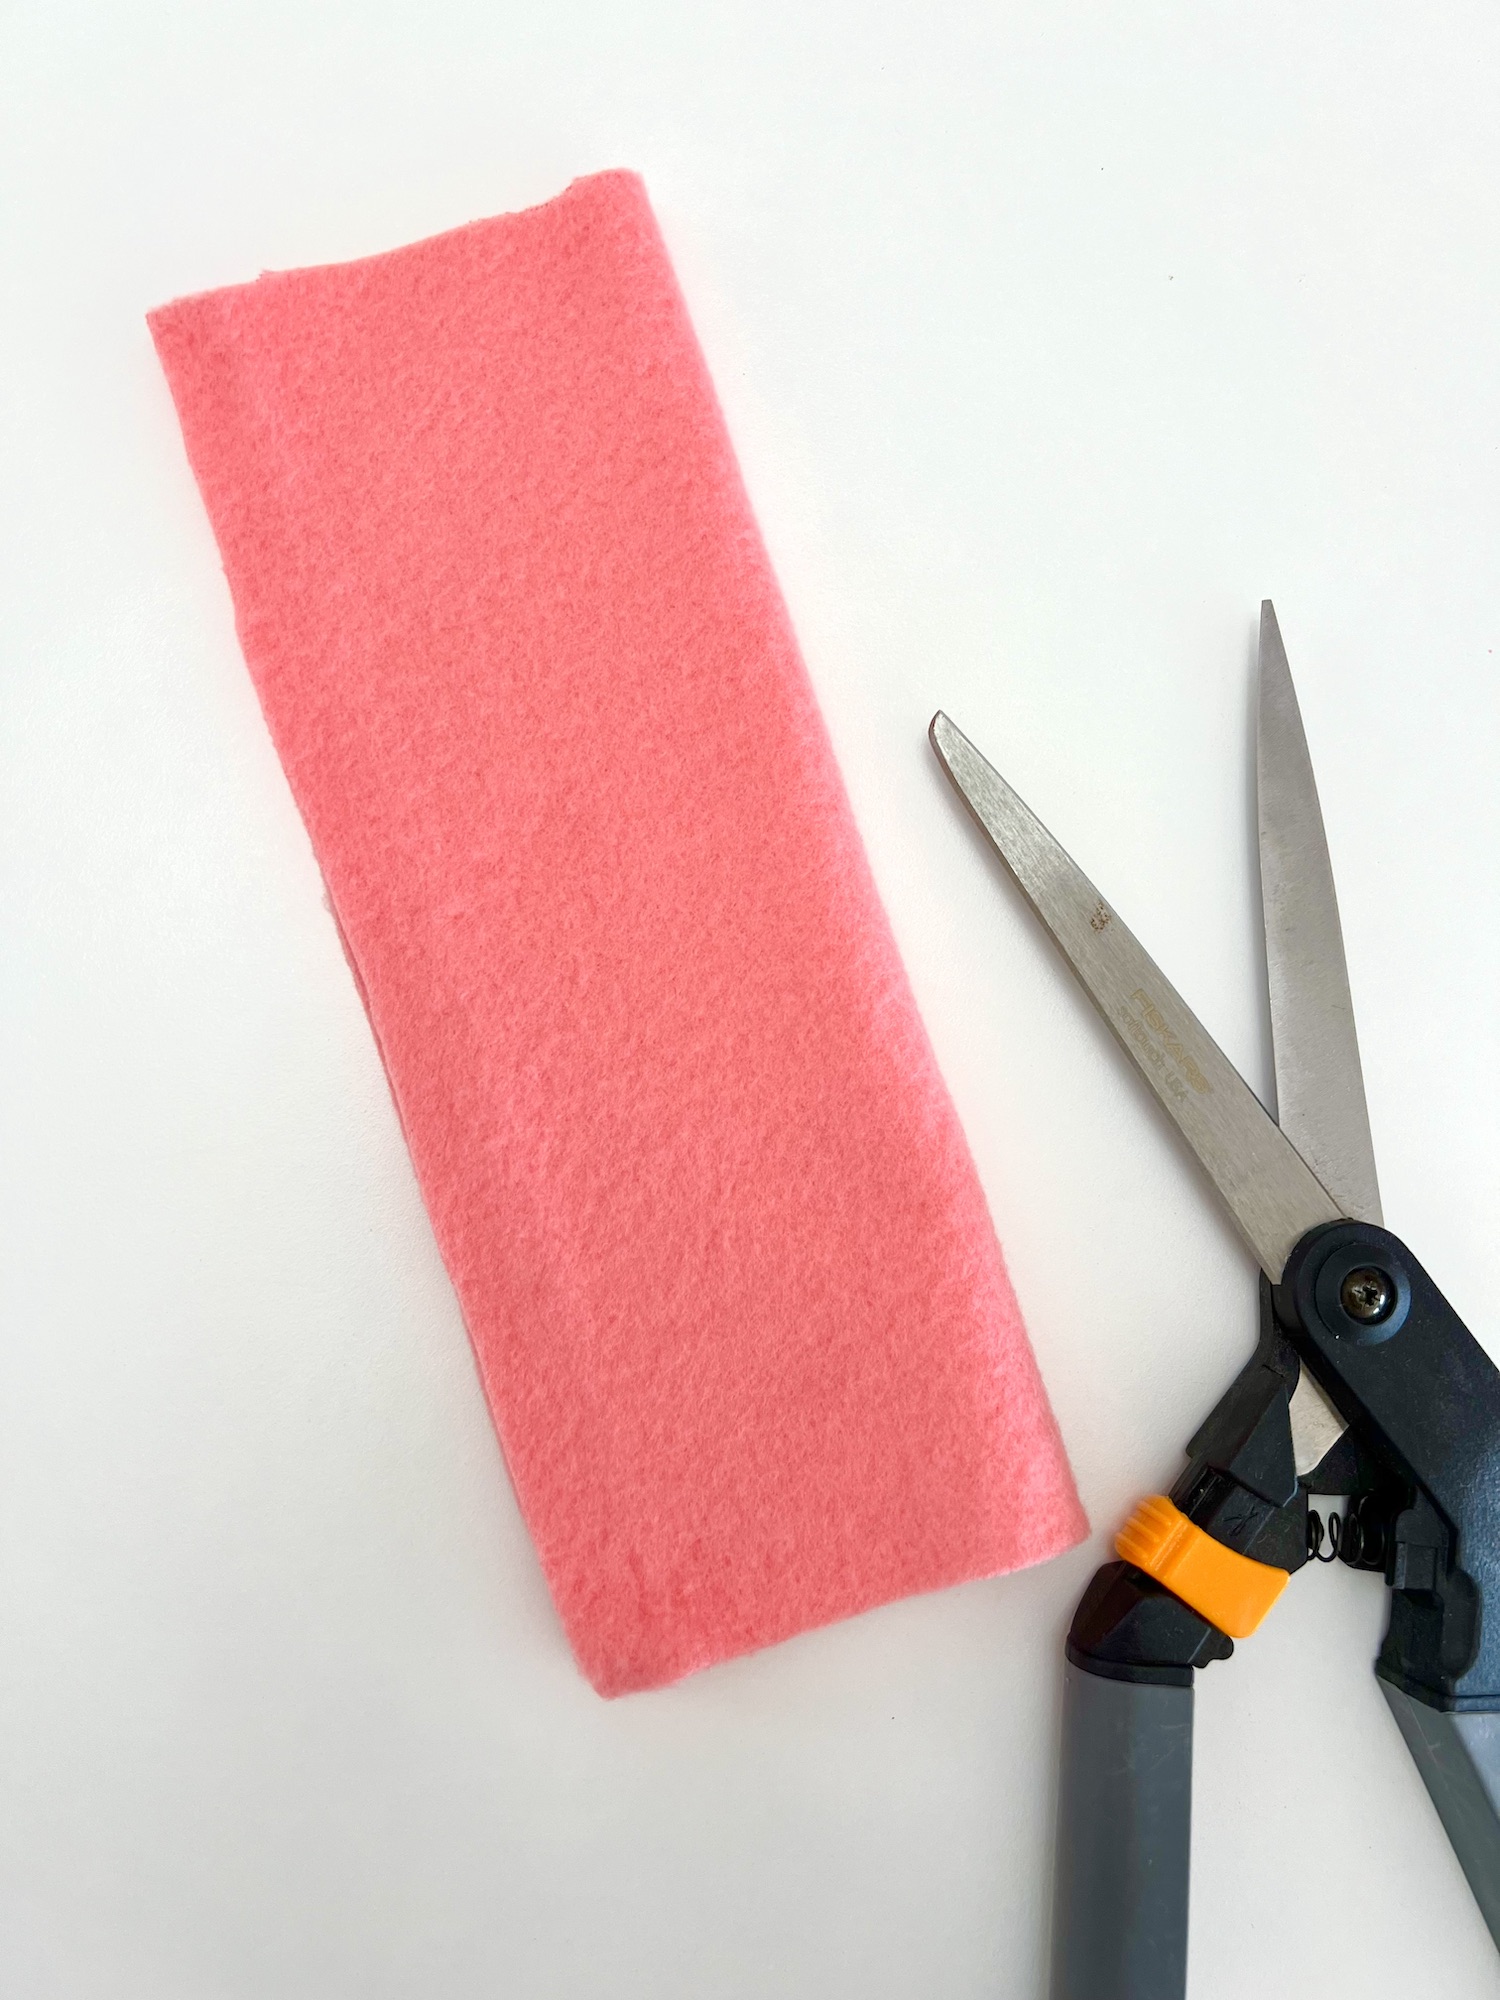
- Polar Fleece (you will need one 6 X 8″ piece for each bunny)
- Thread
- Rubber band
- Ribbon, yarn or twine
- Polyfill, cotton stuffing or fleece scraps
- Scissors
- Sewing machine
- Pinking Shears (optional)
Directions
Step 1
Cut a piece of fleece that is 6 inches wide by 8 inches tall.
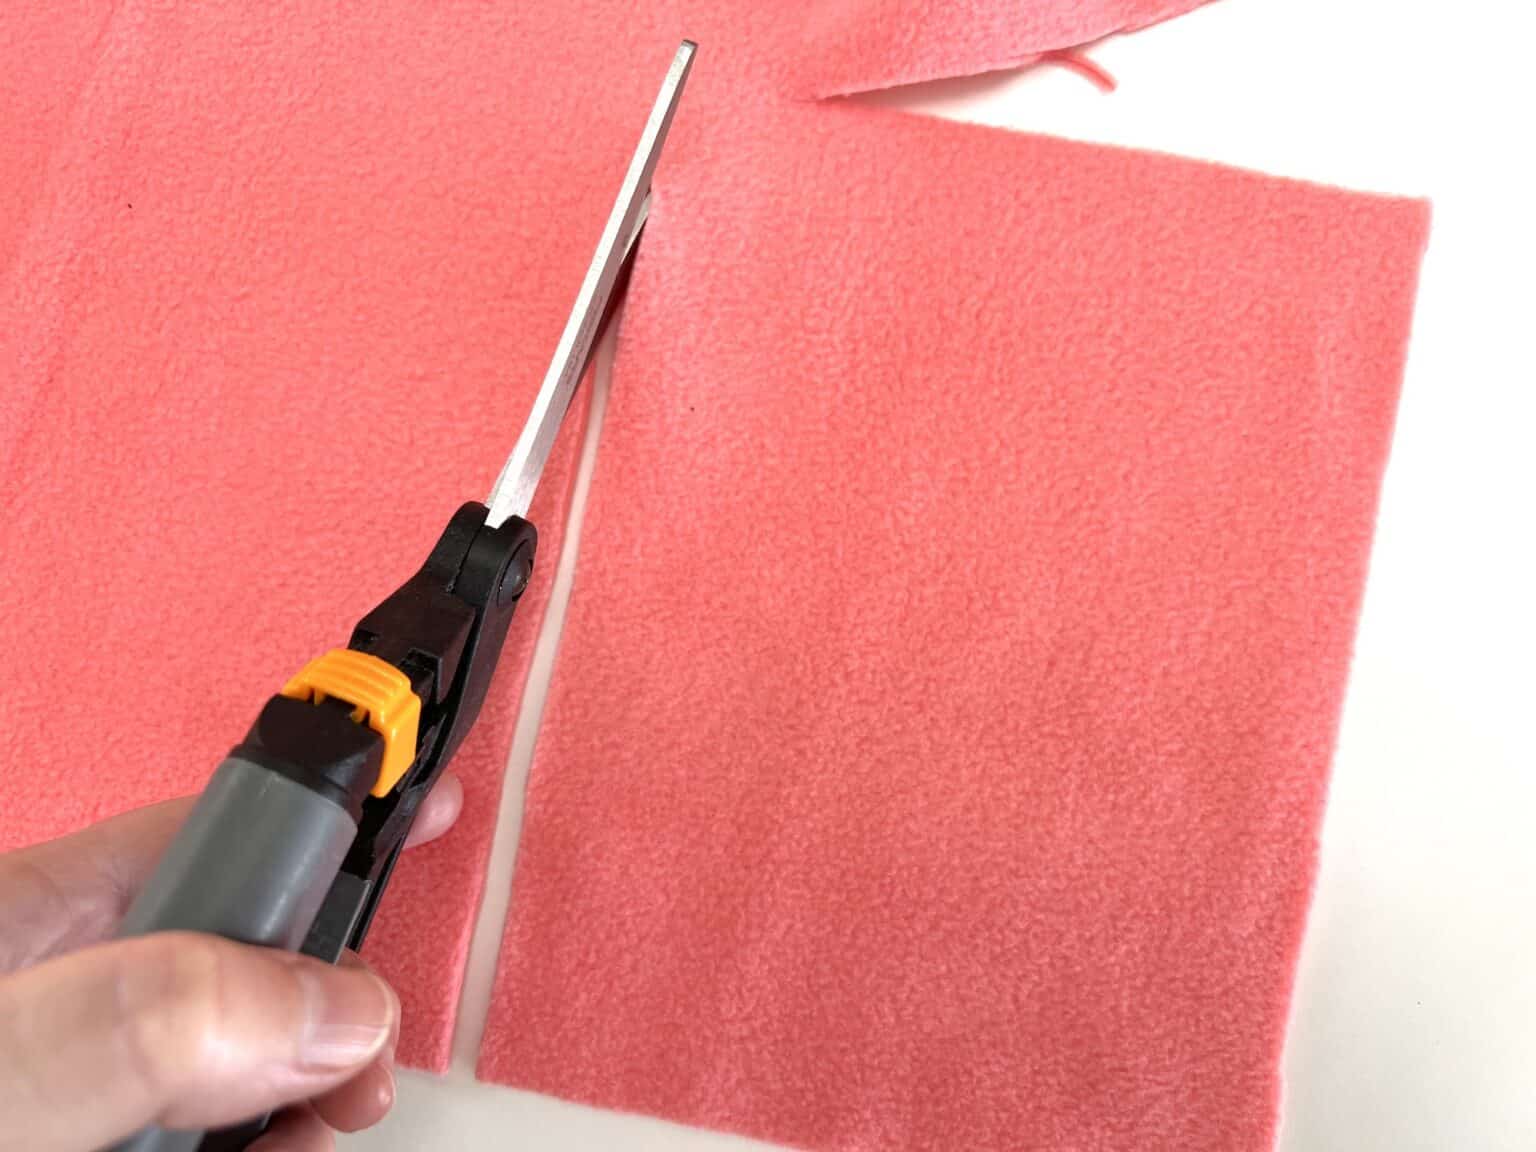
Fold in half with the long side folded. Place right sides together.
Step 2
Sew a straight stitch up the long side that is not folded and across a short side. Use a 1/4 inch seam allowance.
To make the turn at the corner, be sure that the needle is inserted in the fabric. Then lift up the presser foot and turn your fabric 90 degrees to start sewing down the other side.
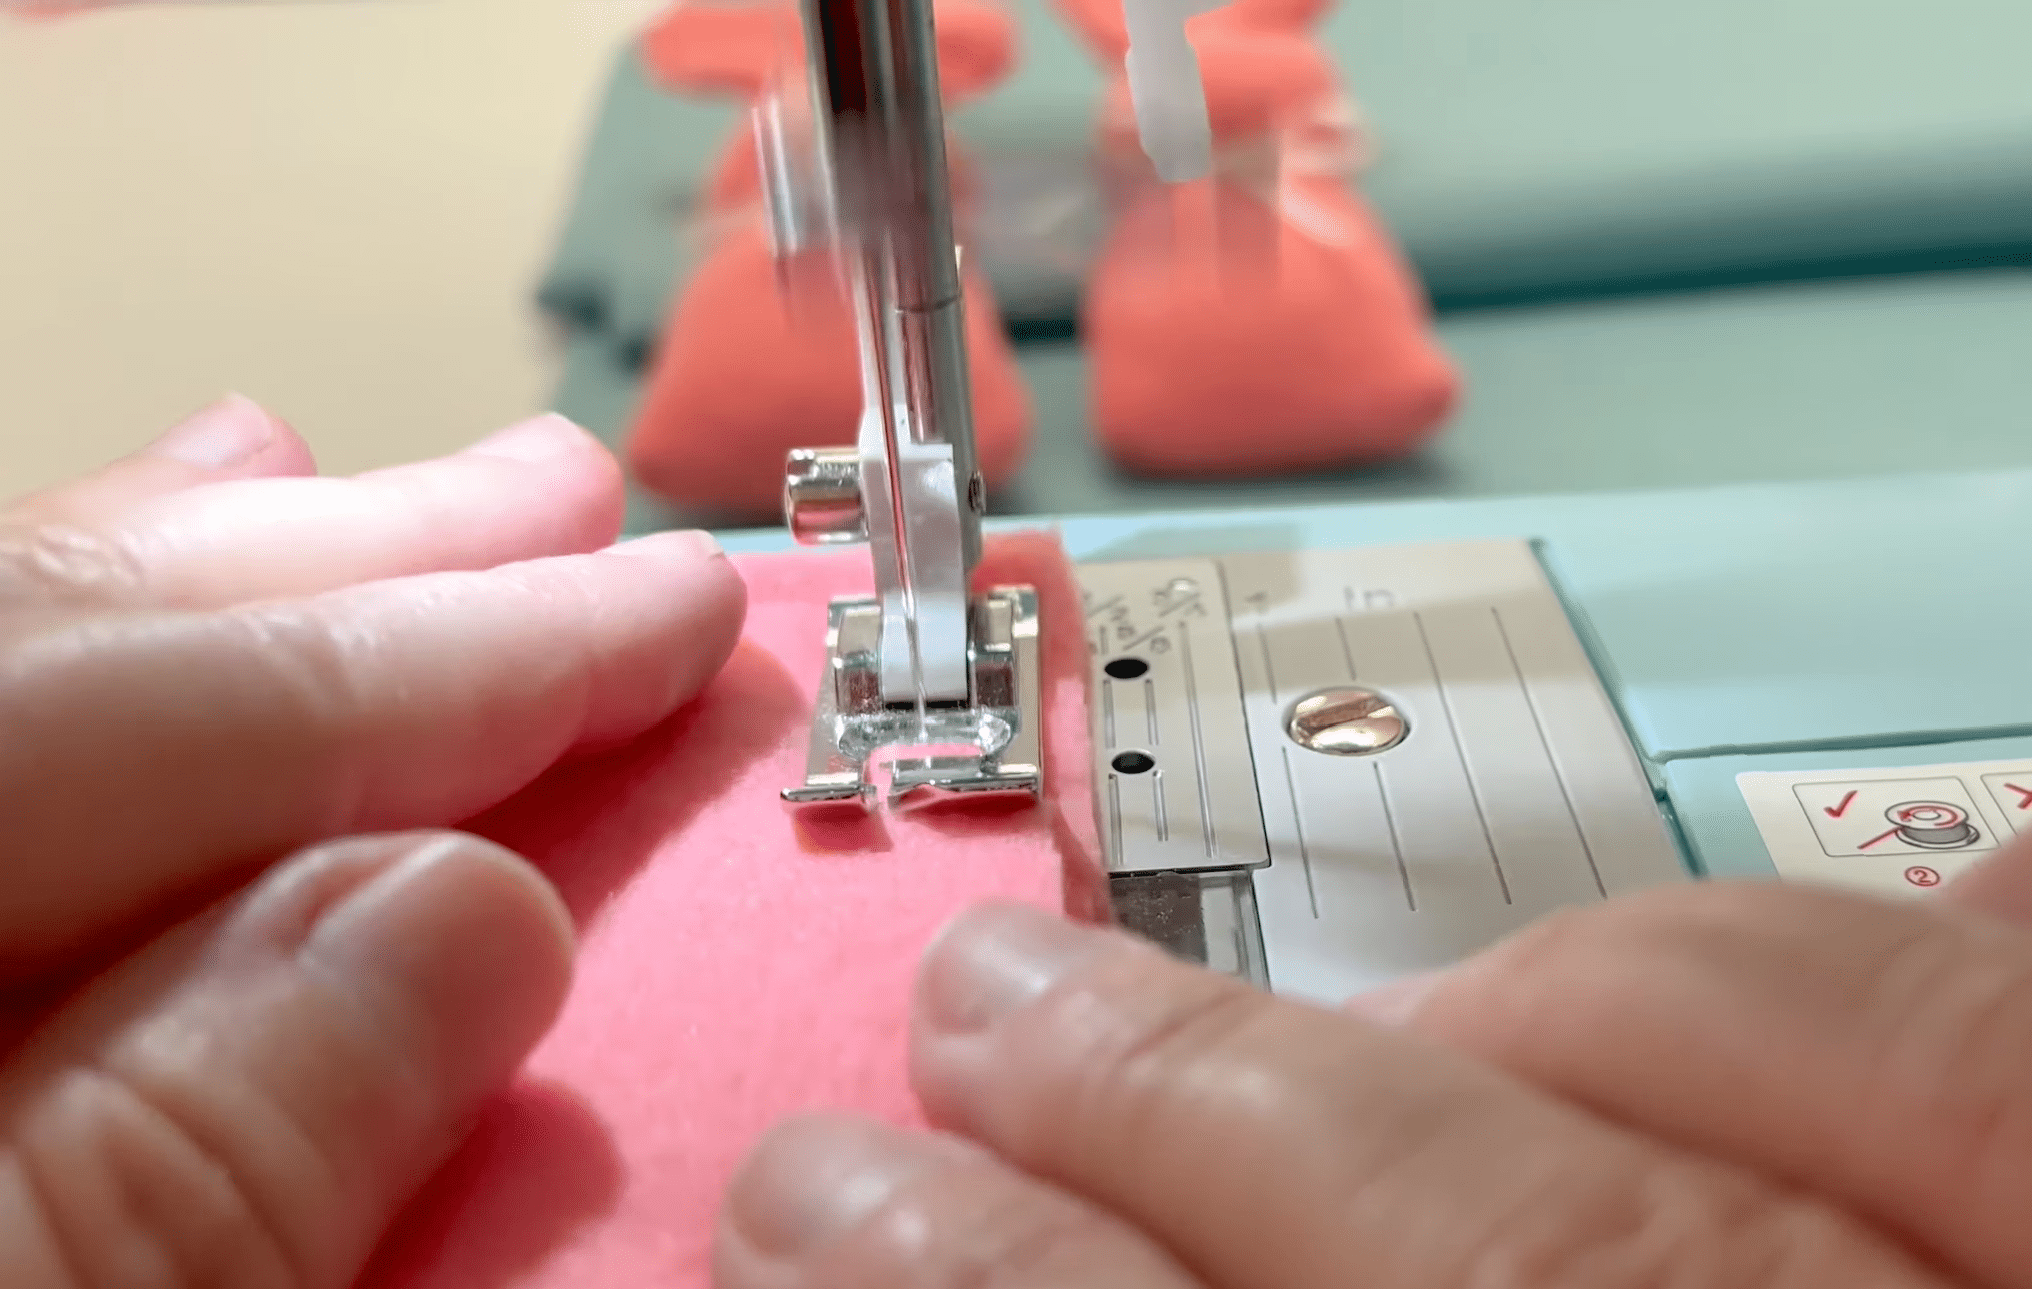
Leave the other short side opened.
Step 3
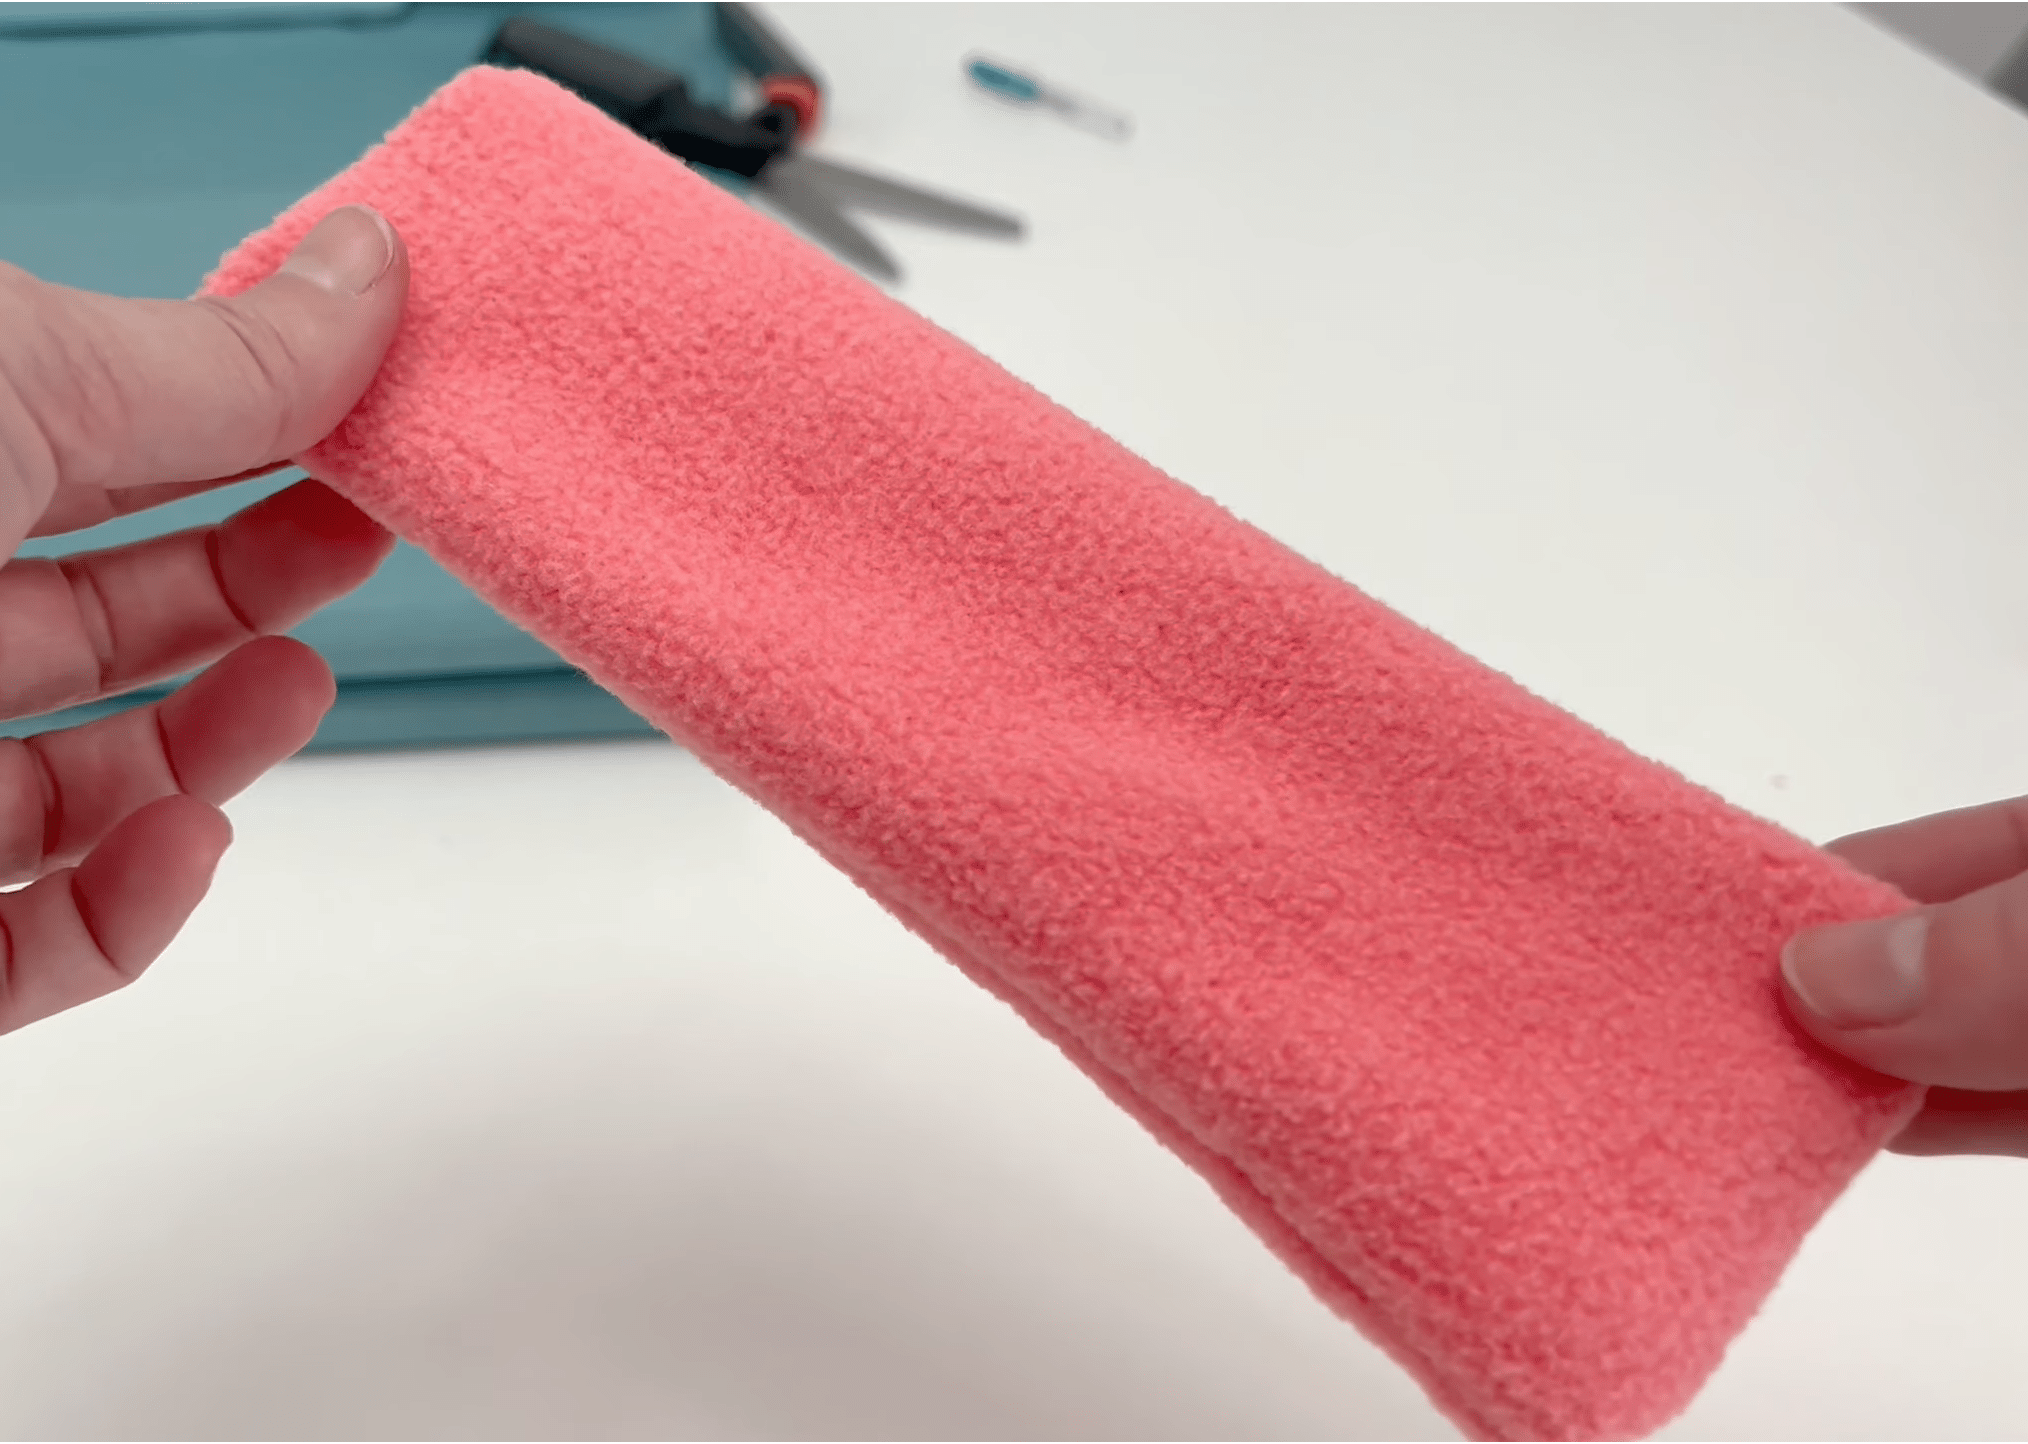
Turn the tube inside out, pushing out the corners with a turning tool or your fingers for a crisp edge.

Step 4
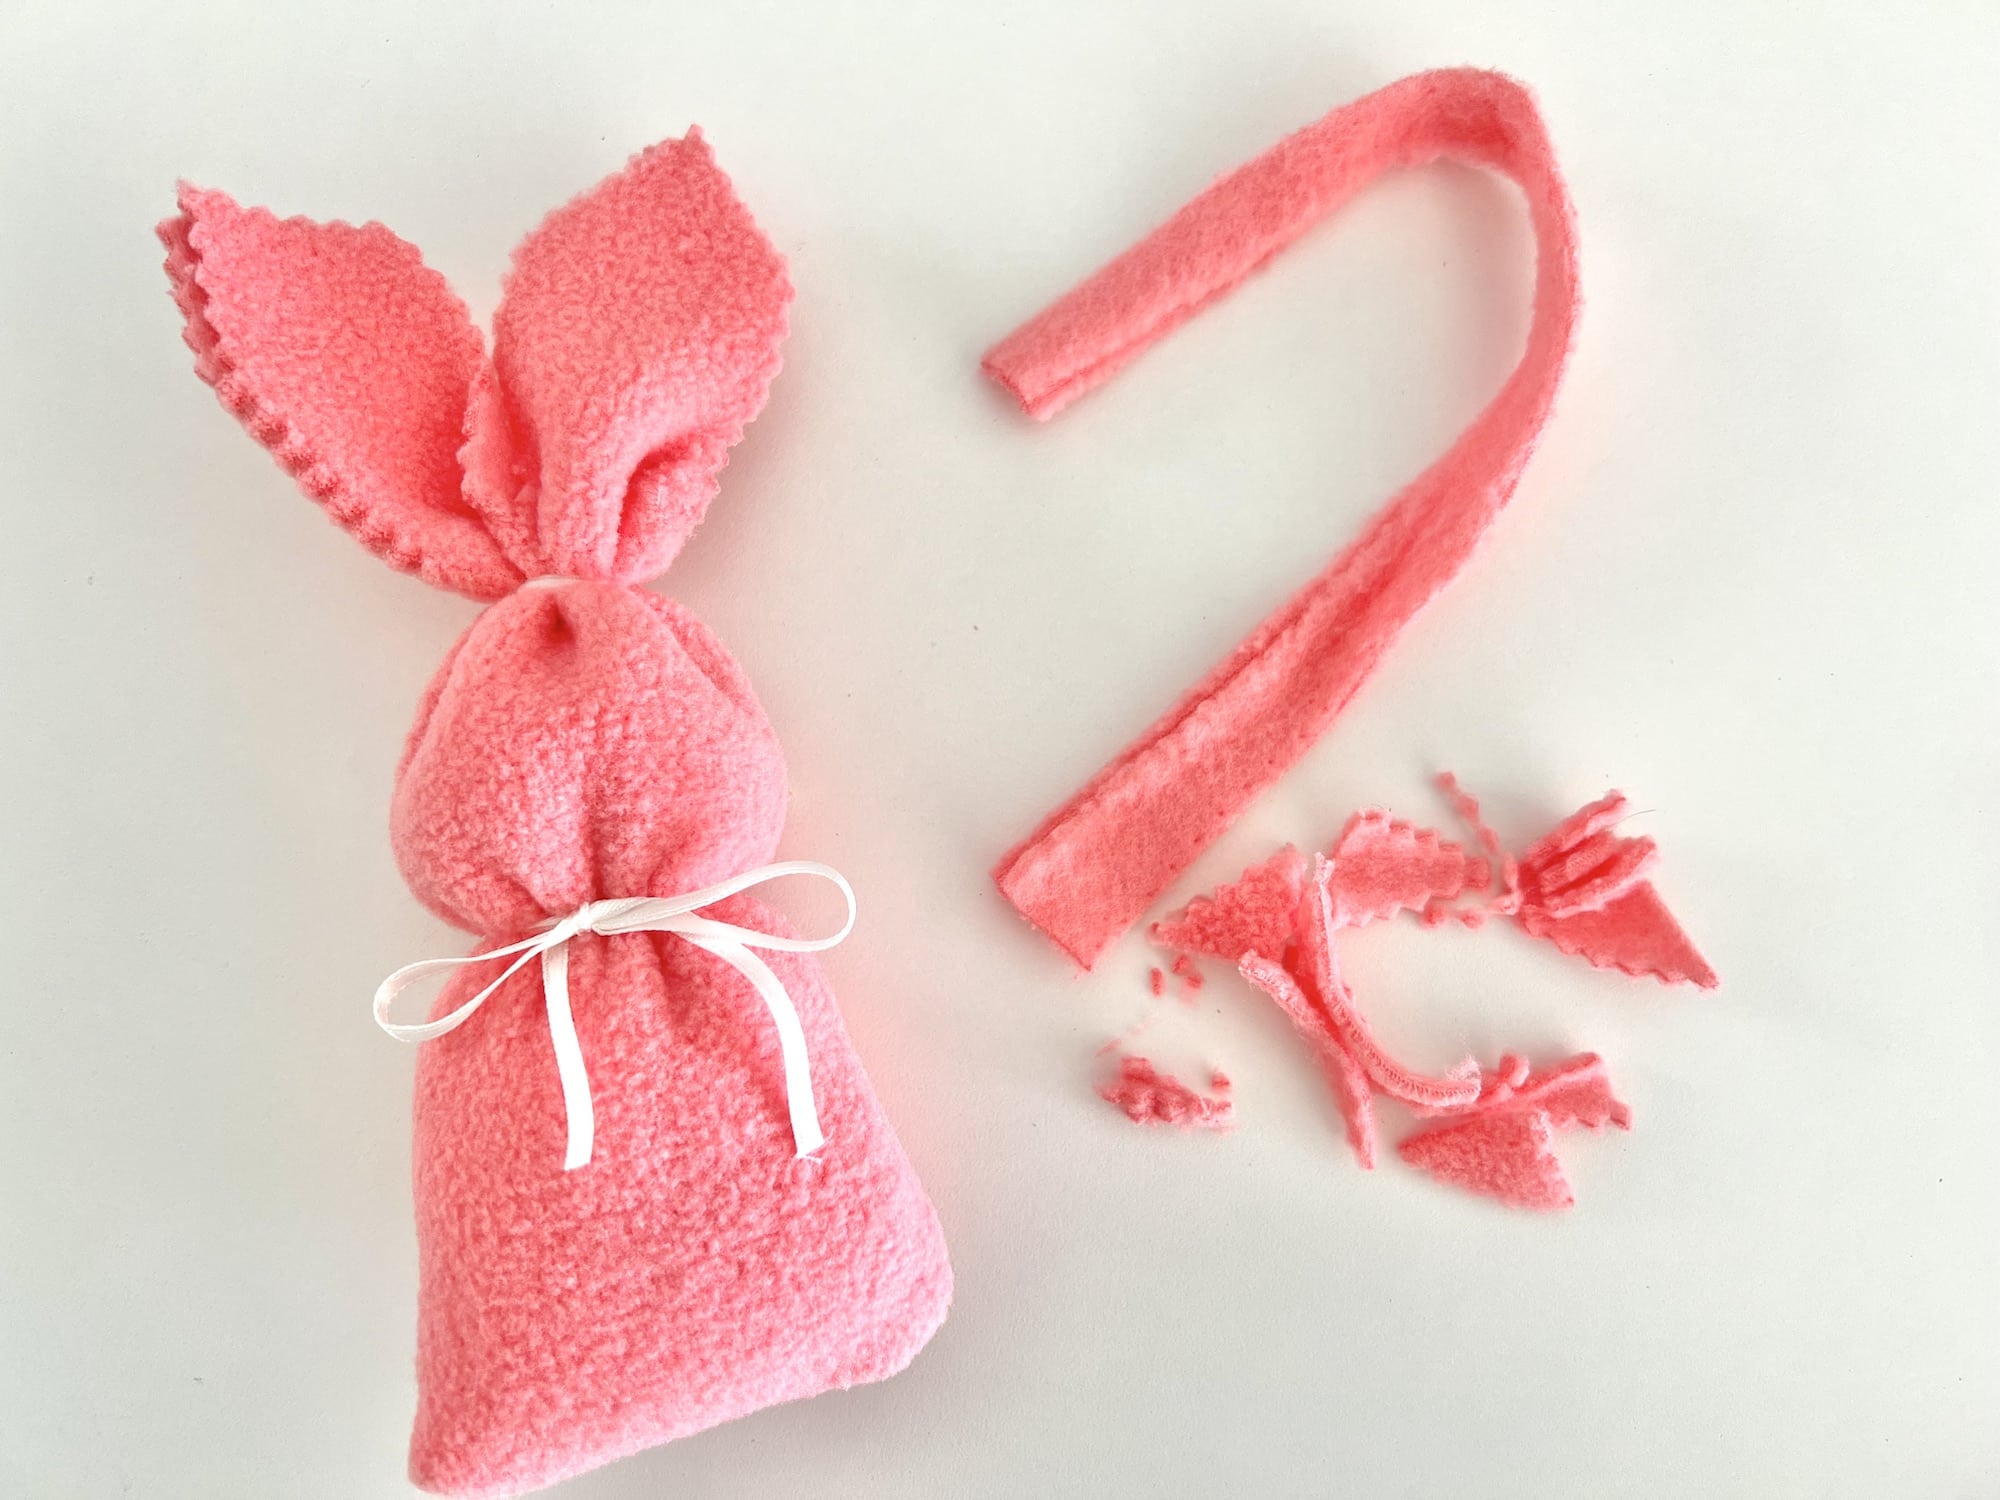
Add Polyfill stuffing, cotton or other fill material to make the bunny as soft or as firm as you would like. I added stuffing for about 4 inches, however you can add more of less depending on how long you want the ears to be.
I used scrap pieces of fleece to stuff my bunny plushies.
Wrap a rubber band around the fabric just above the stuffing, wrapping several time to secure the fabric together and pull it together tightly.
Alternatively you could use ribbon, yarn or twine to tie a knot around the fabric.
Step 5
Now create the bunny head by wrapping ribbon, yarn or twine about 1 1/2 – 2 inches underneath the top knot. Pull the ribbon or yarn tightly so that you create a head shape, then finish off with a bow or knot.
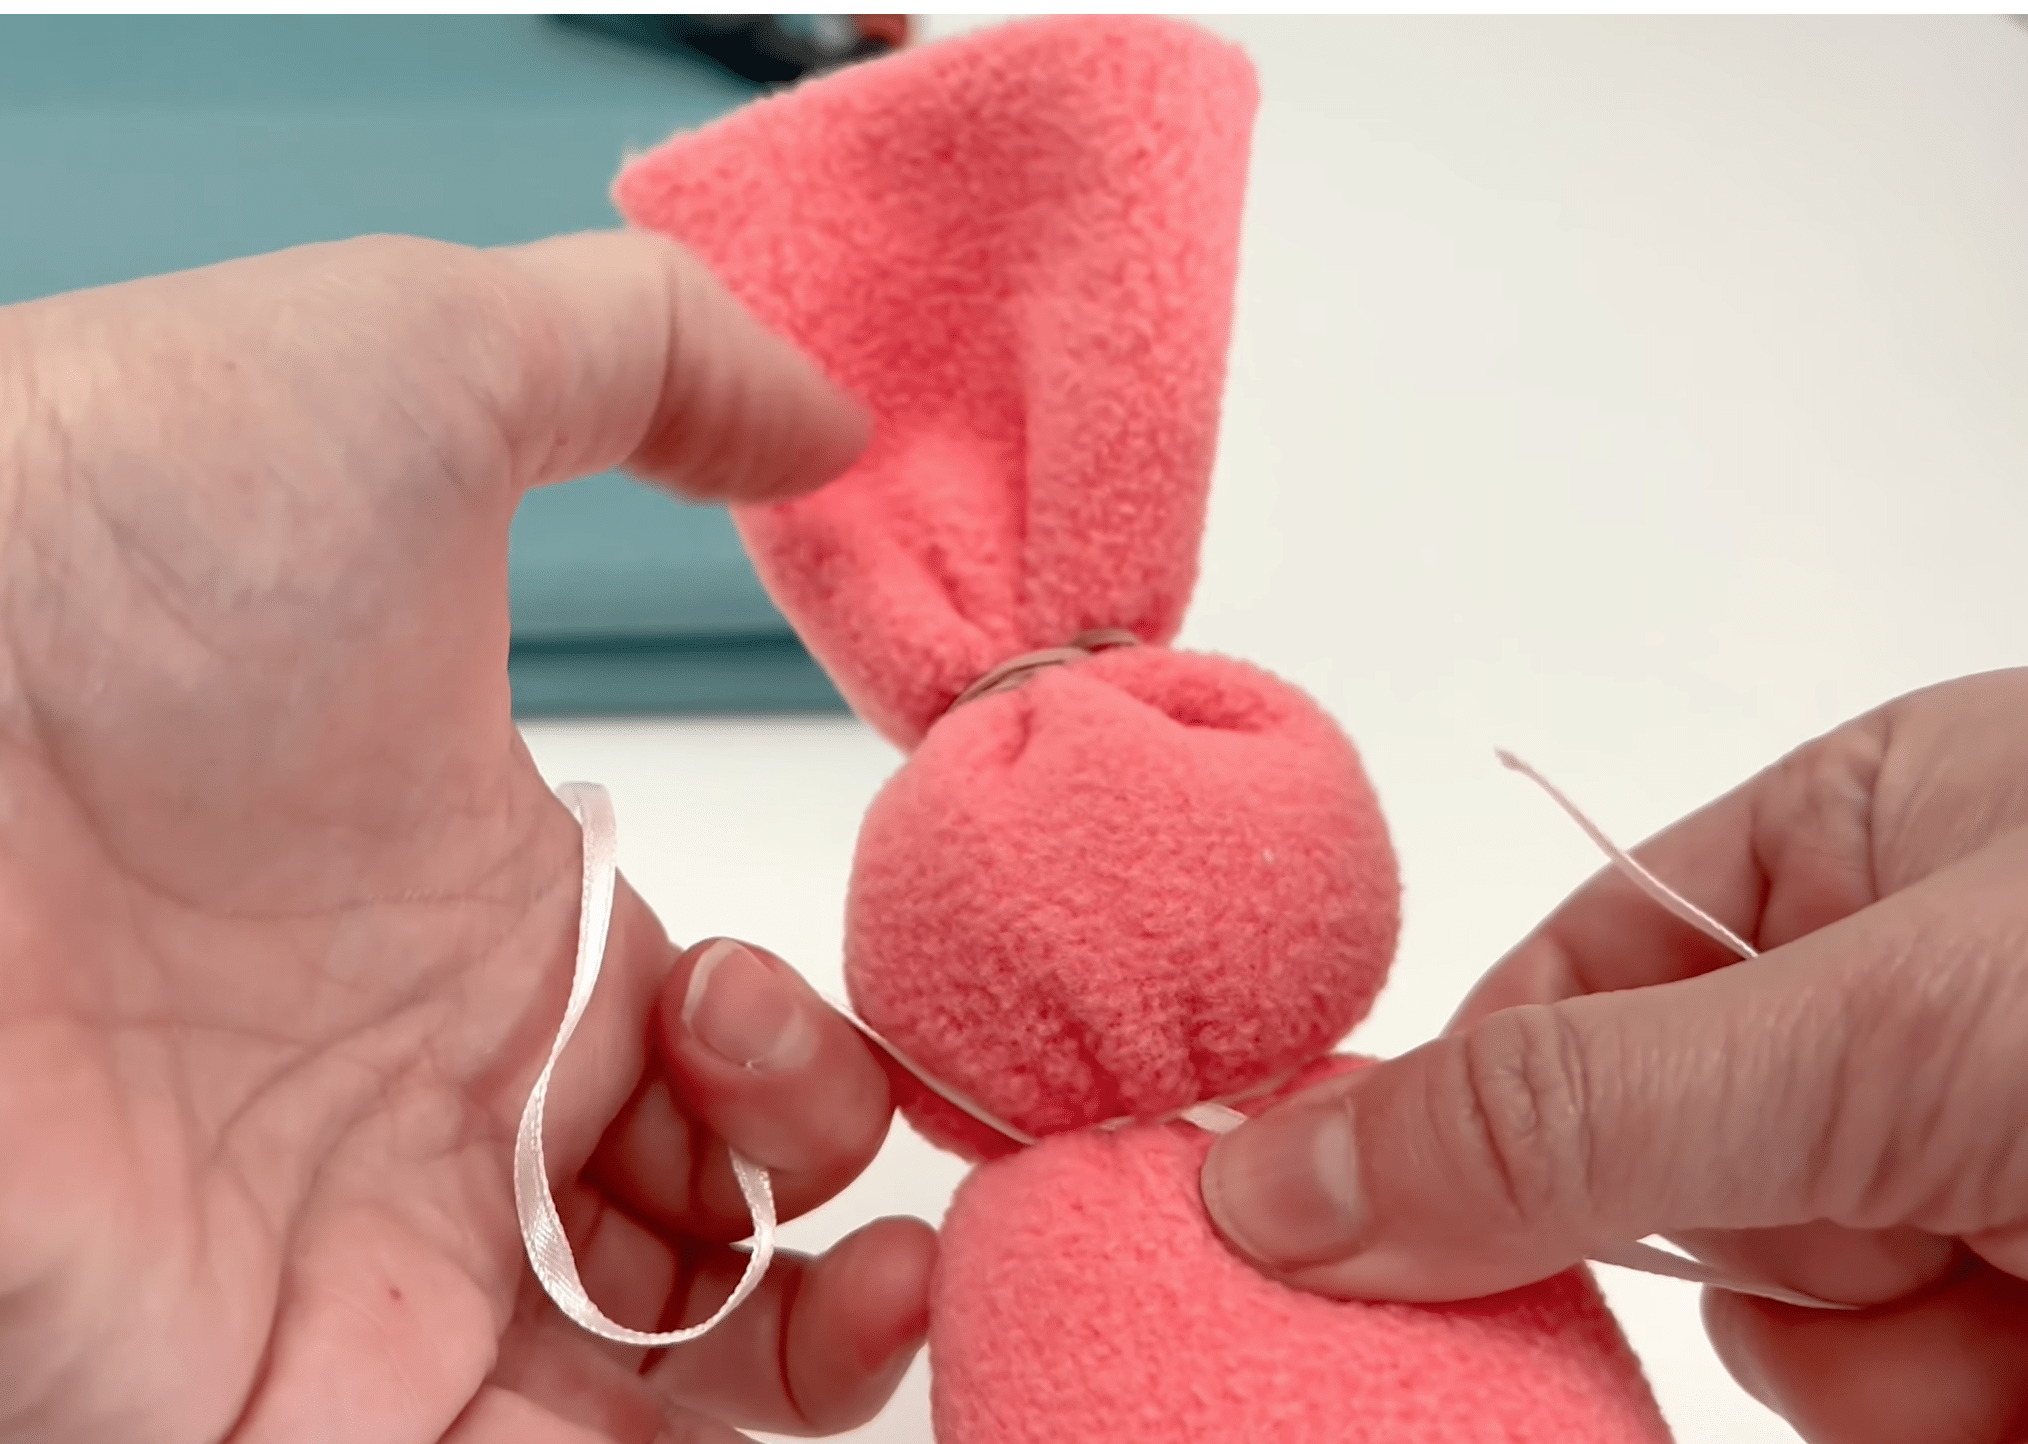
Alternatively you could also use a rubber band.
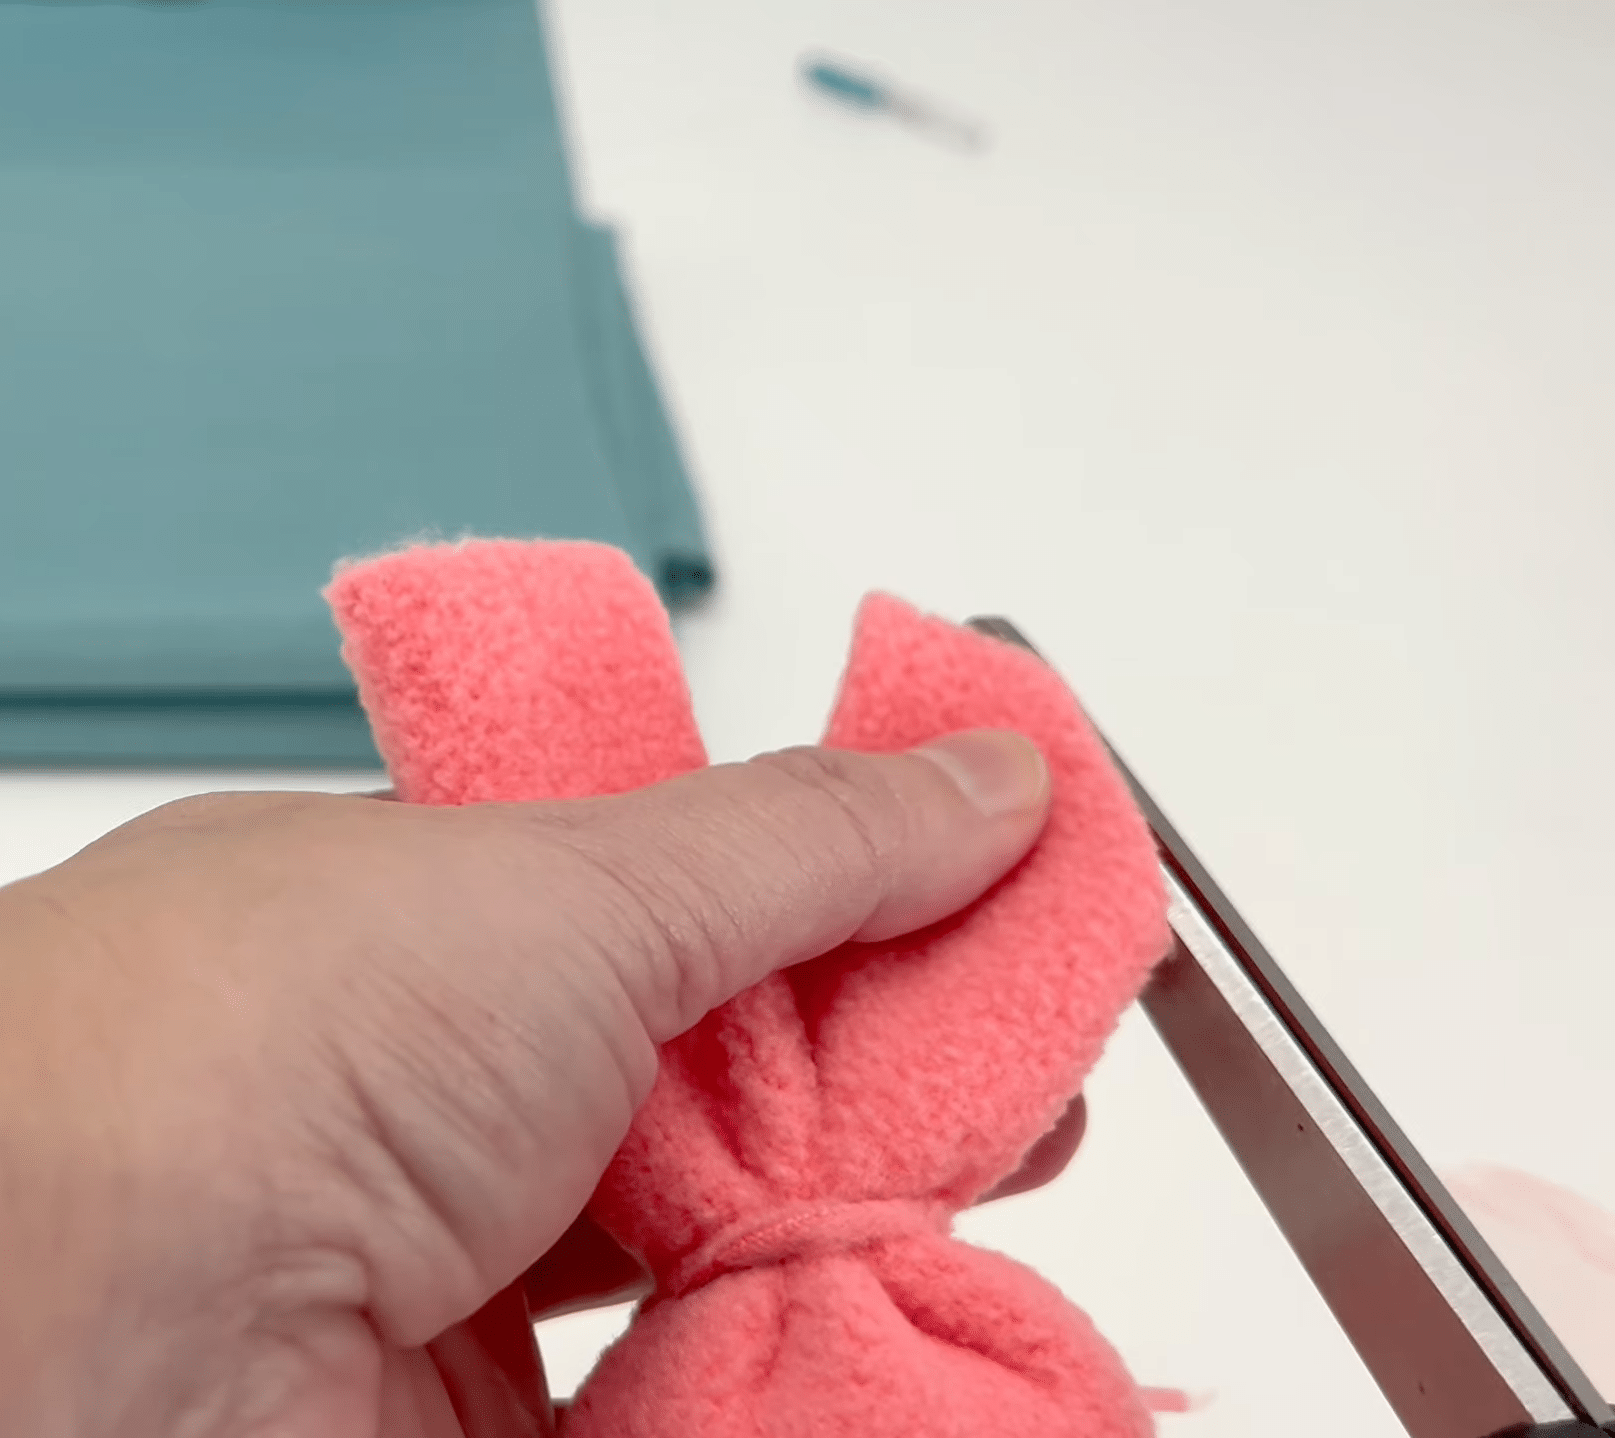
Step 6
Cut the top of the fabric that is above the top knot in half to create the ears. Using scissors, cut down the center of the fabric almost to the rubber band.
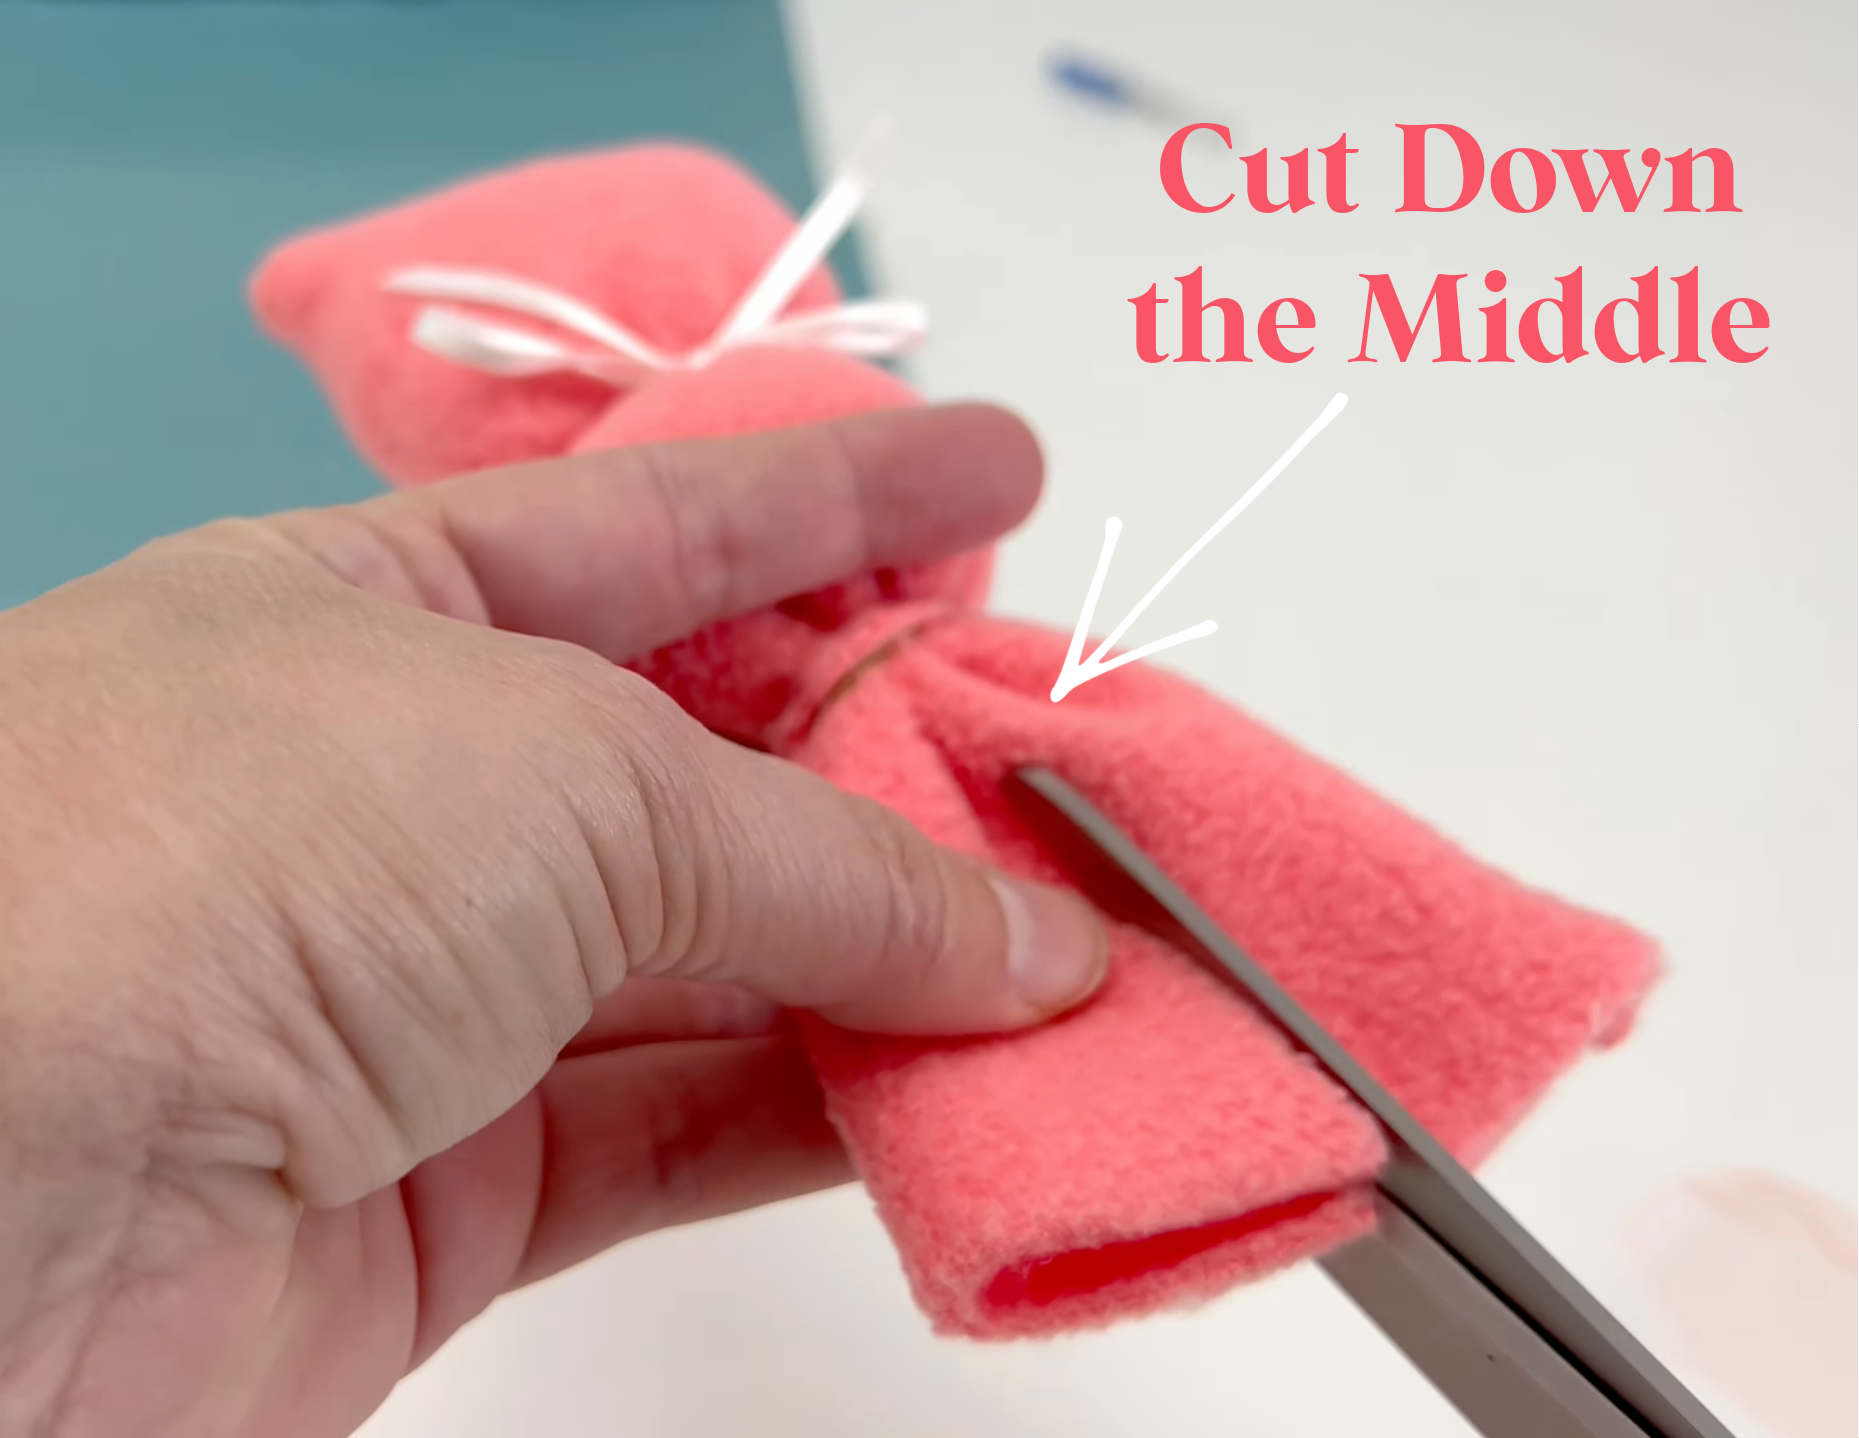
Shape each side of the fabric to look like bunny ears by cutting a curve from the middle of the side towards the top.