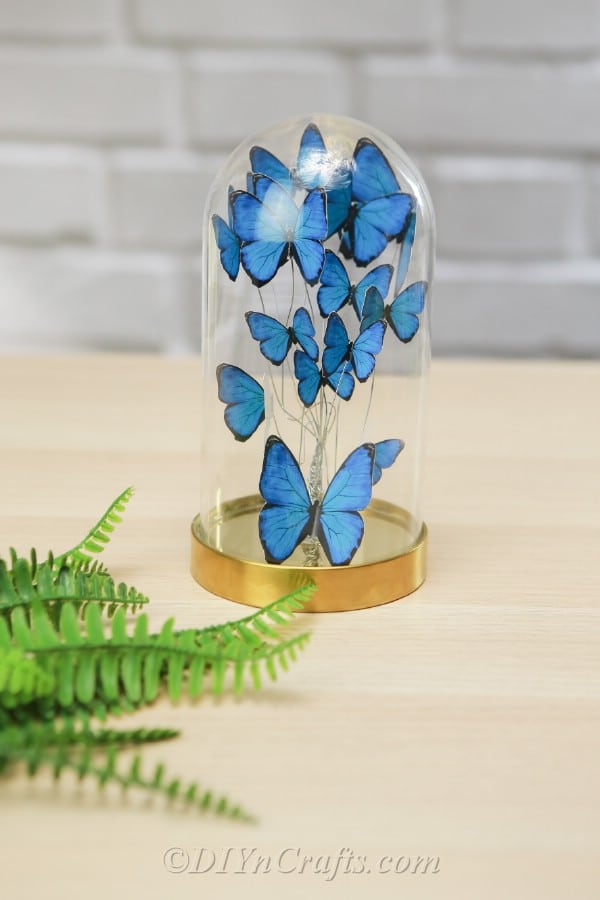
Make a Butterfly Terrarium Jar
The Butterfly Terrarium Jar is a delightful and magical addition to any space. With its intricate design and vibrant colors, it effortlessly brings a touch of nature indoors. You'll find yourself mesmerized by the graceful butterflies gently fluttering inside, creating a serene and enchanting atmosphere. It's the perfect way to add a bit of whimsy and charm to your home or office, making it a wonderful conversation starter for guests. Embrace the beauty of nature with the Butterfly Terrarium Jar and let its charm brighten up your day!

Materials
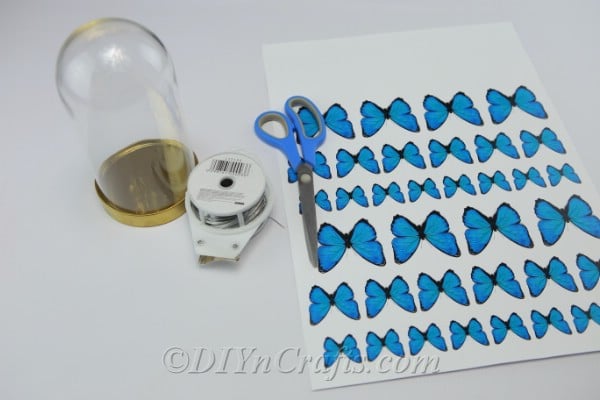
First, you will need to choose and print off your butterflies. I’ve used blue but you can use any color or combination of colors that you want.
Cardstock is great for making them stronger, so print them off on cardstock, and do different sizes to add more dimension to your DIY butterfly jar. Make sure that you don’t print them too big – you want them to fit inside your jar without having to crinkle them.

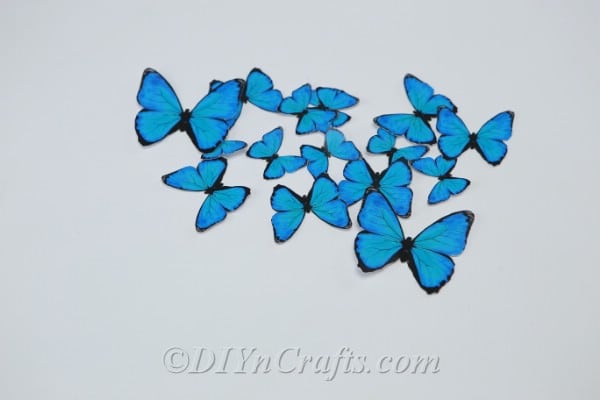
Once you have the butterflies cut out, and your jar chosen, you can begin decorating and adding the butterflies to the jar.
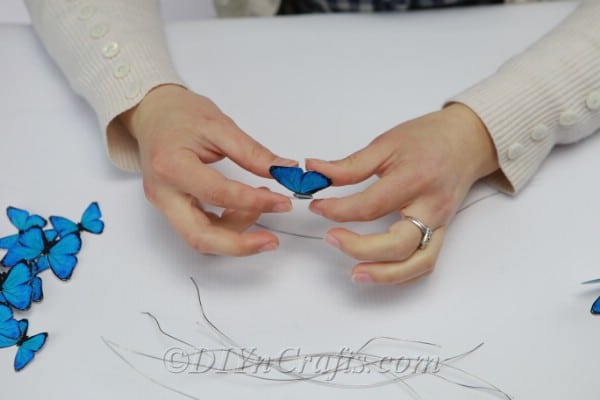
Cut some wire into different lengths. The wire is going to hold your butterflies in place, so it shouldn’t all be the same length.
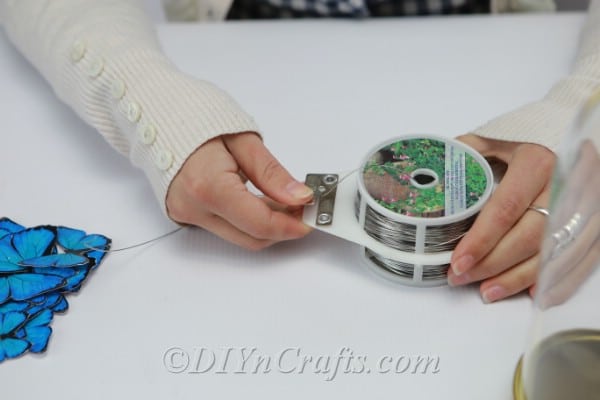
Once you have enough wire cut, begin gluing your butterflies. You want to glue one butterfly to the top of each piece of wire that you previously cut.
Fold some of your butterflies kind of in half so that they look like they are in mid flight.
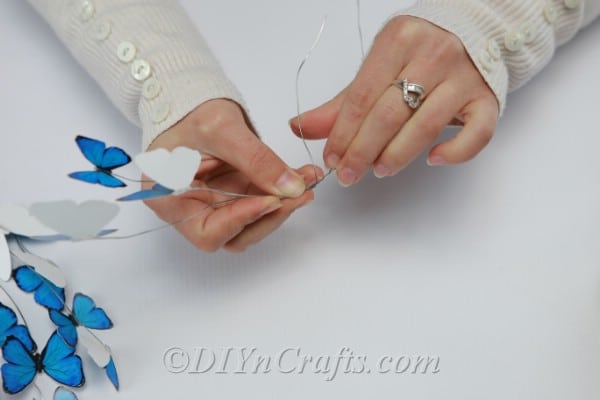
Leave the others unfolded.

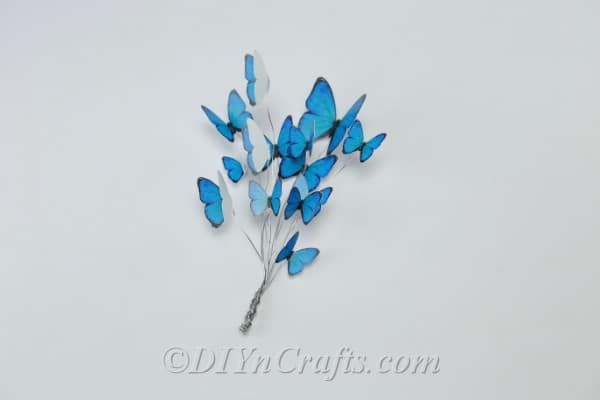
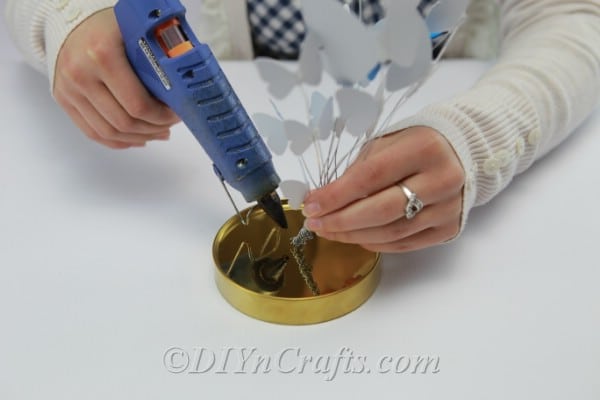
When you have as many butterflies as you want to add to your jar, and you are happy with how they look, you just wrap the wire together and attach it to the lid of your jar. You can glue it down or poke a hole in the jar and insert the wire through to hold it in place.
Place the lid back onto the jar and you’re all done. Your finished DIY butterfly jar should look something like this: