A Garden Shovel Wreath is a unique and charming decorative piece for any garden enthusiast. It's a delightful way to showcase your love for gardening and creativity while adding a whimsical touch to your garden decor. Whether hung on a garden shed door or displayed on a fence, a Garden Shovel Wreath is sure to bring a smile to your face and spark conversations with visitors. So grab your old shovels and get crafty - your garden will thank you for the adorable upgrade!
Tips for making a shovel wreath.
When selecting a shovel, look for one that will fit well with the size of your door. That is, choose a shovel that is not too large for your door. More tips for you My shovel has been painted. If you choose to paint yours too, make sure that it is fully dry before making the hanging.
If kids will be making this project, assist them as needed. Since spray paint works best for painting a plastic shovel, make sure that a child is assisted with this and other steps as needed. To hang this shovel on a door, you can easily make a loop using the twine and tie it to the handle. Another option is to glue on a hanging loop or similar item on the backside.
Supplies needed to make this shovel wreath.
- Kids Plastic Shovel
- Eucalyptus Stems
- Burlap Ribbon
- Daisey Bunch
- Spray Paint
- Twine
- A hot glue gun was used to glue on the decorations.
How to make a Garden Shovel Wreath DIY
Step One: prepare the shovel. Make sure that the shovel is clean of debris and stickers. Carefully spray paint your shovel according to the directions on the can. However, painting both sides is option but, it can make your shovel look better. My shovel took two coats of paint to cover the shovel.
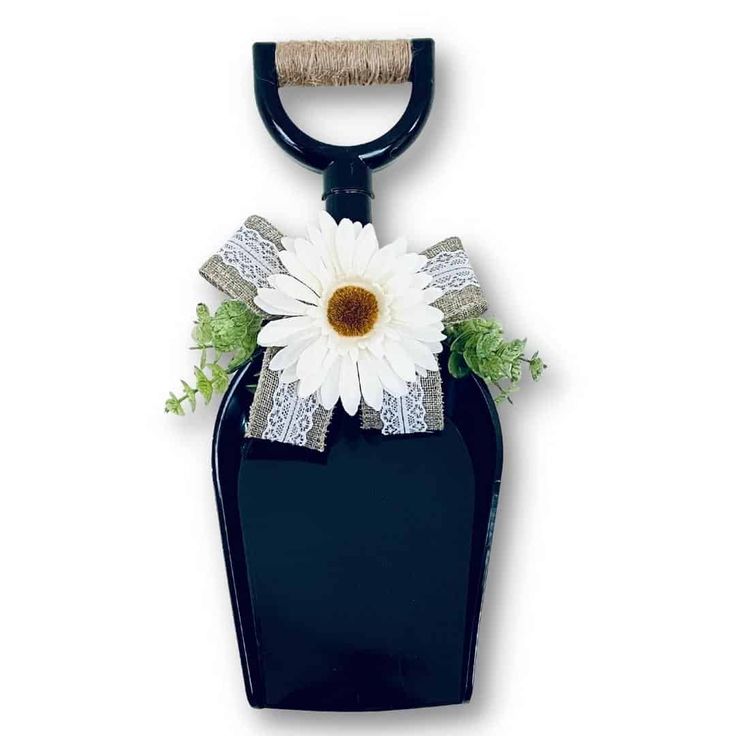
Step Two: make the bow. The bow can be easily made while the shovel is drying. Start by taking 12 inches of the burlap lace ribbon to make your bow. My bow was made using two loops secured with a zip tie in the center rather than a knot. The zip tie was secured in the center of the loops and then the ends were cut to a desired length. Lastly, you can glue the daisy into place on the center of the bow.
Step Three: attach the pieces to the shovel and finish the project. Once the shovel has fully dried you can attach the bow and the remaining elements. Using the glue gun, make a line of glue along the area where the stem of the shovel meets the wide part. Then press the eucalyptus into place. Add a few dabs of glue, or as needed, to the backside of the bow and press the bow into place. Lastly, you can wrap your twine around the handle.
Start however, by placing a dab of glue where the starting end of the twine will go. Wrap the twine around the handle, adding dabs of glue as needed to keep the twine in place. When you get the the end of the handle simply cut the twine and glue it to the backside of the handle. You can however add a loop to the top or the backside of the shovel as needed to thus hang your shovel in your desired location.