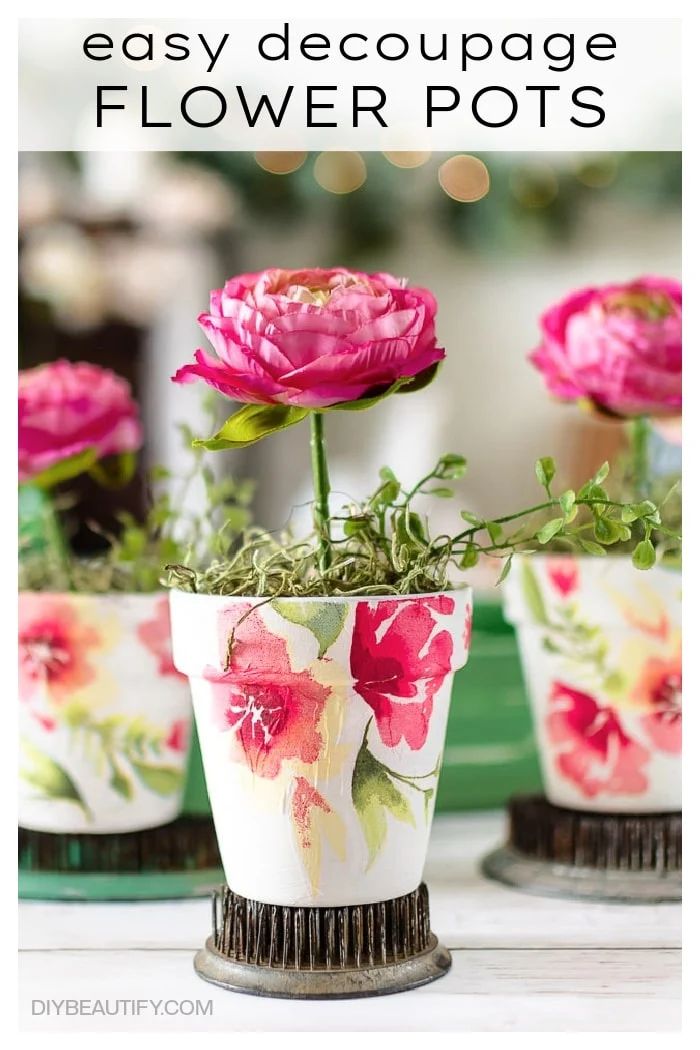
DIY Floral Decoupage Spring Flower Pots
If you're looking to add a touch of springtime charm to your garden or home decor, why not try your hand at DIY Floral Decoupage Spring Flower Pots? This fun and easy craft project allows you to personalize plain flower pots with beautiful flower designs, giving them a fresh, new look. Simply gather your favorite printed napkins or paper, some decoupage glue, and a bit of creativity to transform ordinary pots into eye-catching pieces that will brighten up any space. It's a delightful way to welcome the season and unleash your inner artist!
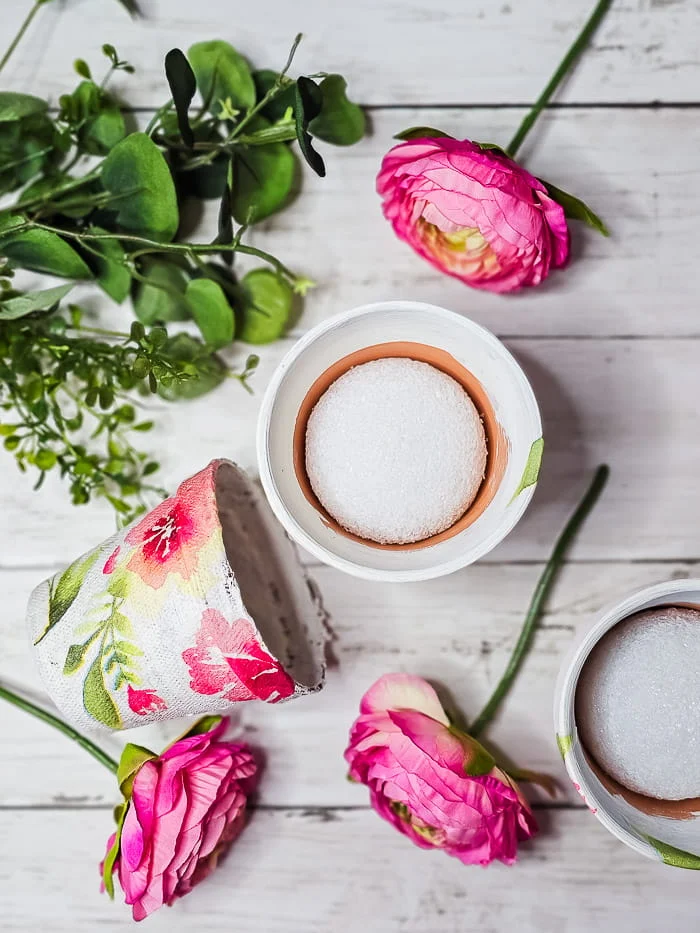
Supplies:
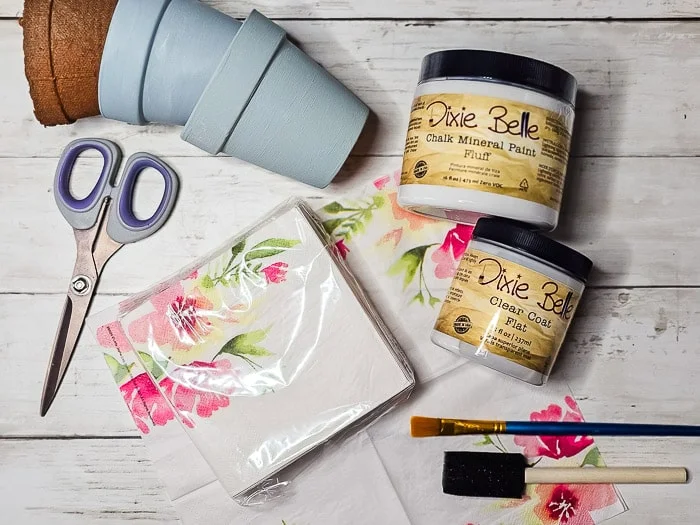
As you can see in the supplies list, I was using two terracotta pots that I had previously painted blue, as well as a peat pot that I had spray painted brown. I love recycling my supplies first before I purchase new.
Take a look at this picture, and then read the detailed steps and tips below.

Step 2 - peel
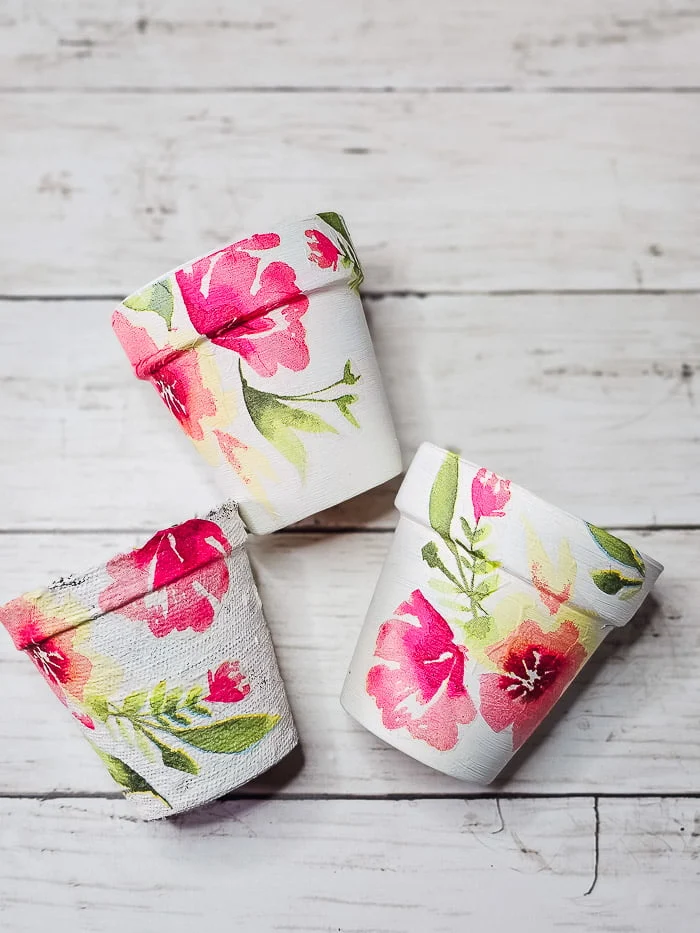
Step 3 - cut
Cut out the pieces of the design from the napkin that you want to use.
Before gluing the pieces to your flower pot, do a dry fit to make sure you like how it looks
Try not to overbrush the design with glue, once it's wet it's even more fragile and can easily tear.
- Styrofoam balls
- hot glue - optional
- flower single stems (I used pink ranunculus from Hobby Lobby)
- greenery - optional
- moss
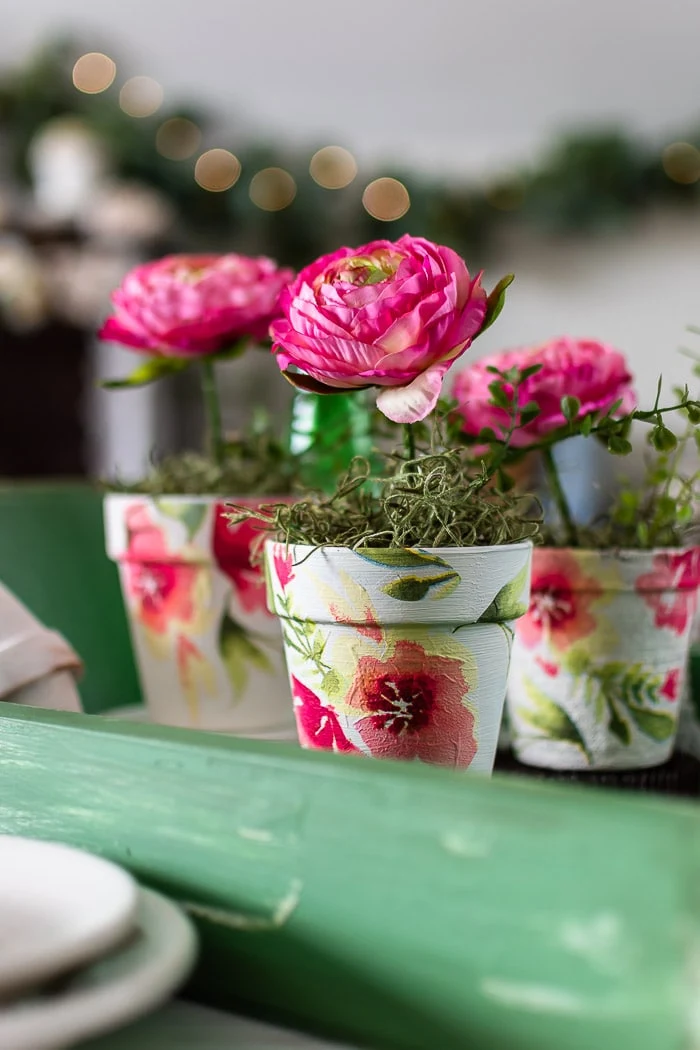
Add a foam ball to each pot, hot gluing in place if it doesn't fit snugly. Push the flower stem and a small piece of greenery down into the foam (again, glue in place if it needs a little extra support).
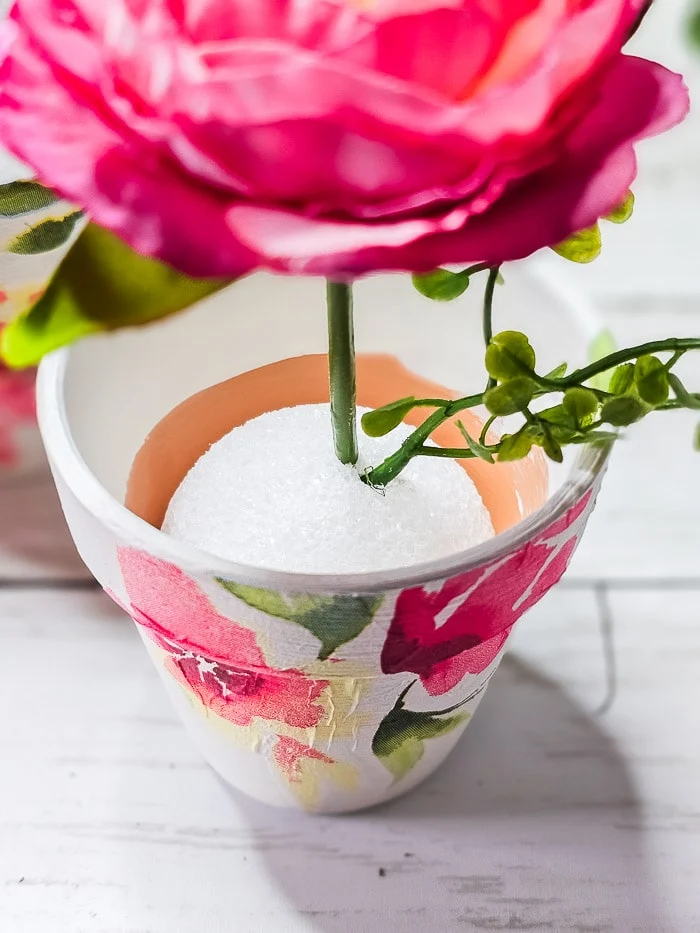
Top the foam ball with a little bit of moss to hide everything and give your Spring flower pots a finished look.