DIY Luggage Tags
Looking to add a personal touch to your luggage? DIY luggage tags are the perfect solution! Whether you're a seasoned crafter or just starting out, customizing your own luggage tags is a fun and easy way to make your bags stand out. You can use colorful beads, unique charms, or even write your name in fancy calligraphy to create a one-of-a-kind tag that reflects your style. Not only will your luggage be easy to spot on the carousel, but you'll also add a touch of personality to your travel gear. So grab your crafting supplies and get creative with your very own DIY luggage tags!
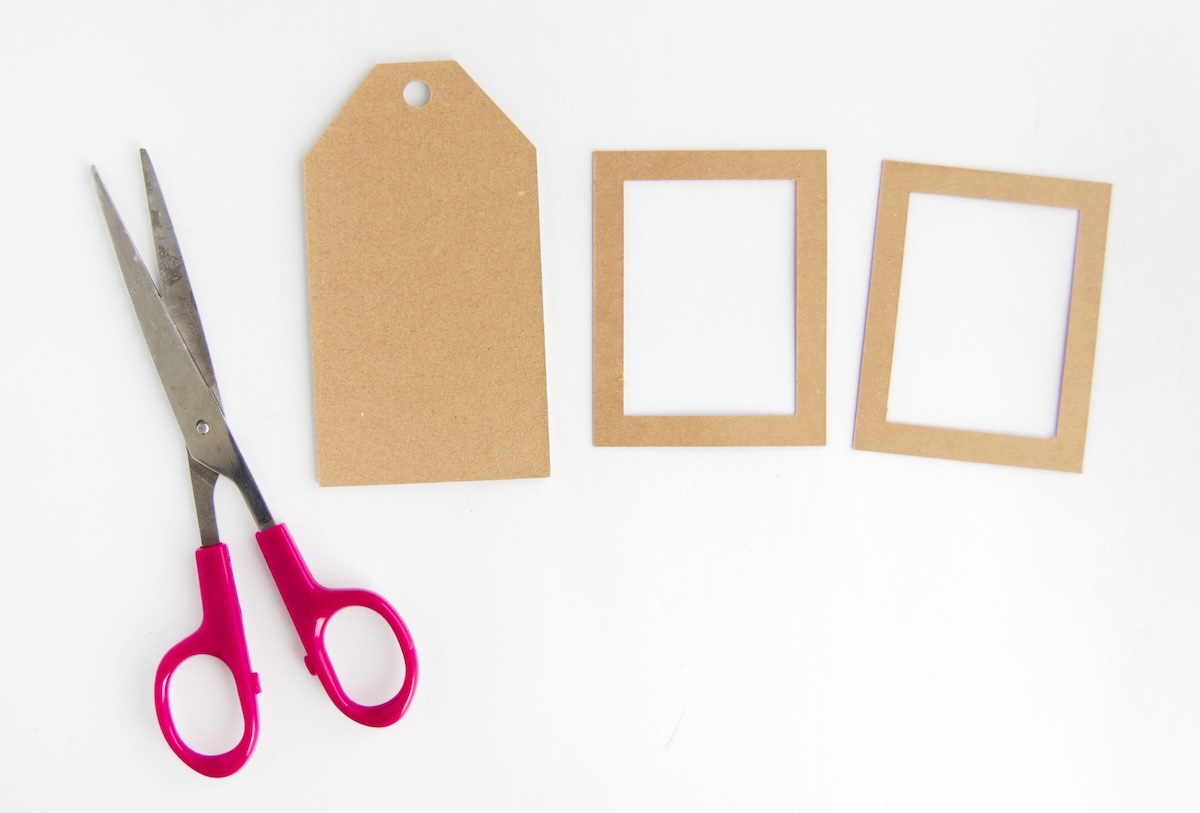
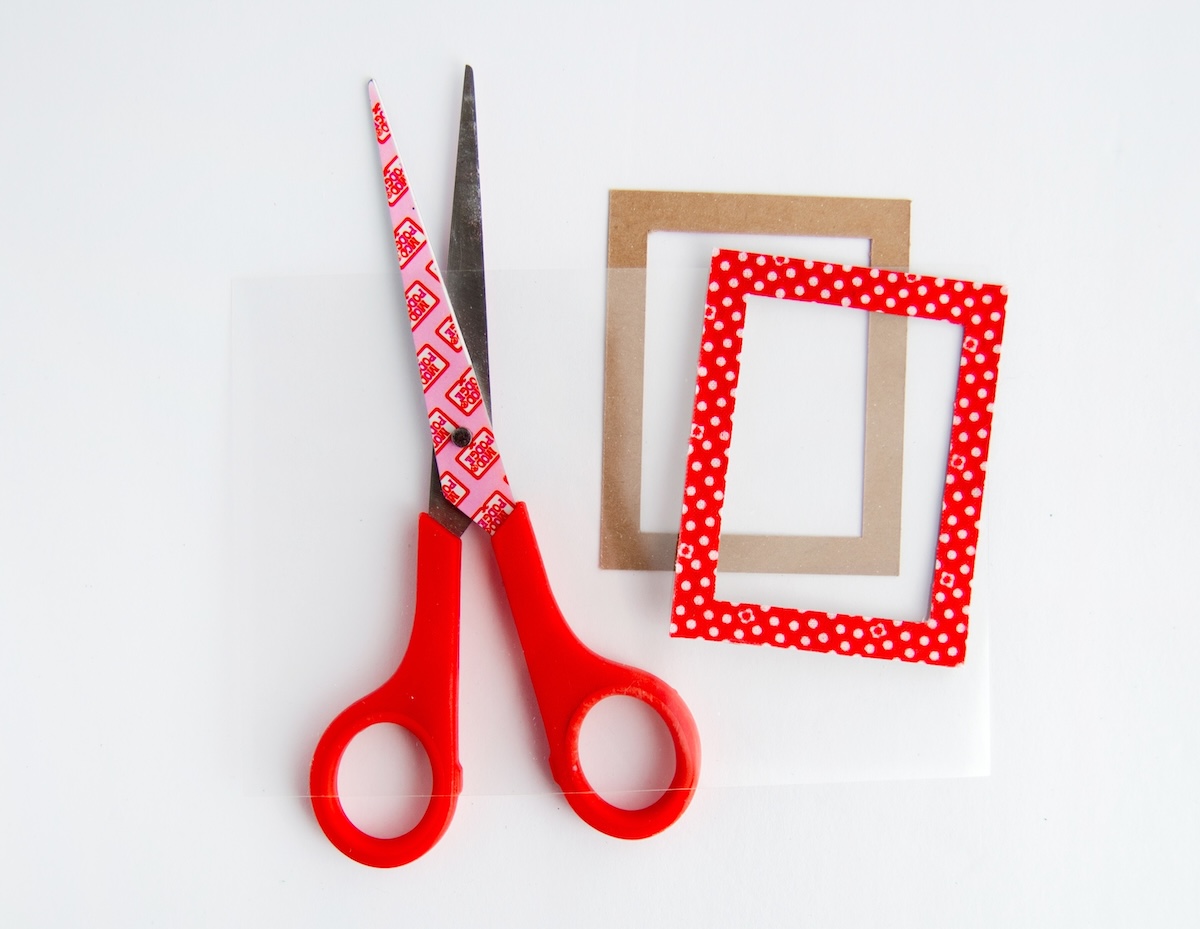
Equipment
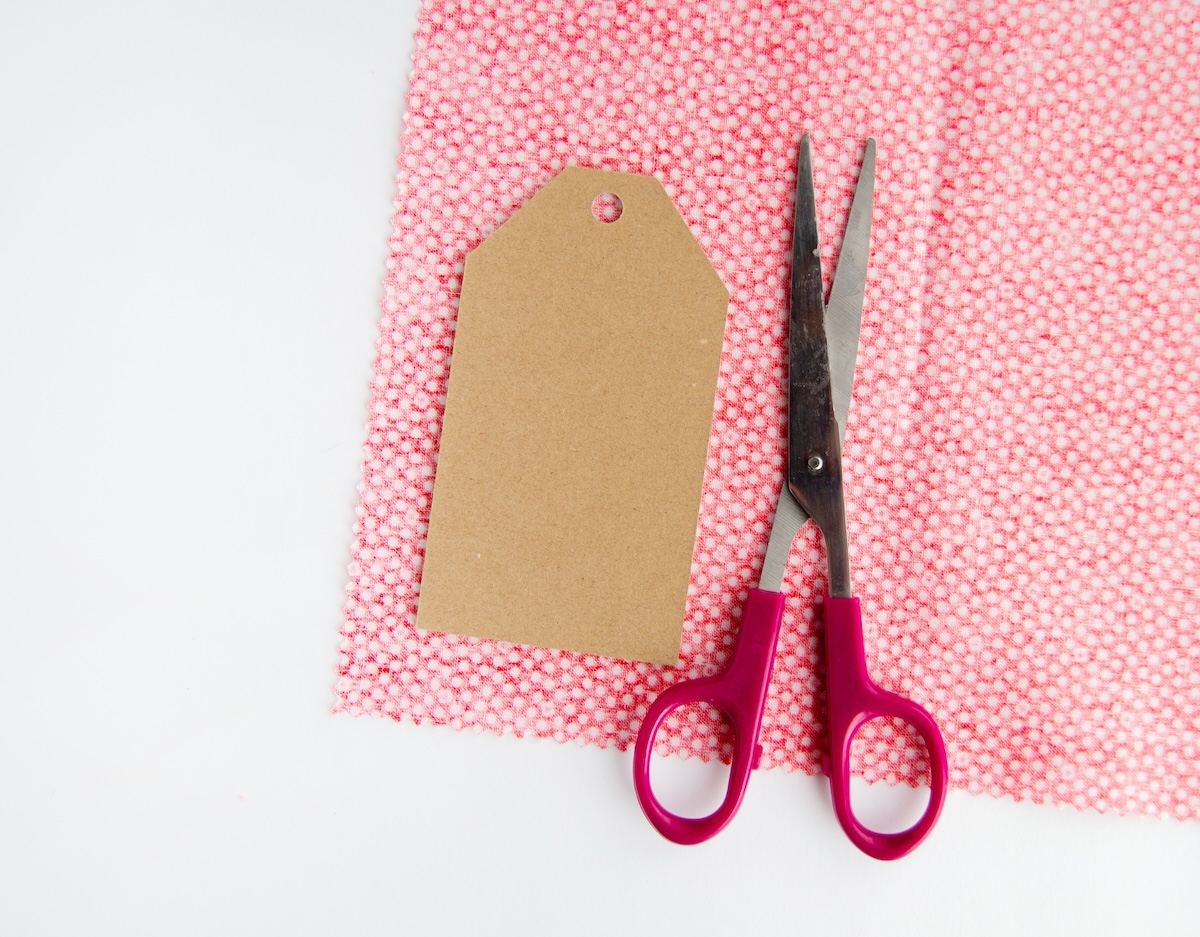
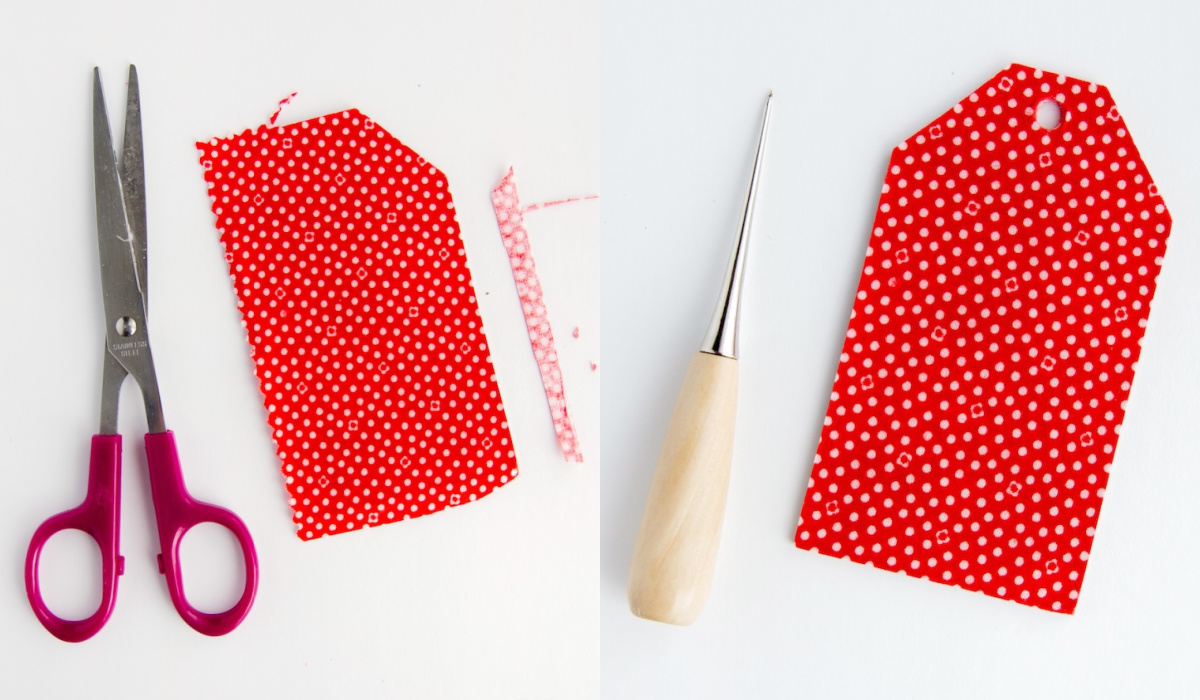
Trace the cut cardboard tag onto your piece of fabric and cut the excess.
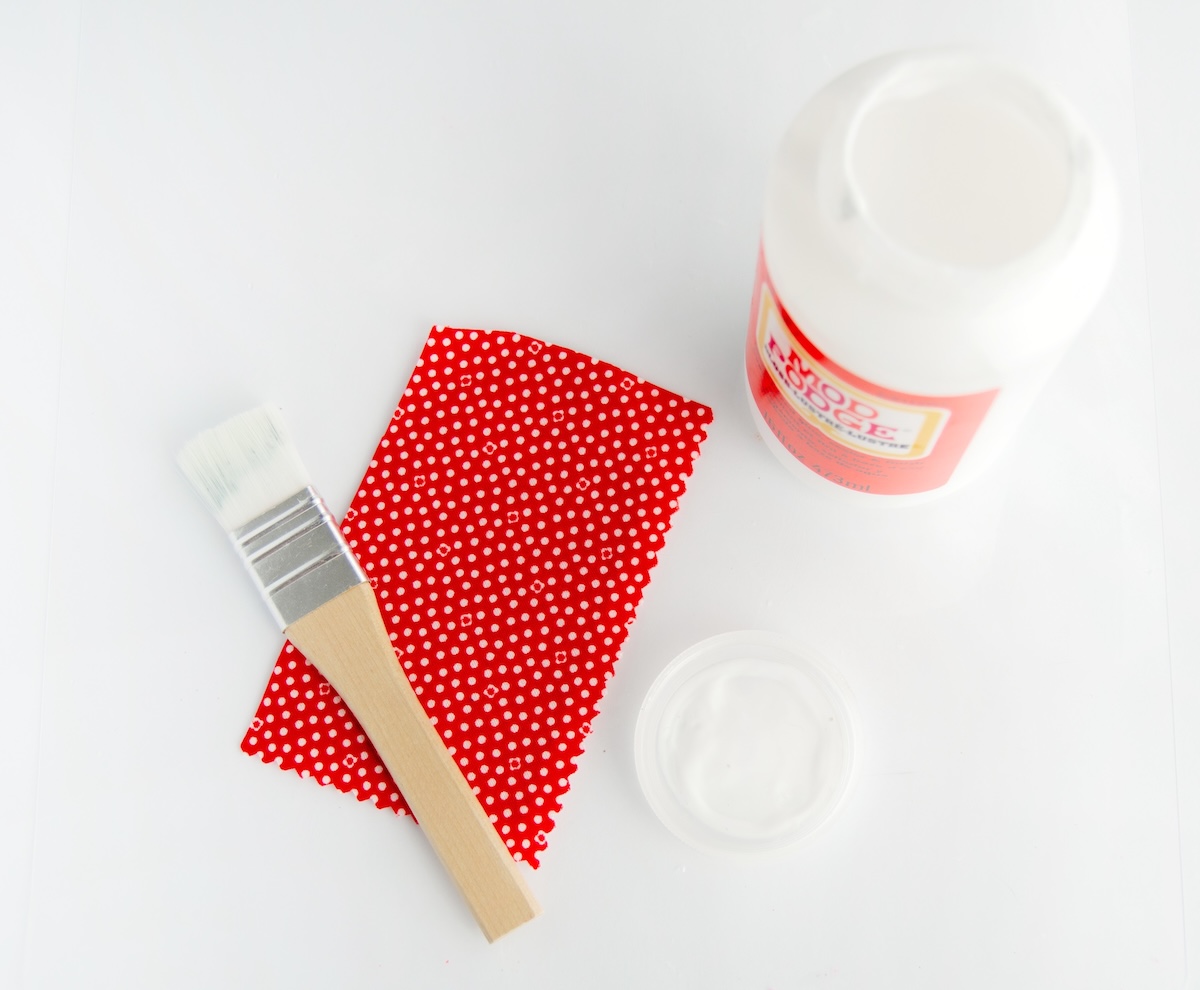
Apply a layer of Mod Podge to the cardboard. Smooth the fabric flat onto one side and let dry briefly, then add another layer of Mod Podge on top. Let it dry.
Once dry, trim the excess fabric. Use an awl to pierce through the fabric for the hole. You'll still have one blank side.
To make a simple tag, print and cut the same shape with your details. Alternatively, you can write it. Mod Podge the tag with the printed information on the backside of your tag. Let it dry.
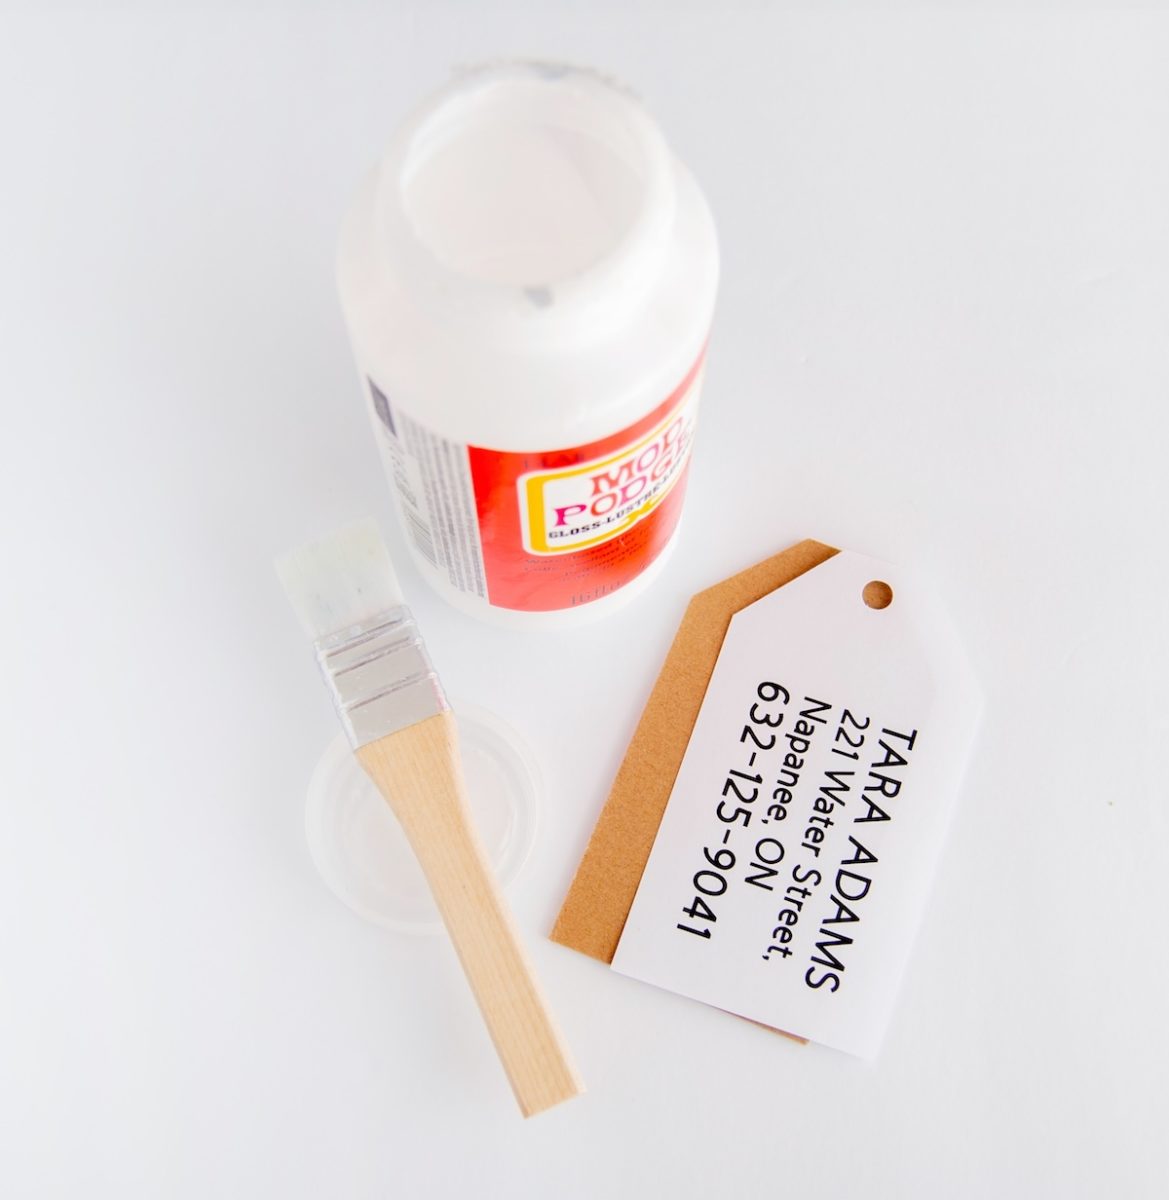
Seal the both the front and back with another layer of Mod Podge and let it dry.

To make one with a window: trace and cut another piece of fabric for the back of the tag (that is blank from step 4). Mod Podge the fabric piece onto the back of the tag and let it dry. Once dry, trim the excess fabric and use an awl to pierce through the fabric for the hole.

Pick up the rectangle pieces from step 1. Trace and cut a piece of fabric for one of the pieces. Mod Podge the fabric onto the rectangle piece and let it dry.
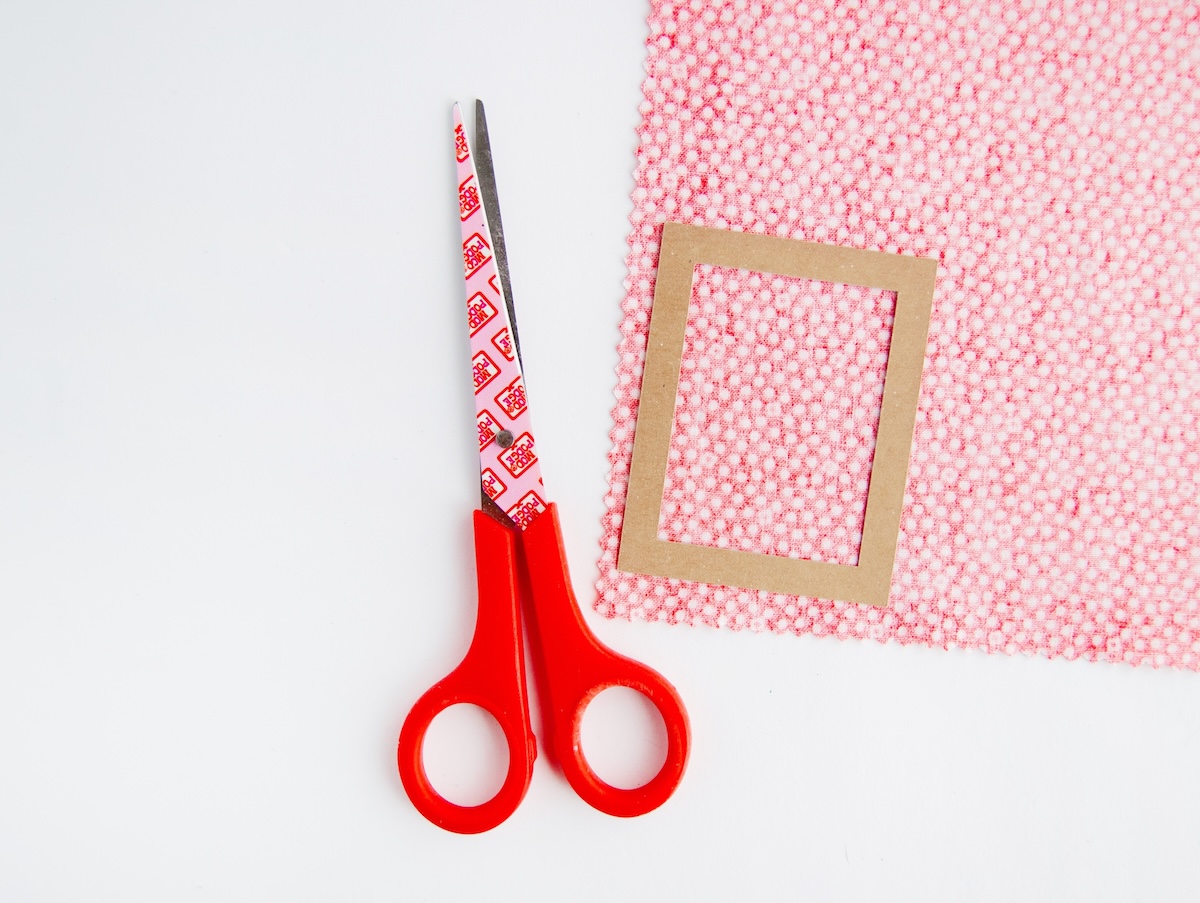
Once dry, trim the excess fabric around and inside the rectangle piece(s) (I'm showing two from two different tags here).

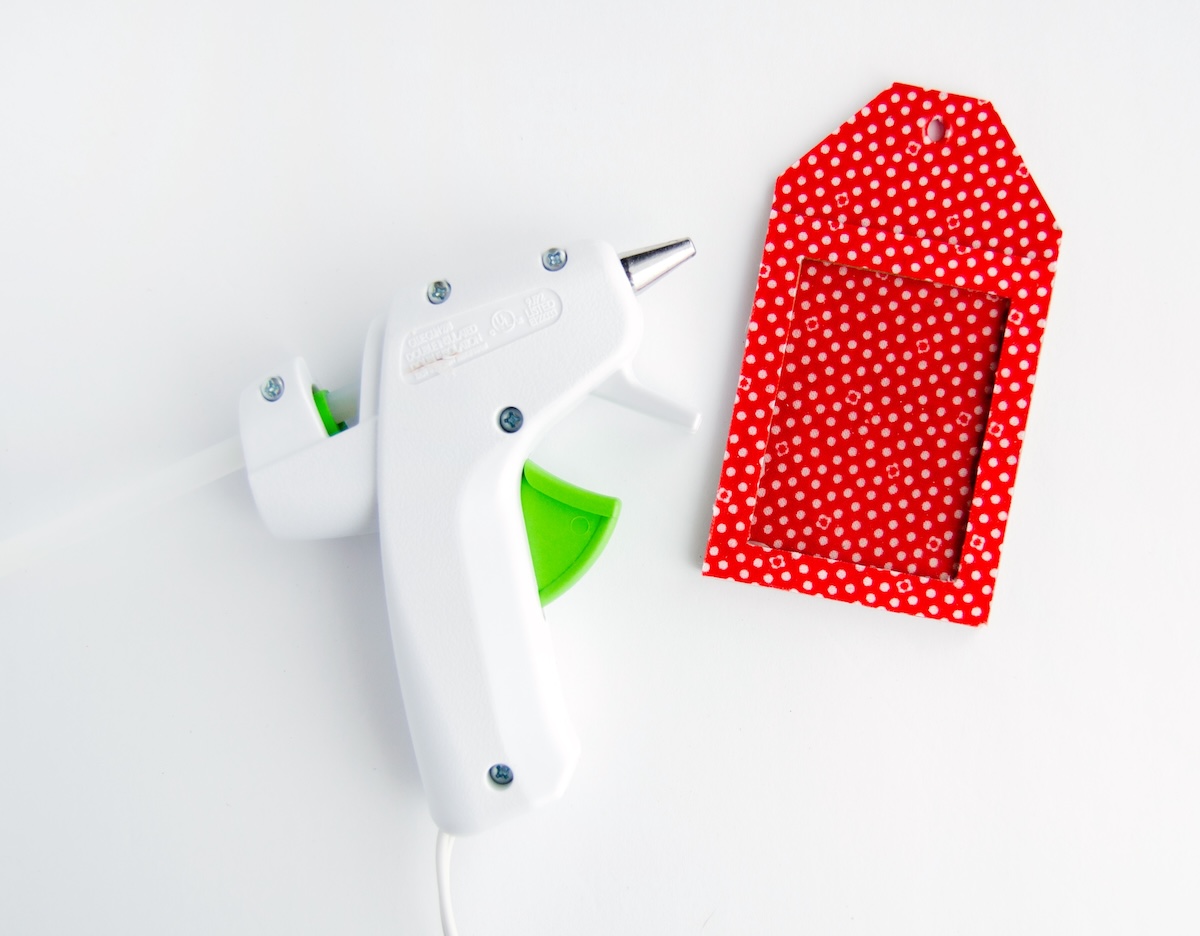
Cut a thin plastic sheet (such as an acetate sheet) the same size as the rectangle pieces. Attach the three pieces together (one fabric covered window piece, acetate, than one blank window piece) with hot glue.
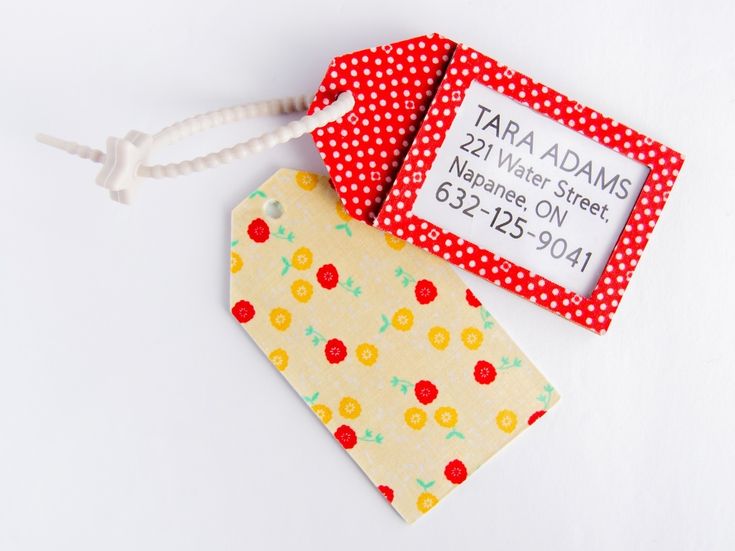
Use hot glue to attach the window piece to the tag, leaving one end open to insert the paper. Then, insert a piece of paper with your address details.