DIY Wood Bead Carrots
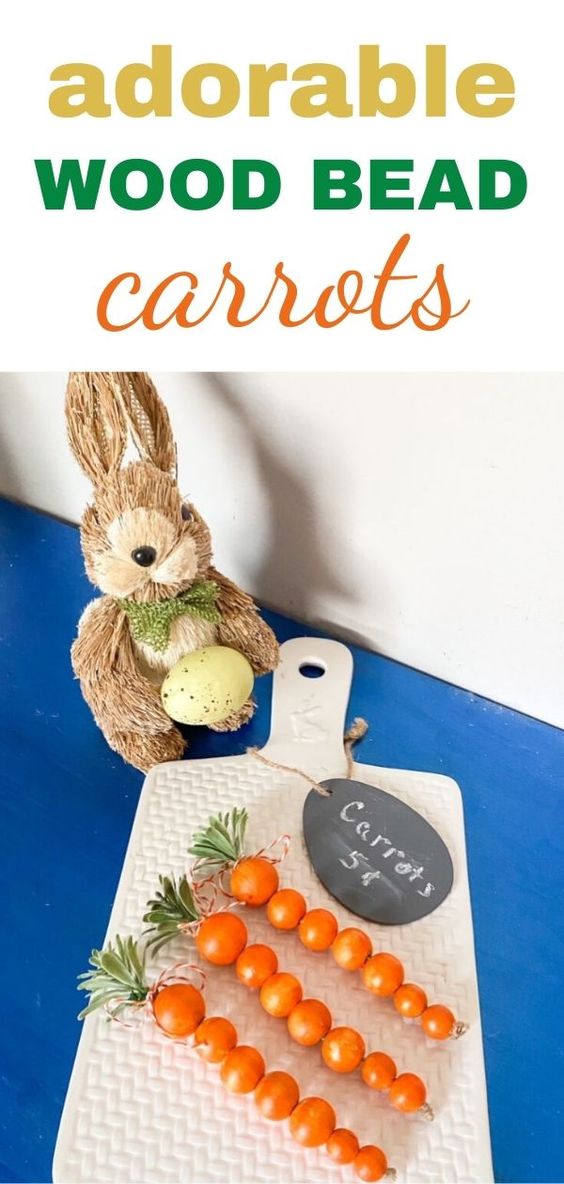
Looking for a fun and creative way to add a touch of rustic charm to your home decor? Why not try making your own wooden bead carrots? These adorable decorations are not only easy to make, but they also make for a great DIY project that the whole family can enjoy. These wooden bead carrots are not only a great way to add a pop of color to your decor, but they also make for a fun and unique craft project that you can enjoy with your loved ones. These delightful decorations are not only easy to make, but they also bring a playful and charming element to any space.
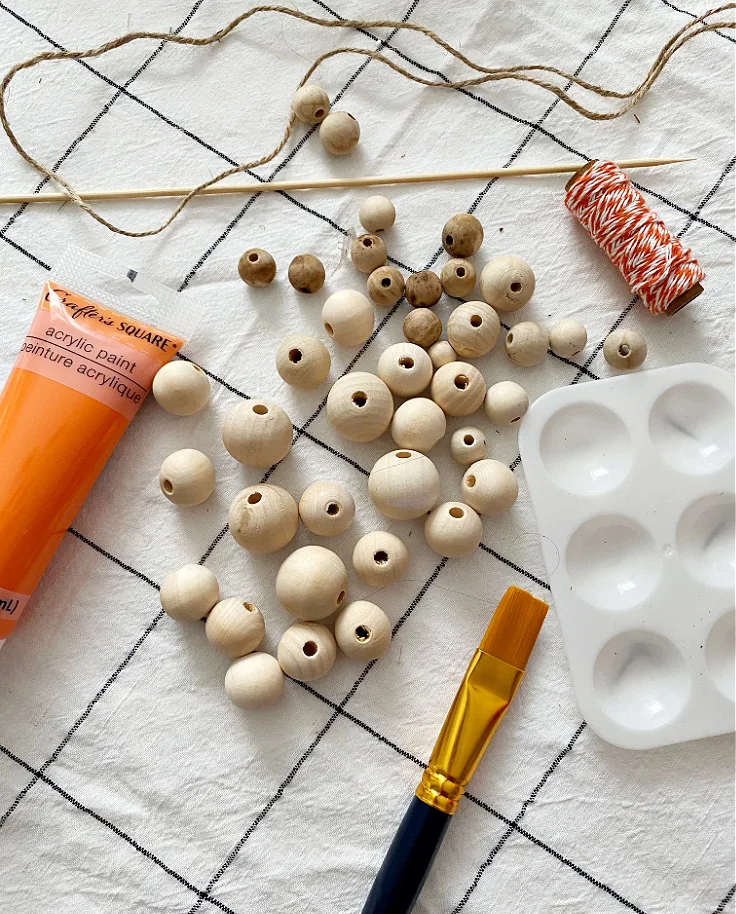
Supplies Needed For DIY Wood Bead Carrots
- Wood Beads – this includes a mix of different size beads
- Bamboo Skewers
- Twine
- Orange Paint
- Baker’s Twine
- Paint Brush
- Greenery For Carrots
How To Make DIY Wood Bead Carrots
Start by separating the wood beads into the number you want for the carrots. I chose to use 2 small beads, 4 medium beads and 1 large bead.
Here is a really cool tip to make painting wood beads so much easier. Place the wood beads onto a bamboo skewer.
For this craft, I was able to fit 14 beads on the skewer to make 2 carrots.
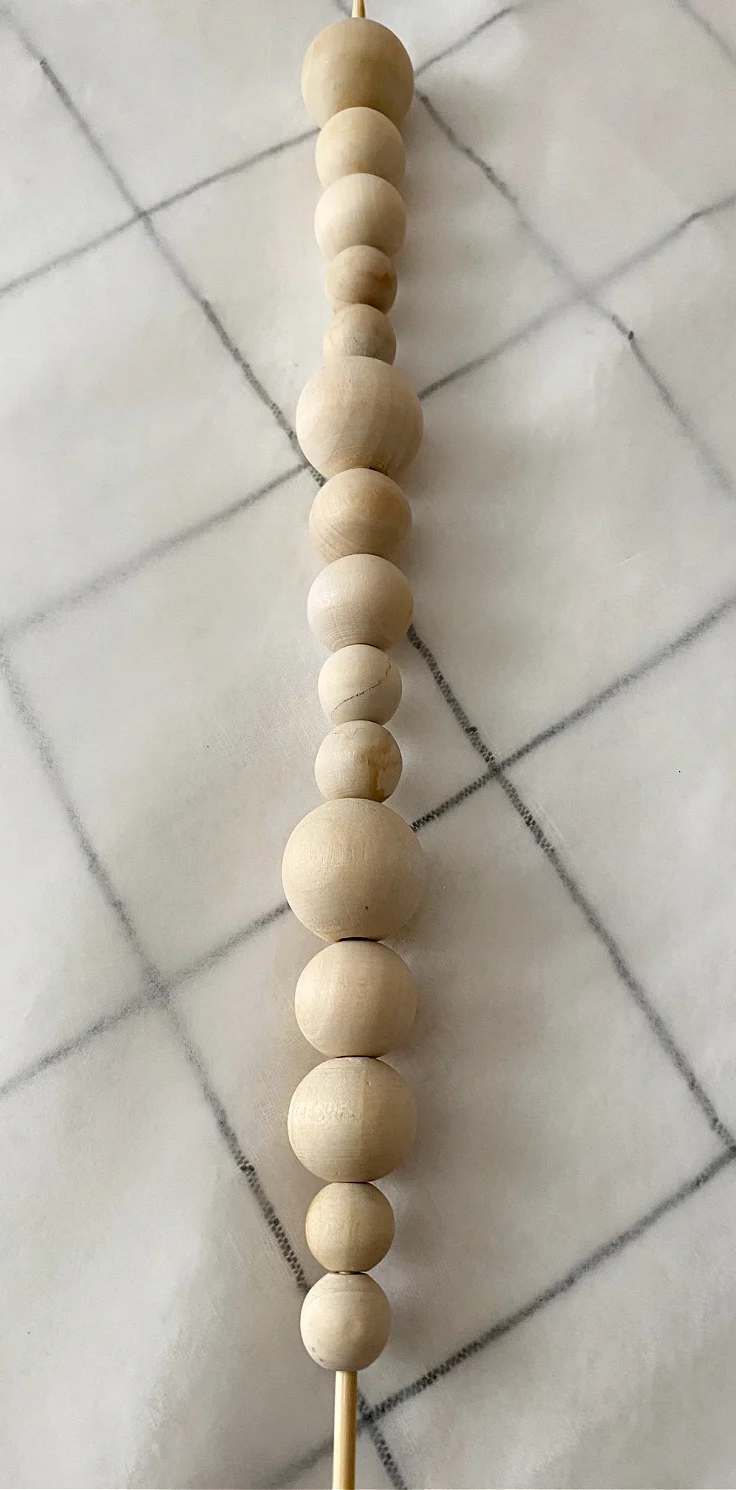
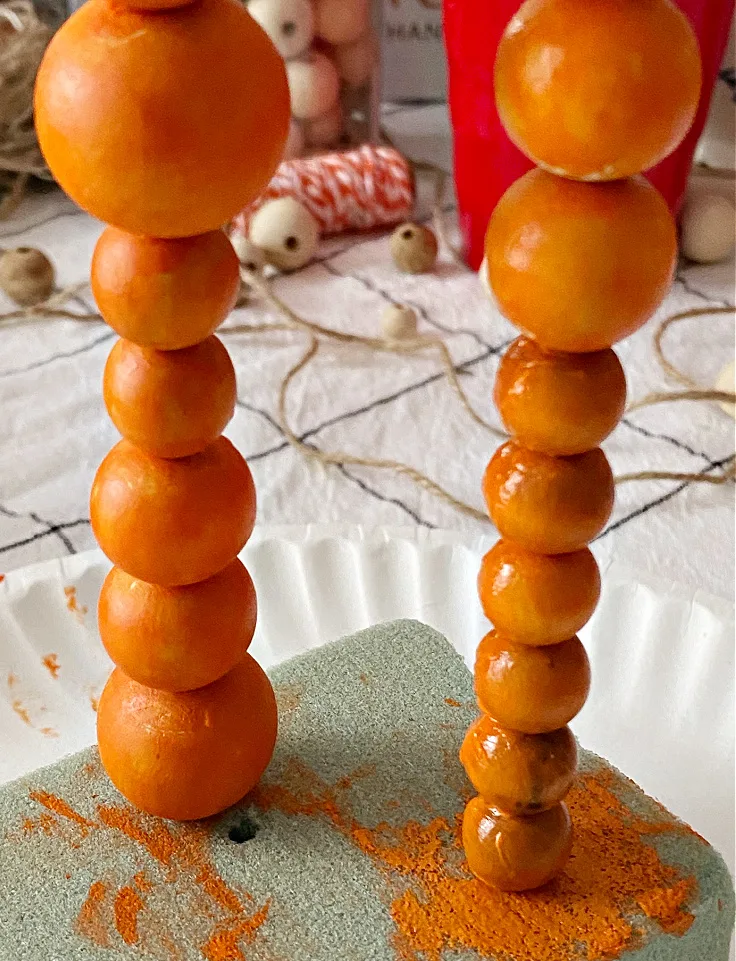
Stick the end of the skewer into a piece of floral foam, and start painting. If you’ve ever tried painting wood beads before, I’m sure you’ll understand why I’m so excited about this tip.
It makes it so much faster to paint a whole bunch of beads at once. Another quick way to color the wood craft beads is to dye them.
I shared how to dye wood beads here. Both of these options will save you so much time!
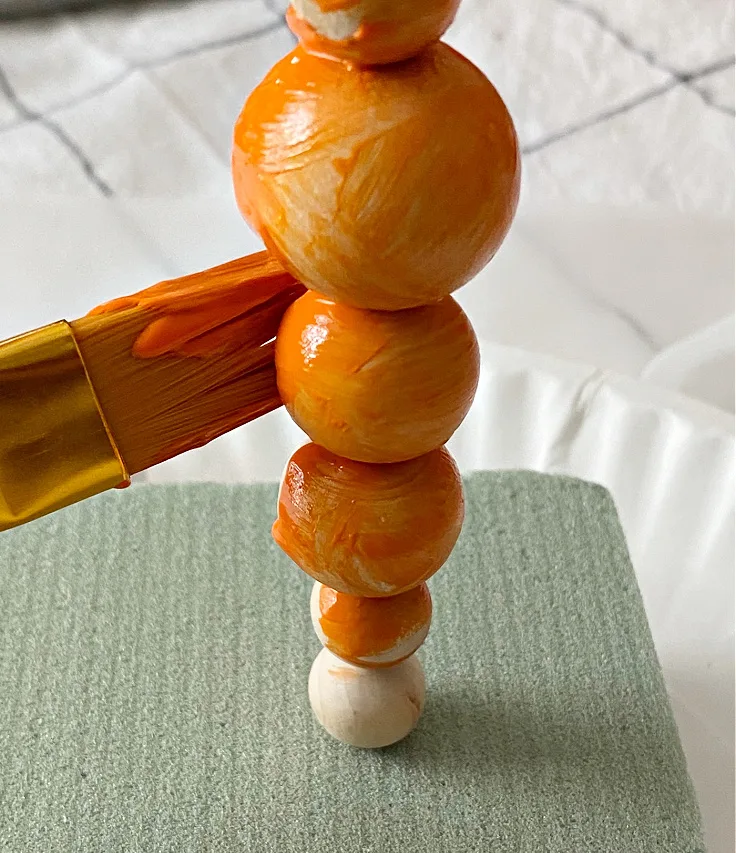
Next up, continue to paint the craft beads until they are the color you want. I went with 2 coats for the orange carrots.
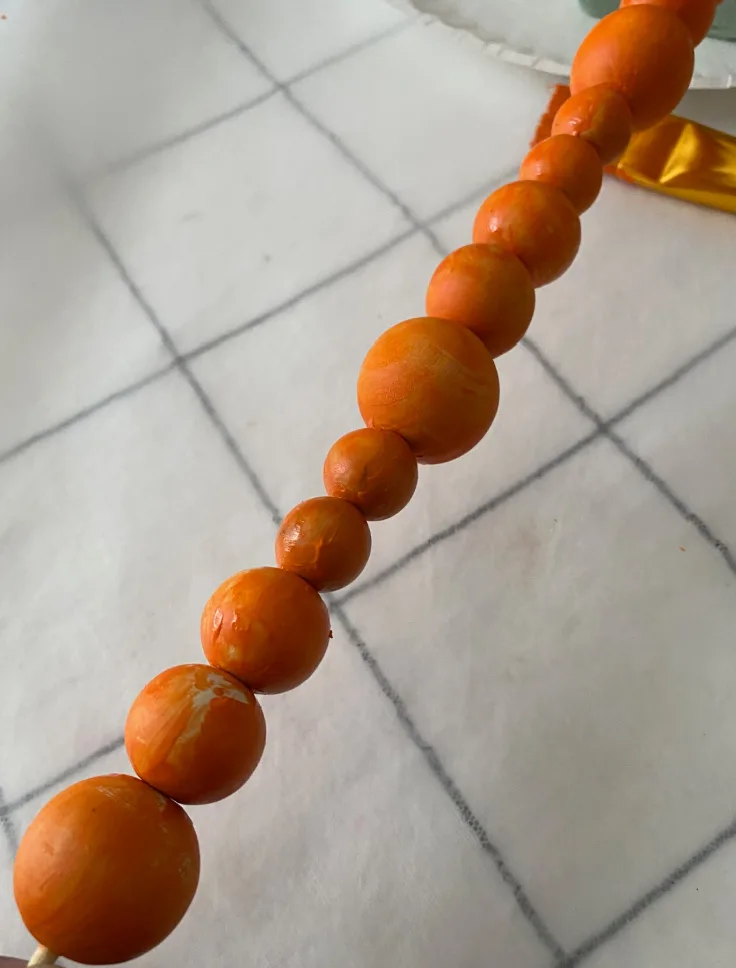
The cool thing about placing them on skewers in floral foam is it makes it easier for them to dry. I use a heat gun to speed up the drying.
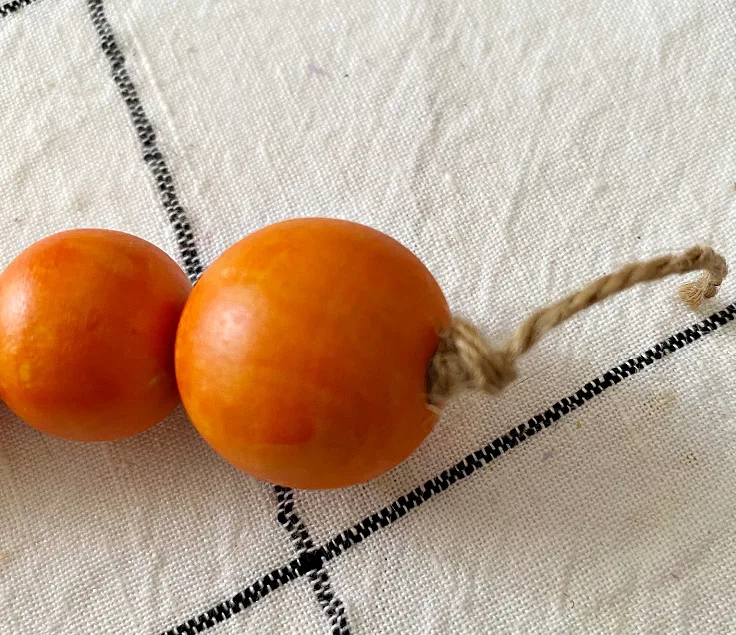
Once they are dry, string them onto the twine and tie a large knot at the end so the beads are secure.
Hot glue a piece of greenery to one end of the “carrot”. As soon as you add this stem, it really looks like a carrot!
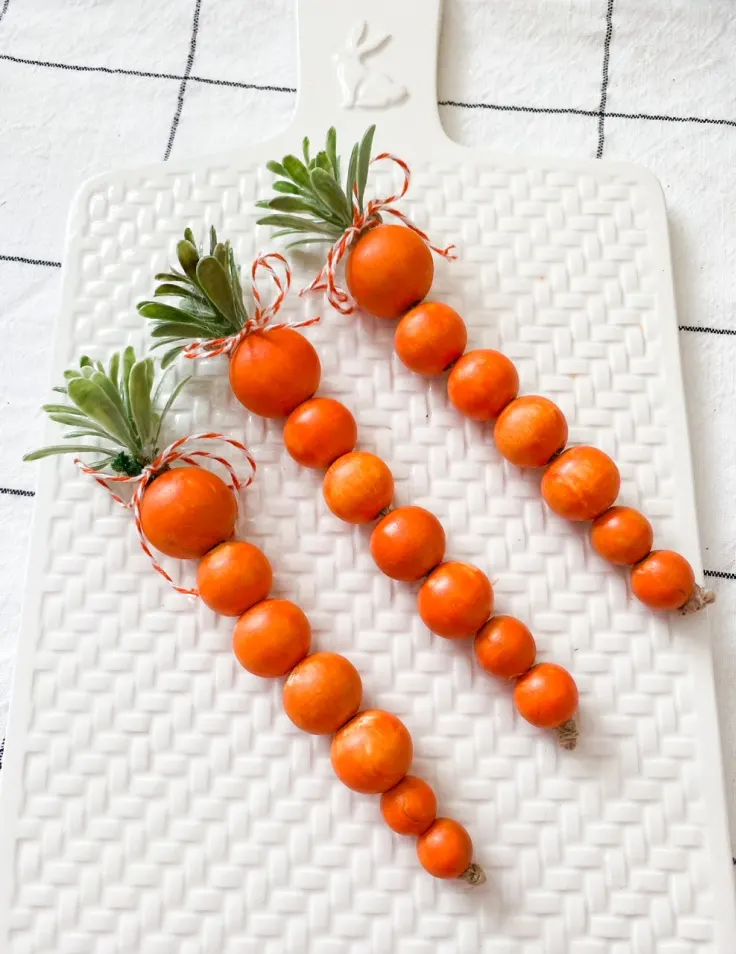
The last step is to tie a piece of orange and white baker’s twine below the greenery. So what do you think? Aren’t they just the cutest?