Candy Corn Gnome
Candy Corn Gnomes are adorable little characters that bring a sprinkle of whimsy to Halloween decor! With their sweet candy corn hats and charming smiles, these pint-sized creatures add a festive touch to any seasonal display. Whether perched on a shelf, tucked into a spooky centerpiece, or even used as a fun party favor, Candy Corn Gnomes are sure to spread smiles and joy wherever they go. These playful little gnomes are a delightful way to embrace the magic of the season and add a pop of color to your Halloween celebrations. So go ahead and sprinkle some sweetness into your fall decorations with these cute and friendly Candy Corn Gnomes!
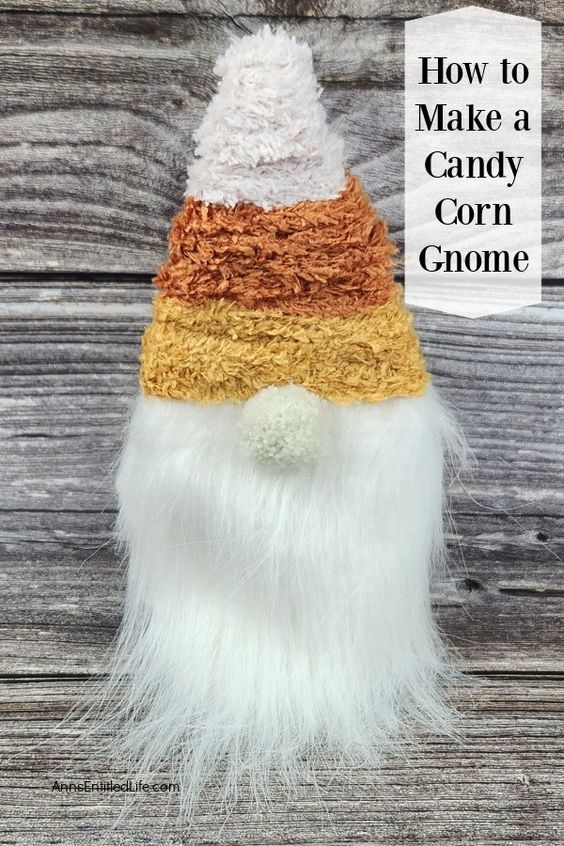
Candy Corn Gnome Materials:
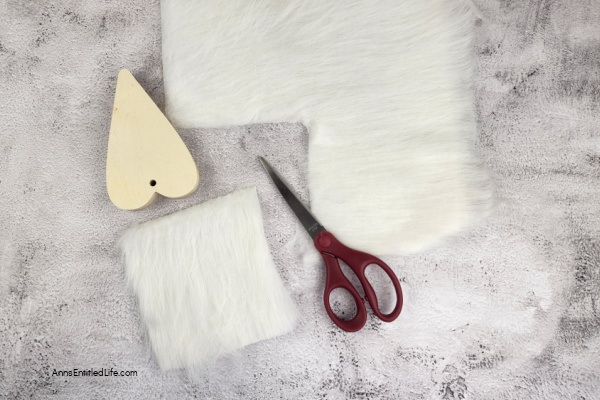
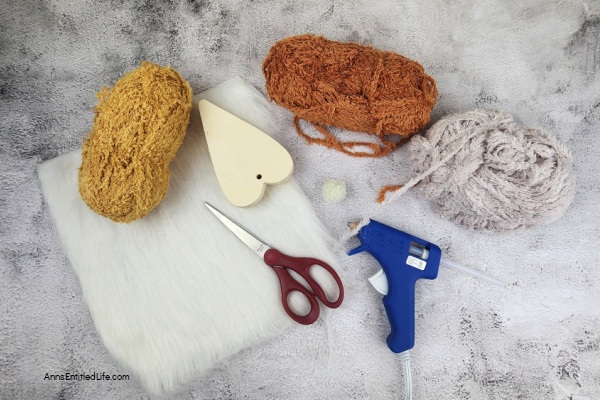
● 1 Wood Heart
● White Faux Fur
● 1 Off-White Fuzzy Pompom
● Orange Yarn
● White Yarn
● Yellow Yarn
Candy Corn Gnome Tools:
● Cutting Mat
● Scissors
● Hot Glue Gun
● Hot Glue Sticks
How To Make This DIY Candy Corn Gnome Directions:
1. Cover your work surface to protect against cuts and burns.
2. Cut a square of fur that is a little wider than the widest part of your heart. It should also be about 4-5 inches long.
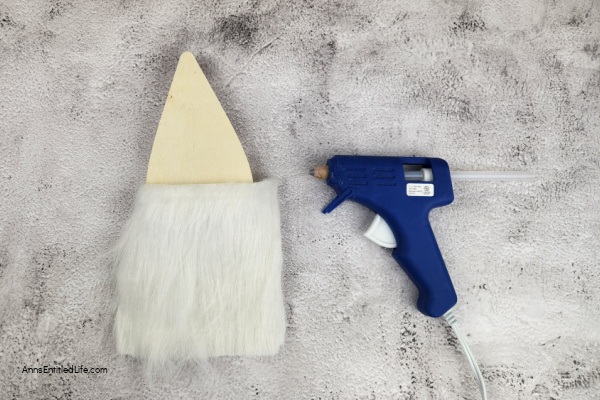
3. Next, hot glue the fur in place at the broadest part of the heart. This is the top of the beard. You may also need to glue the fur on the sides and any that wraps around the back. Be sure the fur is pointing down and not up.
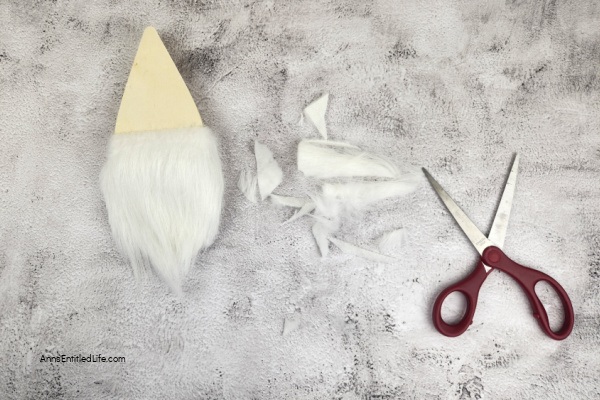
4. Now, using the scissors, trim the fur so that it resembles a beard. I find it works best if you pull the long part of the fur back and try to trim just the part of the fabric that holds the fur.
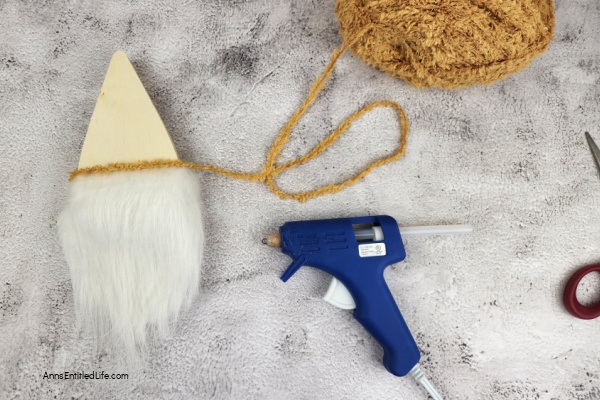
5. Starting with the yellow yarn, glue the end of the yarn in place just above the top of the fur. Wrap the yarn around the heart until you have a section that is about one inch. Make sure you wrap the yarn so that none of the wood is visible in that area.
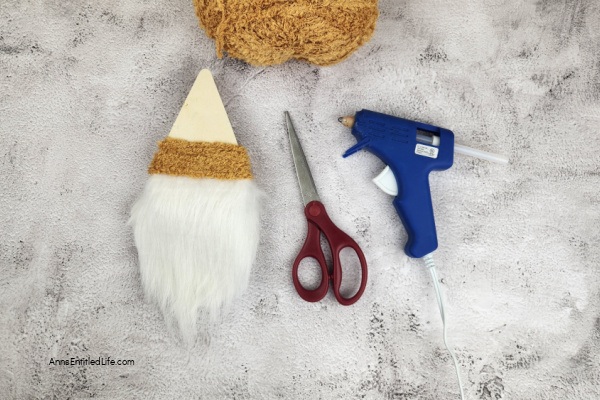
6. When you’re done wrapping, trim the yarn off and glue it to the back.
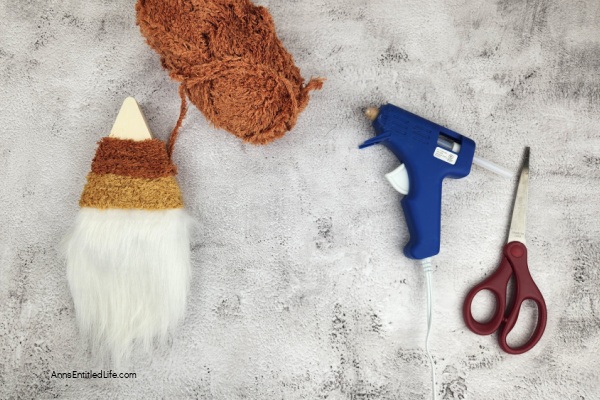
Next, you want to do the same with the orange yarn as you did with the yellow.
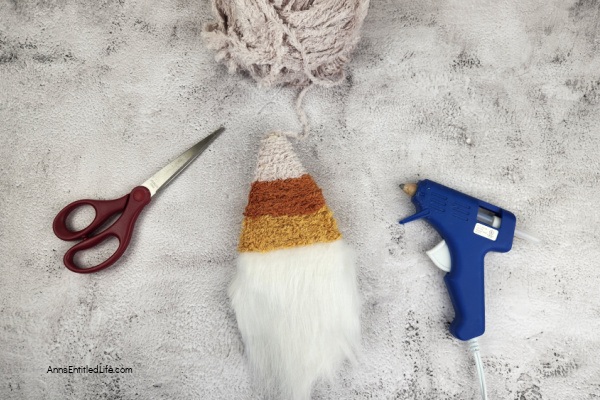
8. Now do the same with the white. With the white yarn, you may need to use a dot or two of glue when wrapping as it will try to slip off the end of the heart.
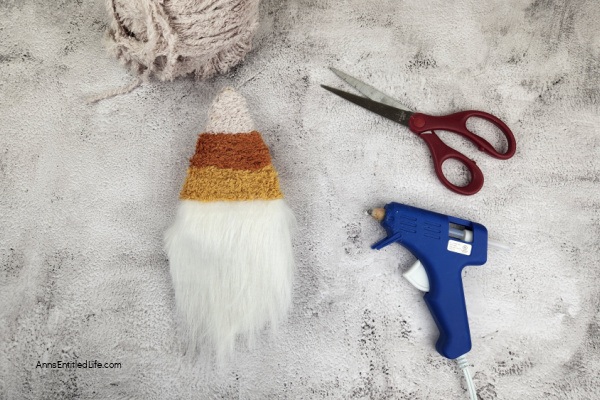
9. Carefully glue the white yarn to the top of the point, not the backside, and trim it off. That way, it will cover all of the wood so that it does not show. This is the top of the gnome hat
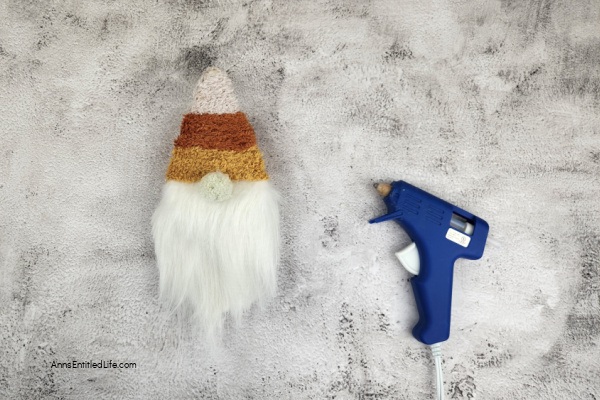
10. The last step is to glue the pompom in the center just below the yellow yarn.
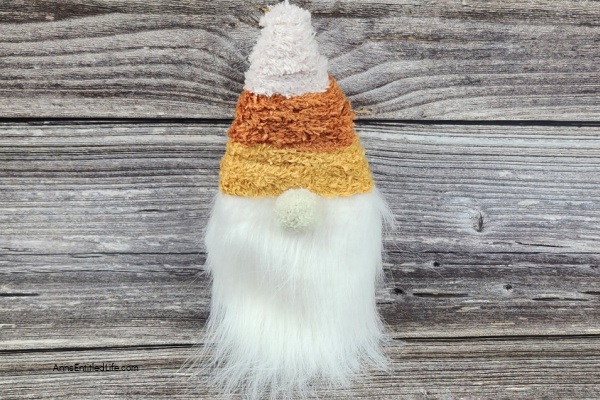
11. You can display this little guy on an easel or tripod, or glue a hanger to the back of the gnome to hang on the wall.