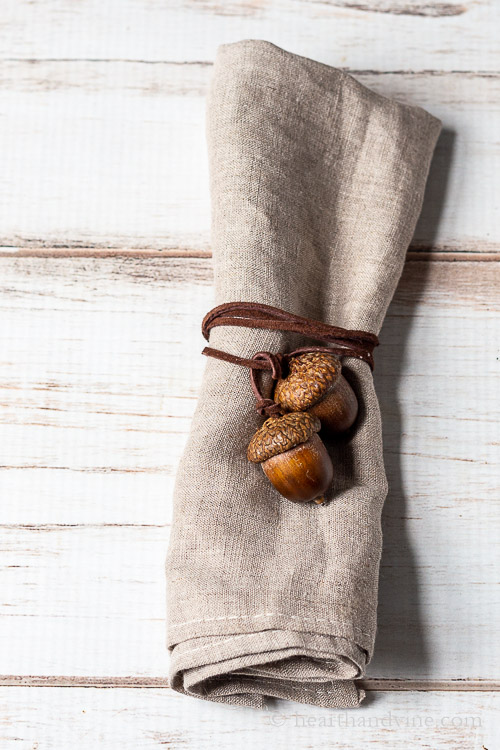
How To Make Acorn Napkin Ties
Acorn napkin ties are a charming addition to any table setting, adding a touch of whimsy and natural beauty to your dining experience. These adorable accessories effortlessly elevate your table decor with their rustic appeal, making your guests feel welcome and special. Crafted from sturdy materials, acorn napkin ties not only look delightful but also serve a practical purpose by keeping your napkins neatly folded and in place. Whether you're hosting a cozy family dinner or a festive gathering, these cute little accents are sure to bring joy and warmth to your table setting. So go ahead, sprinkle some woodland magic on your dining table with these delightful acorn napkin ties, and create memories that will last a lifetime.
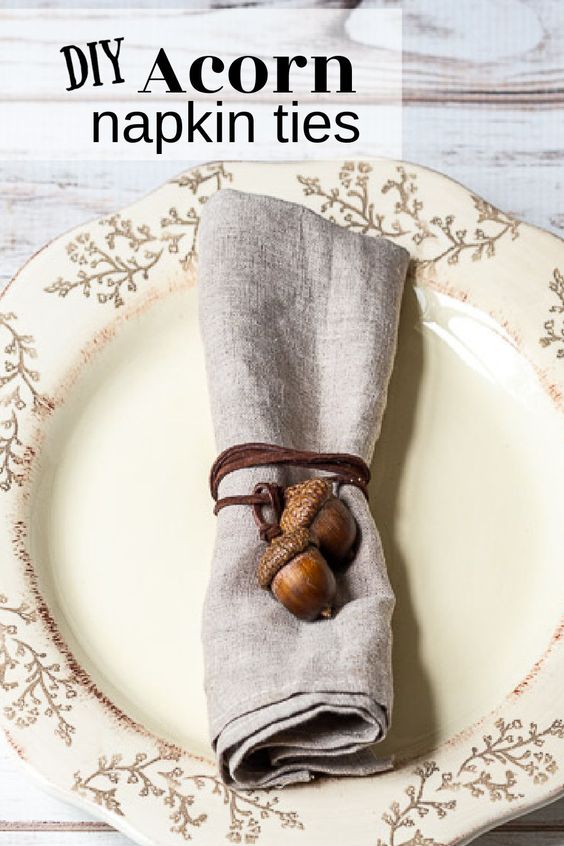
Supplies
- Acorns from outdoors
- Suede lace or cording
- Wire cutters or pliers
- Drill and 7/64 drill bit
- Glue gun and glue sticks
How to Prep Acorns for Crafting
Who knows what lurks in and on the acorns you find on the ground. Start by washing them in some water to get as much of the surface dirt off as you can.
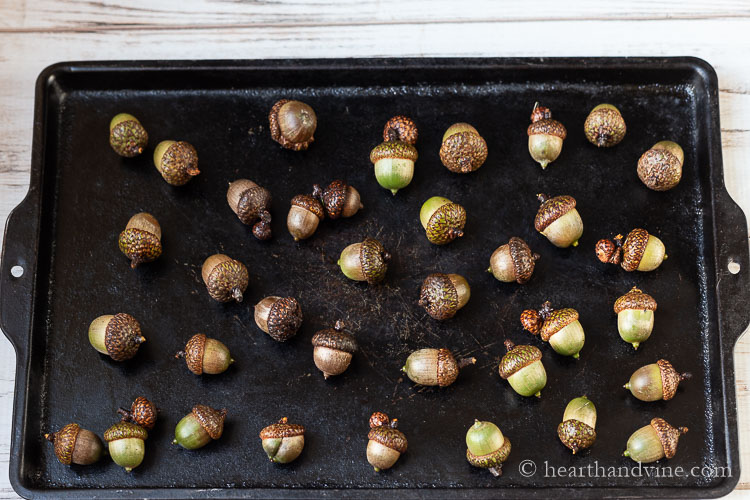
Next, bake them in the oven on the lowest level of heat for 1-2 hours. This should kill any insects or other nasty stuff.
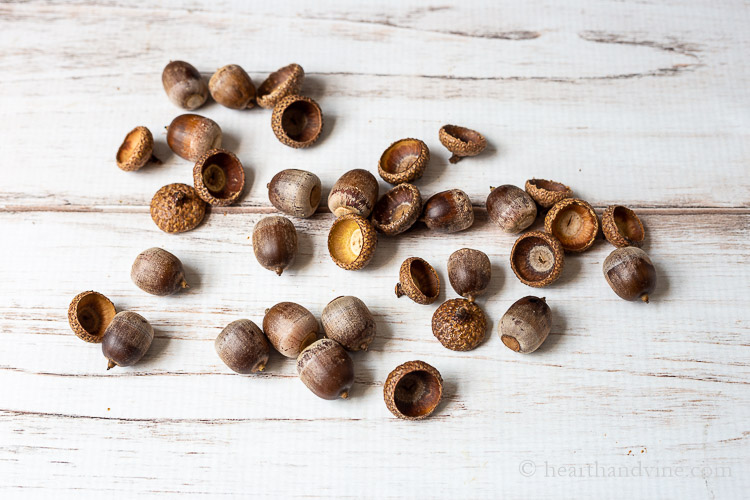
You will find that many of the caps will fall off when you do this however, that's great because you need to pull them off anyway. I found that a tiny flathead screwdriver worked well for prying off any of the caps that were still attached.
Next, match the acorns with their caps with another acorn of similar size.
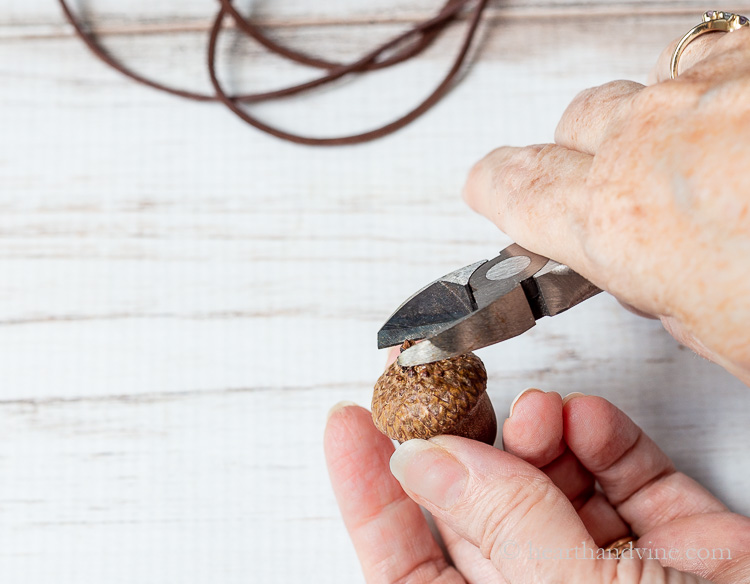
Use some wire cutters to clip off the stem of the top of the cap.
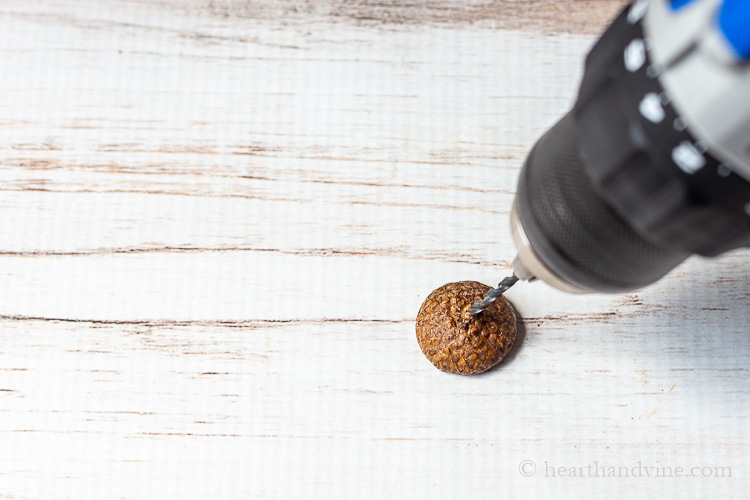
Then use an 7/64 inch drill bit to make a hole in the top. You could use a different size drill bit depending on what you have and how thick the cord you buy is. If you are unsure, I suggest starting smaller. Test it to see if the cord will thread through the hole. You can always go larger.
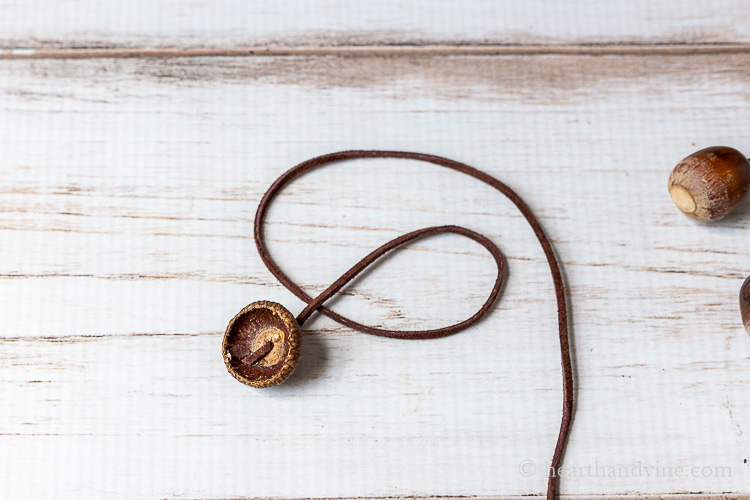
Thread one end of the cord through the acorn cap from the top. Then use a bit of hot glue to glue the cord to the inside of the cap. You can make the cord length as long or as short as you want. I chose 30 inches to make sure that it would wrap around the napkin a few times.
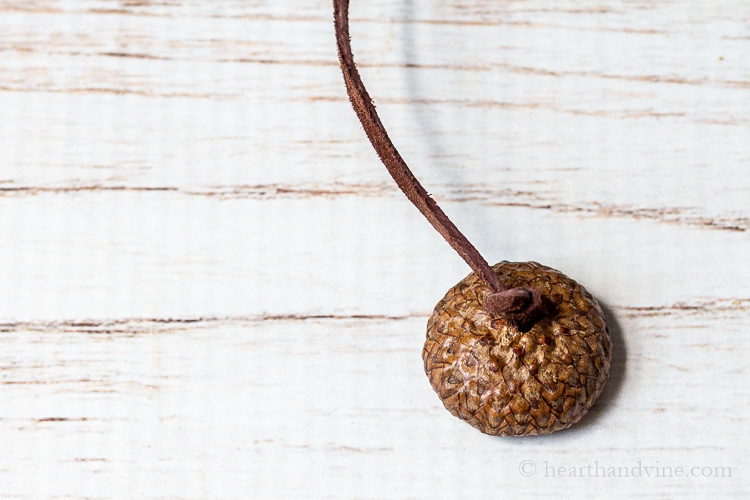
Once it dries, make a knot at the top side of the cap. This is purely for decorative purposes. I think it looks a little like the stem that was cut off, so that's why I added this step.

Next, glue the nut to the cap. Then attach the other end of the cord to the first acorn's mate.
