Tissue Paper Halloween Lanterns
Are you looking for a fun and easy way to add some spooky flair to your Halloween decor? Why not try making tissue paper Halloween lanterns! These adorable lanterns are simple to create and can be a great project for both kids and adults. All you need is some black tissue paper, glue, and a few LED tea lights. Cut the tissue paper into strips and glue them around the tea light to create a lantern effect. Add some creepy faces or shapes with markers to give them that extra Halloween touch. Whether you're hosting a Halloween party or just want to add some festive charm to your home, these tissue paper lanterns are sure to be a hit and bring a smile to everyone's face!

Supplies You’ll Need:
- Glue like Elmers Glue
- Water
- paintbrush
- Assorted tissue paper cut into squares for layering- colors will depend on your intended design. Design ideas can be found below.
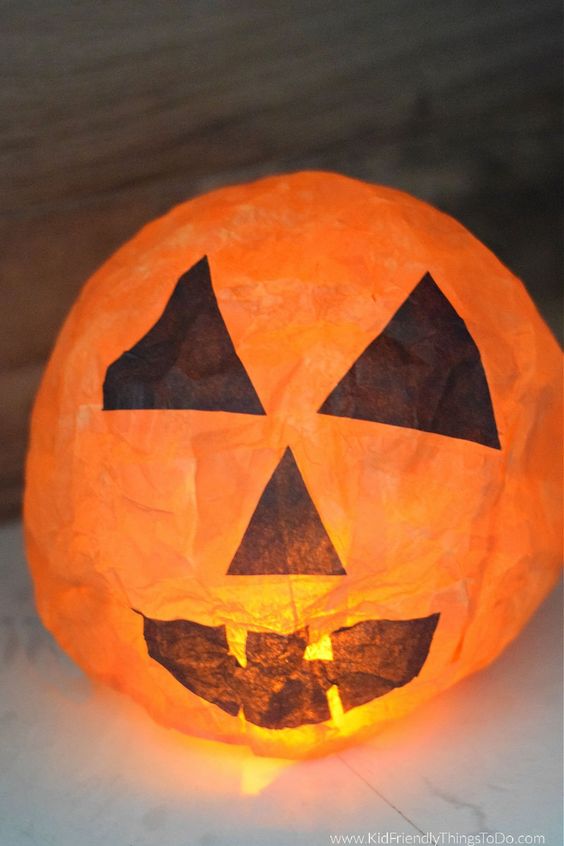
- More assorted tissue paper colors are cut into shapes for eyes, nose, mouth, etc…. i.e., I cut dark colors into triangles for my Jack-O-Lantern lights.
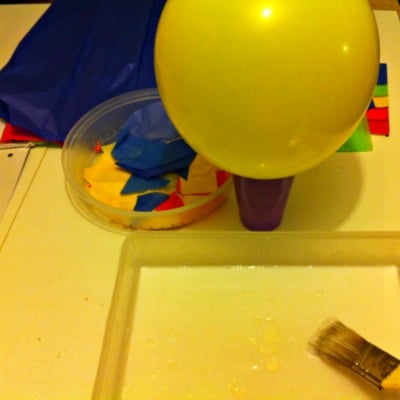
- Latex Balloons that are blown up to the size you desire and secured with a knot
- A large Solo Cup to hold your creation
- An LED light – I found mine at the Dollar Tree – It works perfectly
- Scissors
How to Make a Halloween Tissue Paper Lantern

Make a glue paste with an equal amount of both glue and water
Before you begin, you must put something on the bottom of the cup to give it some weight. I used water, but you can use rocks or marbles.
Set the bottom of the balloon onto the cup – this will help hold your balloon for you.
Paint the glue paste onto a section of the balloon

Apply the tissue paper to the wet paste – If it is not entirely sticking to the balloon surface, dab a little bit of paste over the tissue paper
The tissue paper should be wet through
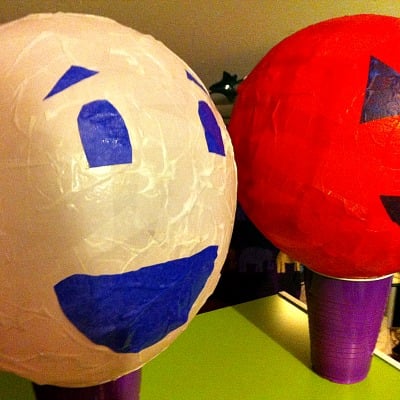
Cover the entire balloon in this way with two layers of tissue paper
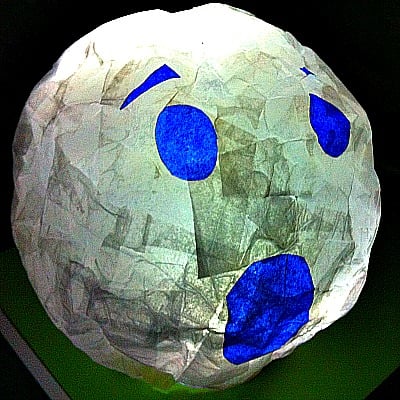
Add your detail pieces (eyes, mouth, etc…) with the contrasting colors of tissue paper
Let the balloons dry for about 24 hours
When they are completely dry, use your scissors to cut the tip-off of the balloon. The balloon will deflate, and pull away from the paper
*Your paper-mache might start to sink in. Don’t worry – You can push it gently back into the balloon shape it once was
Cut a level and small circular area out of the bottom of your project. This will help it stand up, and gives you a place to set your light
Now you can pull the balloon out and if needed, reshape your paper mache by gently pushing the shape out

When you’re ready, place your paper-mache project over your LED light
That’s it! Enjoy your spooky lights