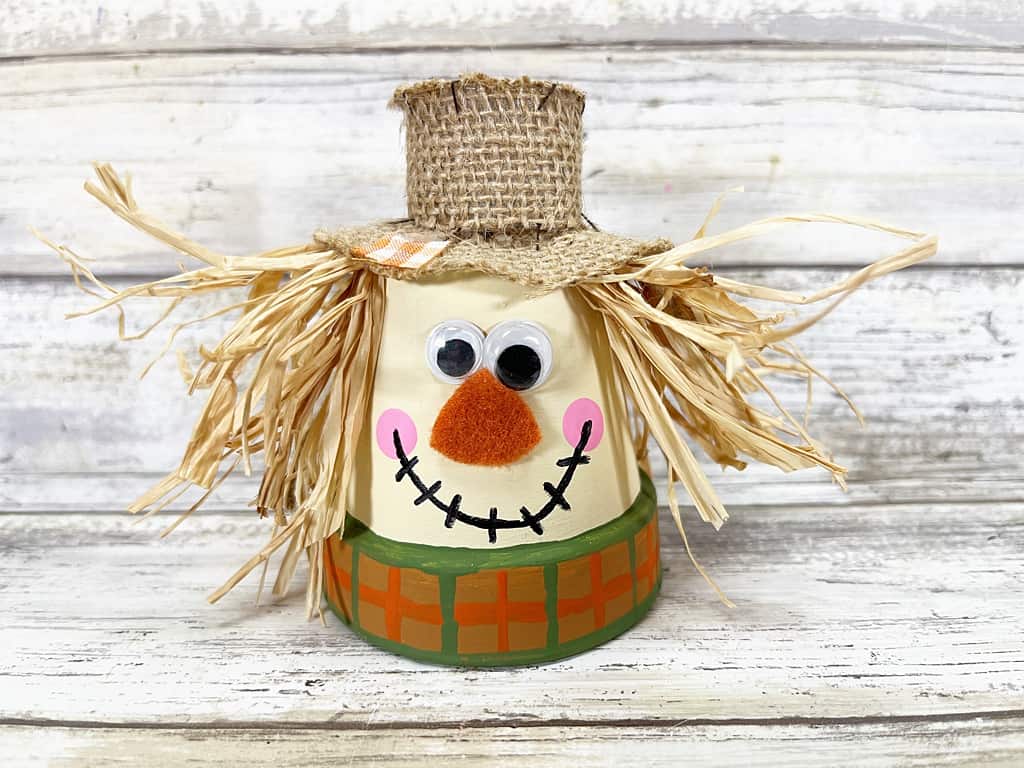
Flower Pot Scarecrow Craft
Creating flower pot scarecrow crafts is a delightful way to add a touch of whimsy to your garden or home décor. This fun and easy DIY project involves repurposing a humble terracotta pot into a whimsical scarecrow figure. By painting the pot, adding a cheerful face, and attaching straw or colorful ribbons as hair, you can bring your scarecrow to life. These charming decorations not only showcase your creativity but also make for a cheerful addition to any indoor or outdoor space. So gather your crafting supplies, unleash your imagination, and let the crafting fun begin!
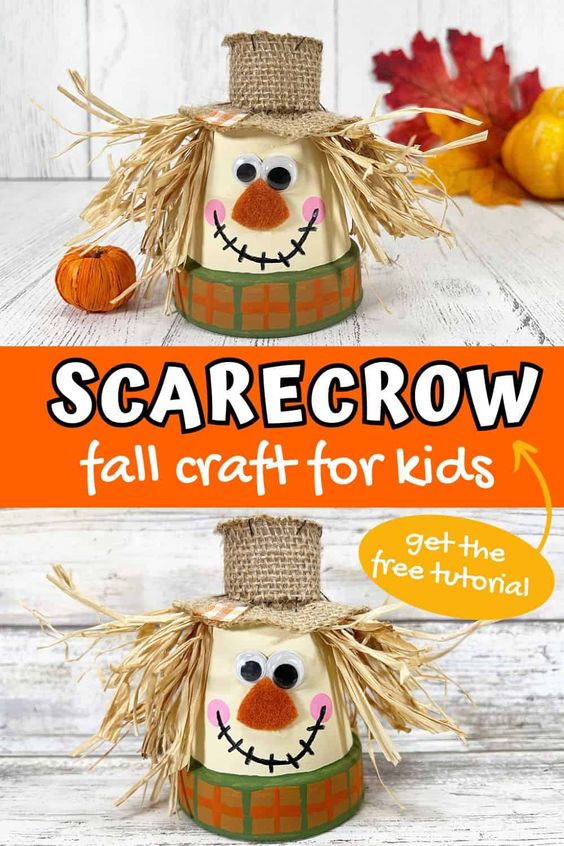
Materials:
- Clay Pot, 2.5” – Dollar Store
- Mini Burlap Hat
- Wiggle Eyes
- Natural Raffia
- Natural Jute Twine
- A Fall Colored Craft Felt
- Craft Paint in Off White, Tan, Orange, Green, and Pink
- Glue Gun and Glue Sticks (or your favorite craft glue)
- Paintbrush both flat and detail
- Scissors
- Pencil with new Eraser
- Permanent Marker, Black
- Scarecrow Face Pattern
Instructions:
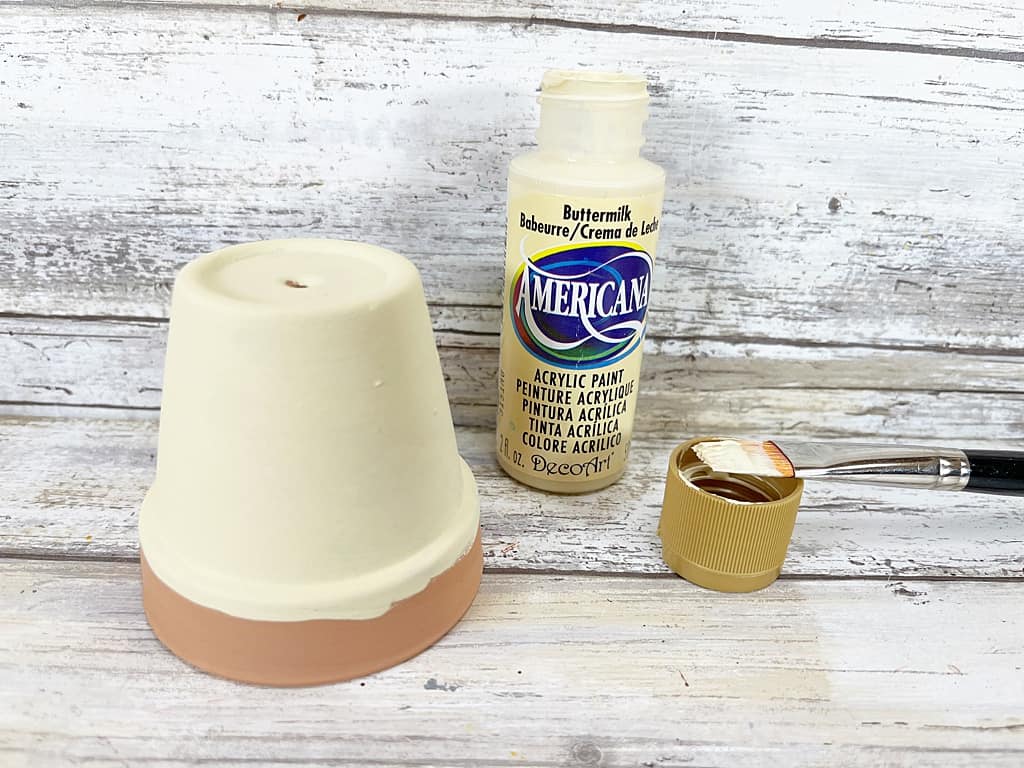
Basecoat the base of the clay pot with off white acrylic craft paint. Let paint dry and apply a second coat, if necessary.
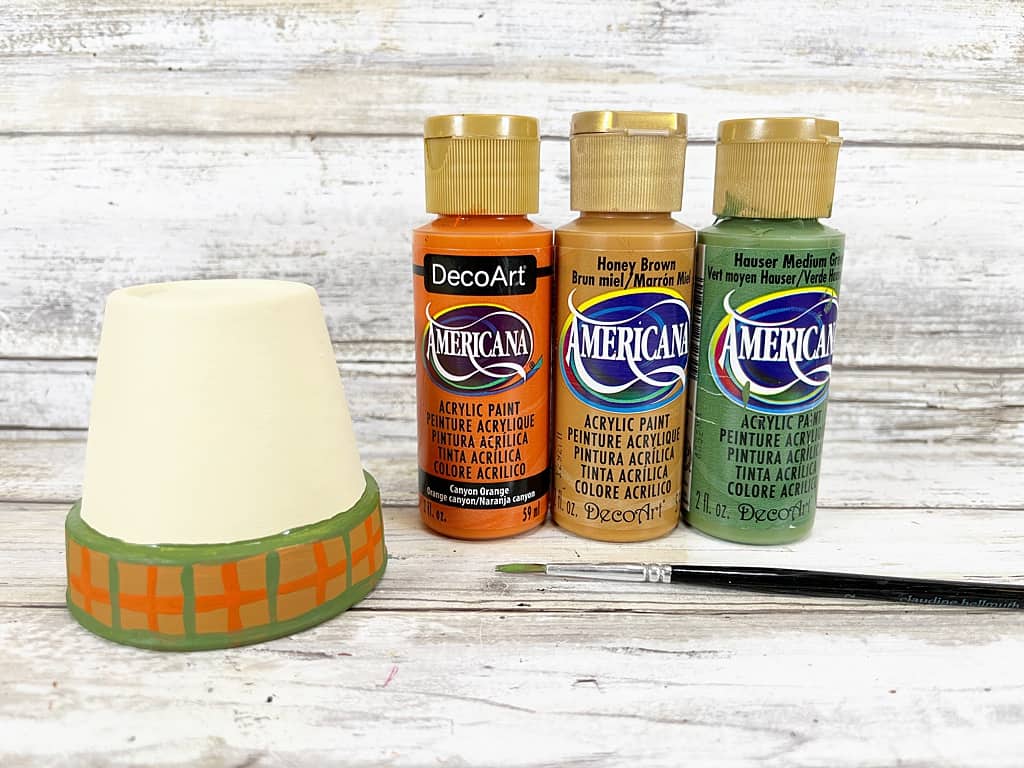
Basecoat the rim of the clay pot with tan craft paint. Let paint dry.
Using a detail paintbrush, add a horizontal stripe with orange craft paint, then add orange vertical stripes.
Let paint dry.
Add horizontal stripes with green craft paint, then add green vertical stripes.
Let paint dry.
Cut a six-inch section of raffia from the bundle and tie it in the center with a piece of natural jute twine. Securing the bundle with a knot.
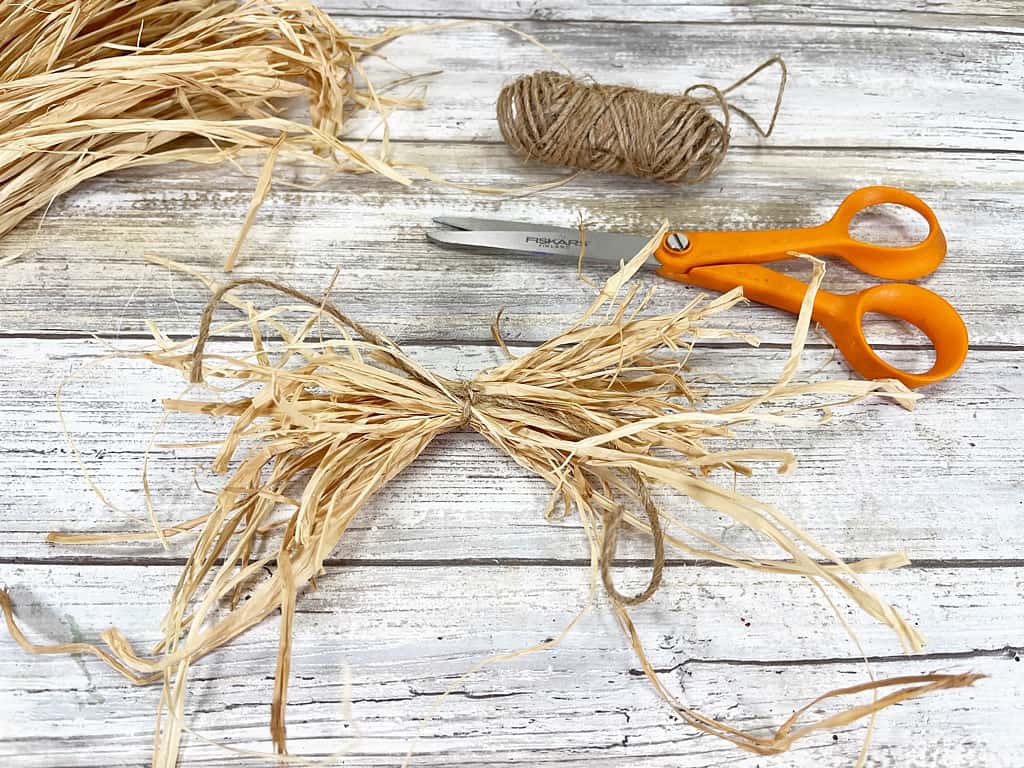
Attach the raffia bundle to the top of the clay pot with a glue gun and glue sticks or craft glue.
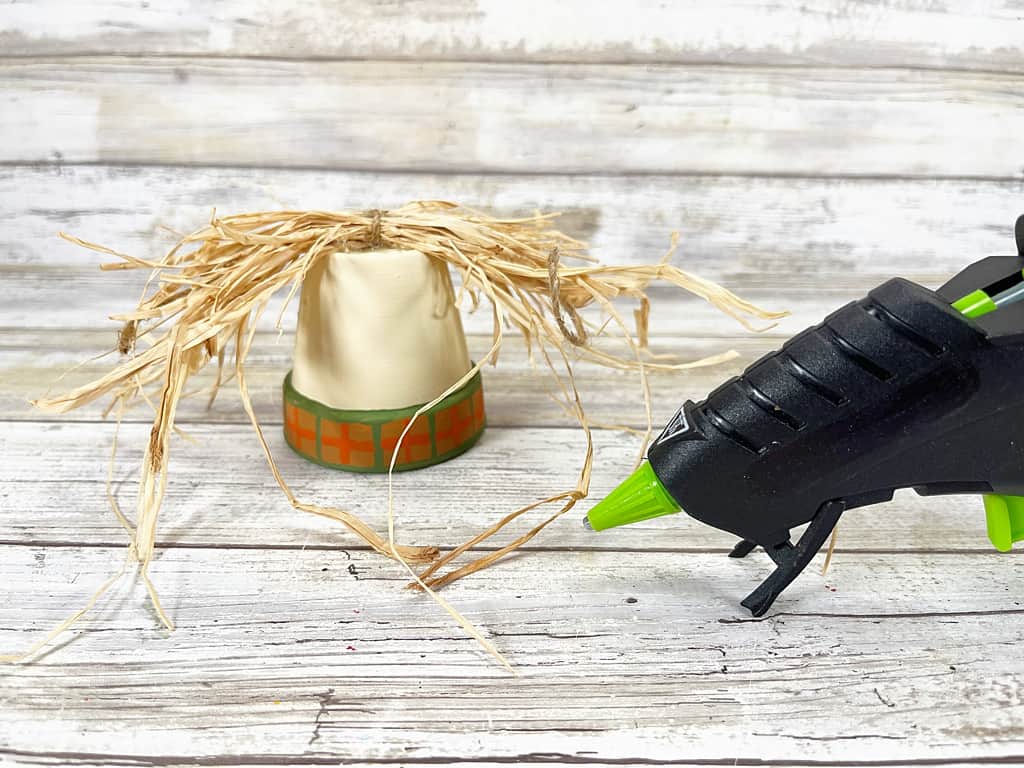
Add additional glue to the sides of the clay pot so the scarecrow’s hair lays flat. Trim any long ends of raffia with scissors.

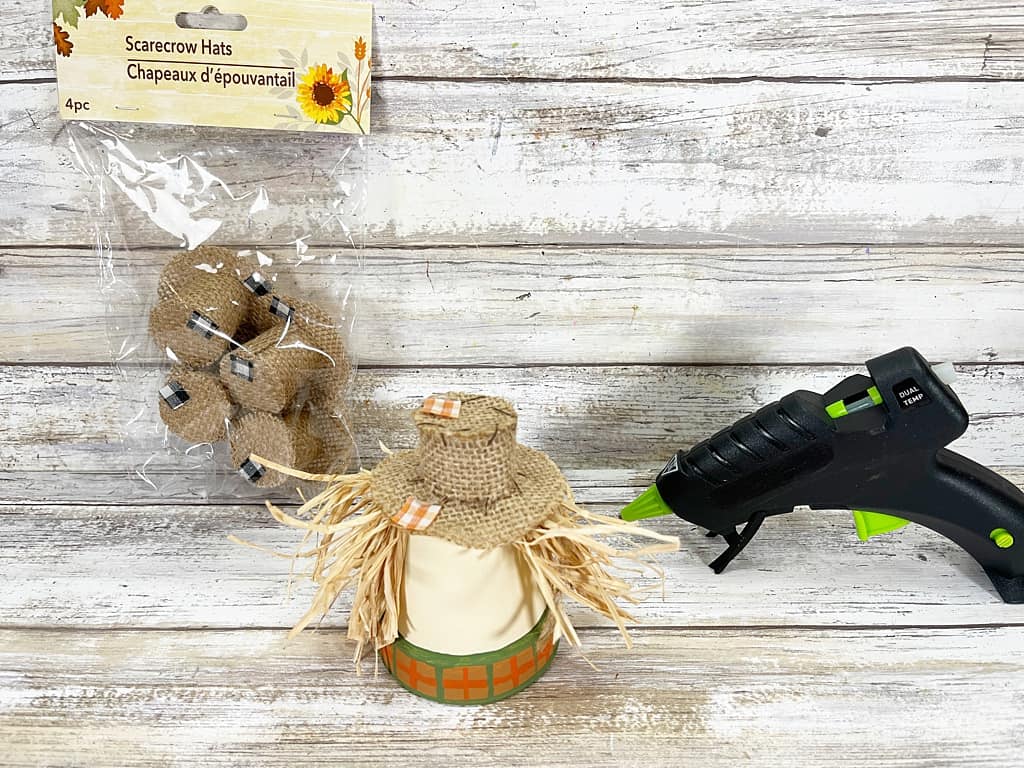
Attach a mini burlap hat on top of the raffia with a glue gun and glue sticks.
*You can use liquid craft glue for this project, but you will have to wait for it to dry.
We got these burlap hats from The Dollar Tree, but you can also find them on Amazon.
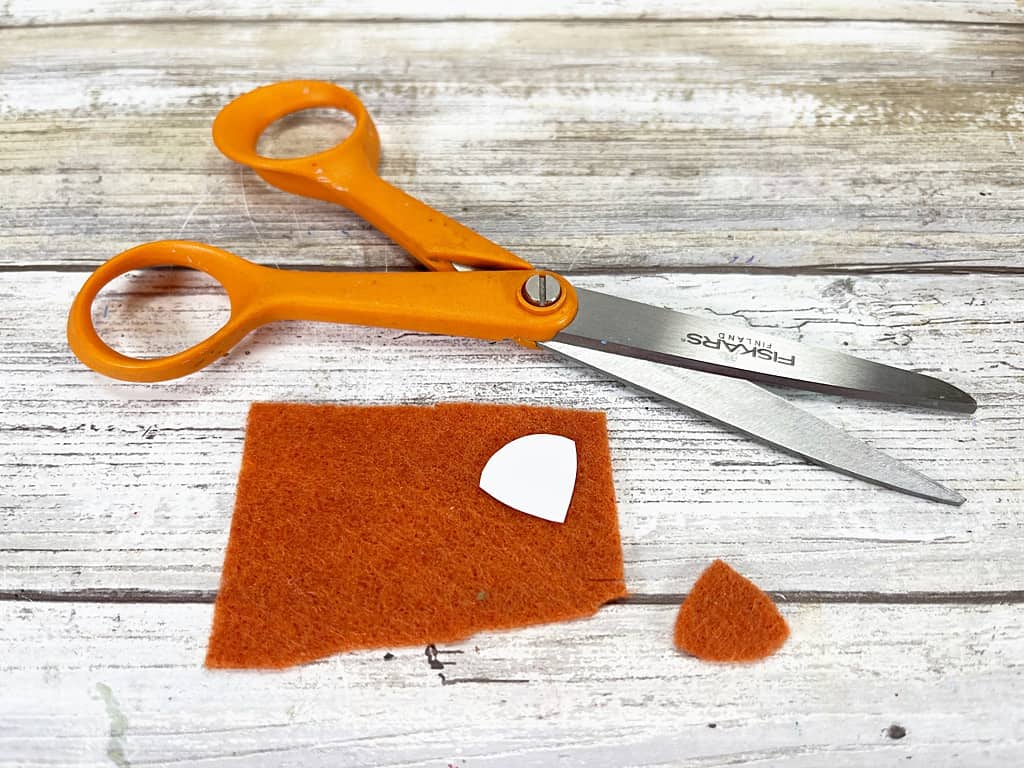
Download, print, and cut out the scarecrow nose pattern. Trace the nose onto a fall colored craft felt with a black marker.
Cut out the nose with scissors. (You could also use craft foam or colored cardstock instead of felt.)
Add a face to the scarecrow by attaching two wiggle eyes with glue.
Glue the felt nose directly under the wiggle eyes.
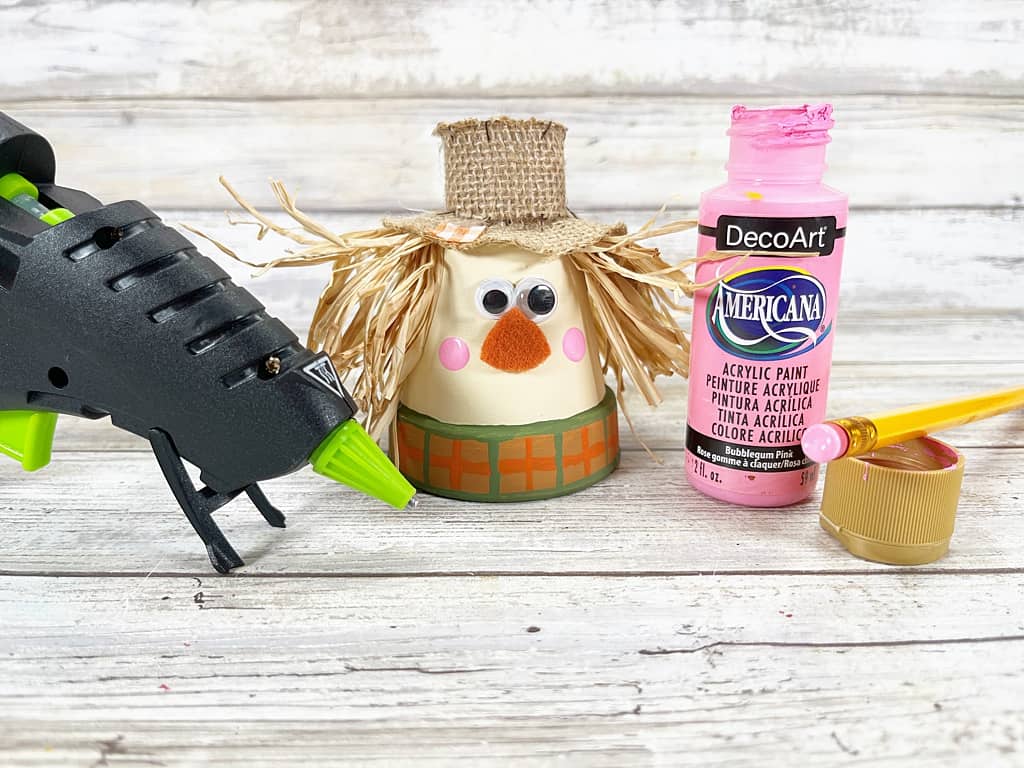
Add cheeks by dipping a new pencil eraser in pink craft paint and dotting on either side of the face.
Draw a smiling mouth from cheek to cheek with a permanent black marker, then add random stitches to the mouth.
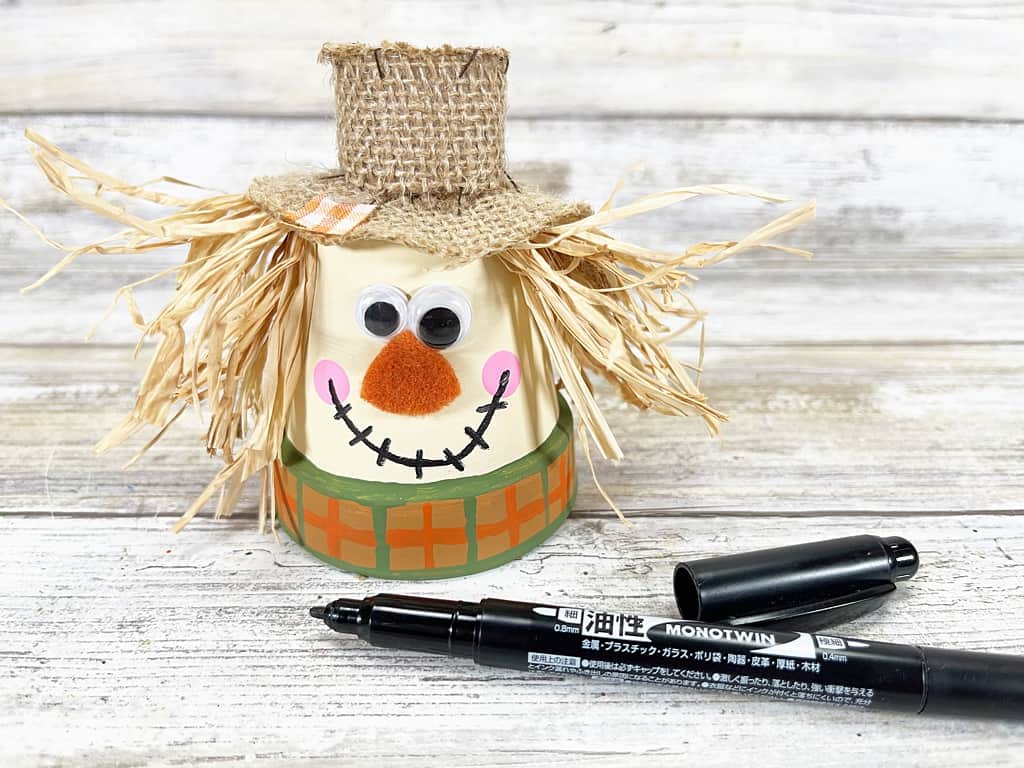
Enjoy displaying this adorable scarecrow in your fall decor!
