Burlap Pumpkin Sack (Reversible)
The Burlap Pumpkin Sack (Reversible) is a delightful addition to your fall decor! This charming sack is not only perfect for storing seasonal goodies but also adds a touch of rustic charm to your home. Made from high-quality burlap, it is both durable and stylish. The reversible design allows for versatility in your decorating, making it a versatile and practical choice for the autumn season. Whether you use it for holding treats or as a centerpiece accent, this pumpkin sack is sure to bring warmth and joy to your space. Get ready to embrace the cozy vibes of fall with this adorable and functional decor piece!
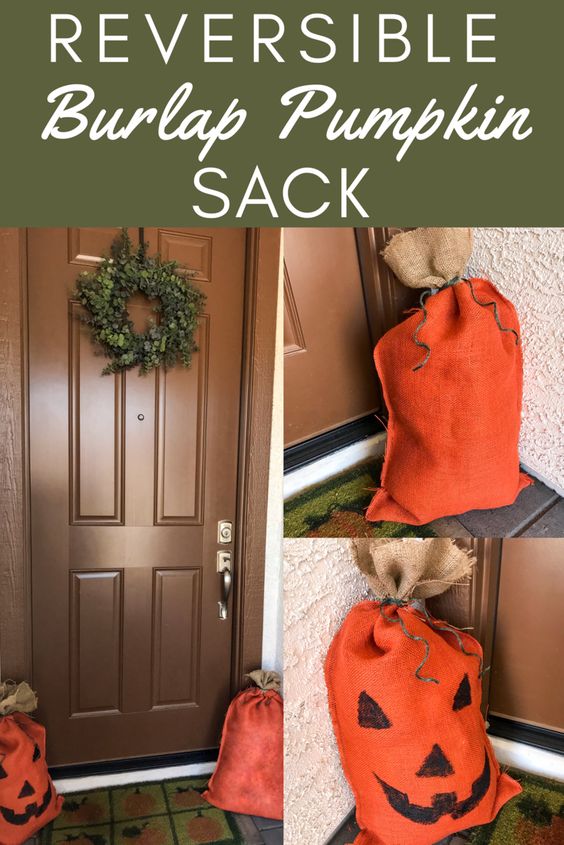
SUPPLIES:
- orange burlap
- natural burlap
- black paint
- freezer paper
- rocks
- plastic grocery bags (for filler)
- green jute twine
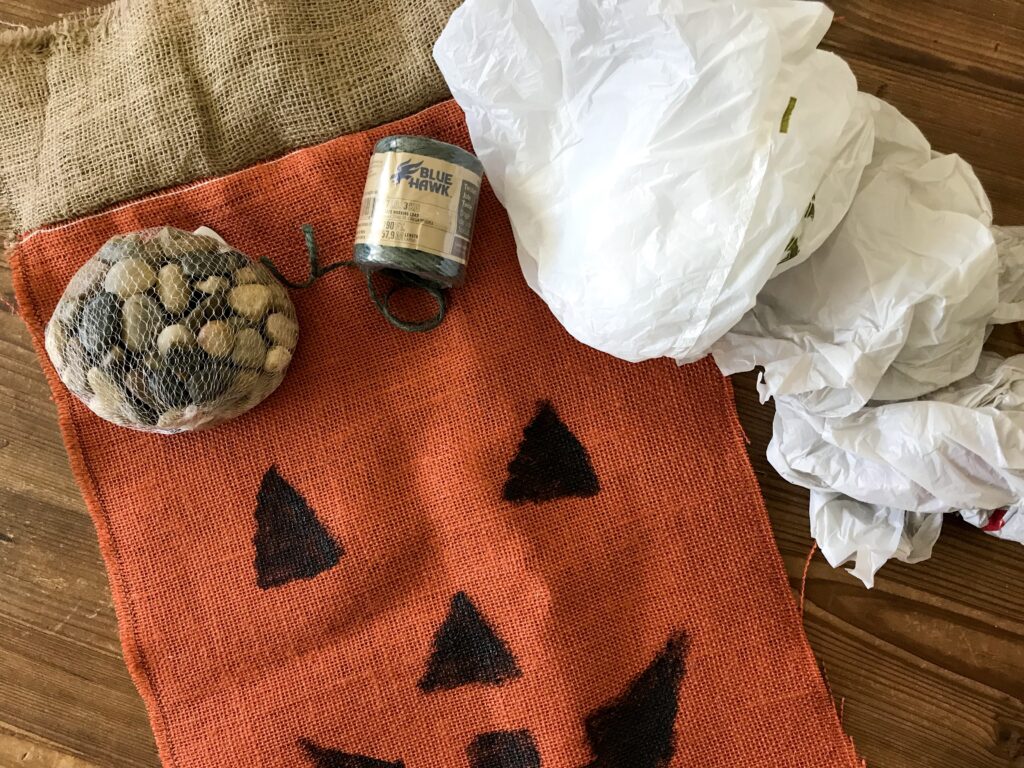
DIRECTIONS:
- Cut the orange burlap to double your desired final size. (pumpkin pictured measures 16”x20”)
- Cut 2 pieces of natural burlap to the same width as your pumpkin and your chosen height for the stem. (mine measures 16”x4”)
- Place the right side of the stem piece to the right side of the pumpkin. Sew a zig zag seam across, attaching the stem to the pumpkin. Repeat this on the other edge of the orange burlap.
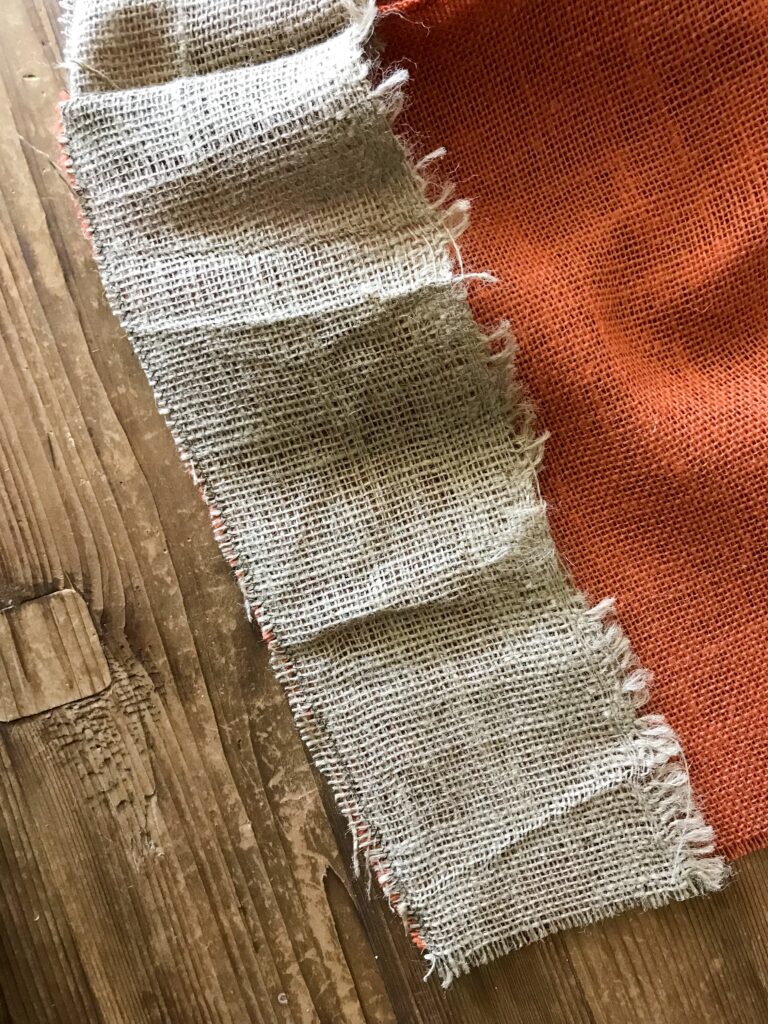
Fold your burlap in half wrong side to wrong side. Sew a zig zag stitch down each side of the pumpkin leaving the top open.

- Insert a piece of freezer paper between the layers of your pumpkin.
- On one side paint a jack o’lantern face with black paint, allow the paint to dry.
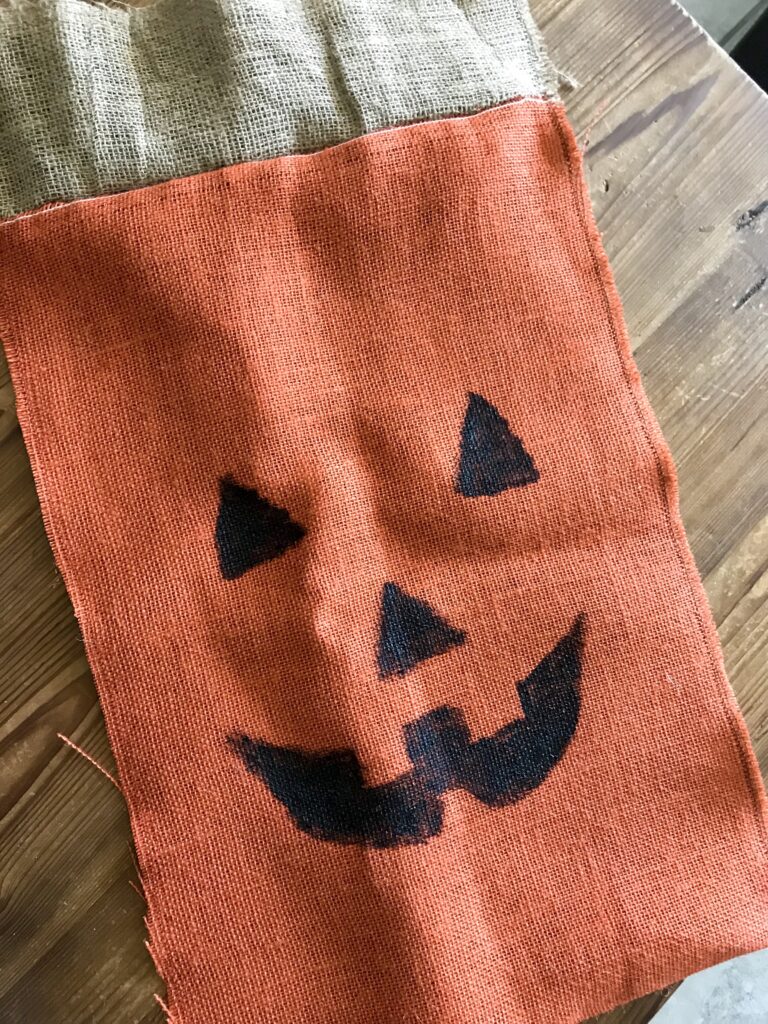
- Remove the freezer paper and place at least one bag of rocks in the base of your pumpkin.
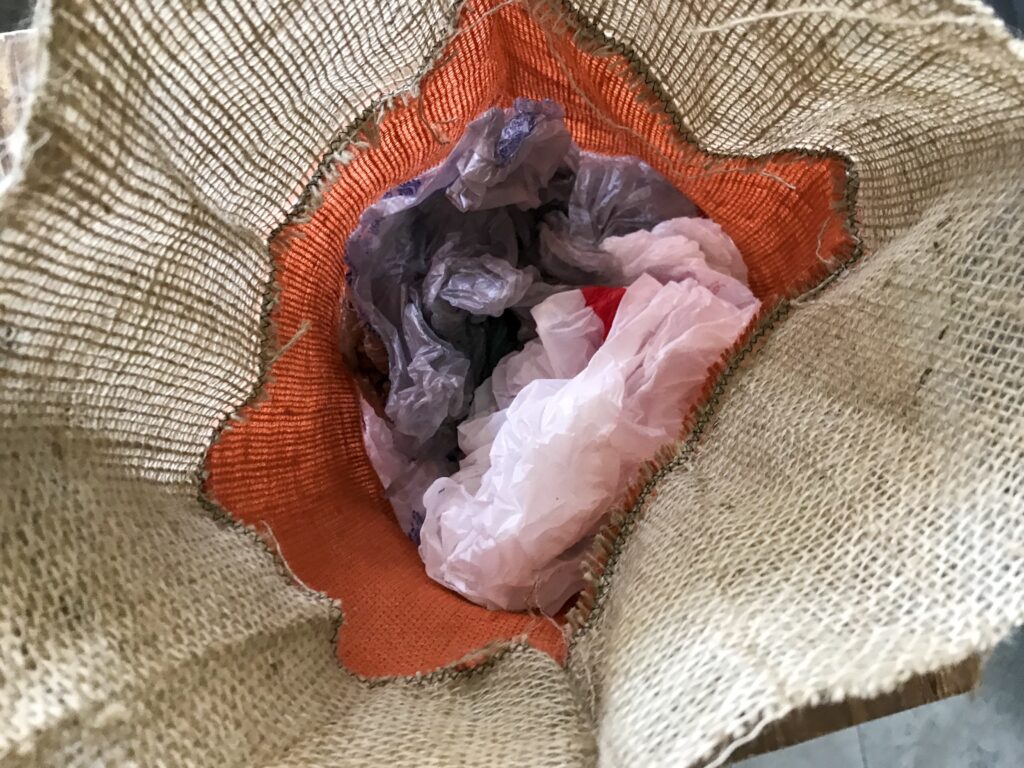
- Begin stuffing plastic grocery bags into your pumpkin until the desired fullness is reached. Do not fill past the orange fabric as you’ll be tying off the top to create the stem.
- Cut a piece of green just eat least twice the width of your pumpkin.
- Gather the burlap at the seam where the pumpkin and stem meet.
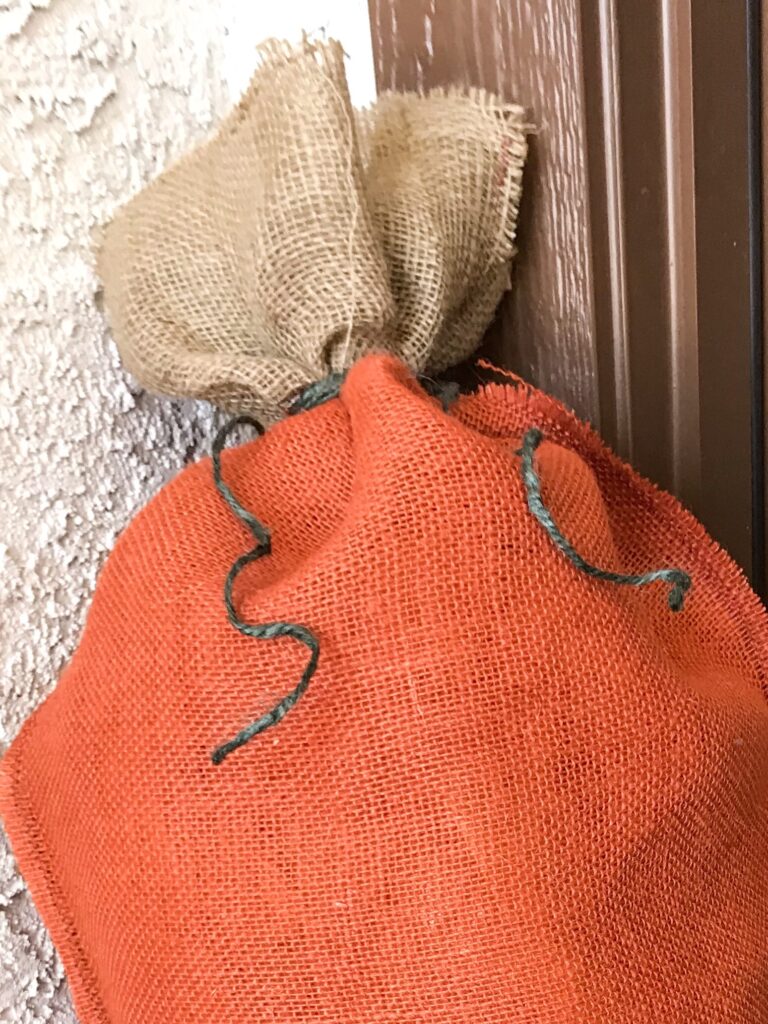
- Wrap the jute around where you’ve gathered and knot it off.
- Continue wrapping the jute around the seam to cover it then knot off one final time.
- Allow the jute to hang natural in curls. It gives it the look of pumpkin vines.
No comments
Write a comment