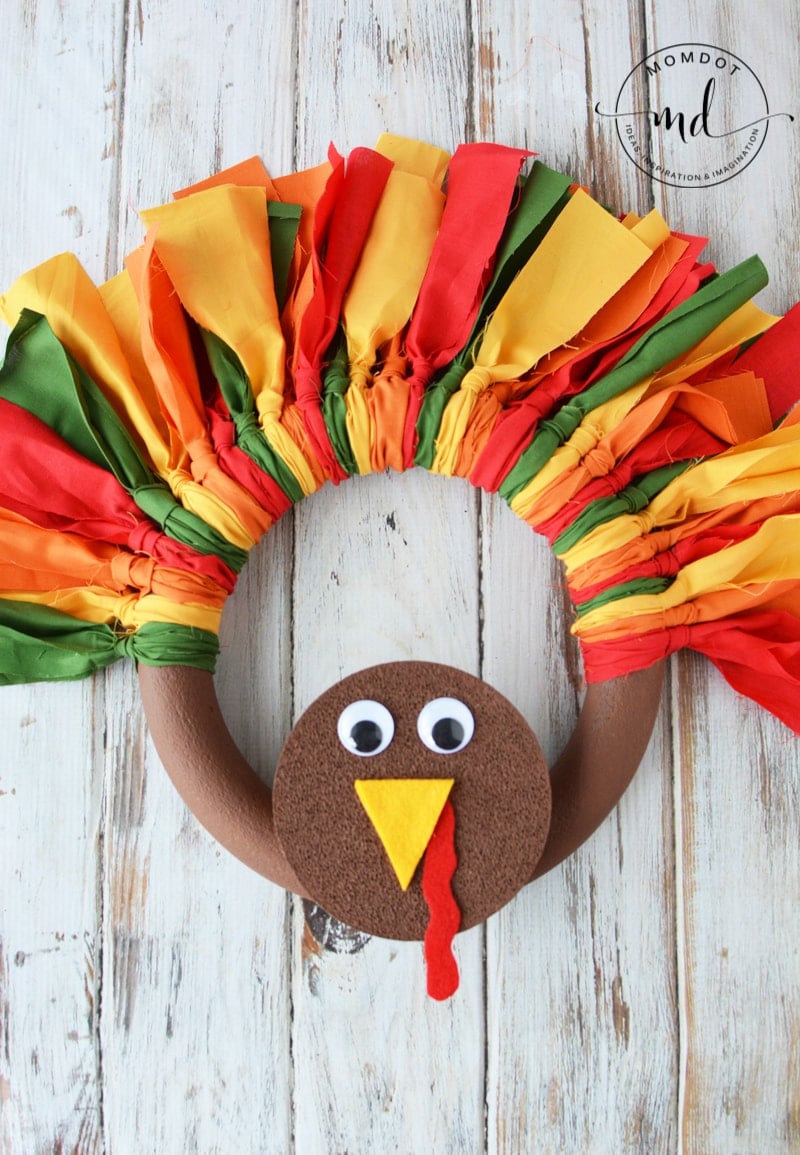
DIY Turkey Wreath
Creating a DIY Turkey Wreath is a fantastic way to add a touch of whimsy to your home decor during the fall season! To get started, gather supplies such as foam balls, felt in various autumn colors, googly eyes, and glue. Begin by wrapping the foam balls in brown felt to create the turkey's body. Then, cut out feather shapes from different colored felt and attach them to the body to form the turkey's vibrant plumage. Finish off by adding googly eyes and a beak to bring your adorable turkey wreath to life. Hang it on your front door or in your home to showcase your creative flair and spread some seasonal cheer! This project is fun, easy, and a great way to get into the festive spirit.
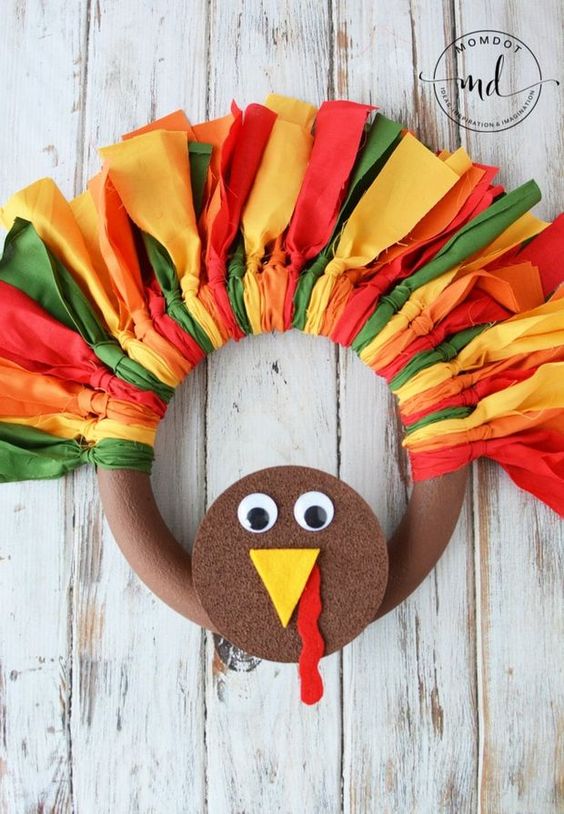
How to Make a Fabric Turkey Wreath With Slip Knots
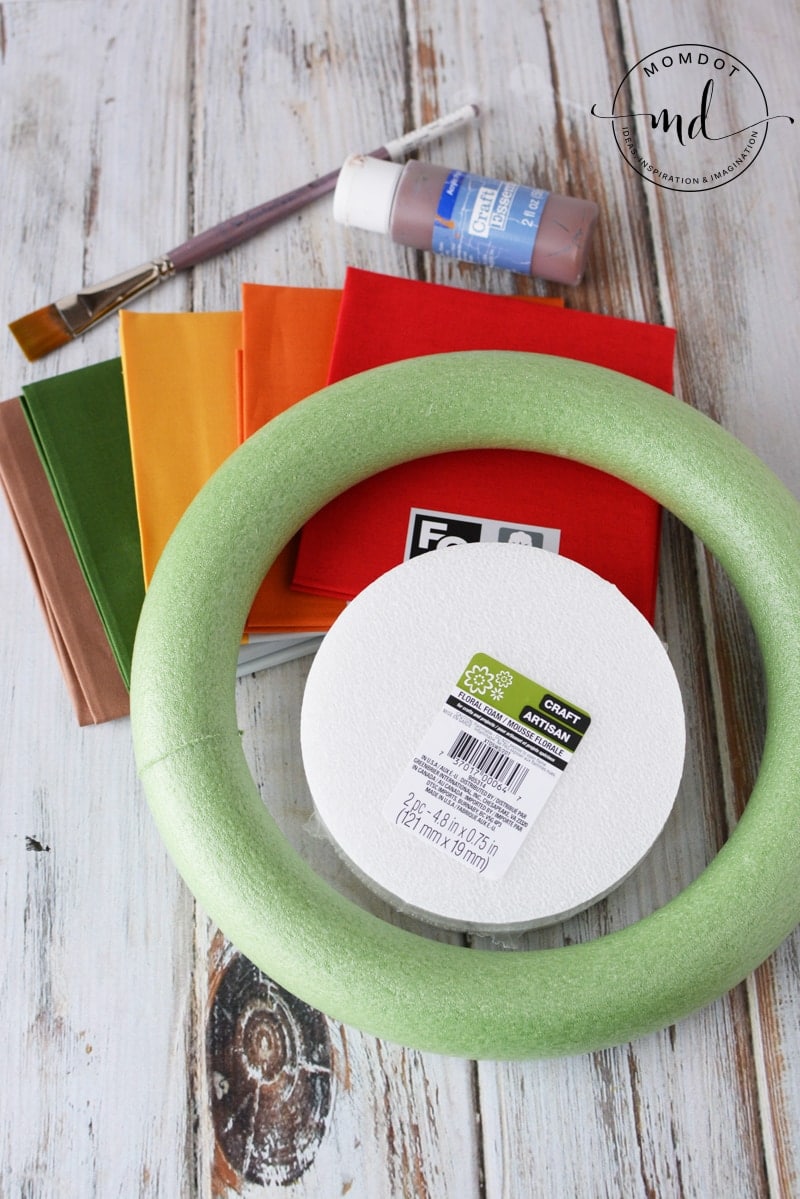
- Foam Wreath Form
(mine is about 10″ in diameter)
- Floral foam disk
(5″ diameter x 0.75″)
- 4 fabric quarters in red, orange, yellow, and green (18″ x 21″) – actual colors used are red solid, rust solid, gold solid, and dark green solid)
- brown acrylic craft paint
- paint brush
- scissors
- ruler or tape measure
- hot glue
and glue gun
- large google eyes
(1″ diameter)
- red felt
- yellow felt
How to Make a Turkey Wreath
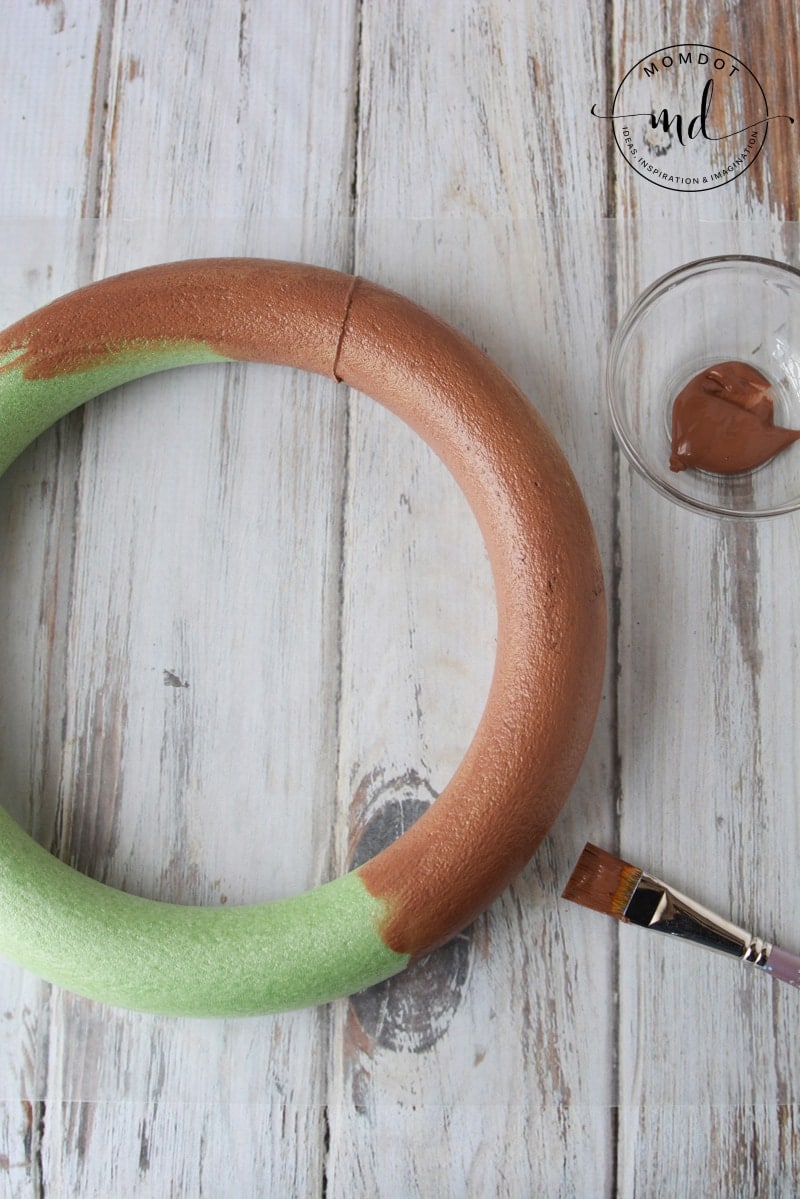
Use acrylic paint to paint the wreath form and floral disk.
You’ll need 2 coats on the form, let dry between coats.
When painting the floral disk, make sure you apply the paint heavily so it goes into the pores of the foam, showing less white foam.
Let dry completely.

Lay 1 piece of fabric onto a flat surface and fold it in half to measure 18″ x 10.5″.
Place a measuring tape across the folded area and use scissors to snip the fabric at 2″ intervals.
Remove the tape measure and continue to trim the rest of the fabric so you have strips.
Repeat for all the pieces of fabric.

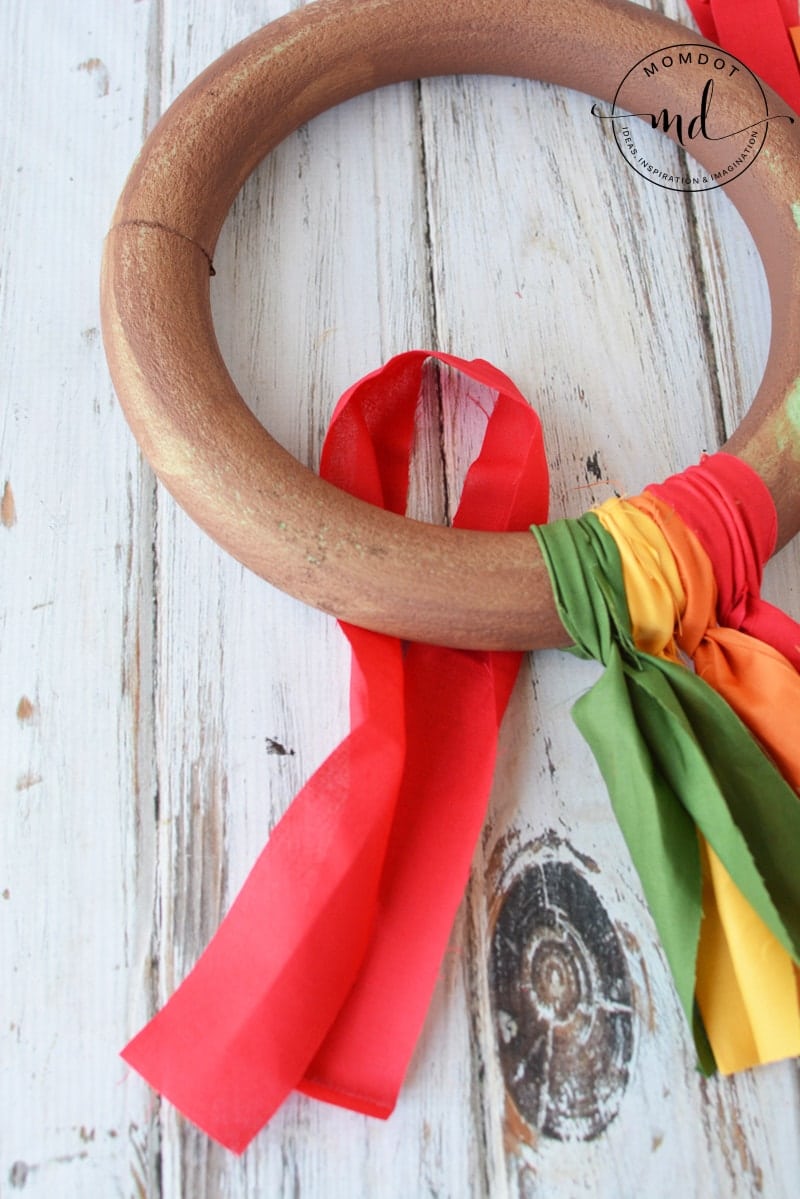
Place your wreath form, face down on a flat surface.
Fold a fabric strip in half and place the loop under the form. You’ll be making a slip knot.
Bring the bottom, loose ends of the fabric through the loop, wrapping it around the form. Pull the ends firmly toward the outer edge of the form.
This is the back side of the wreath. Continue to cover the wreath form with fabric, scrunching each piece together after it’s tied on.
Repeat until you have the desired look of a turkey!
About 2/3 of the wreath form will be covered.
Flip the form over and you’ll have the front of the turkey feathers.
Pull on the ends of the fabric to tighten and position them to your liking.
Use red felt to create a red turkey snood for the face, measuring about 3″ in length.
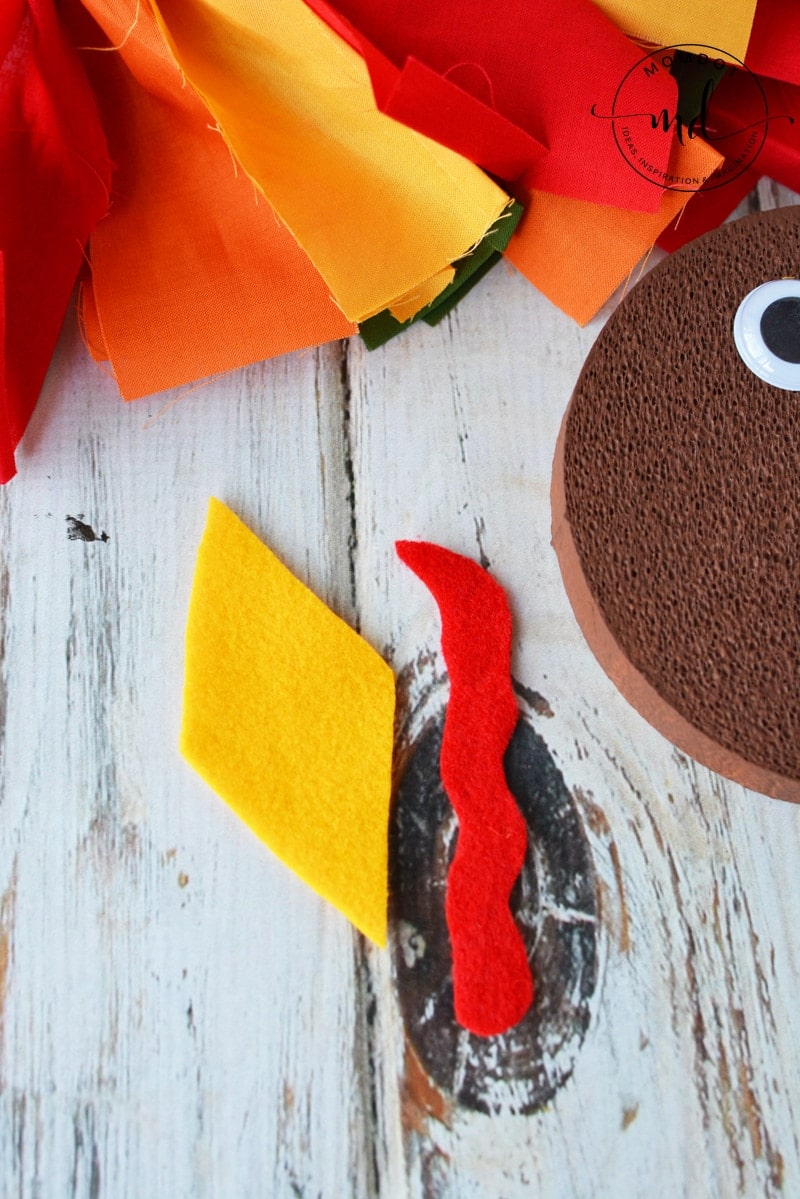
Use yellow felt to cut out a diamond shape for the beak. When you glue it on you’ll fold it in half to make a 3-D triangle beak.
I used 2 pieces of felt and glued them together to create more dimension.
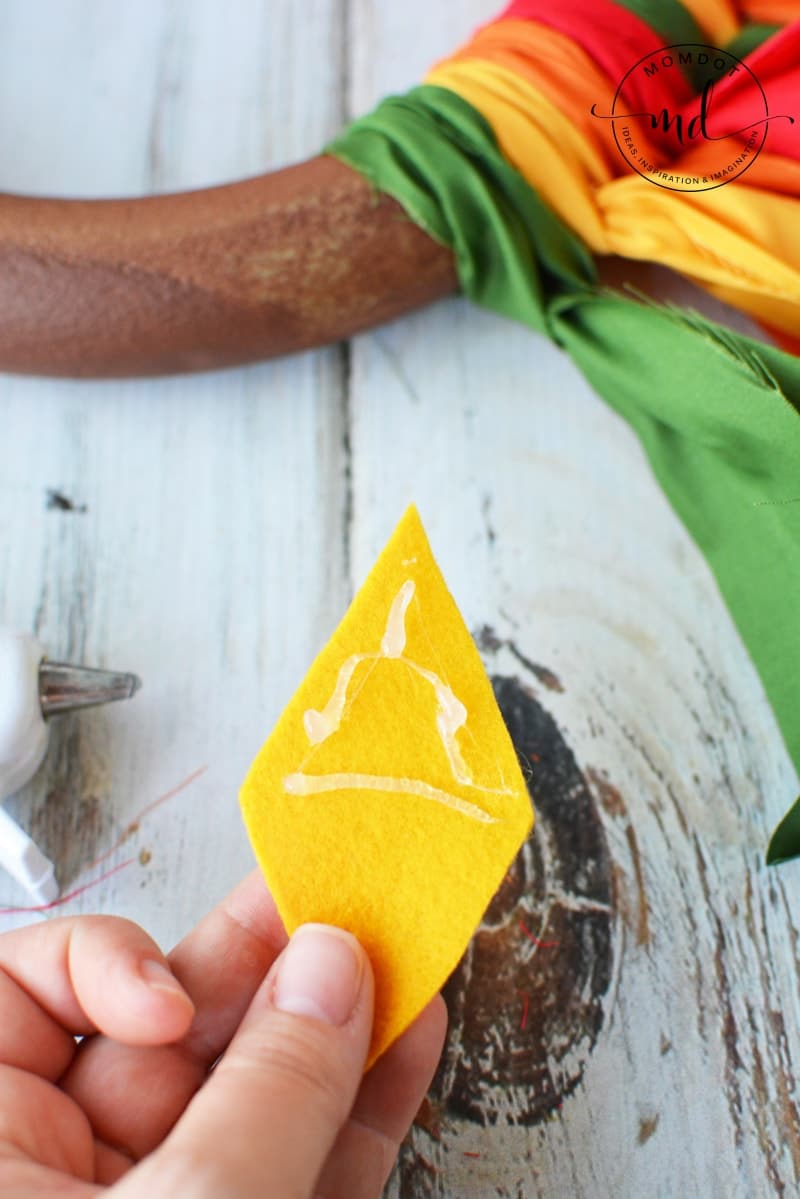
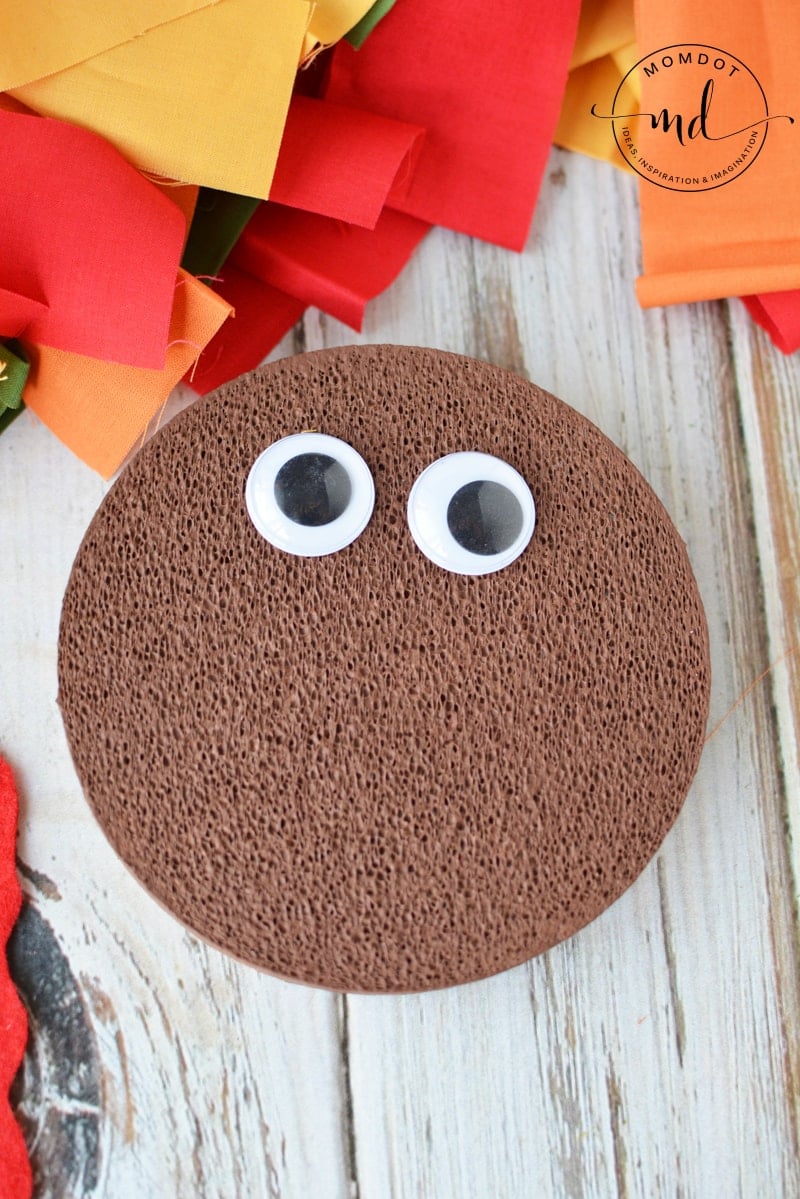
Glue the eyes, beak, and snood onto the brown disk with hot glue. Attach the disk to the front of the wreath form with hot glue.


Hang as desired.
NOTE: If you are unhappy with how the fabric hangs, you can lay the wreath on a flat surface and straighten out all of the fabric. Then generously spray with starch and let dry. Flip over and spray again on the back.
